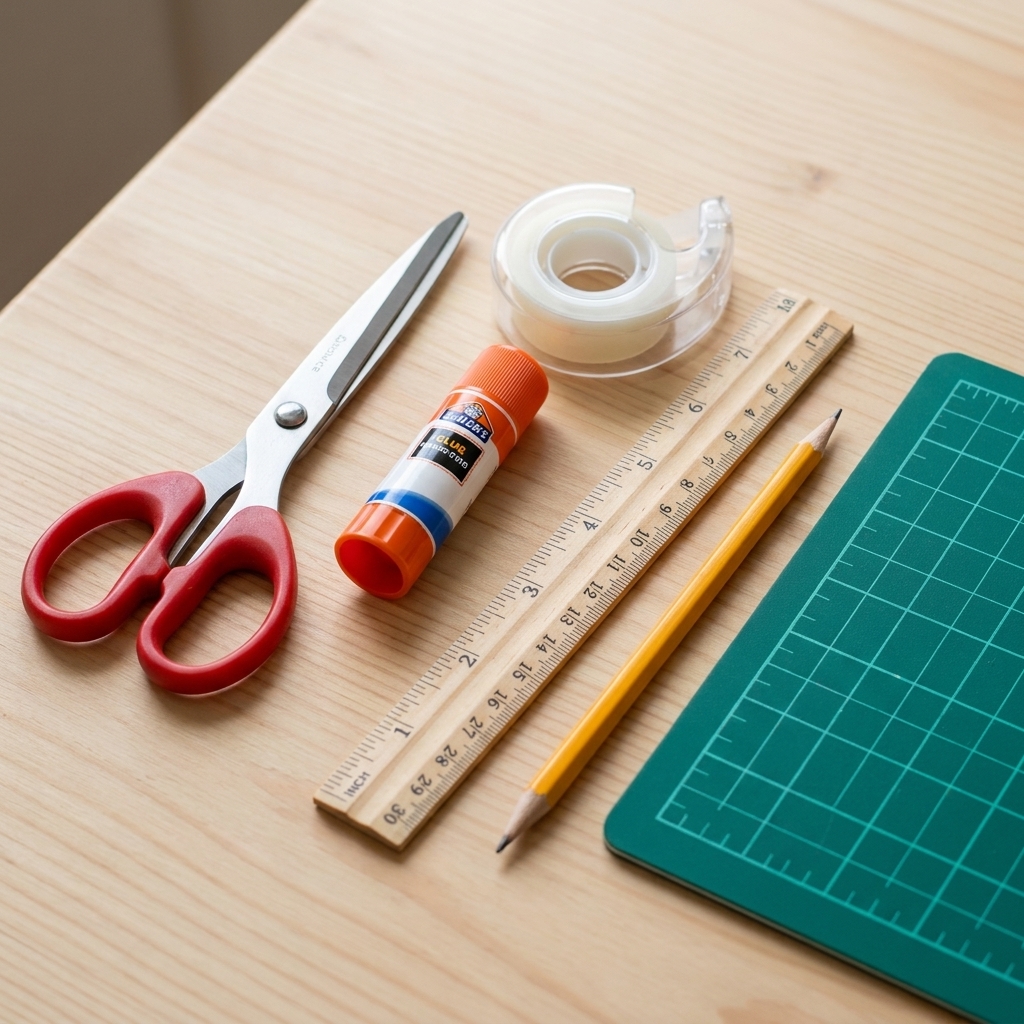
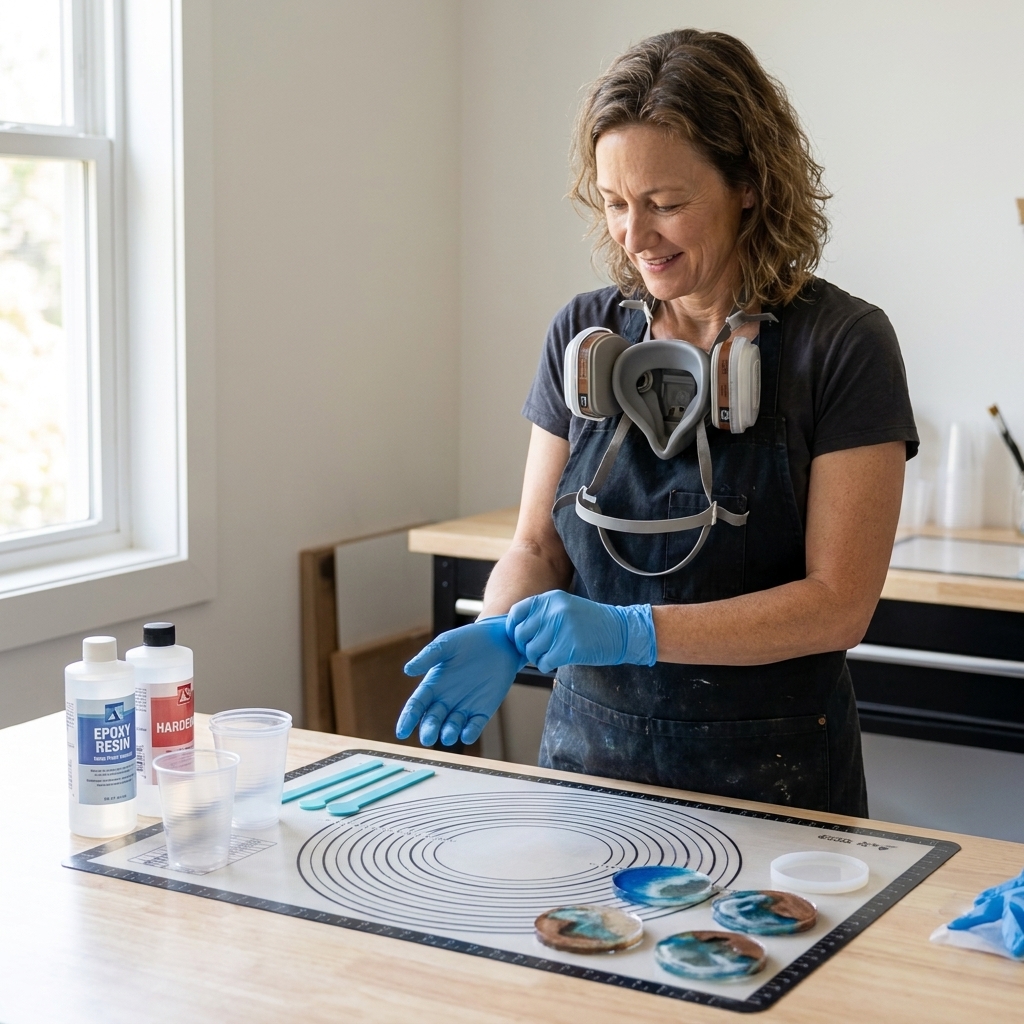
If you have ever rinsed a jar and thought, this is too nice to toss, welcome. Upcycling is giving everyday leftovers a second life, with a little glue, a little paint, and a lot of permission to experiment.
Below are 15 approachable projects that turn common household recyclables into home decor. Most use basic tools , and every idea includes a quick “how to” and a tip for making it look intentional instead of accidental. My favorite kind of crafting.
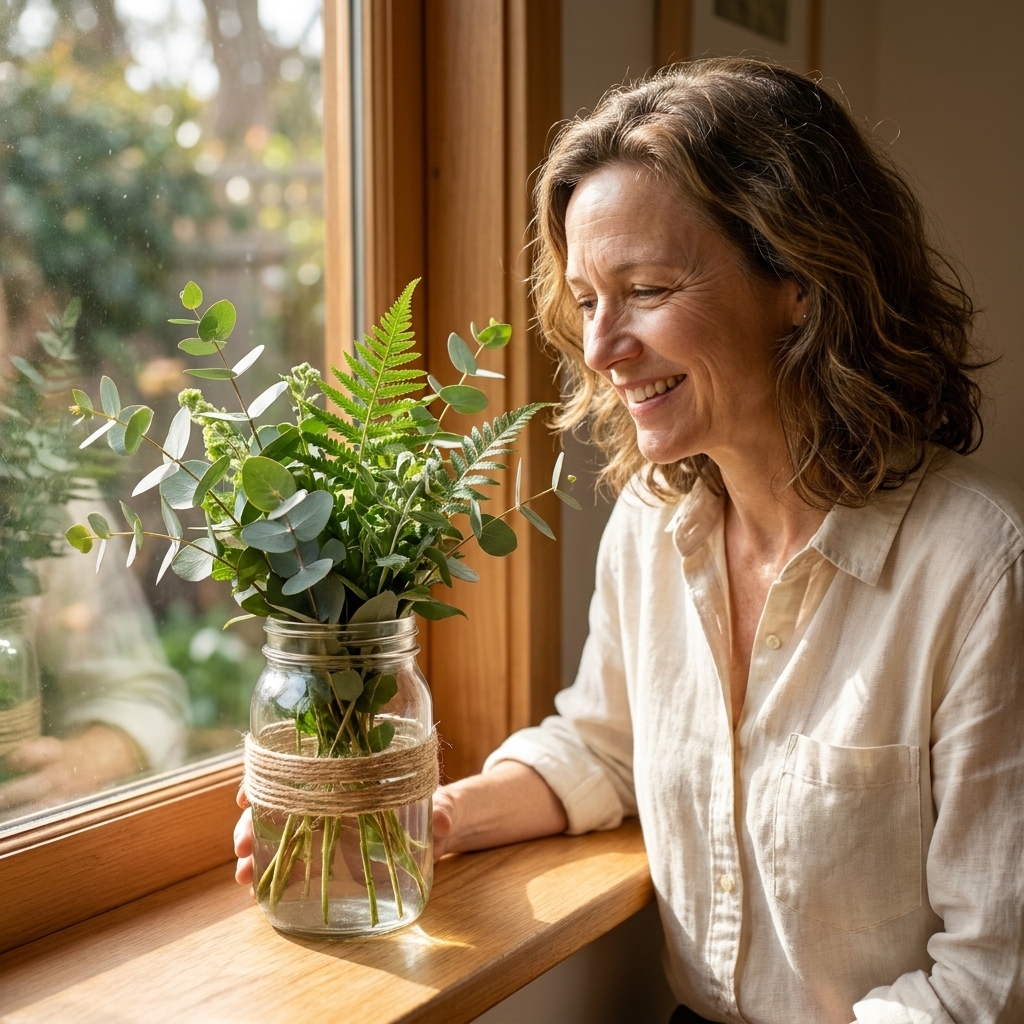
Before you start: a tiny prep routine
- Clean and de-label. Warm soapy water works for most containers. For stubborn sticker goo, rub with cooking oil, then wash again.
- Lightly sand slick surfaces. A quick scuff helps paint and glue grab.
- Pick one color family. Even mixed materials look cohesive if your finishes match.
- Decor, not dining. If you paint or seal something, treat it as decor only, not food-safe storage.
- Safety check. If you are cutting metal or glass, use gloves and eye protection, and file sharp edges.
15 upcycling crafts for real-life home decor
1) Glass jar lanterns (tea lights or fairy lights)
Trash to treasure: Pasta sauce jars, pickle jars, baby food jars.
How: Brush the outside with diluted white glue, roll in Epsom salt for a frosted look (or paint with glass paint). Add twine around the neck. Drop in a battery tea light or a short strand of fairy lights.
Make it look polished: Once the glue is fully dry, mist the outside with a clear spray sealer to help keep the Epsom salt from flaking and to protect it from humidity.
Safety note: Stick with battery lights here. Twine plus dried glue plus a real flame is not the cozy vibe we want.
Bonus tip: Keep the rim clean and unpainted for a crisp edge.

2) Tin can herb planters
Trash to treasure: Bean cans, tomato cans, coffee cans.
How: Punch a few drainage holes in the bottom (a nail and hammer works). If you want extra insurance, add a small square of mesh or coffee filter inside to keep soil from escaping. Paint the exterior, let dry, then fill with potting mix and plant herbs or pothos cuttings.
Make it look polished: Paint three cans the same color and group them on a tray.
Quick note: Gravel at the bottom is optional. Good drainage holes and a quality potting mix do most of the work.
3) Cardboard magazine file boxes
Trash to treasure: Shipping boxes and cereal boxes.
How: Cut cardboard into a simple magazine-holder shape (tall back, slanted front), tape together, then cover with kraft paper, leftover wallpaper, or brown grocery bags smoothed with glue.
Make it look polished: Wrap like a present and tuck seams to the back side only.
4) Cereal box drawer dividers
Trash to treasure: Cereal and cracker boxes.
How: Measure your drawer. Cut strips to height, then notch them so they slide together into a grid. Cover with contact paper or paper bags.
Make it look polished: Use a single neutral cover so the drawer looks calm even when life is not.
5) Paper roll cord wraps (and desk calm)
Trash to treasure: Toilet paper and paper towel rolls.
How: Cut a slit lengthwise. Wrap cords, then slide the roll over them. Cover the tube with paper or paint so it looks “made,” not “found.”
Make it look polished: Stamp simple dots or stripes with a sponge and acrylic paint.
6) Egg carton seed starters that actually look cute
Trash to treasure: Paper egg cartons.
How: Snip the lid off, fill cups with seed-starting mix, plant seeds. Set the carton in a shallow tray to catch water. Once seedlings are ready, cut cups apart. Before planting, tear or snip the bottom of each cup a bit so roots can escape easily (paper breaks down, but this helps if it is slow to decompose or wicks moisture).
Make it look polished: Nest the carton inside a thrifted shallow bowl or baking dish.
7) Wine cork trivet or mini hot pad
Trash to treasure: Wine corks (ask friends or a local cafe).
How: Option A (easiest and safest): use whole corks. Arrange them in a tight pattern and glue to a cork sheet, thin plywood, or MDF base.
Option B (lower profile): soften corks first by simmering or steaming for about 10 minutes, then let them cool until safe to handle. Slice carefully with a serrated knife on a non-slip surface (a cutting mat plus a folded towel underneath helps). Skip slicing if it feels wobbly or unsafe. Glue corks in a tight pattern onto your heat-safe base and let cure fully.
Make it look polished: Trim the base into a clean circle or hexagon before sealing.
Sealer tip: A light coat of a heat-resistant clear finish helps with durability, but let any finish cure fully before putting anything hot on it. When in doubt, leave it unsealed.
8) Bottle cap magnets (tiny art for your fridge)
Trash to treasure: Bottle caps from soda or sparkling water.
How: Cut small circles of scrapbook paper or use tiny photos. Glue inside caps, seal with Mod Podge. Hot glue a small magnet to the back.
Make it look polished: Use one theme: botanicals, vintage maps, or solid colors.
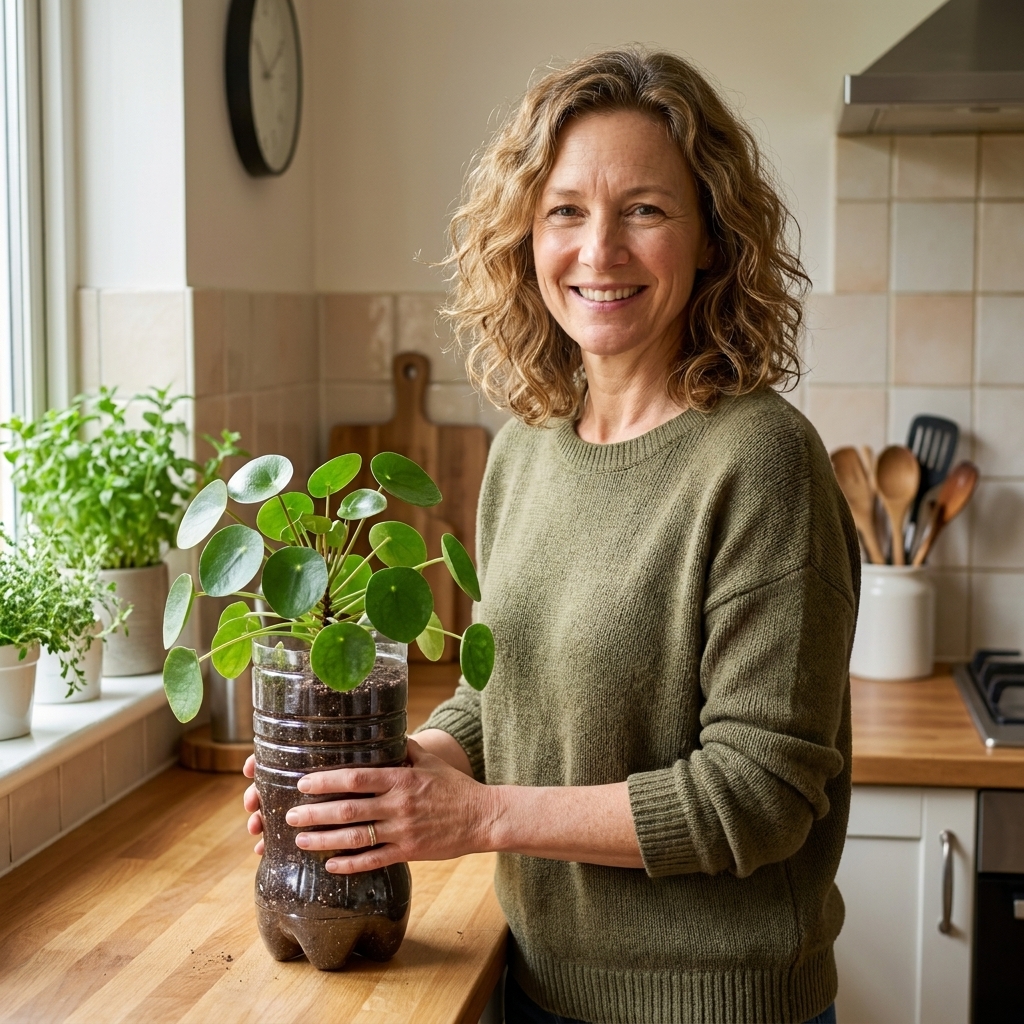
9) Plastic bottle self-watering planter
Trash to treasure: A 1-liter or 2-liter plastic bottle.
How: Cut the bottle in half. Poke a hole in the cap, thread cotton or nylon cord through (this is your wick), and screw cap back on. Invert the top half into the bottom half. Fill top with soil and plant. Add water to the bottom reservoir.
Make it look polished: Slide the whole thing into a basket or wrap the outside with paper cord.
Bonus tip: Test your wick before you commit. Some cords wick better than others. Also, refresh the reservoir water occasionally so it does not get funky.
10) Sweater sleeve vase cozy
Trash to treasure: A worn sweater or sweatshirt.
How: Cut off a sleeve, slide it over a glass vase or jar, and fold the top edge inward for a clean cuff. Add a few stitches or fabric glue at the bottom if needed.
Make it look polished: Choose a chunky knit and stick to one solid color for a modern look.
11) Denim pocket wall organizer
Trash to treasure: Old jeans.
How: Cut out back pockets with a margin of fabric. Mount them onto a piece of sturdy cardboard or a thin wood board (glue or sew). Hang with a nail or screw for the most secure hold. If you use Command strips, choose ones rated for the full weight and stick them to a clean, smooth surface.
Make it look polished: Use matching pockets and align the tops with a ruler. Straight lines do so much heavy lifting.
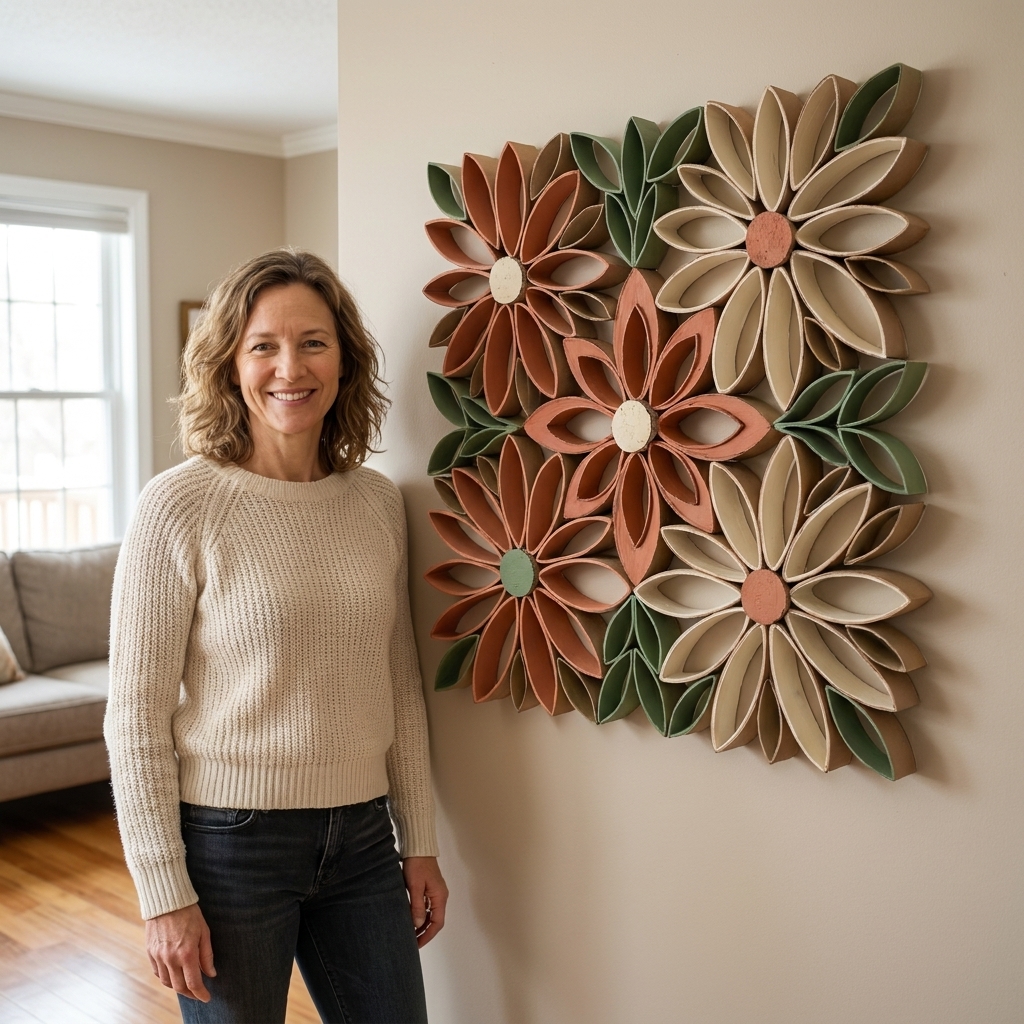
12) Cardboard tube wall art (surprisingly elegant)
Trash to treasure: Paper towel tubes.
How: Slice tubes into rings. Pinch each ring into a petal shape and glue petals into a floral pattern. Mount on cardboard and paint the whole piece one color.
Make it look polished: One-color paint is the secret. Matte black or warm white looks especially “gallery.”
13) Teacup candle from wax scraps
Trash to treasure: A chipped teacup and leftover candle wax.
How: Secure a wick in the cup (a dab of hot glue). Melt wax scraps in a heat-safe container set in a pot of simmering water, then pour into the cup. Let set overnight.
Safety note: Use a double boiler method only (no direct heat), keep an eye on it the whole time, and keep water out of the wax. Water and hot wax are not friends.
Make it look polished: Keep scent families consistent when mixing wax so it smells pleasant, not confusing.
14) Brown paper bag framed prints
Trash to treasure: Grocery bags and simple frames.
How: Cut brown paper to fit your frame. Paint easy shapes (arches, leaves, abstract blobs) with leftover wall paint or acrylics. Let dry and frame.
Make it look polished: Repeat the same shape in two or three frames for a cohesive set.
15) Jar-lid mini wreaths
Trash to treasure: Metal jar rings (like mason jar rings) or sturdy plastic lids.
How: Wrap rings with twine, ribbon, or fabric strips. Glue on a tiny bunch of dried flowers, faux greenery, or a cinnamon stick bundle. Hang on a hook or use as napkin rings.
Make it look polished: A small detail wins here: a single neutral ribbon and one sprig looks more intentional than “everything from the craft drawer.”
Finishing touches that make upcycles look store-bought
- Seal when needed. Use a clear water-based sealer on painted cans, cardboard, and paper surfaces that will get handled.
- Repeat materials. Twine on three different items makes them feel like a set.
- Hide the messiest side. If the back seam is lumpy, that is the “against the wall” side. No shame.
- Use trays to group decor. A thrifted tray turns a few small upcycles into one styled moment.
Beginner FAQ
What glue is best for upcycling?
For paper and cardboard, white glue or Mod Podge is great. For mixed materials (like fabric to metal), a strong craft glue or hot glue works well. If something is going to be handled a lot, choose a glue labeled “multi-surface.”
How do I paint plastic so it does not peel?
Wash it well, lightly sand, then use a primer designed for plastic. Thin coats beat thick coats every time. Let it cure fully before handling.
What is the easiest project if I have zero supplies?
Jar lanterns and sweater-sleeve cozies are wonderfully low-supply. If you have scissors and a jar, you can start today.
A gentle nudge to start
Pick just one item from your recycling bin and give it a five-minute audition on your craft table. If it turns into decor, wonderful. If it turns into a funny story and a slightly sticky hand, also wonderful. Either way, you are making something, and that is the whole point.