Macrame is one of my favorite “I just need my hands to do something gentle” hobbies. It is rhythmic, forgiving, and surprisingly calming once you learn a couple of core knots. In this tutorial, we are making a beginner-friendly wall hanging with a simple diamond pattern, a tidy border, and a relaxed fringe. No perfection required, only curiosity.
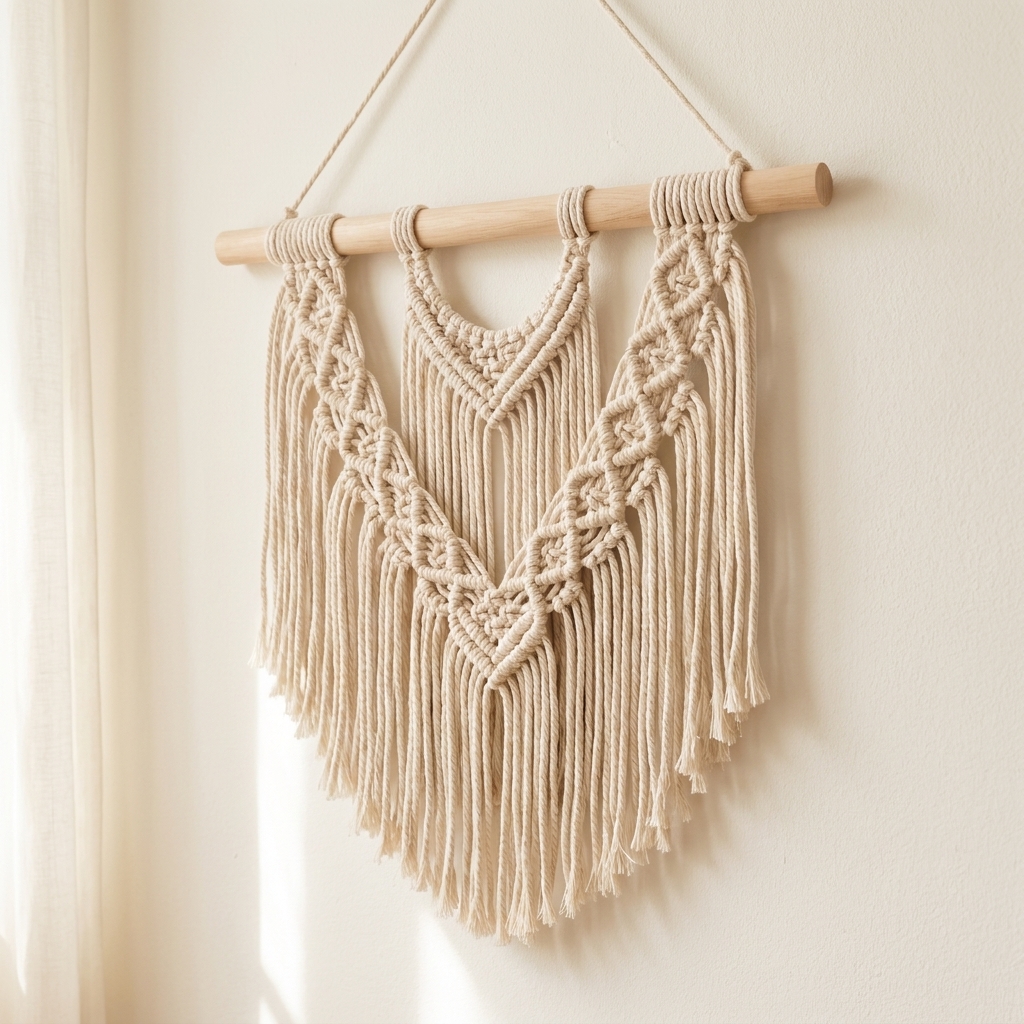
What you will make
This project creates a small-to-medium wall hanging that looks polished but uses only a few repeatable steps. You will learn:
- How to estimate and cut cord without running short
- How to attach cords to a dowel with a lark’s head knot
- How to tie square knots and diagonal double half hitch knots (two half hitches)
- How to shape a diamond and finish with fringe
Supplies (simple and steady)
Materials
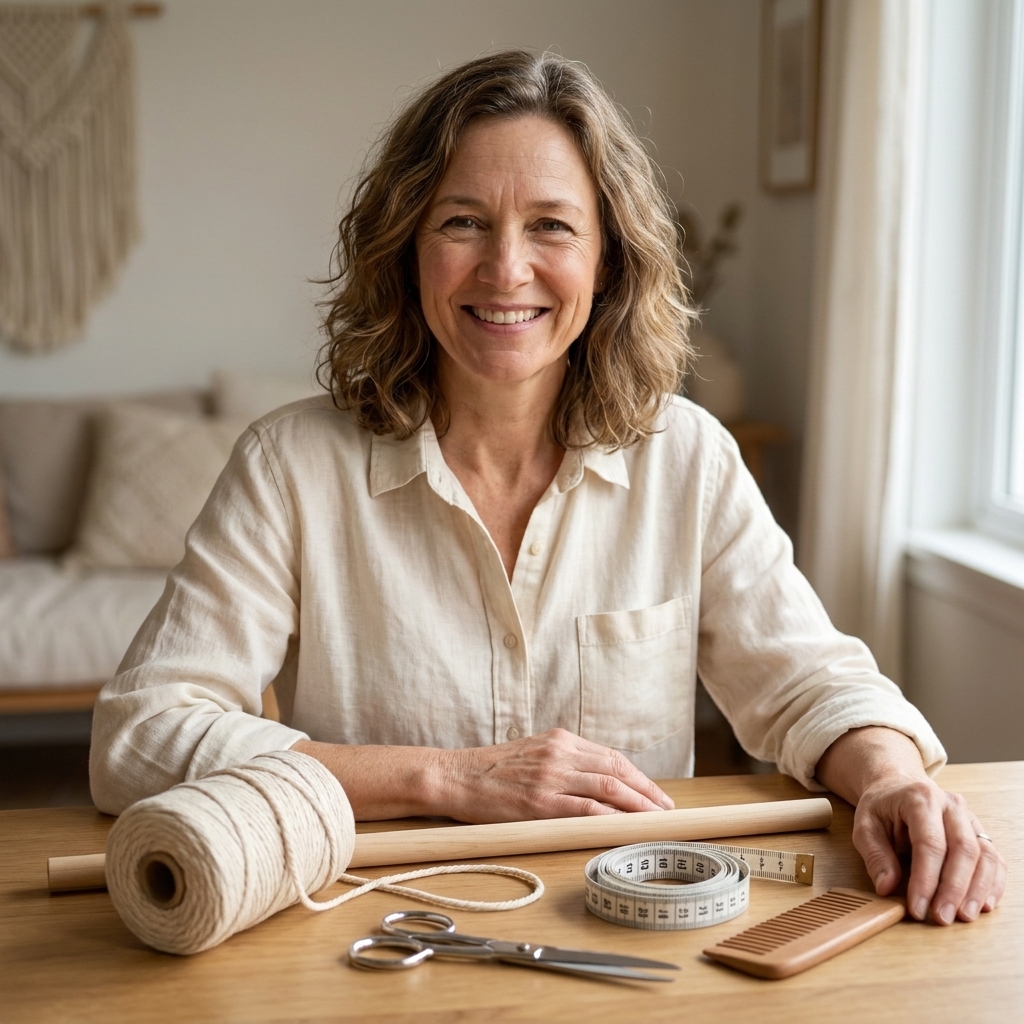
- Macrame cord: 3 mm single twist cotton is easiest to comb into fringe. You can also use 4 mm if you want a chunkier look.
- Dowel or driftwood: 12 to 18 inches wide. A smooth wooden dowel is the most beginner-friendly.
- Scissors: Fabric scissors if you have them.
- Measuring tape
- Comb: A small hair comb or pet comb for fringe.
Helpful extras (not required)
- Masking tape to mark your center point on the dowel
- Clips or clothespins to hold sections out of your way
- A hanger, hook, or closet rod to work at a comfortable height
Comfort note: Hang your dowel at chest height if you can, and take quick hand breaks. Your knots will look better when your hands feel relaxed.
Before you start: cord math that actually works
The trickiest part of early macrame is not the knots, it is cutting enough cord. Cord use changes with knot density, tension, and fringe length, so think of this as a friendly estimate, not a law of physics.
How much cord to cut (estimate)
For a wall hanging about 12 inches wide and 18 to 24 inches long (including fringe), start with:
- 10 cords at 10 feet (3 m) each
- 2 cords at 12 feet (3.6 m) each (these are your “outer” cords that do extra work on the edges)
That gives you 12 cords total. When folded in half on the dowel, you will have 24 working strands.
Quick self-check: 24 strands means 6 square knots per full row (since each square knot uses 4 strands).
Why so long? Square knots and diagonal double half hitch lines eat cord, and beginners often tie a bit tighter at first. Extra length is easier to trim than a cord that comes up short two rows from the bottom.
Adjustments that scale better
- If you want it longer: increase each cut length by 25 to 35% for a noticeably longer piece. If you are only adding an inch or two of length, adding a little extra (like 1 to 2 feet) is often enough, but longer changes usually need a proportional bump.
- If your design is square-knot heavy: plan on using roughly 4 to 6 times the finished knotted length per working cord in that section.
- If you want it wider: add 2 more cords of the same length (that adds 4 more strands).
If you are unsure, cut longer. You can always trim fringe. You cannot politely ask cotton cord to grow back.
Step 1: set up and attach cords
1) Mark the center of your dowel
Use a tiny piece of masking tape to mark the center. This keeps your hanging from drifting to one side as you work.
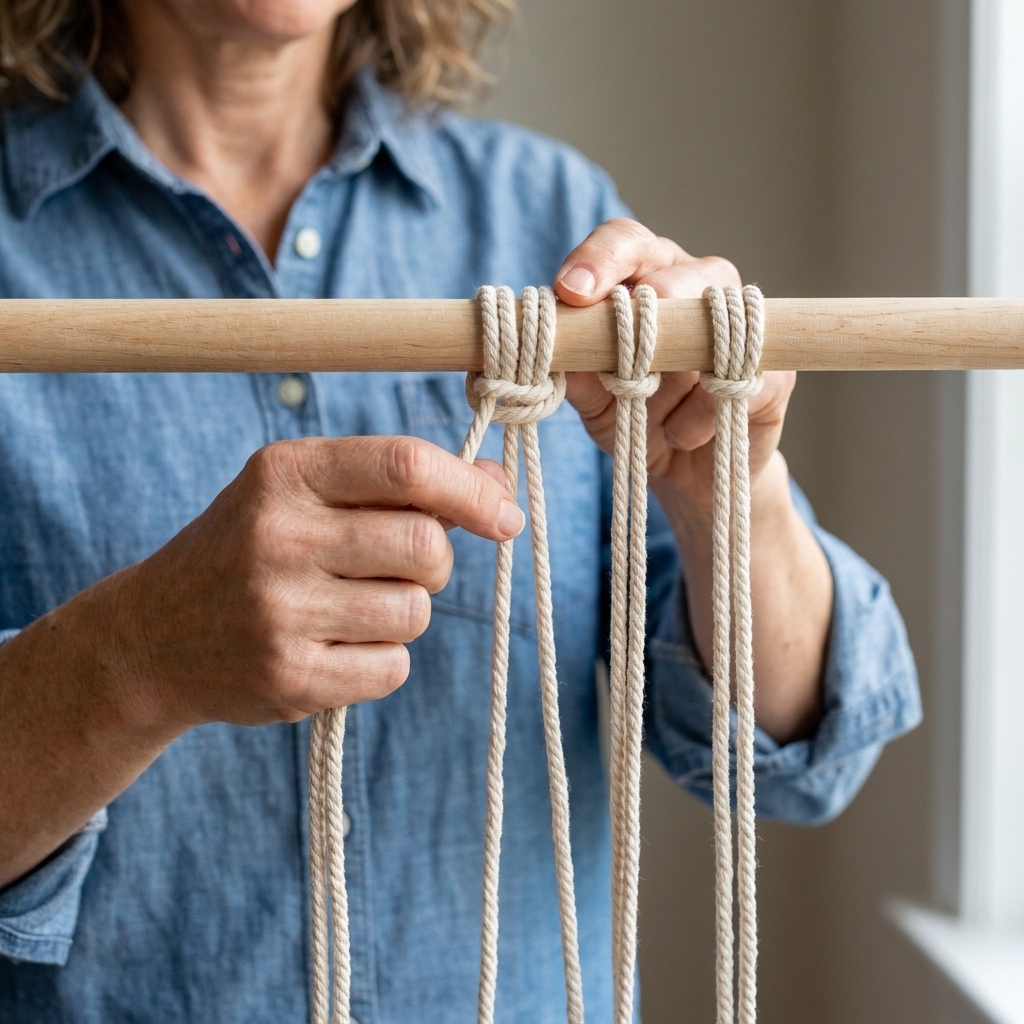
2) Attach each cord with a lark’s head knot
Fold a cord in half. Place the folded loop over the dowel, bring the two loose ends through the loop, and pull snug.
Repeat for all cords, arranging them so the knots sit close together in a neat row. Put your two longer cords on the far left and far right edges.
Step 2: learn the two knots
We are building the whole hanging with two workhorse knots. Once these feel familiar, the rest becomes a relaxing repeat.
Square knot (4 strands)
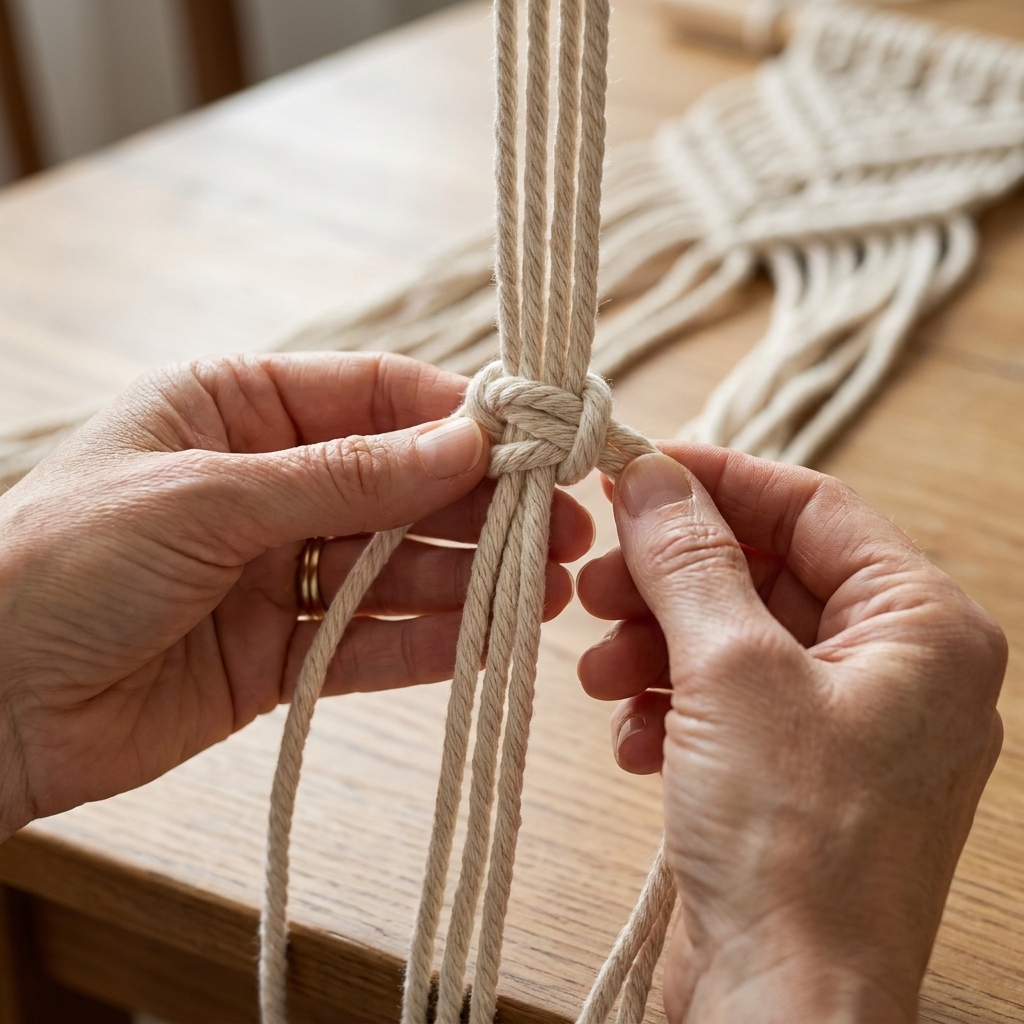
Think of a square knot as two half knots stacked in opposite directions.
- Choose 4 strands. The two middle strands are the “core.” The two outer strands do the tying.
- Bring the left outer strand over the core strands and under the right outer strand.
- Bring the right outer strand under the core strands and up through the loop on the left. Pull snug.
- Now reverse: bring the right strand over the core and under the left, then bring the left under the core and up through the loop on the right. Pull snug.
Beginner tip: If your knots start to twist into a spiral, you are forgetting to reverse the second half. Totally common, totally fixable.
Diagonal double half hitch (diagonal lines)
This is how we make clean diagonal lines that frame the diamond. It is simply two half hitches tied in a row on the same holding cord.
- Pick one strand to be the “holding cord” (it forms the diagonal line). Hold it at an angle.
- With the next strand, wrap it over and around the holding cord to form a loop, then pull through and tighten.
- Repeat the wrap one more time on the same holding cord. That is your “double” half hitch.
- Move to the next strand and repeat, keeping the holding cord at the same angle.
Step 3: tie the top section
We are going to start with a few rows of square knots. This creates structure and gives you a nice “I am doing it!” moment early on.
Row 1: square knots across
Starting from the left, tie square knots using groups of 4 strands. Continue across the entire piece.
Row 2: staggered square knots
This row creates the classic macrame “brick” pattern.
- Skip the first 2 strands.
- Use the next 4 strands to tie a square knot.
- Continue across.
- You will end with 2 loose strands on the far right. That is correct.
Reassurance: Those 2 loose strands on each side will get used again in Row 3.
Row 3: square knots across again
Return to groups of 4 starting at the far left and tie square knots across.
Quick check-in: Your rows do not need to be laser-straight. If a knot sits slightly higher than its neighbor, it is just developing personality.
Step 4: make the diamond
Now we will use diagonal double half hitch knots to form the left and right sides of a diamond, then close it.
1) Make the left diagonal line
Use the far-left outer strand (one of your longer cords) as the holding cord.
- Angle it down toward the center of the hanging.
- Working one strand at a time, tie a diagonal double half hitch with each strand, moving from left toward the center.
- Stop when you reach the center point where you want the diamond to meet.
2) Make the right diagonal line
Repeat on the right side, angling toward the center so both diagonals meet like a wide V shape.
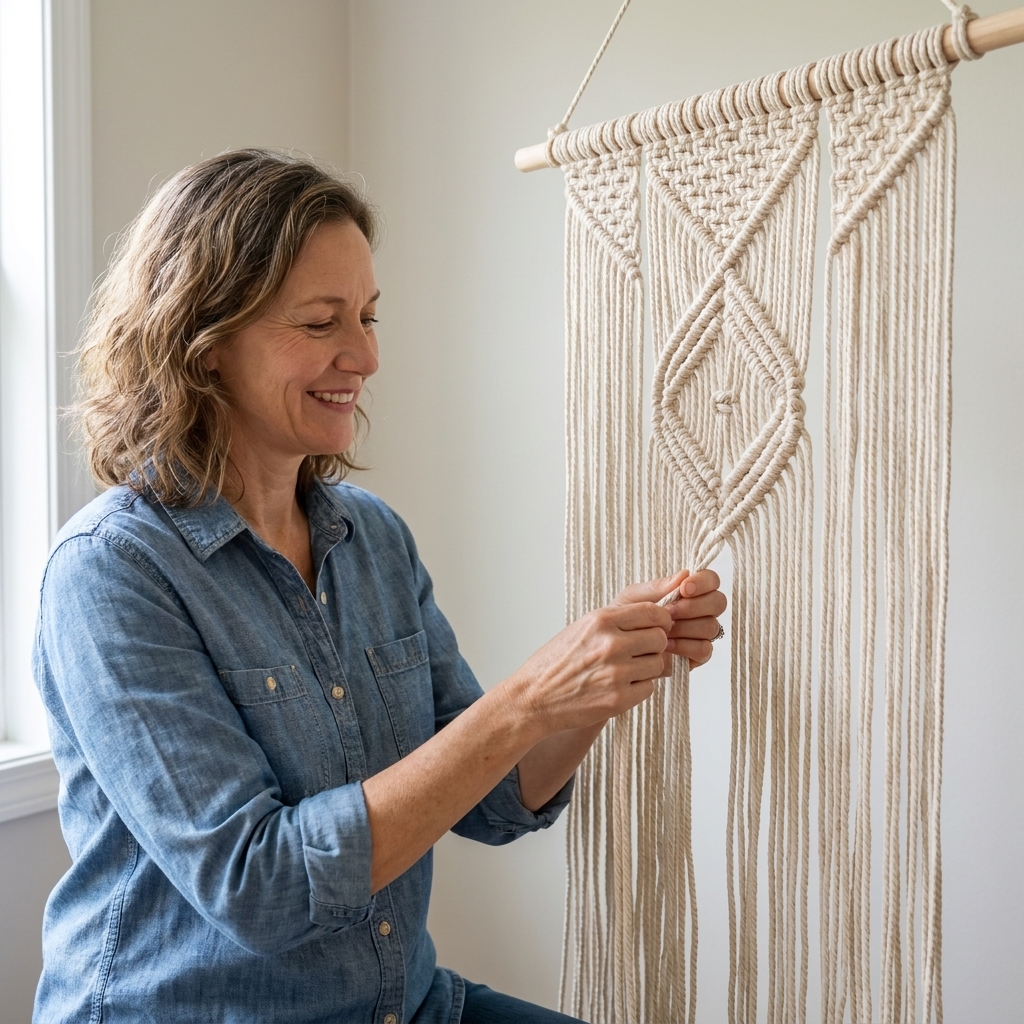
3) Close the diamond (bottom half)
When the two diagonal lines meet at the center, you will have two holding cords there (one coming from the left, one coming from the right). To close the diamond, we send them back out as the next holding cords.
- Center meeting point: Take the holding cord that came from the left and angle it down and to the right. Use the adjacent strands to the right to tie diagonal double half hitch knots as you move outward. This creates the bottom-right side of the diamond.
- Take the holding cord that came from the right and angle it down and to the left. Tie diagonal double half hitch knots with the adjacent strands to the left as you move outward. This creates the bottom-left side of the diamond.
- Try to mirror the number of strands used on each side so the diamond closes evenly.
Step 5: add a border (optional)
If you want your piece to look a little more “tapestry-like,” add a clean diagonal border line on each side using your outer cords as holding cords.
- On the left edge, hold the outer strand at a gentle diagonal down the side.
- Tie diagonal double half hitch knots with the next few strands to create a border line.
- Repeat on the right edge.
This step is optional, but it helps your eyes read the design as intentional even if your knot tension varies.
Step 6: finish with fringe
1) Decide your fringe length
Let the cords hang naturally. Use your measuring tape to mark a soft guideline (even a piece of yarn held across works) where you want the fringe to end.
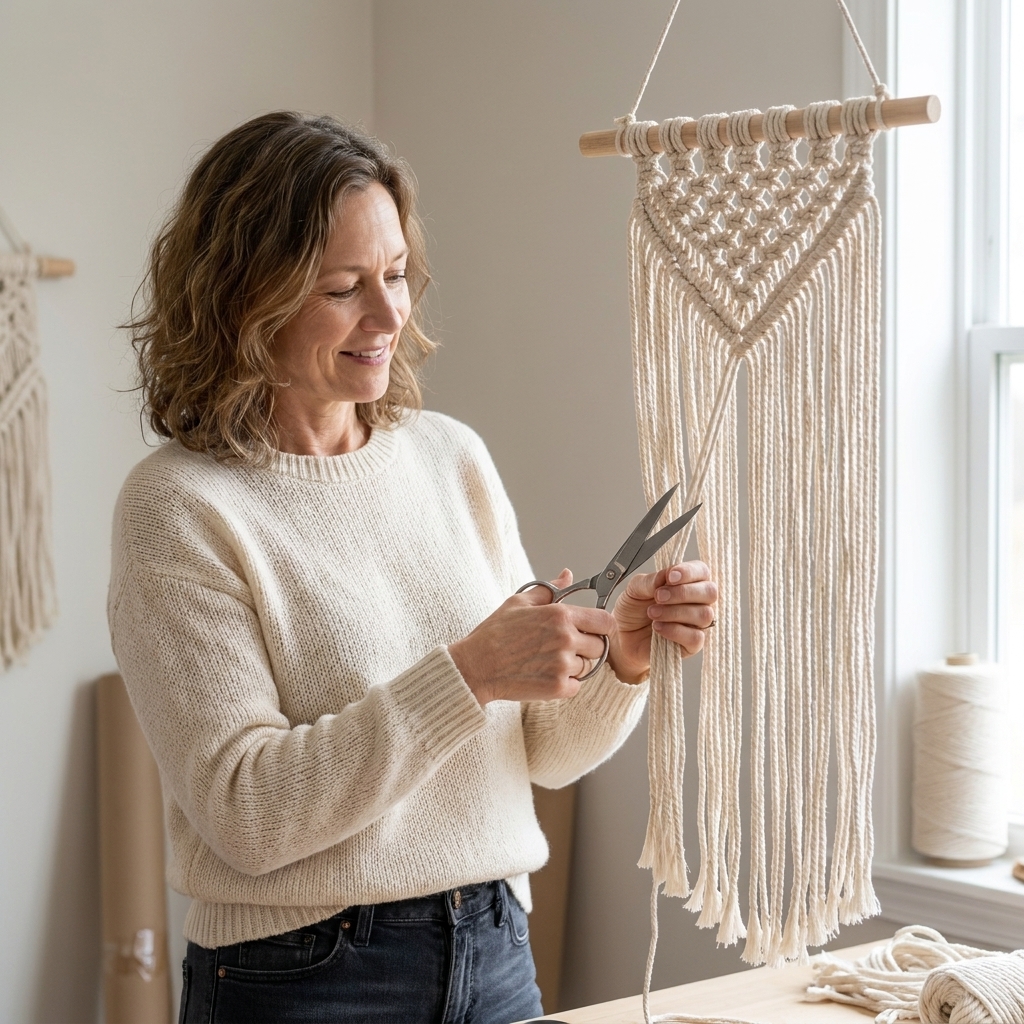
2) Trim
Trim straight across for a modern look, or trim into a shallow V for a boho look. I usually start conservative and trim again later because cord does not grow back.
3) Comb it out
If you are using single twist cord, gently comb the ends to make fluffy fringe. If you are using braided cord, the fringe will be more rope-like, which is also cute.
How to hang it
Keep it simple. Tie a piece of cord to each end of the dowel and hang it on a hook or nail. If you want the cleanest look, rest the dowel directly on two small wall hooks.
Bonus cozy tip: Macrame looks especially lovely near plants, bookshelves, or anywhere you want to soften a hard corner.
Troubleshooting
My square knots are twisting
You are tying the first half repeatedly in the same direction. Make sure you reverse the second half so the knot squares up.
My rows look uneven
Normal. Try pulling each knot snug with the same amount of force, then scoot knots gently into alignment with your fingers.
I am running out of cord on one strand
It happens. For this beginner piece, the easiest fix is to shift that strand toward the inside where it does less work, and plan your fringe so it hides a small difference.
If you truly need to add cord, you can attach a new piece with a lark’s head knot on a lower row, but know it may be visible in the knotwork. It is most forgiving near an edge or hidden in the fringe. Another beginner-friendly option is to add a short “helper” cord that only becomes fringe, so you are not asking it to behave perfectly inside your diamond.
The diamond is lopsided
Count your hitch knots on each side and make sure both diagonals use the same number of strands. If one side traveled farther, gently loosen the last few knots and re-tie.
Beginner FAQ
What cord is best for a first wall hanging?
3 mm single twist cotton is the friendliest option. It knots easily, forgives tension hiccups, and combs into dreamy fringe.
How tight should I pull my knots?
Snug, not strangled. Aim for consistent tension rather than maximum tightness. If your hands hurt, you are pulling too hard.
How long does this take?
Plan for 1.5 to 3 hours, depending on how many “let me redo that one knot” moments you take. Those moments count as learning, not failing.
Will my finished size match the estimate?
Maybe, maybe not, and that is normal. Tension, knot spacing, cord thickness, and dowel width all affect the final measurements. If you want a specific size, make a small test swatch first and measure how much cord it uses.
Can I wash macrame?
Yes, gently. Spot clean first. If it needs more, hand wash in cool water with mild soap, rinse, squeeze (do not wring), and lay flat or hang to dry. Comb fringe again once dry.
Your next tiny challenge
If you enjoyed this, try swapping the center diamond for two smaller diamonds, or add a second band of square knots above the fringe. Macrame is wonderfully modular. Once you have the knots, you can remix them like building blocks.
If you make your first wall hanging, I hope you hang it somewhere you will see it often. Not because it is perfect, but because you made it with your own two hands, and that is always worth celebrating.