I love a fancy craft store aisle as much as the next hobby goblin, but I also love paying my electric bill. The good news: you can build a surprisingly capable, do-most-things crafting toolkit for under $50 if you buy the right basics and skip the “I might need this someday” traps.
This toolkit is designed for everyday paper crafts, simple sewing repairs, cardmaking, kid projects, collage, light DIY decor, and the kind of spontaneous “I saw this on a Tuesday and now I must make it” crafting. It’s not meant for heavy DIY, woodworking, resin, or serious garment sewing, and that’s okay.
Quick note on pricing: prices below are typical budget ranges in the US as of 2026, but they vary a lot by region, sales, and what’s actually in stock that week.
The $50 game plan
Before we shop, here’s the strategy that keeps the total low:
- Buy tools that work across many crafts. One good pair of scissors beats five specialty cutters.
- Choose “good enough” surfaces. A dedicated cutting mat is great, but a thick piece of cardboard plus a small self-healing mat can be just as useful at this budget.
- Pick two adhesives, not ten. Most projects need a quick-dry adhesive and a strong stick-to-weird-stuff option.
- Start with sizes you’ll actually finish. Full-size bottles and jumbo packs are only a deal if you’ll use them.
- Leave 10 percent for surprises. Tax happens. So do impulse googly eyes.
If your local prices run higher, check the thrift store and “creative reuse” shops first. Also: community swap groups are basically the interlibrary loan of crafting, and I mean that as the highest compliment.
Your core toolkit
If you buy only one set of supplies, make it this. These are the things I reach for constantly when I’m testing a new hobby or improvising a quick fix.
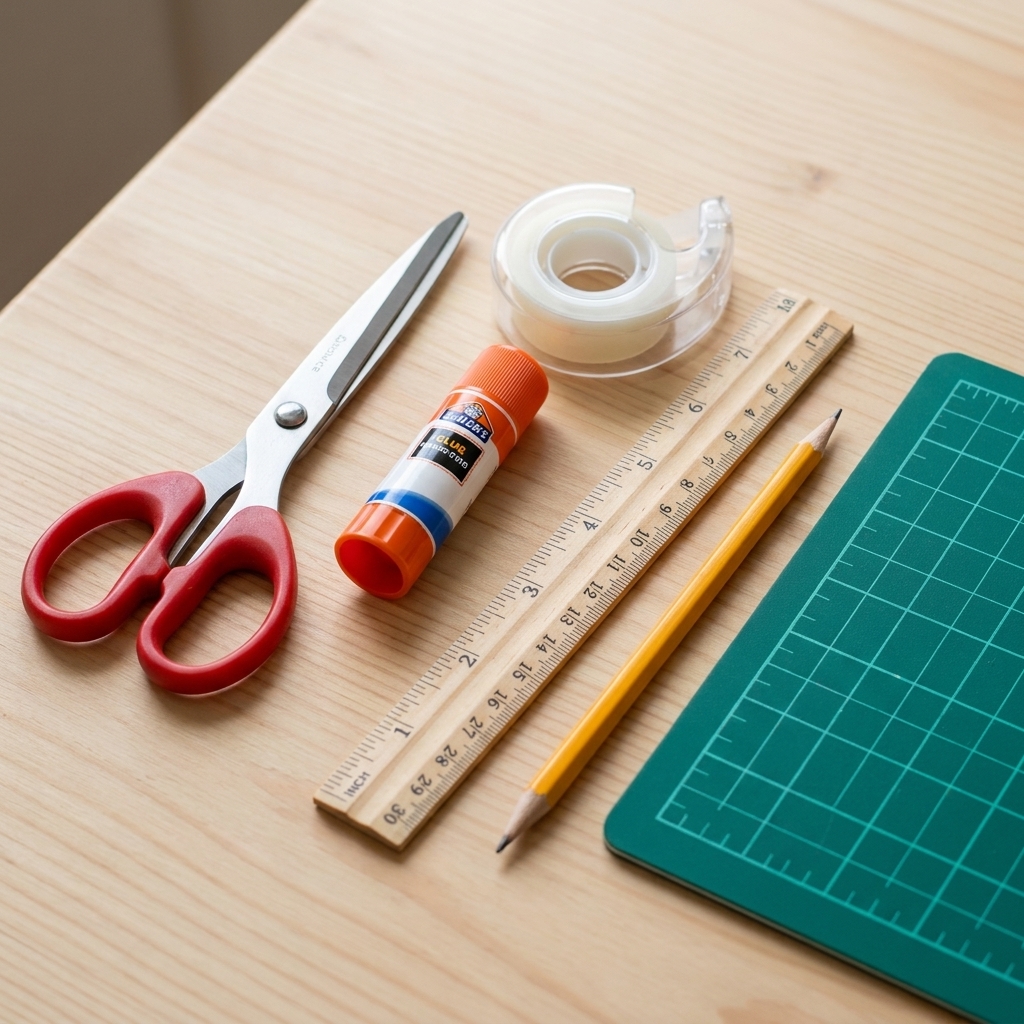
1) Scissors: one sharp pair you protect with your life
Budget: $6 to $10
Look for comfortable handles and a clean, crisp cut through regular paper. If you can, choose a pair labeled for “general purpose” or “craft.” The secret to long life is simple: don’t cut wire, thick plastic, or cardboard with your good scissors. That’s how blades get sad.
- Clara tip: Put a tiny dot of nail polish on the handle to mark them as “craft-only.” It’s oddly effective.
2) A small cutting surface (and a safer cutting habit)
Budget: $5 to $12
A self-healing cutting mat is the gold standard, but you don’t need a giant one to start. A smaller mat protects your table and makes knife work safer. If you can’t find a mat in budget, use a thick piece of cardboard or an old cutting board dedicated to crafts until you can upgrade.
What this enables: clean trimming, safer blade work, less table regret.
3) A craft knife (optional, but powerful) plus extra blades
Budget: $4 to $8
For crisp edges on paper, cardstock, and thin foam, a basic craft knife is a game changer. Many sets include a few blades, but make sure you’ve got at least a small pack of replacements, too. If you’ve got kids around, store it up high and use a cap that actually stays on.
- Safety note: Always cut away from your body, and change blades when they drag. Dull blades cause slips.
4) Two adhesives: one quick, one strong
Budget: $6 to $12 total
You can do a lot with just these two:
- Glue stick ($1 to $3): best for paper, photos on paper, simple collages, school-style projects. Clean, typically low-warping when used lightly, low drama.
- PVA/white glue or tacky glue ($2 to $5): great all-purpose bottle glue for paper, felt, and general crafting. It’s also okay for light wood crafts, but for anything structural, you’ll want actual wood glue and clamping time.
- Optional swap: If you do more mixed media, trade the PVA for a small tube of gel super glue ($3 to $6) for metal, plastic, and small ceramic fixes. For gaps or heavy-duty repairs (especially ceramics), epoxy usually wins.
If you’re only picking one liquid glue, I lean toward tacky glue. It grabs faster and feels forgiving for beginners.
5) Tape: one roll that behaves
Budget: $2 to $5
A basic clear tape is useful for everything from holding templates to quick repairs. If you can swing it, add masking tape or washi-style tape for temporary holds and clean removal. But one roll is enough to start.
6) Measuring and marking: ruler + pencil + eraser
Budget: $2 to $6 total
A 12-inch ruler, a regular pencil, and a basic eraser are the quiet heroes. If you can find a metal ruler in budget, even better for knife work, but plastic is fine if you’re careful.
7) A small set of clips (the cheap “third hand”)
Budget: $2 to $5
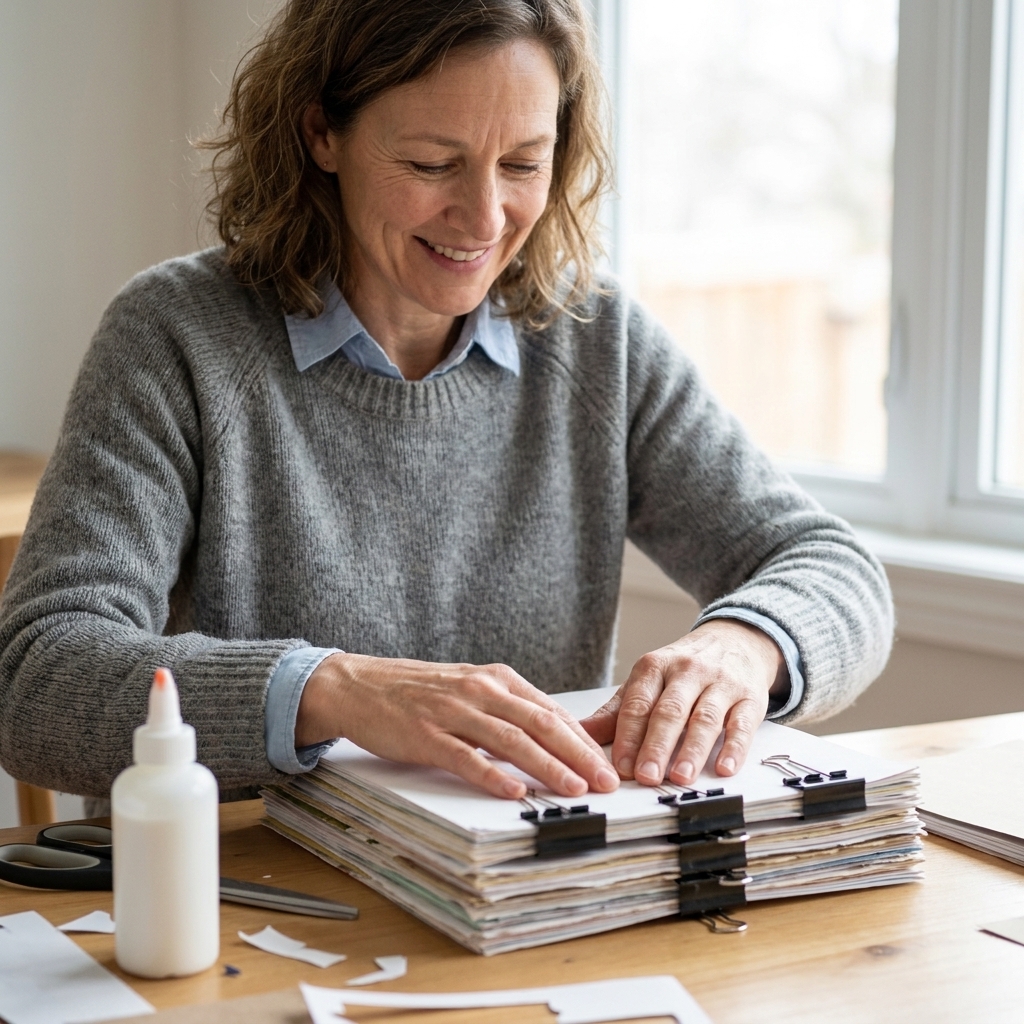
Binder clips or clothespins hold things while glue dries, keep paper stacks aligned, and tame that one piece that refuses to cooperate. They’re tiny, unglamorous, and weirdly life-changing.
Nice-to-have upgrades
Once the essentials are covered, these add a lot of convenience without turning into clutter.
Cutting mat upgrade or bigger surface
Budget: $5 to $10
If you started with cardboard, this is often the first upgrade I recommend. A mat makes trimming calmer and more accurate.
Fine-tip marker or black pen
Budget: $1 to $4
Perfect for labeling, doodling, and outlining. Choose one that says “permanent” if you want it to stay put.
Basic paintbrush (one medium round)
Budget: $2 to $5
Even if you’re not “a paint person,” one brush helps apply glue smoothly, paint small details, and do quick touch-ups.
Handheld stapler
Budget: $4 to $8
Useful for zines, gift tags, paper crafts, and organizing swatches. Not required, but handy if you like paper projects.
Mini sewing repair kit (optional swap)
Budget: $3 to $6
If you really do want “simple sewing repairs” covered, this is the cheapest way: a couple of hand needles, a small spool of neutral thread, and a few safety pins. If you can squeeze it in later, a tiny seam ripper is worth its weight in sanity.
Sample $50 shopping list
Here’s one realistic way to build a complete kit while leaving room for tax. Adjust based on what you already own.
- General-purpose scissors: $8
- Small self-healing cutting mat: $10
- Basic craft knife + extra blades: $6
- Glue stick: $2
- Tacky or white glue: $3
- Clear tape: $3
- Ruler: $2
- Pencil + eraser: $2
- Binder clips or clothespins: $3
- Fine-tip pen: $3
- Small zip pouch or pencil case to store it all: $6
Total: about $48
If you need to shave it down, skip the pouch (use a shoebox) or postpone the cutting mat upgrade. If you want sewing repairs in the mix, swap out the fine-tip pen or clips for the mini sewing kit and call it even.
Where to buy
Dollar stores and discount retailers
Great for: glue sticks, tape, rulers, pencils, binder clips, simple scissors. Watch for flimsy scissors and watery glue, but plenty of basics are totally fine.
Thrift stores and creative reuse centers
My favorite treasure hunt. Look for: metal rulers, unopened adhesives, craft punches, cutting boards you can dedicate to crafting, and storage boxes. Skip anything rusty or sticky that can’t be cleaned.
Big-box craft stores (with discipline)
These stores are wonderful and also designed to make you forget you have a budget. Go in with a list, check store-brand options, and resist the “buy 3 get 3” deals unless you truly need multiples.
Online
Online is best when you know exactly what you want and can compare reviews. It’s easy to accidentally buy a “mini” version of something, so double-check sizes.
Keep your tools nice
- Scissors: only cut paper, fabric, and light craft materials. Wipe blades occasionally.
- Glue: cap it immediately. Store upright if possible.
- Knife: change blades when cutting starts to snag. Dull is dangerous.
- Cutting surface: use the mat for blades, not hot glue or paint. If you used cardboard, replace it when it gets too grooved.
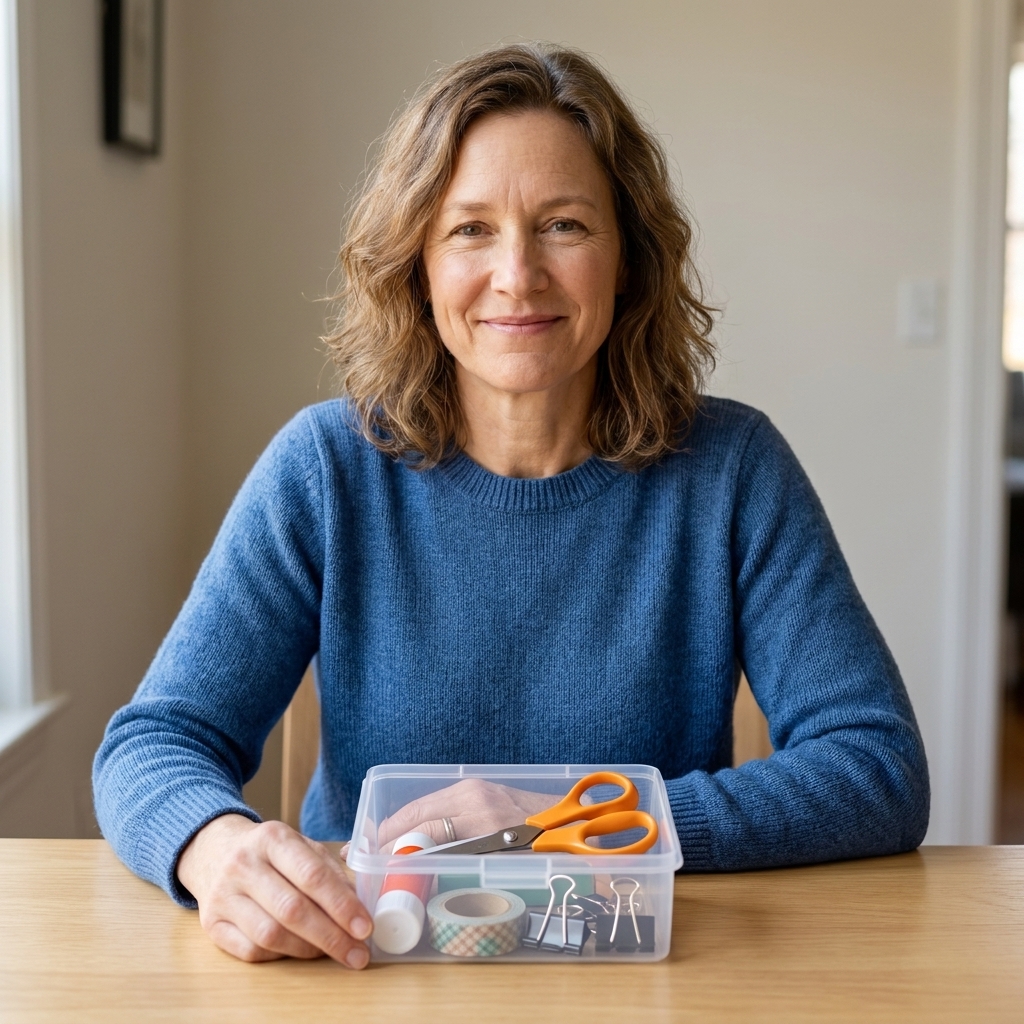
- Storage: a simple pouch or small box keeps your kit from wandering into the junk drawer wilderness.
Toolkit rules
- Buy for the next three projects, not the next three years.
- One of each beats a variety pack. You’ll learn what you actually like.
- Replace the weak link first. Usually it’s scissors or glue.
- Your hobby doesn’t need to earn its keep. A $3 glue stick that brings you peace is already doing its job.
FAQ
Is a cutting mat really necessary?
Not on day one, but it’s one of the most helpful upgrades if you plan to use a craft knife. If you’re only using scissors and glue, you can start with a protected surface like thick cardboard and upgrade later.
What’s the best all-purpose glue?
For general crafting, tacky glue is a great one-bottle choice. Pair it with a glue stick for clean paper work and you’re covered for most beginner projects.
Should I buy a hot glue gun instead?
A mini hot glue gun can be useful, but it’s not my first pick for an under-$50 starter kit because it adds ongoing costs (glue sticks) and can be messy for paper crafts. If you love DIY decor, felt, and quick assembly, it can replace the “strong glue” slot in your kit.
How do I avoid buying duplicates?
Keep your toolkit in one container and put it back after each session. Future-you will be grateful, and your budget will stay intact.