Small craft spaces have a certain mischievous energy. You tidy one corner, and somehow your bead tray multiplies, your yarn rolls under a chair, and your paper stack turns into a paper avalanche. The goal isn't a showroom craft room. The goal is a space where you can start in five minutes, find what you need, and put it away without a full emotional journey.
Here are 20 genuinely doable organization ideas that work hard in tight rooms, closets, corners, and “this is technically my dining table” situations.
Start with the small-space mindset
Before we get into the fun storage hacks, here are two tiny rules that make every idea below work better:
- Store by workflow, not by aesthetics. Put the things you use together near where you use them. Pretty storage is a bonus.
- Vertical space is your best friend. Walls, doors, and the sides of furniture are “extra square footage” you already own.
1) Use a rolling cart as a “project valet”
A slim rolling cart can hold your current project, tools, and a few core supplies. When you're done, roll it into a closet or a corner. This keeps your main storage from getting ransacked every time inspiration strikes.
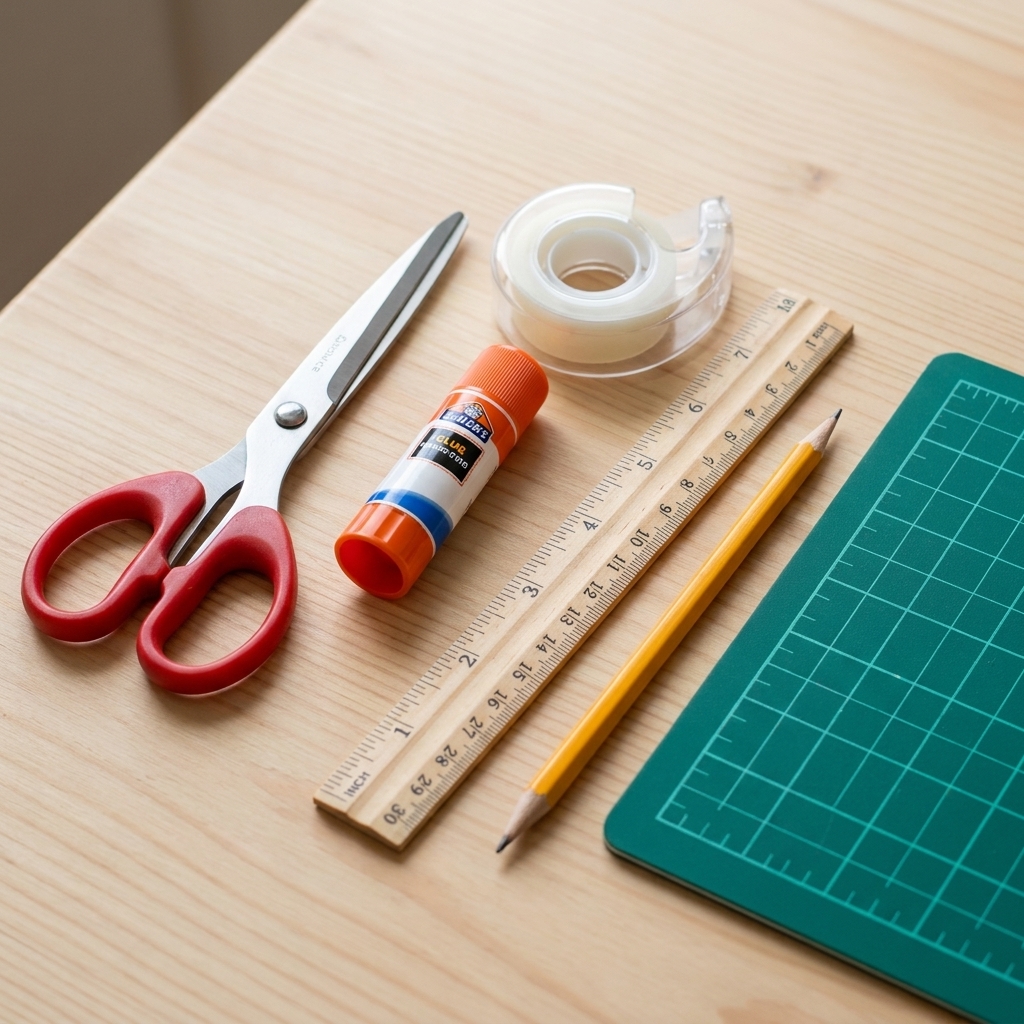
- Top tier: active tools (scissors, glue, markers)
- Middle: project materials (yarn, fabric, pattern)
- Bottom: “messy” items (paint, stamps, cutting mat)
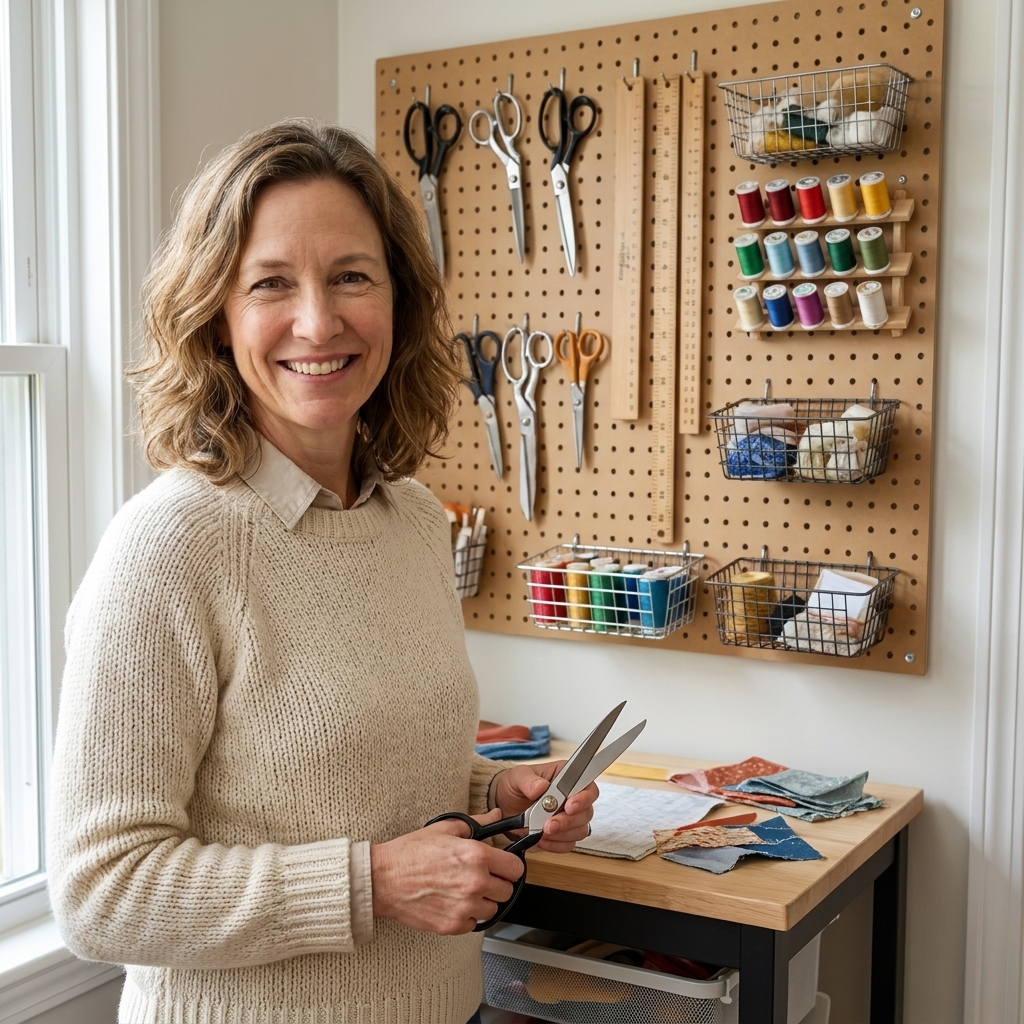
2) Hang pegboard, then stop buying random bins
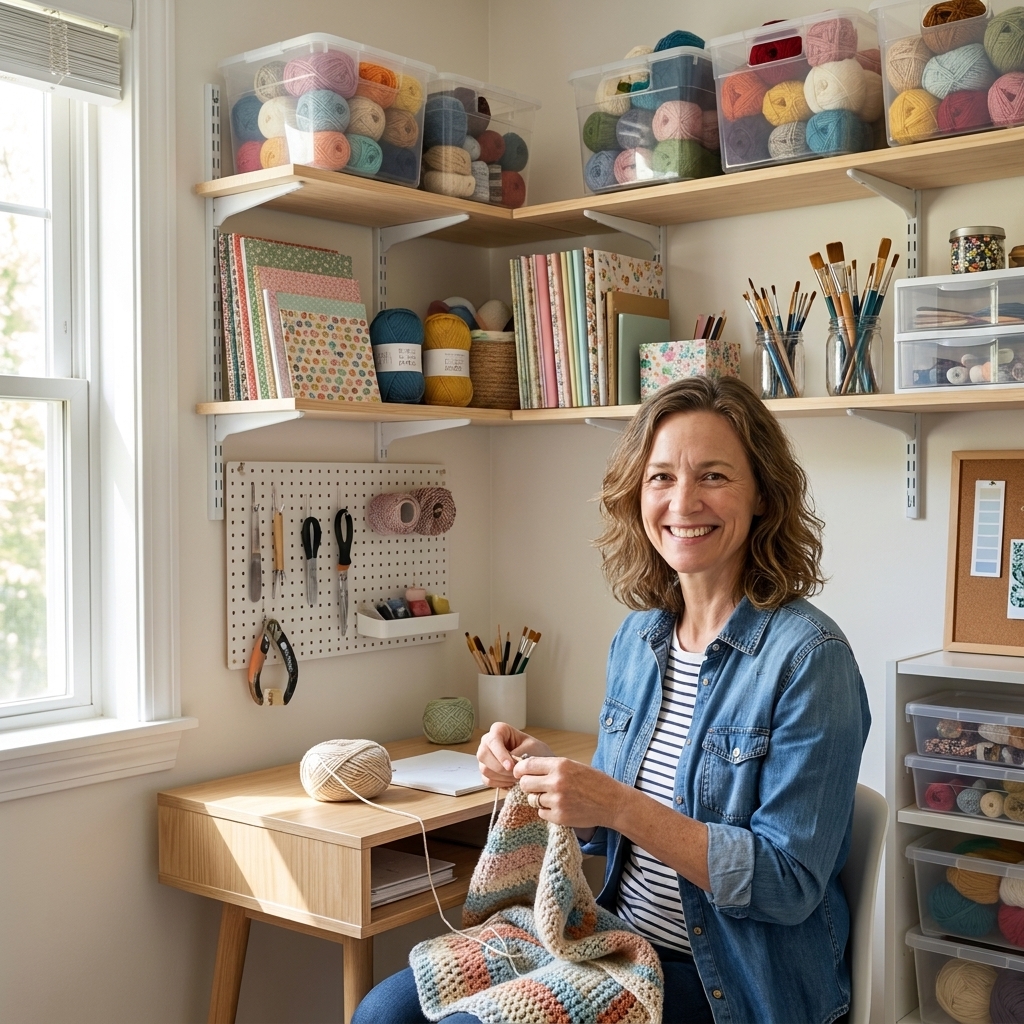
Pegboard is a small-space miracle because it adapts as your hobbies change. Start simple with hooks, small baskets, and a little shelf for the odd-shaped stuff.
Best for: rotary cutters, rulers, washi tape, thread snips, pliers, heat tool, glue gun.
3) Store paper vertically like files
If your cardstock and scrapbook paper live in a leaning stack, you already know the pain. Use a vertical file box, magazine holders, or a desktop file sorter. You can flip through paper like a library shelf instead of lifting an entire pile.
- One slot: current color family
- One slot: scraps worth saving
- One slot: “special” paper you forget you own
4) Add a shelf above the door
That space over a door is basically free storage. A simple shelf can hold labeled bins for seasonal supplies, rarely used tools, or bulk refills.
Tip: Keep it lightweight. Think foam sheets, extra sketchbooks, or fabric bundles, not your entire stamp collection in glass jars.
5) Turn a closet into a craft cabinet
If you have a closet, you have a craft room hiding in plain sight. Add a couple of shelves, a door organizer, and stackable bins. You can shut the door when company arrives, which is a form of self care.
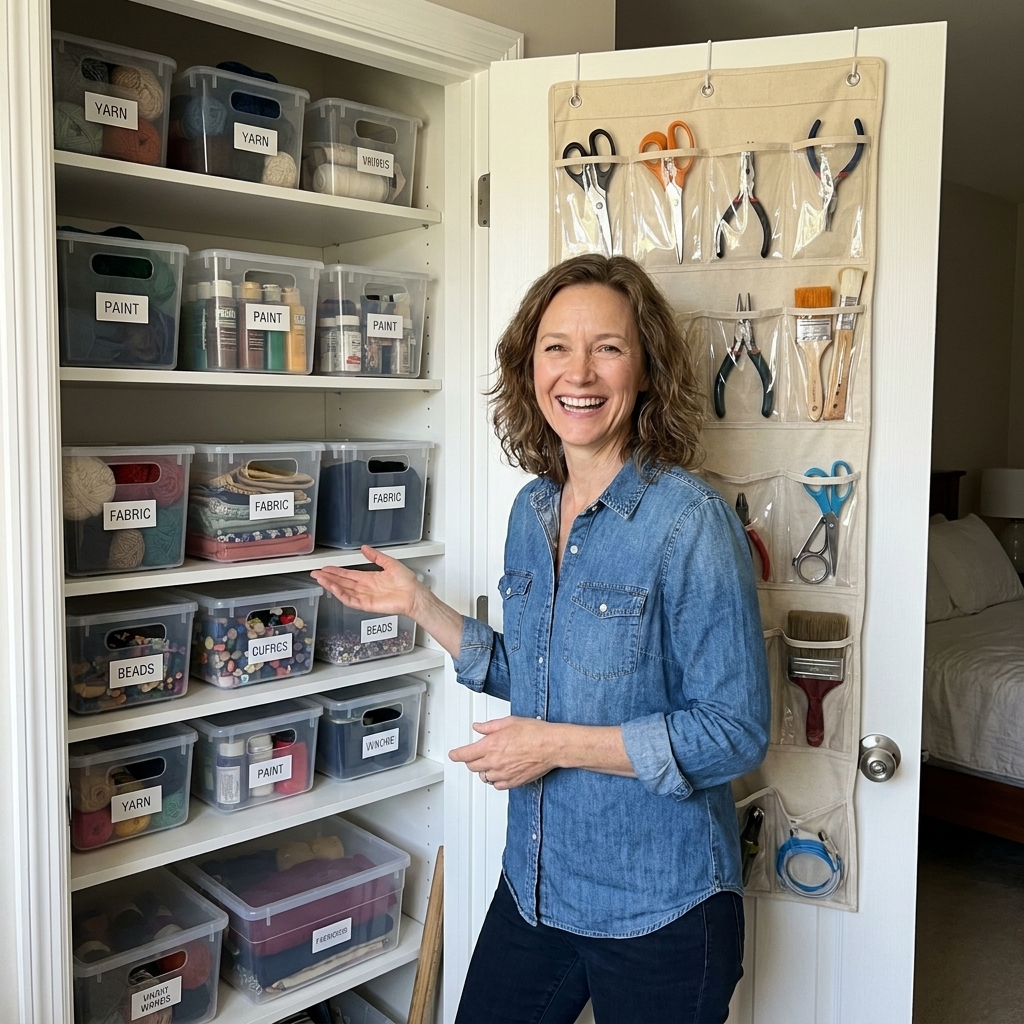
6) Use clear, stackable bins for “category zones”
In a small space, categories are sanity. Group supplies into broad zones, then subdivide only if you actually need to.
- Adhesives
- Cutting tools
- Painting and drawing
- Paper crafting
- Yarn and fiber
- Beads and jewelry
Labeling trick: Put labels on two sides so you can read them whether bins are stacked or shelved.
7) Corral yarn with a cube shelf and fabric bins
Yarn wants to be a tumbleweed. A cube shelf (even a small one) plus fabric bins keeps skeins contained while still easy to grab.
Extra helpful: One bin for “current yarn,” one for “future me yarn,” and one for “odds and ends” so scraps don't invade everything.
8) Use a shoe organizer for supplies, not shoes
Over-the-door clear pocket organizers are perfect for small items. They keep things visible, which means you actually use what you already own.
- Bead tubes and findings
- Mini paint bottles
- Embroidery floss
- Stamps and ink pads
- Small sketching tools
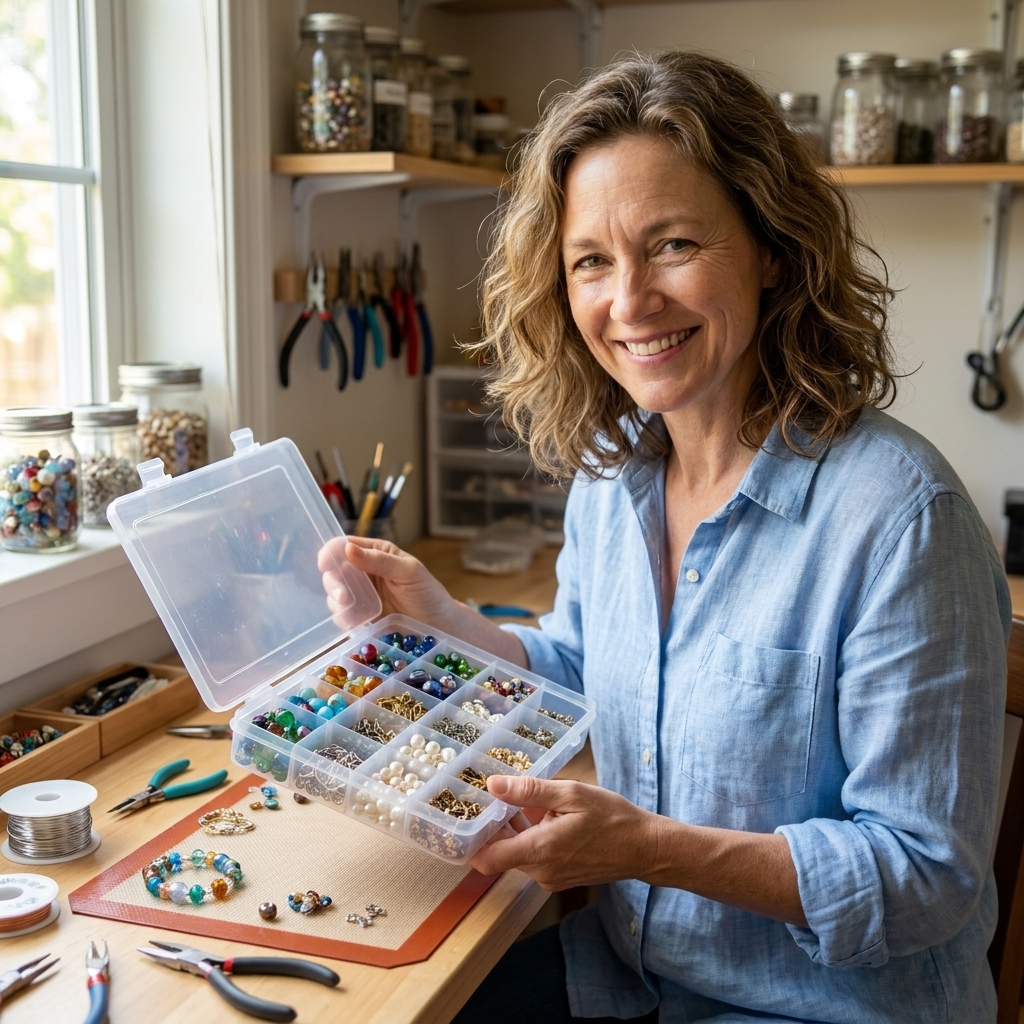
9) Make a “tiny parts” station with tackle boxes
Beads, buttons, grommets, jump rings, and tiny screws all behave the same way: they disappear. Tackle boxes or small compartment cases let you sort by size or color and transport everything without spills.
10) Mount jars under a shelf for instant grab storage
Screw jar lids to the underside of a shelf, then twist the jar on and off. It's satisfying, space-saving, and weirdly fun.
Best for: buttons, brads, googly eyes, paper clips, binder clips, and small die cuts.
11) Give bulky tools a “parking spot”
Bulky tools cause clutter because they don't have a home. Create one. A deep drawer, a lidded bin, or a shelf zone labeled “BIG TOOLS” works wonders.
- Heat press or laminator
- Sewing machine
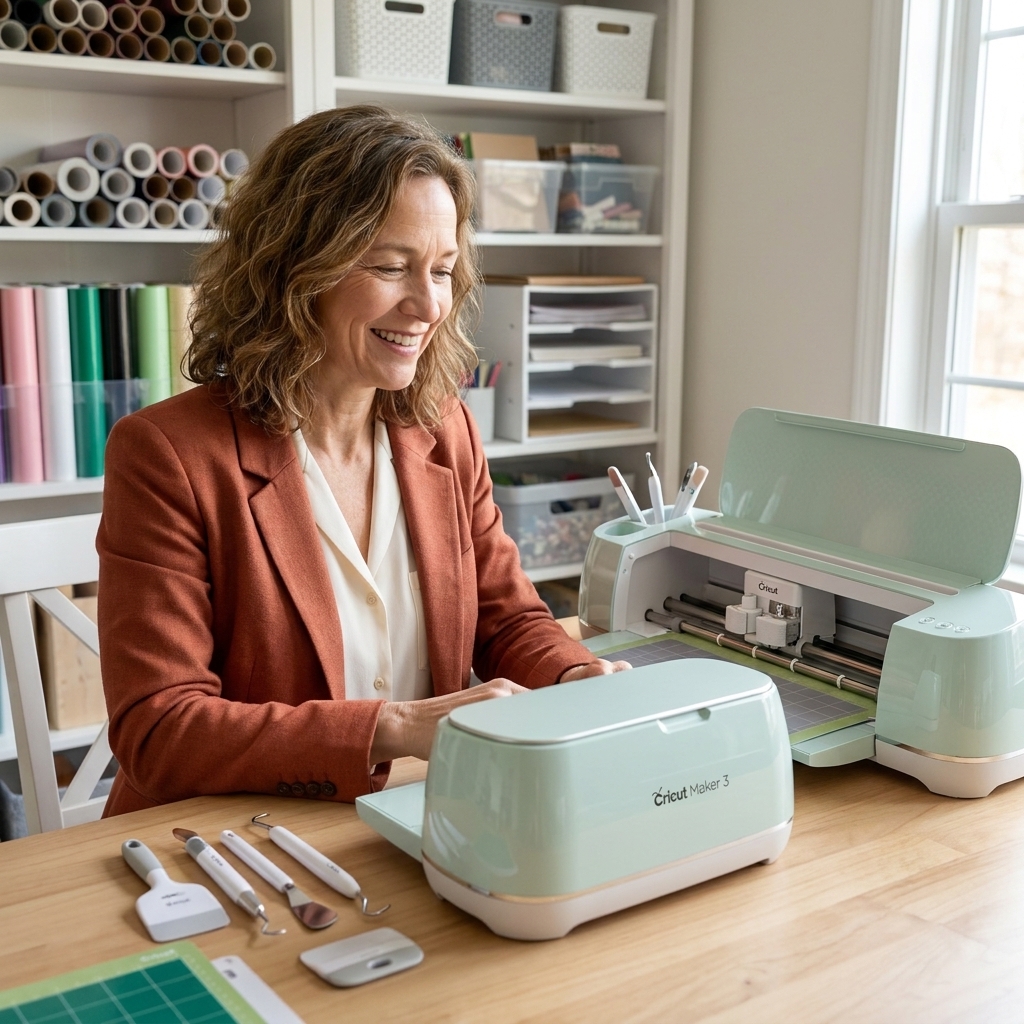
- Cutting machine
- Hot glue gun and glue sticks
- Hair dryer or heat tool
12) Use a fold-down wall desk or drop-leaf table
If your craft space shares duties with life, a fold-down surface is gold. You get a real work area without a permanent footprint.
Pair it with: a wall-mounted supply rail or pegboard above so your essentials live where you work.
13) Store cutting mats and boards vertically
Large flat tools take up a shocking amount of space. Slide them into a narrow vertical slot: between a shelf and the wall, in a magazine holder, or in a tall bin beside your desk.
14) Add magnetic strips for metal tools
A magnetic strip (the kind used for kitchen knives or tools) can hold metal scissors, tweezers, and small pliers. This keeps sharp items off your work surface and out of mystery drawers.
15) Use binder rings to tame spools, ribbons, and trims
Thread spools, ribbon rolls, and bias tape can be stored on binder rings, then hung on hooks or slipped onto a rod in a bin. It's simple, cheap, and keeps everything from unraveling into a nest.
16) Create a “paper scrap library” (and cap it)
Scraps are useful until they become confetti. Give scraps a container and a rule. Mine is: if it doesn't fit, I use it this week or let it go.
- One shallow bin for scraps
- One envelope or folder for teeny pieces (only if you truly use them)
17) Use drawer dividers, even in one junky drawer
You don't need perfect drawers. You need dividers. A single divided drawer can hold your most-used items so you can start without digging.
Quick DIY: Cut cereal boxes into strips and tape them into a grid. It's not glamorous, but it's effective.
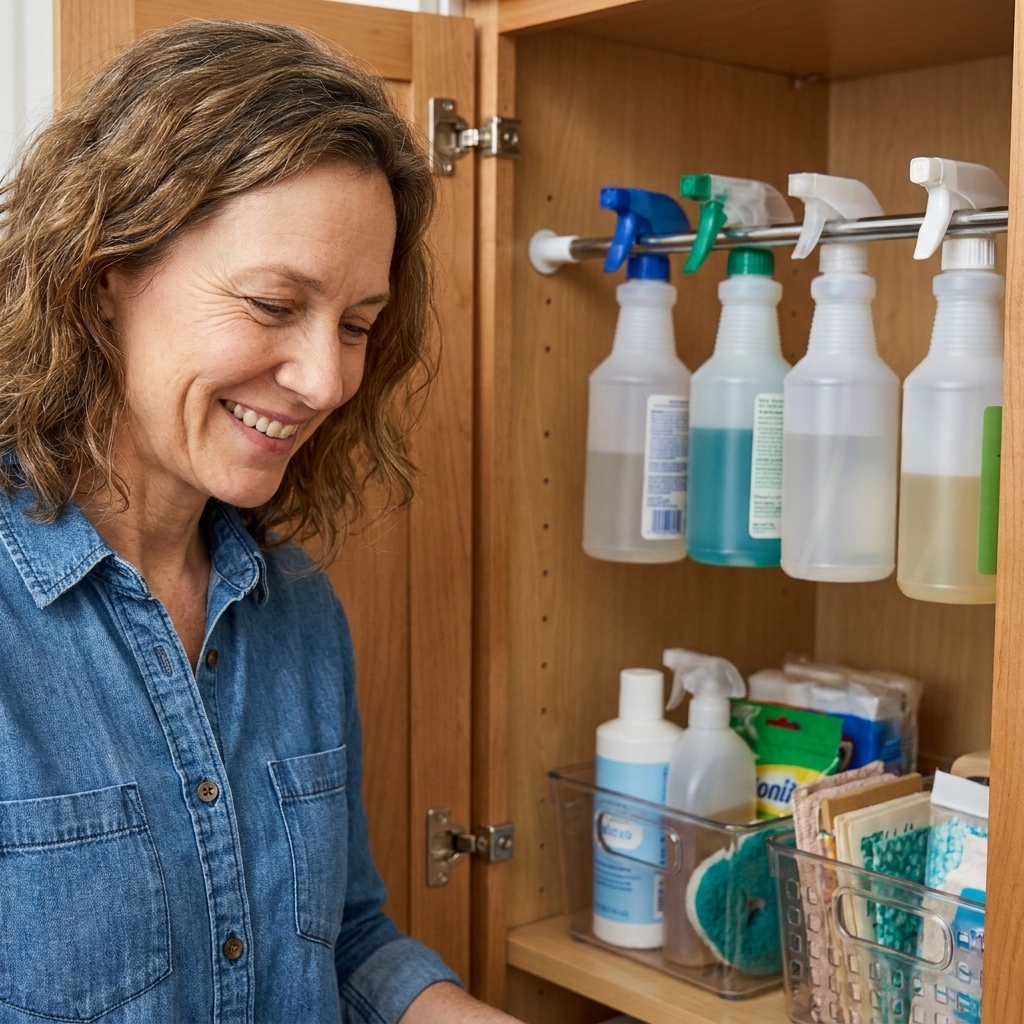
18) Hang a tension rod for spray bottles and rolls
Inside a cabinet or between two shelves, a tension rod can hold spray bottles by the trigger. It can also corral rolls of vinyl, wrapping paper, or kraft paper so they stop rolling away like they have plans.
19) Keep a “clean-up kit” within arm’s reach
If cleanup takes forever, clutter sticks around. Make a little kit and keep it where you craft.
- Microfiber cloth
- Small handheld broom or mini vacuum
- Trash bag or tabletop trash bin
- Baby wipes or gentle surface cleaner
- Lint roller (shockingly useful for glitter and thread bits)
20) Use the “one in, one out” rule for containers
This is the least exciting idea and the most powerful. In a small space, containers multiply. When you bring in a new bin, basket, or organizer, retire one that isn't working. Your storage should earn its keep.
A simple setup plan
- Pick your top 3 crafts. These get the prime real estate.
- Clear one surface. Your future self needs at least one “start here” spot.
- Assign homes. Big tools, small parts, paper, yarn, and adhesives each get a dedicated zone.
- Go vertical. Add one wall solution: pegboard, shelves, or a door organizer.
- Label lightly. Categories first, hyper-specific labels later if needed.
FAQ
How do I organize craft supplies in a tiny apartment?
Focus on portable and vertical storage: a rolling cart for active projects, an over-the-door organizer for small supplies, and stackable clear bins for categories. If you can tuck it into a closet when you're done, you'll use the space more often.
What is the best way to store beads so they do not spill?
Compartment cases with secure latches are your best bet. For extra spill insurance, keep each bead type in a small bag inside its compartment, especially for seed beads.
How do I store paper without bending it?
Store paper vertically in file boxes or use a flat under-bed style box if you have the space. Keep heavyweight cardstock separate from thin patterned paper so the stack doesn't warp.
How do I keep yarn from getting messy?
Contain it in bins or cubes by project or weight, and keep active skeins separate from the rest. If you wind yarn into cakes, store them in lidded bins so they stay clean and don't unravel.
If you try even two of these ideas, your craft space will feel bigger. Not because the room grew, but because your supplies stop arguing with each other. And that, in my book, is the kind of magic we can all use.