Watercolor has a funny way of making us feel like we are either a whimsical woodland artist or a person who just spilled juice on paper. If you are new, please know this: both experiences are normal. The goal is not to control every droplet. It is to learn a few dependable techniques so you can invite the paint to behave.
One quick note: you will see “Clara tip” throughout. That is my little sticky note to you from the side of the page, the small thing I wish someone had told me sooner.
Below are 10 foundational watercolor techniques that will level up your paintings fast. I will keep them beginner-friendly, practical, and forgiving. Because honestly, watercolor is already dramatic enough.
Before you start: a tiny setup that helps
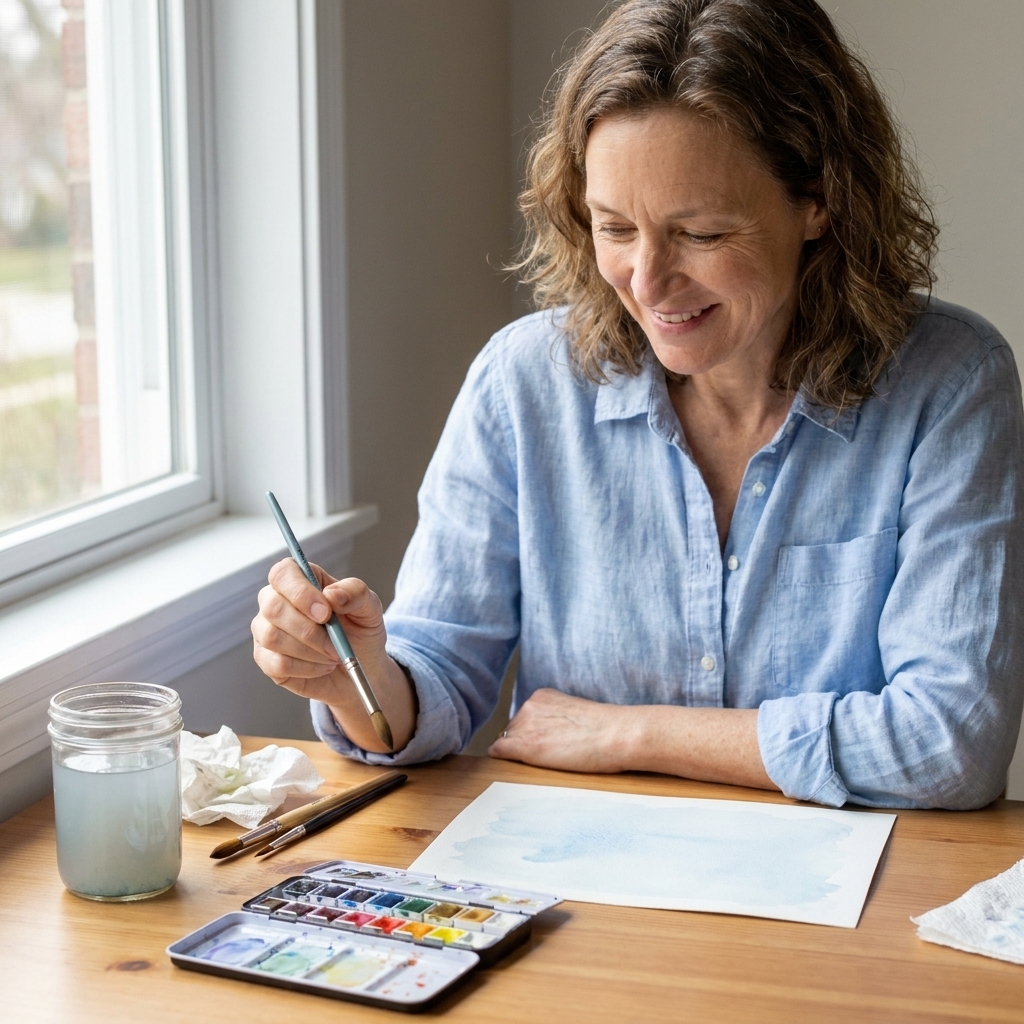
You can practice every technique in this article with just a few basics:
- Watercolor paper (cold press is the easiest all-around choice)
- One medium round brush (size 6 to 10 is great)
- A flat brush (helpful for washes, optional)
- Two water jars (one for rinsing, one for clean water)
- Paper towel or a cotton rag (your secret tool for control)
If your paper buckles a bit, you are not doing it wrong. Thick paper buckles less, and you can also tape your sheet to a board, use a watercolor block, or stretch paper later if you fall in love with big juicy washes.
Bonus mini-skill: Watch the stages of wetness. Shiny wet equals paint will bloom and travel. Damp equals softer edges with a bit more control. Dry equals crisp shapes and glazing safety. Timing is basically watercolor’s secret remote control.
1) Wet-on-wet
What it is: Painting into wet paper so color blooms and blends softly.
Why beginners love it: It creates instant skies, backgrounds, and soft transitions with very little effort.
How to do it
- Wet a section of paper with clean water until it looks evenly glossy, damp-to-shiny, not puddled.
- Load your brush with juicy color.
- Touch the brush to the wet area and let the pigment spread.
- Add a second color nearby and watch them mingle.
Clara tip: If the paint explodes into cauliflower-looking blooms when you did not want it to, your water levels are uneven. Aim for “evenly shiny” paper, not puddles.
2) Wet-on-dry
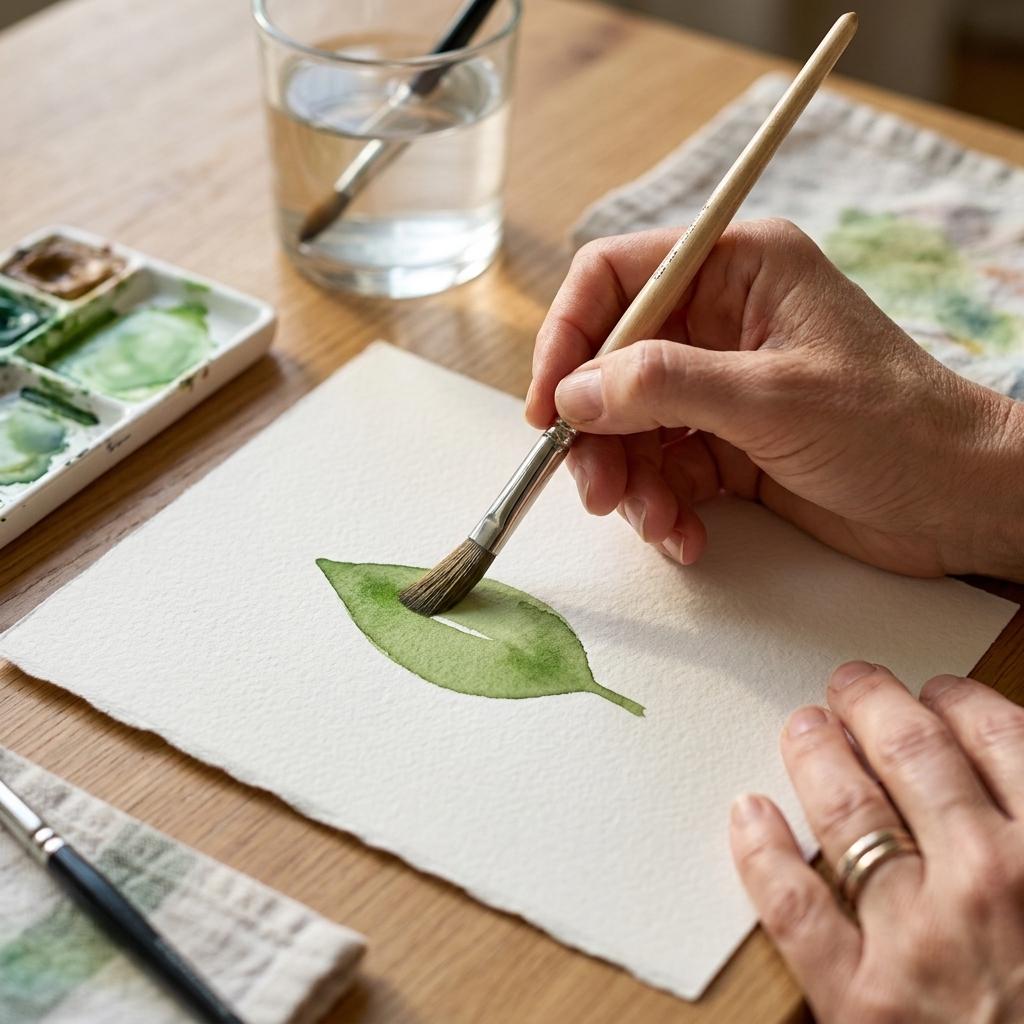
What it is: Painting on dry paper for cleaner edges and more control.
When to use it: Shapes like leaves, simple objects, lettering, and any time you want a crisp outline.
How to do it
- Make sure the paper is fully dry where you will paint.
- Mix your color to the strength you want.
- Paint your shape with steady strokes.
Clara tip: If your brush is skipping, it may be too dry. Add a touch more water to your mix so it glides.
3) Flat wash
What it is: An even layer of color with minimal streaks, great for backgrounds.
Why it matters: A smooth wash makes everything painted on top look more intentional, even if your subject is delightfully wobbly.
How to do it
- Mix more paint than you think you need. Running out mid-wash is the streak factory.
- Tilt your paper slightly (a book under one edge works).
- With a flat brush or big round, paint a horizontal band across the top.
- Reload with the same mix and paint the next band, slightly overlapping the bead of water. Rinse only if you need to.
- Keep going downward without stopping.
Clara tip: Watch the “bead” of wet paint at the bottom edge and keep it moving down. That bead is doing the smoothing for you.
4) Graded wash
What it is: A wash that fades from dark to light (or one color to another).
Perfect for: Skies, water, gentle shadows, and backgrounds that feel like they have depth.
How to do it
- Start with a strong, darker mix at the top.
- As you move down, add a little clean water to your brush between strokes.
- Continue diluting so the color gradually lightens.
Clara tip: If you get a harsh stripe, your previous stroke started drying. Work a bit faster, keep a consistent bead, or lightly pre-wet the area next time.
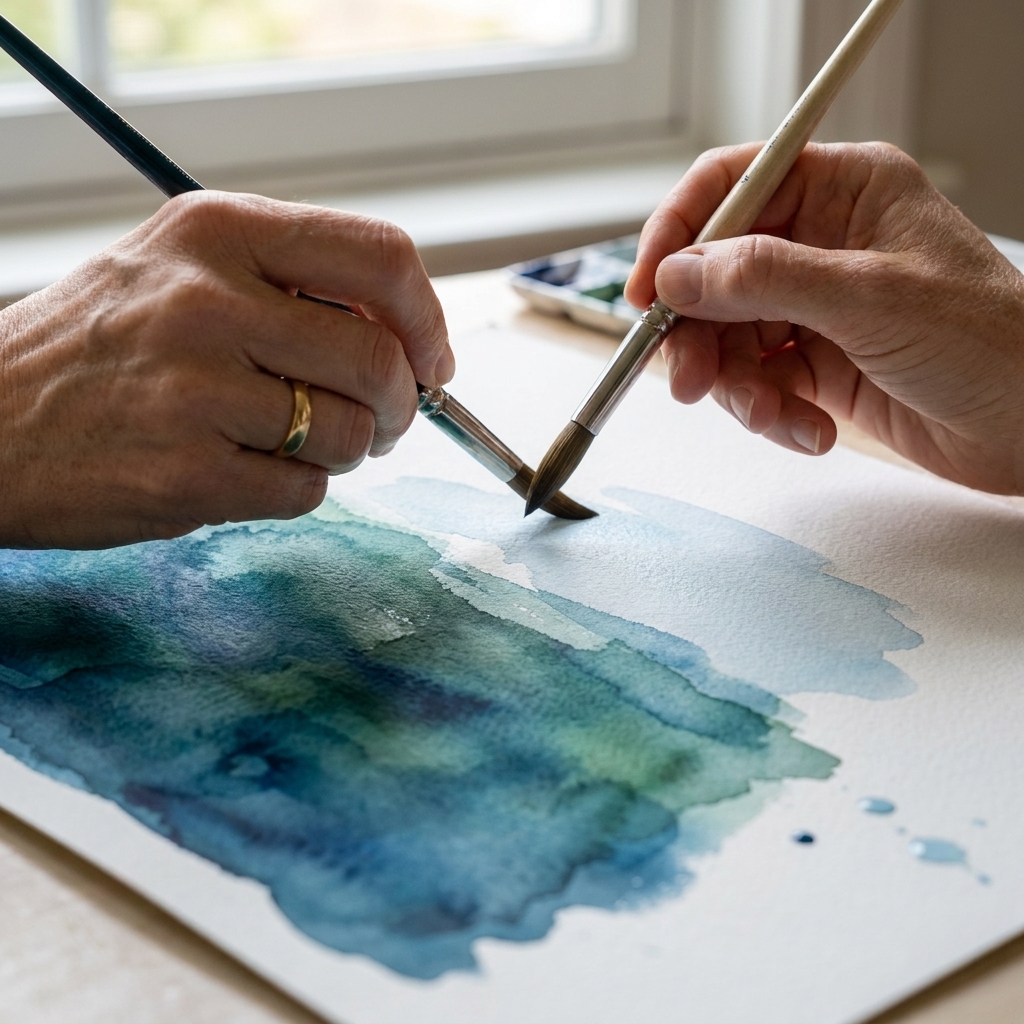
5) Glazing
What it is: Layering transparent washes over dry paint to deepen color and build richness.
Why it is a game changer: Beginners often try to get the “right” color in one pass. Glazing lets you sneak up on it, calmly, like a cat approaching a sunbeam.
How to do it
- Paint a light layer and let it dry completely.
- Add a second transparent layer over part or all of it.
- Repeat as needed, always letting each layer dry.
Clara tip: If the layer underneath lifts or gets muddy, you are either scrubbing too much or painting before it is truly dry. When in doubt, wait one more minute.
6) Dry brush
What it is: Using a relatively dry brush with thicker pigment so the texture of the paper shows through.
Great for: Fur, tree bark, weathered wood, rocks, grass, and any time you want a gritty texture.
How to do it
- Dip your brush in paint, then blot on a towel.
- Drag the brush lightly across dry paper.
- Let the broken marks happen. That is the point.
Clara tip: Cold press paper makes dry brush sparkle. Hot press paper is smoother and will reduce the texture effect.
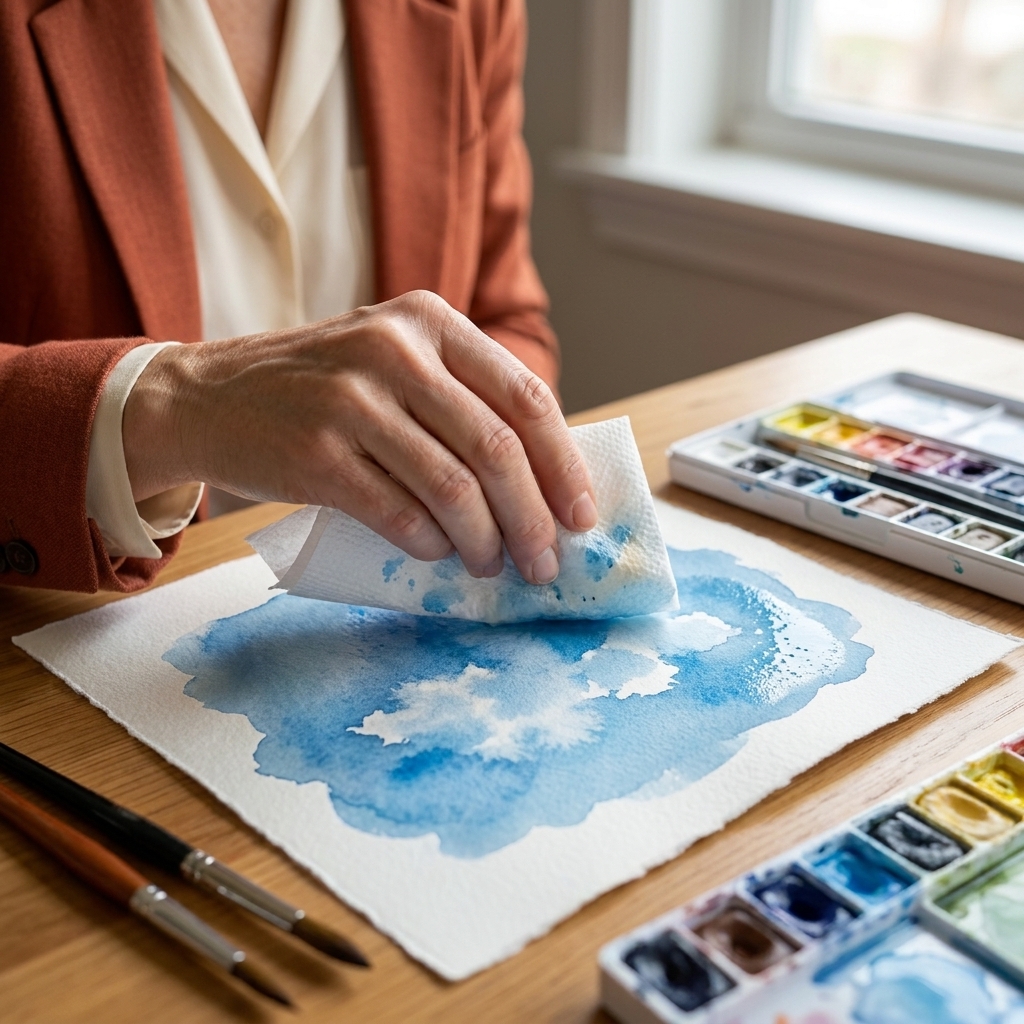
7) Lifting
What it is: Removing pigment from paper to create highlights, soften edges, or fix small oops moments.
Two ways to lift
- While still wet: Touch a clean, damp brush or paper towel to the area to pick up paint.
- After it dries: Re-wet gently, then blot and lift, using minimal scrubbing.
Clara tip: Some pigments stain more than others (phthalo blues often do). If lifting feels hard, it may be the pigment, not you.
8) Edge control
What it is: Choosing whether an edge looks crisp (hard) or gently blurred (soft).
Why it matters: Edges guide the viewer. Hard edges pull attention. Soft edges push things back and make areas feel calm.
Hard edge
- Paint wet-on-dry and let the shape dry untouched.
Soft edge
- Paint your shape, then rinse your brush.
- Use a clean damp brush to feather the edge outward.
Clara tip: If your soft edge makes a backrun (a bloom), your brush had more water than the area you touched. Blot the brush first, then feather.
9) Color mixing
What it is: Mixing colors intentionally, including making beautiful neutrals instead of accidental mud.
Beginner-friendly mixing wins
- Warm + cool of the same family: A warm and cool version of a color can expand your range (for example, two blues can give you variety), but always test your pigment pair since some combinations can still dull.
- Complementary colors for neutrals: Red plus green, blue plus orange, yellow plus purple. Tiny amounts go a long way.
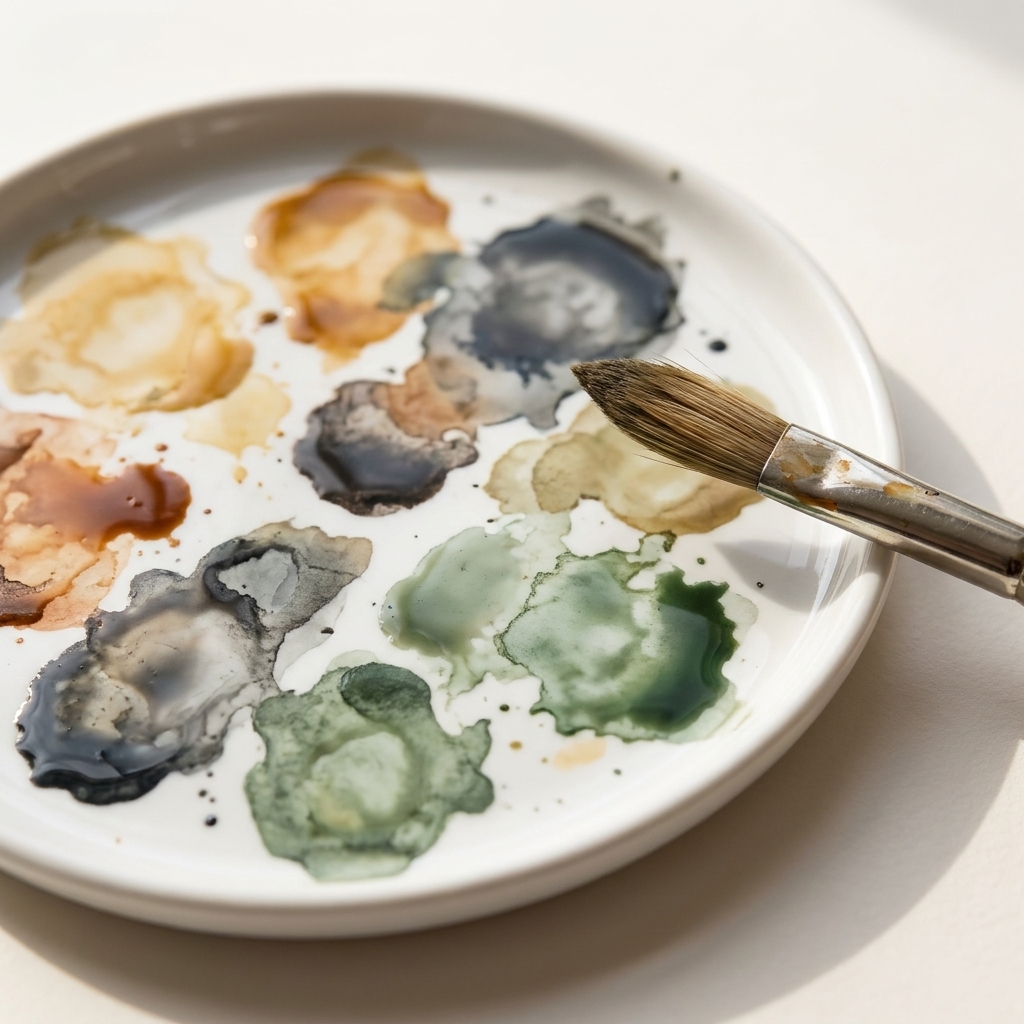
- Use a “mixing puddle”: Mix on the palette first so you can test and adjust.
Clara tip: Mud usually comes from overmixing multiple pigments. Try limiting yourself to two pigments per mix until you feel confident.
10) Negative painting
What it is: Painting the space around an object to reveal the object, instead of painting the object itself.
Why it is magical: It creates crisp shapes and layered depth, especially for leaves, petals, branches, and snowflakes.
How to do it
- Paint a light wash background and let it dry.
- Decide what shape you want to “save” (like a leaf).
- Paint a darker value around that shape.
- Repeat with darker layers to build dimension.
Clara tip: Negative painting feels backward at first. Practice with simple shapes like circles or leaves before attempting a whole bouquet.
Quick practice plan (20 minutes)
If you want to build these skills without getting overwhelmed, try this mini routine on a single page:
- 5 minutes: Make a flat wash and a graded wash side by side.
- 5 minutes: Do a wet-on-wet square and drop in two colors.
- 5 minutes: Paint three wet-on-dry leaves, then glaze one of them after it dries.
- 5 minutes: Add dry brush texture and lift a few highlights.
Watercolor progress is sneaky. It rarely looks like a big leap on day one, then one day you flip back a few pages and go, “Wait, who painted that?” Spoiler: it was you.
Tiny reminder about values: If you only learn one “serious” thing, let it be this. Light and dark (values) create depth more than perfect color does. Graded washes, glazing, and negative painting work best when you push your darks a little darker than feels polite.
Troubleshooting
My paint looks chalky or dull
Try using a bit more water for transparent passages, and let layers dry before glazing. Also check if you are overworking the same area.
My paper buckles a lot
Heavier paper helps (140 lb or higher). You can also tape your paper down to a board before painting, use a watercolor block, or stretch paper if buckling drives you up the wall.
Everything turns muddy
Limit mixes to two pigments, rinse your brush often, and let areas dry instead of stirring wet colors together repeatedly.
I cannot get clean whites
Plan highlights early and paint around them, or lift while the paint is still damp. Some artists use masking fluid, but I suggest learning lifting first so you build confidence with your brush.