There is a tiny, stubborn myth that keeps a lot of adults away from drawing: that you are either “born with it” or you are not. As a former librarian who watched grown-ups learn everything from crochet to constellations, I can confirm that for most people, consistent practice matters more than “talent.” Repetition is.
Drawing and sketching are just a set of small skills stacked on top of each other: seeing shapes, making marks, simplifying what you see, then trying again. You do not need expensive tools, a special “artist brain,” or the ability to draw a perfect eye on day one. You need a pencil, a little patience, and permission to make some truly questionable sketches while you warm up.
If you have been waiting for a sign to start, this is it. Let us get you drawing in a way that feels calm, doable, and actually fun.
Sketching vs drawing
People often use “drawing” and “sketching” interchangeably, but it can help to separate them in your mind.
- Sketching is quick, loose, and focused on capturing the idea. Think: warm-ups, studies, and notes to yourself.
- Drawing is usually slower and more finished, with cleaner lines, shading, and details.
Here is the encouraging part: you can spend months happily sketching without producing a single “finished” drawing and still be improving every time you sit down. Sketching is not the warm-up to the real thing. It is the real thing.
Your beginner kit
I love a good art supply aisle as much as anyone, but drawing is one hobby where you can start strong with very little.
The essentials
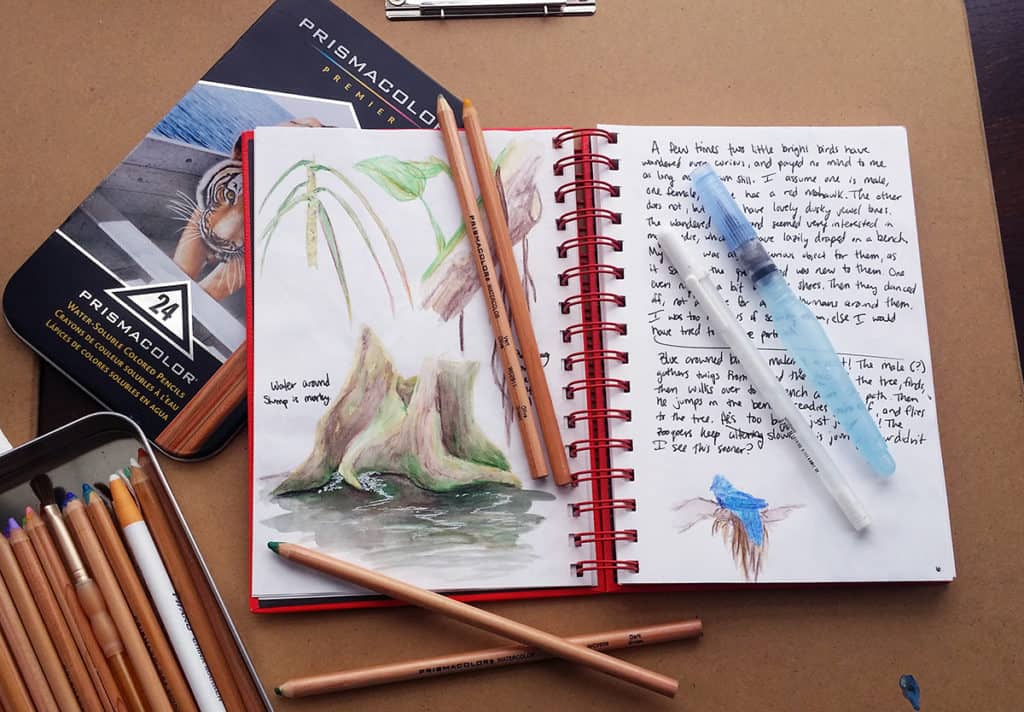
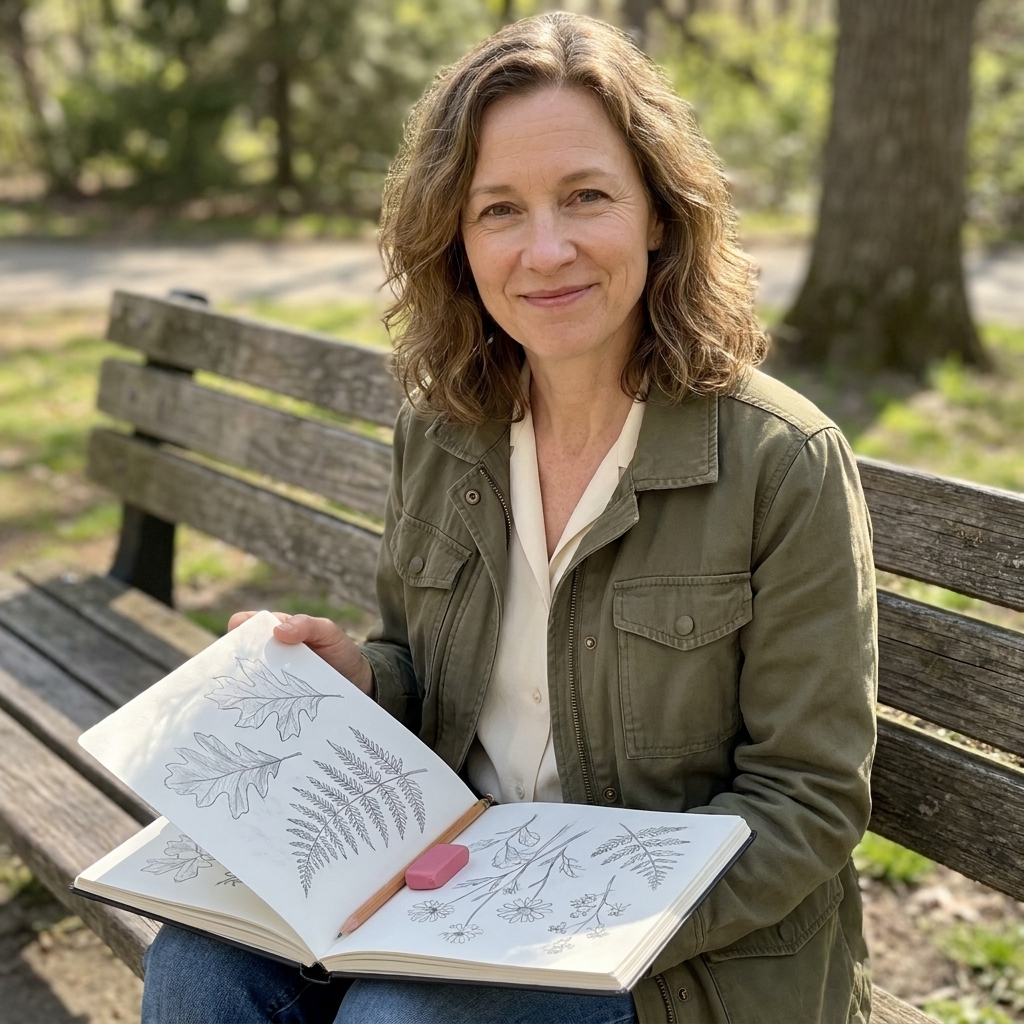
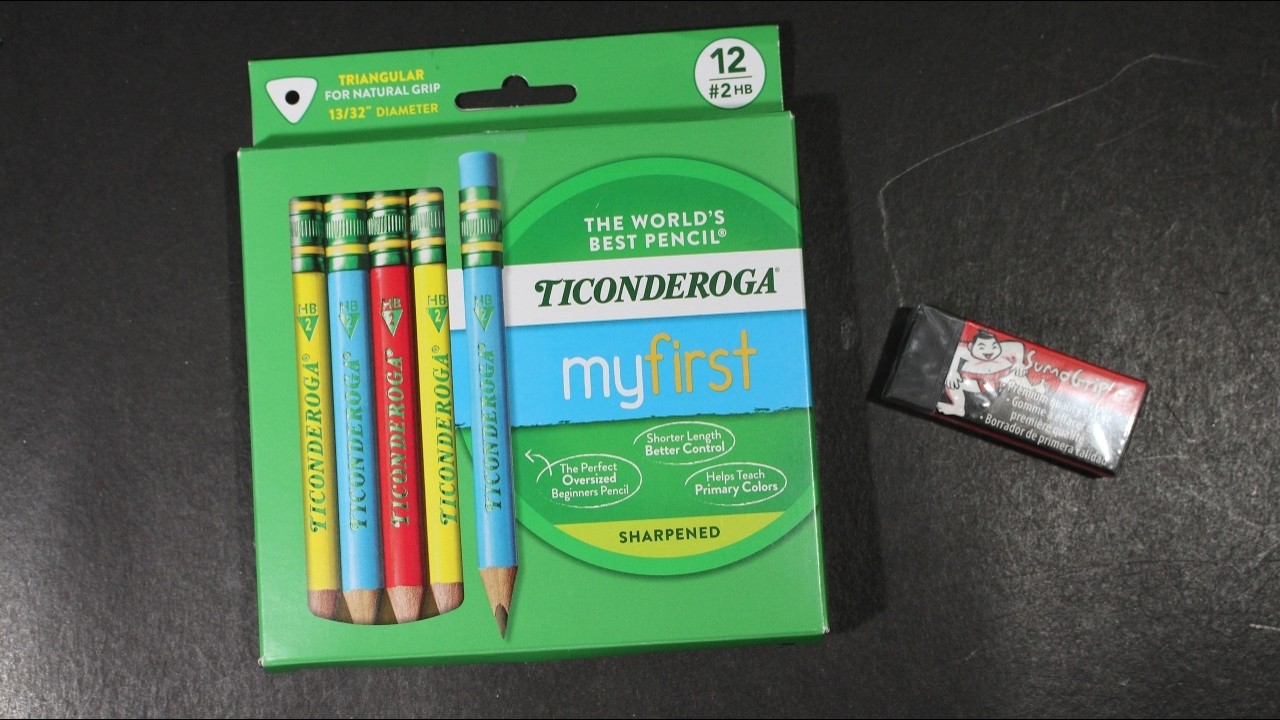
- Sketchbook or paper: Any paper works. If you want a sketchbook, look for something with paper that feels a little thicker than printer paper, but do not overthink it.
- Pencils: A regular HB pencil is fine. If you want two options, add a softer pencil like 2B or 4B for darker marks.
- Eraser: A simple white vinyl eraser is great. A kneaded eraser is optional but wonderful for lifting graphite gently.
- Sharpener: Sharper pencil, easier lines.
Nice-to-have add-ons
- Fineliner pen: Great for confident, clean line practice once you are ready. Not required.
- Blending stump or tissue: Helps with soft shading. Your finger works, too, but it can get smudgy fast.
- Clipboard: If you like drawing at the kitchen table or on the couch.
My thrift-store wisdom: If buying supplies feels like a big commitment, start with what you already own. The habit matters more than the gear.
How to hold your pencil
You will see artists holding pencils in all kinds of ways. For beginners, it helps to have two comfortable “default” grips:
- Writing grip: Good for small details and controlled lines.
- Overhand grip (looser hold): Hold the pencil farther back and let your arm move more. This is great for light sketching and big shapes.
Try switching grips within the same drawing. Sketch the big shapes loosely, then move into the writing grip for smaller refinements. It is like cooking: rough chop first, then fine dice.
The core skills
Beginner drawing gets easier when you know what you are actually practicing. Most sketching progress comes from a handful of fundamentals.
1) Seeing shapes
When you draw a mug, your brain wants to draw “mug.” That is how you end up with the classic beginner symbol drawing. Instead, train yourself to see:
- the oval of the rim
- the cylinder body
- the negative space inside the handle
- the angle of the base ellipse
Draw shapes first. Label later.
2) Line confidence
Confident lines are often made quickly, not carefully. If your lines look shaky, try this:
- Ghost the line first: hover your pencil and rehearse the motion.
- Then commit in one smooth stroke.
You can always correct a confident wrong line. A hesitant line tends to multiply like rabbits.
3) Value (light and dark)
Value is the secret sauce that makes simple drawings look “real.” If you learn nothing else this month, learn to notice where things are lighter and darker.
A quick mental checklist:
- Highlight: the brightest area
- Midtones: the middle shading that makes up most of the object
- Core shadow: one of the darkest areas on the object
- Cast shadow: the shadow the object throws onto a surface
- Reflected light: a subtle lighter area within the shadow (optional but fun)
4) Edges
Not every edge should be equally sharp. Soft edges make things feel round and atmospheric. Hard edges pull attention. Even in a simple sketch, you can choose where you want the focus to be by sharpening one edge and softening another.
Warm-ups that help
Warm-ups can make the difference between “I cannot draw” and “oh, I can draw today.” Here are a few that pay off quickly.
Line and shape warm-up
- Fill half a page with straight lines in different directions.
- Fill the other half with circles, ovals, and rectangles.
Do not aim for perfect. Aim for relaxed, repeatable.
Pressure scale
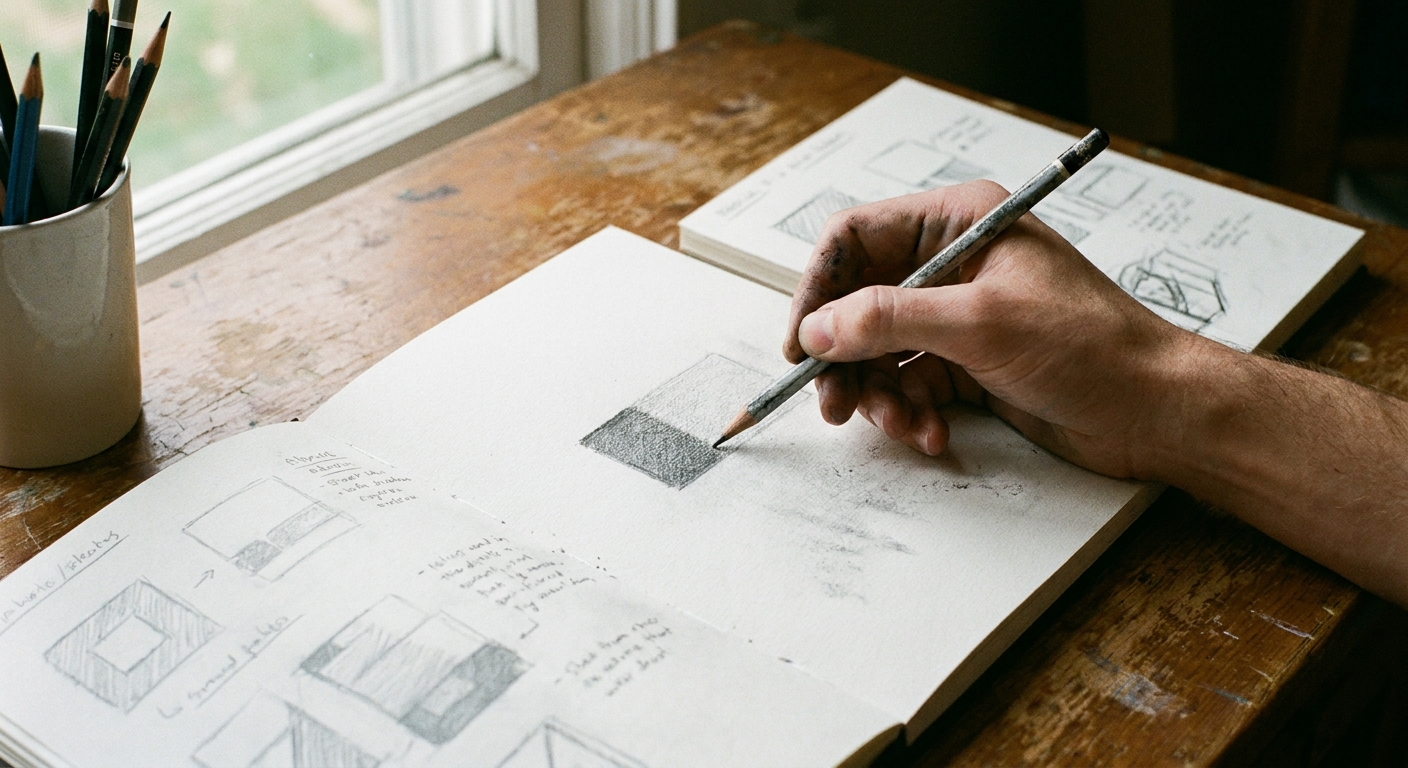
Draw a row of 8 small boxes and shade from very light to very dark. This teaches you control and gives you a “range” you can use in real drawings.
Hatching practice
Make a rectangle and shade it using:
- hatching (parallel lines)
- cross-hatching (layered lines)
- contour hatching (lines that follow the form)
Put on a song, do a warm-up, and you are already a person who draws. That identity shift is not small.
What to draw first
Picking the right beginner subject is like picking the right beginner recipe. You want something forgiving that still teaches technique.
Great first subjects
- Fruit: apples, oranges, pears. They are basically spheres with personality.
- Your own hand: always available, full of interesting shapes.
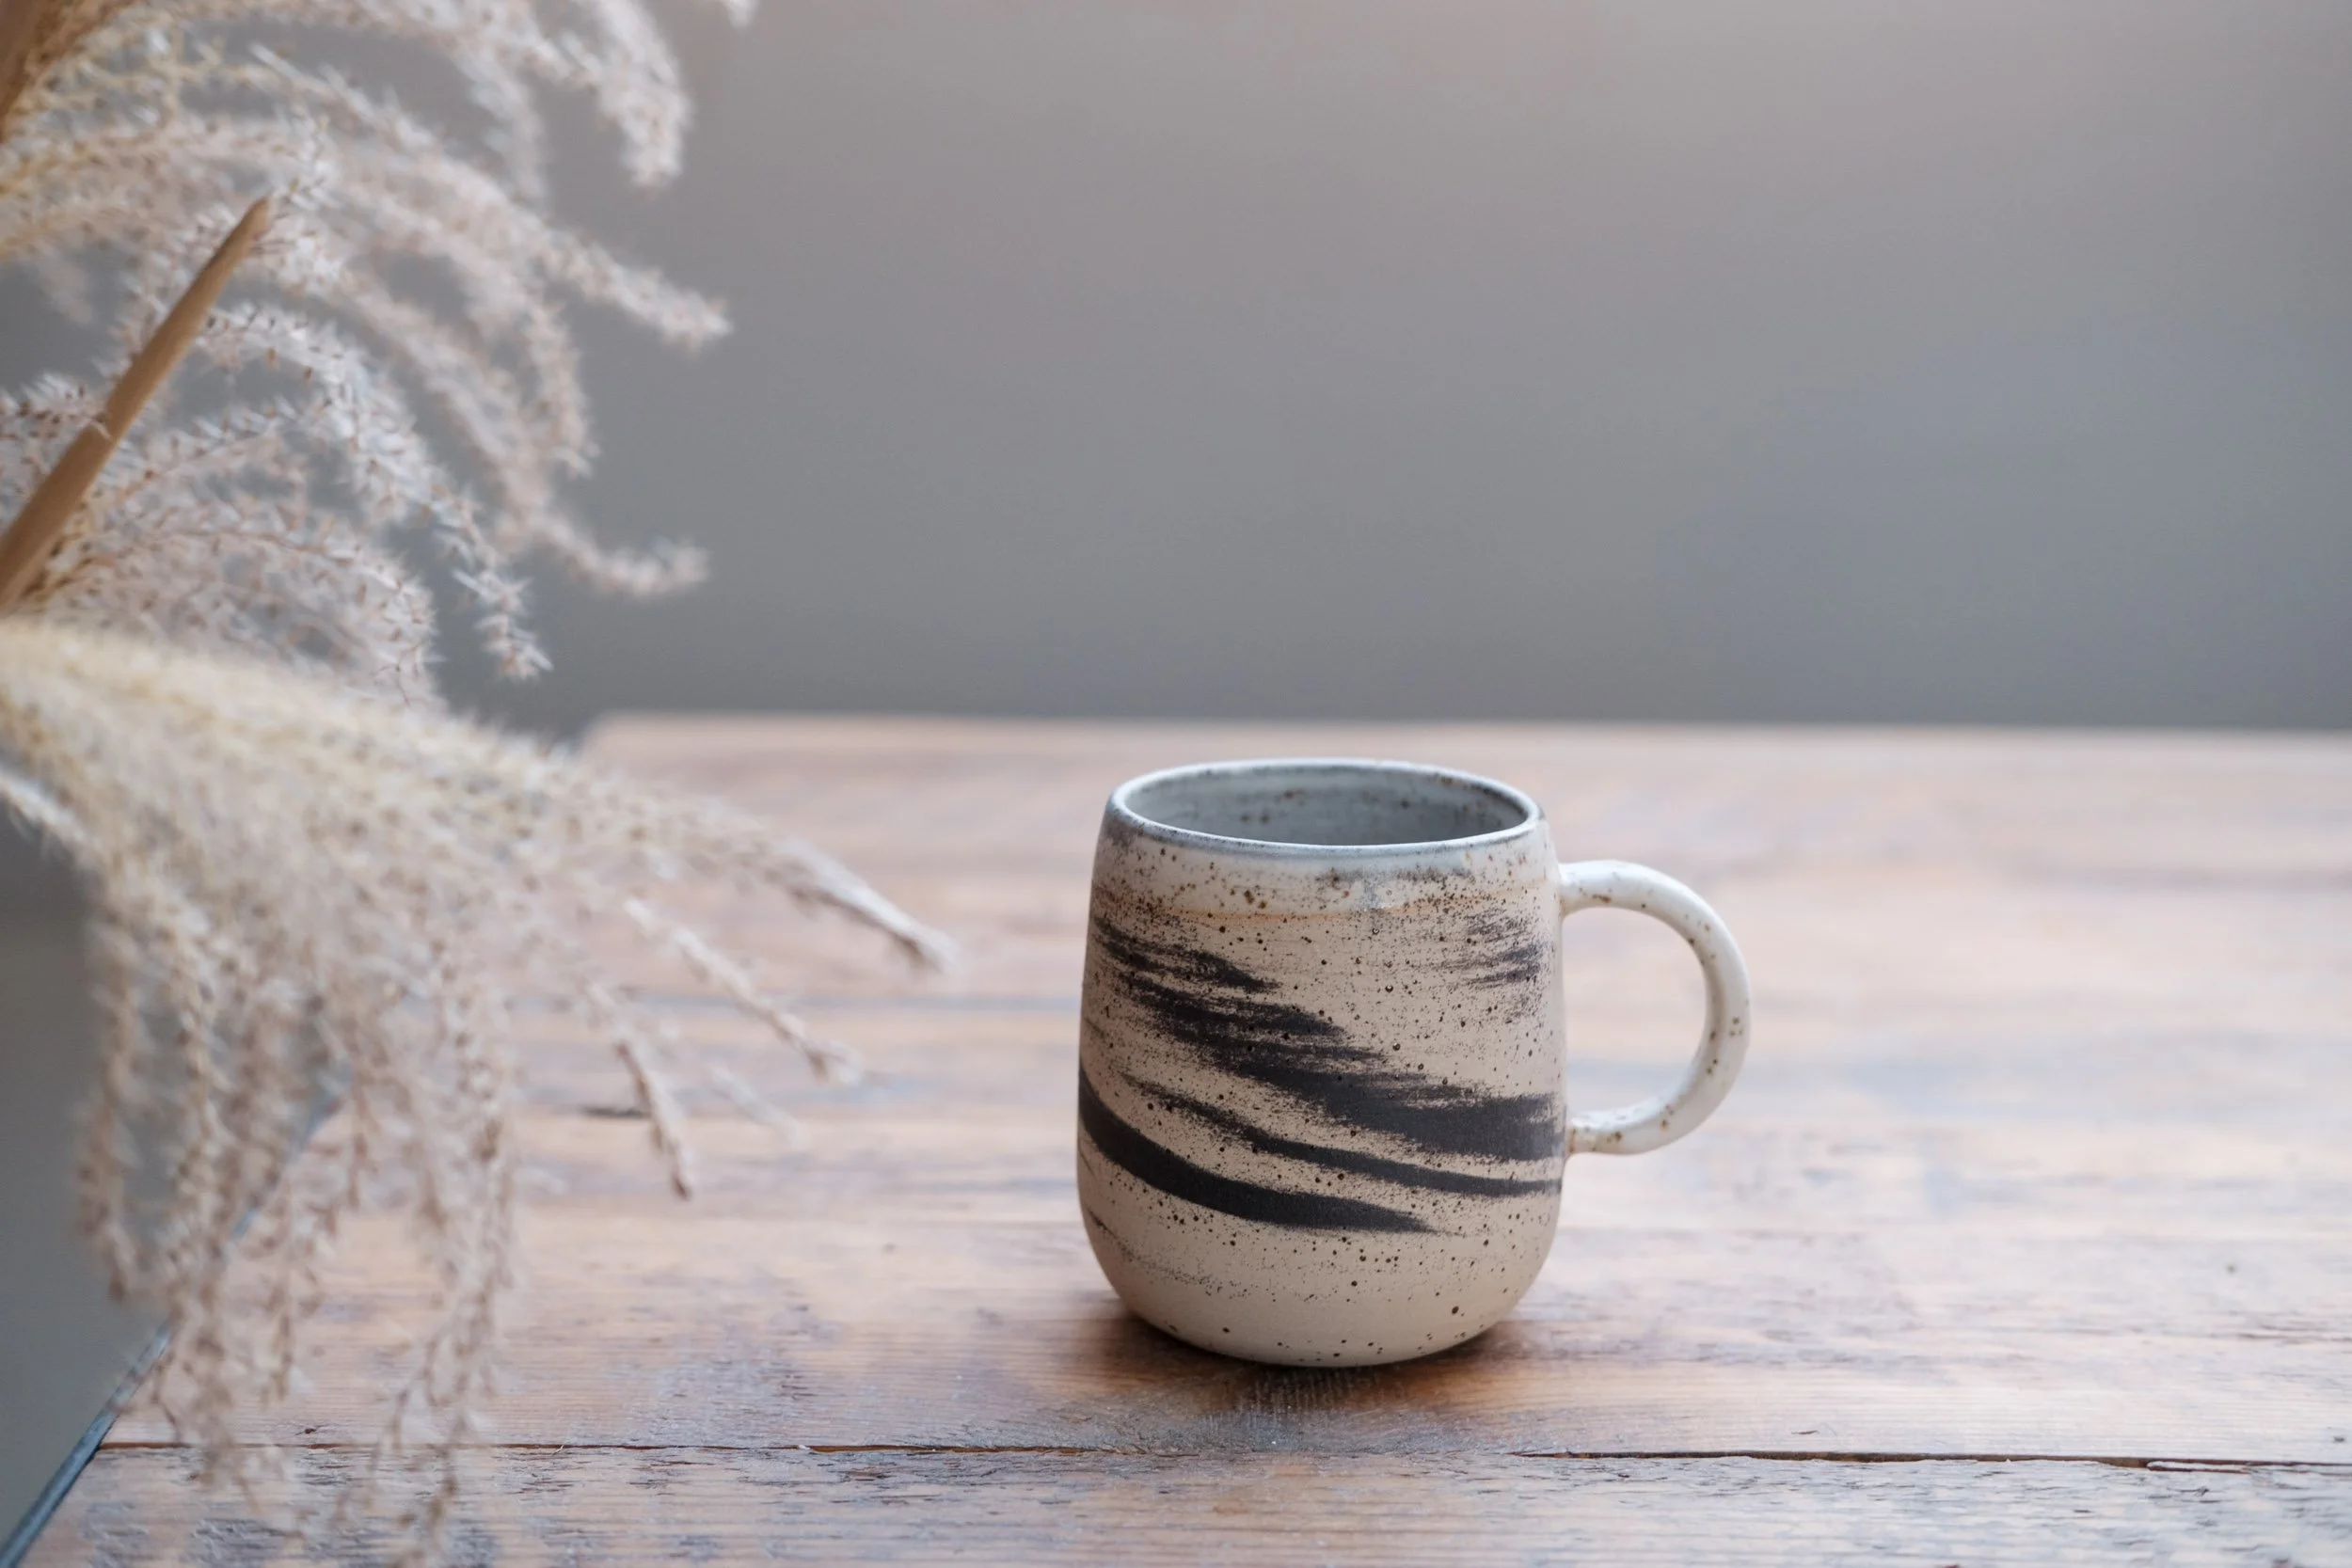
- Mugs and bowls: excellent for learning ellipses and cylinders.
- Shoes: surprisingly good for form and texture.
- Houseplants: lots of practice with repeated shapes and overlapping forms.
A simple still life
Place one object on a table near a window. If you can, turn off overhead lights so you get one clear light direction. That single change makes shading far easier to understand.
If you want your object to stop “floating,” add one simple anchor: draw the table edge or a light ground line behind it. Overlap objects when you use more than one, and vary their sizes a little. Those tiny composition choices make a sketch feel more solid fast.
If you are tempted to start with portraits: you can, truly. Just know that faces are like hard mode in a video game. It is not a character flaw if it feels tricky.
A simple process
When you are learning, a repeatable process removes a lot of anxiety. Try this five-step approach with almost any object.
Step 1: Big shapes
Lightly sketch the simplest shapes. Circle, oval, rectangle, triangle. If it looks too simple, you are doing it right.
Step 2: Proportions and angles
Check relationships: is the mug taller than it is wide? Does the handle start at the halfway point or higher? You can use your pencil as a measuring tool by holding it at arm’s length and comparing lengths.
Step 3: Refine the contour
Now you can adjust the outline with a little more confidence. Still keep it light. You are negotiating with the drawing, not carving it into stone.
Step 4: Add the shadow shapes
Squint at your subject. Squinting blurs details and reveals the big shadow areas. Draw those shadow shapes like flat puzzle pieces before you worry about smooth shading.
Step 5: Dark accents last
Add your darkest darks near the end. This keeps you from overcommitting too early and gives your sketch a satisfying sense of contrast.
If you get lost mid-drawing, go back to shapes. Shapes are the home button.
Shading basics
Shading can feel intimidating because it is where drawings start looking “messy.” Here are a few beginner-friendly rules that make it calmer.
Pick one shading method
- Hatching: clean, controlled, great for sketchbook pages
- Layered shading: soft shading by building light layers
- Block shading: tone in shadow areas more evenly with light layers, then refine
Build it in layers
Use a light touch and layer. Most muddy shading comes from pressing hard too soon.
Save the brightest lights
In graphite, your brightest white is usually the paper itself. Try not to fill every inch with tone. Leaving some clean paper is not “unfinished.” It is sparkle.
Smudges and clean hands
Graphite loves to travel. If your hand drags through shading and turns your page into a fog bank, you are not doing anything wrong. You are just discovering physics.
- Put scrap paper under your drawing hand. It is the simplest fix and it works.
- Work in the direction your hand moves. Right-handed artists often go top-left to bottom-right. Left-handed artists often go top-right to bottom-left.
- Lift graphite, do not grind it. If you need to lighten an area, a kneaded eraser tapped gently is kinder than aggressive rubbing.
Perspective, lightly
You do not need to master perspective to enjoy sketching, but a tiny bit will save you a lot of grief, especially with mugs, boxes, bookshelves, and rooms.
Here is the beginner version: parallel edges often look like they “aim” toward the same spot as they go into the distance. That spot is called a vanishing point.
Try this once: draw a horizon line, place one dot on it, then draw a simple box by aiming the side edges toward that dot. Do it small. Do it messy. It counts.
Common struggles
“My drawings look flat.”
- Make your cast shadows darker.
- Add a core shadow on the object.
- Check that your light source is consistent.
“Everything is crooked.”
- Use light guidelines. A simple center line can keep a mug from leaning.
- Check angles early by comparing to the edges of your paper.
“I keep erasing until the paper gets fuzzy.”
- Try drawing lighter at the start so you erase less aggressively.
- Do a few “no-erase sketches” where you are allowed to correct with new lines instead.
“My sketches look messy.”
- Limit yourself to 2 or 3 value levels (light, medium, dark).
- Choose one area to be crisp and let the rest stay loose.
“I hate what I drew.”
Welcome. You are officially learning. Keep the page anyway. A sketchbook is a record of practice, not proof of worthiness. Future-you will adore the evidence that you kept going.
A gentle 14-day plan
If you want structure, here is a two-week plan that builds skill without turning your hobby into homework. Aim for 10 to 20 minutes a day.
- Days 1 to 3: Lines, circles, boxes. Add a quick pressure scale each day.
- Days 4 to 6: One simple object a day (fruit, mug, spoon). Focus on big shapes.
- Days 7 to 9: Same objects, but add shadow shapes and a cast shadow.
- Days 10 to 12: Texture play (fabric, paper towel, leaf, shoe). Use hatching.
- Days 13 to 14: A small still life with two objects. Keep it simple and celebrate the progress.
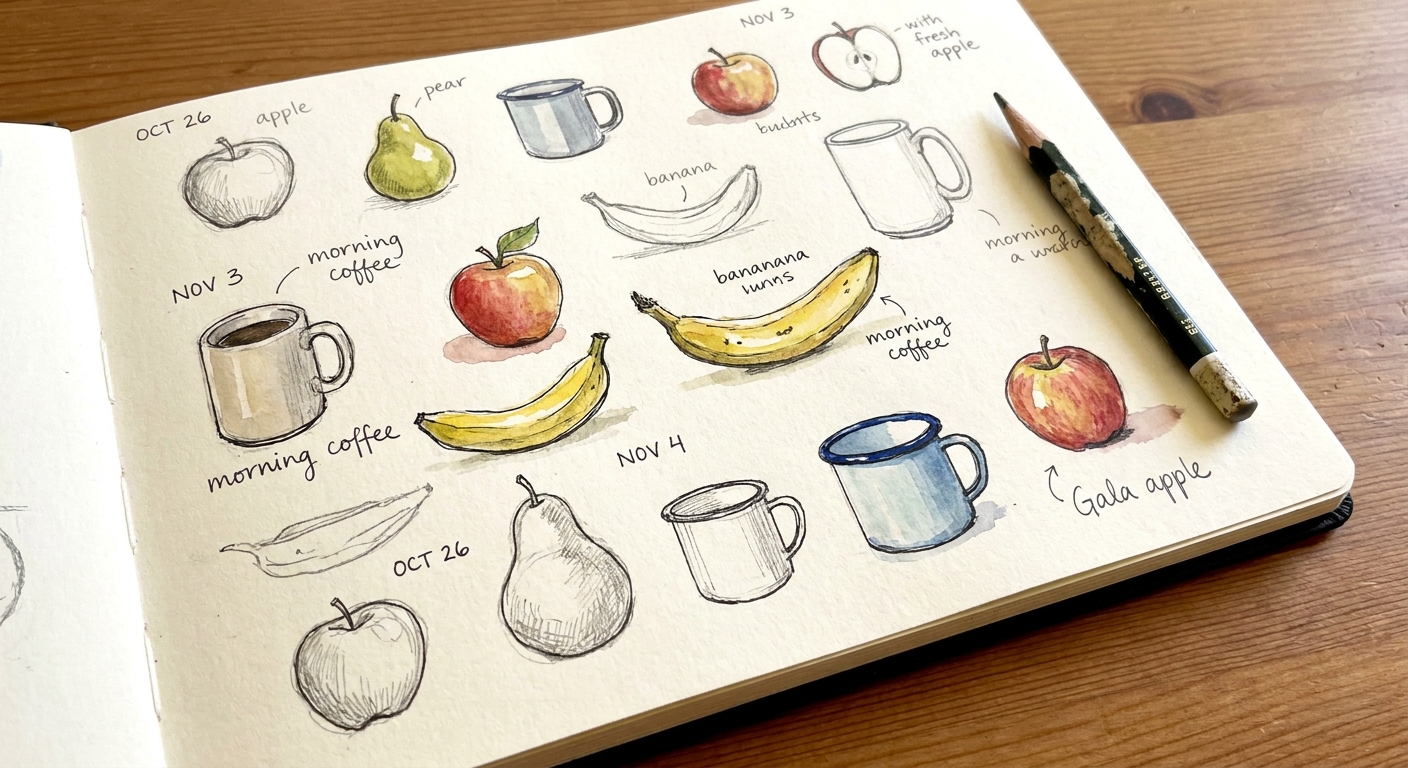
The best part is that you can repeat this plan with new objects as many times as you like. That repetition is where the magic hides.
FAQ
Do I need reference, or can I draw from imagination?
Both are valid, but most beginners improve faster with reference. Drawing what you can actually see trains your observation skills, which later makes imagination drawing easier and more believable.
How long should a beginner sketch take?
Anything from 2 minutes to 2 hours. For skill-building, I love short sketches: 5 to 15 minutes. They keep you moving and reduce perfection pressure.
Should I start with pencil or pen?
Pencil is kinder at first because it allows adjustments. Pen is fantastic once you want to build confidence and stop over-erasing. If pen feels exciting, do it. Just expect your brain to complain for a week.
What is the fastest way to improve?
Draw the same type of thing repeatedly for a short season. Ten mugs will teach you more than one mug, one dog, one car, and one dragon. Variety is fun, but repetition is a shortcut.
Is tracing “cheating”?
Tracing can be a helpful learning tool if you use it intentionally, for example to understand proportions or to study how a complex shape is built. It should not be the only thing you do, but it is not morally wrong. Your sketchbook is not a courtroom.
One last nudge
If you are waiting to feel confident before you start drawing, I have slightly mischievous news: confidence usually shows up after you put in a little time, not before.
So grab a pencil. Draw a mug, a leaf, your own hand, whatever is closest. Keep it small. Keep it imperfect. Keep going.
And if you make a truly spectacularly weird sketch today, please know you are in excellent company.