Urban sketching is exactly what it sounds like: drawing the places you live in and move through, on purpose, with curiosity. Not “perfect drawings.” Not “portfolio pieces.” Just you, a page, and a real corner of the world.
When I was a librarian, I watched adults light up the moment a hobby stopped being a test. Urban sketching is wonderful for that. You can do it with a pen and the back of a receipt if you have to. This guide will keep it simple: minimal supplies, easy subjects, and a first-session workflow that gets you a page you are proud to keep.
What counts as urban sketching?
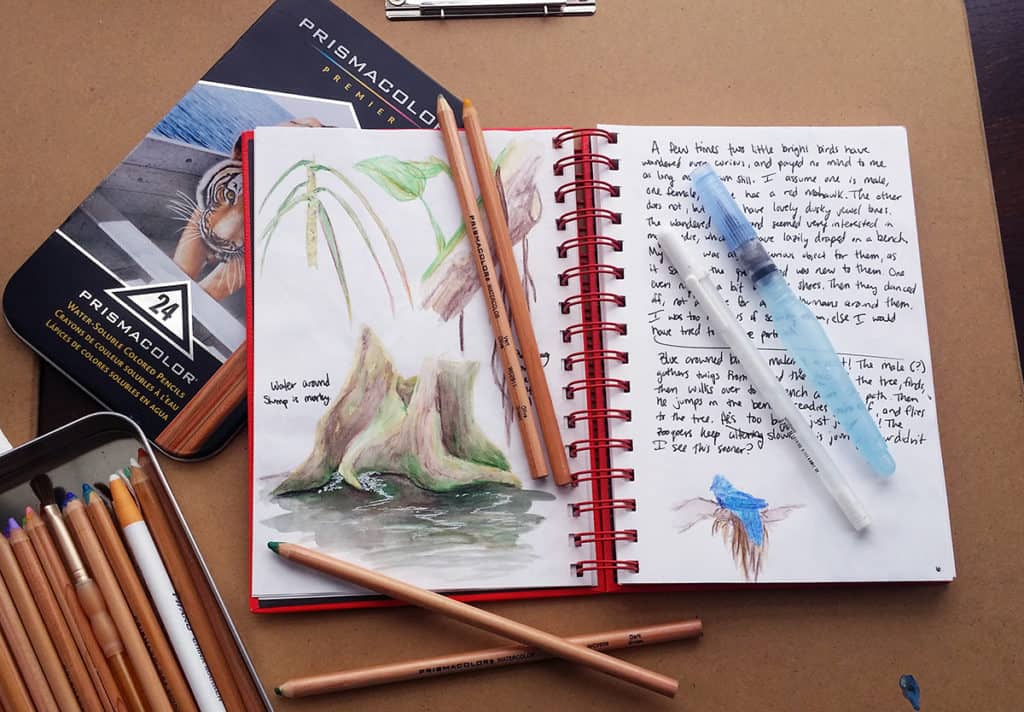
Urban sketching is drawing on location, from observation, often of man-made spaces and the life around them. It can also include the natural elements that share the scene, like trees, clouds, and planters. That can be:
- A row of mailboxes in your apartment lobby
- The corner store sign you pass every day
- A park bench with a bike leaned against it
- A street scene from your car, bus seat, or front stoop
The only “rule” I suggest for beginners is this: draw something that is actually there , even if you simplify it aggressively. Your page will feel grounded, and you will improve quickly without needing fancy techniques.
Minimal supplies that still feel good to use
You do not need a suitcase of art gear. A small, consistent kit removes friction, which is the secret ingredient for sticking with a hobby.
The truly minimal kit (fits in a pocket)
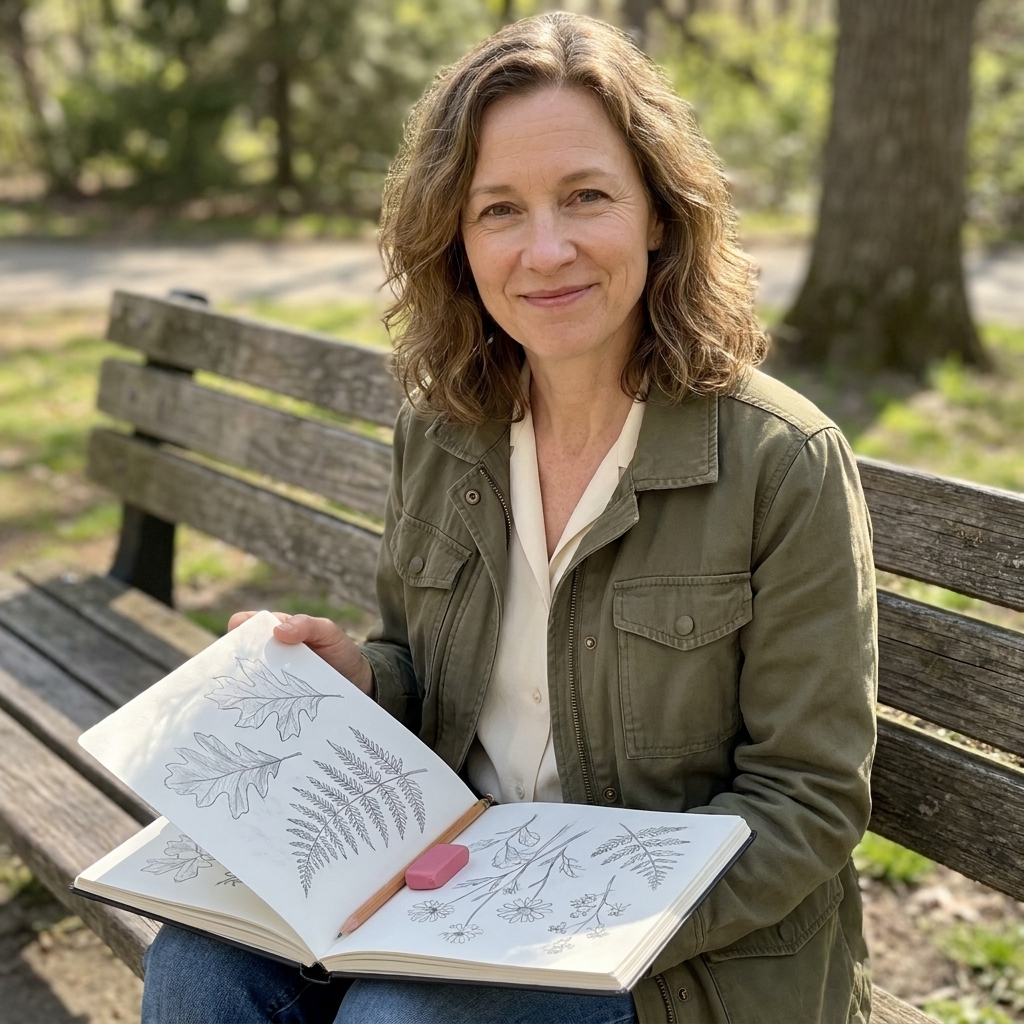
- Sketchbook: Any size you will actually carry. A5 is friendly. Even a cheap notebook is fine.
- One pen or pencil: A mechanical pencil or a waterproof fineliner.
- Something to sit on or lean on: Not required, but a firm surface helps. A clipboard works if you already have one.
The “still small, more fun” kit (my favorite starter set)
- Sketchbook with thicker paper: If you want watercolor, mixed media or watercolor paper helps. Many people like 200 to 300 gsm, but use what you have.
- Waterproof fineliner: Great for confident lines and quick shading. Waterproof matters if you add water later.
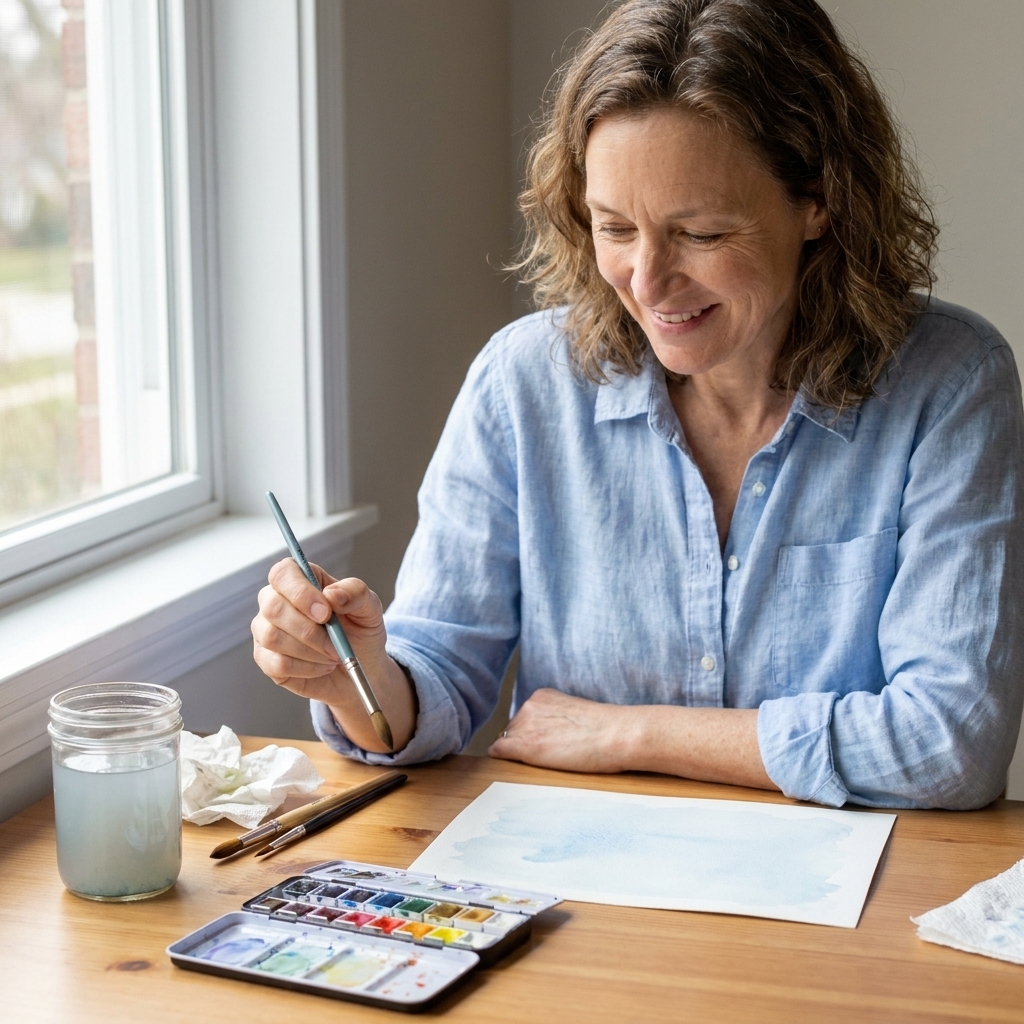
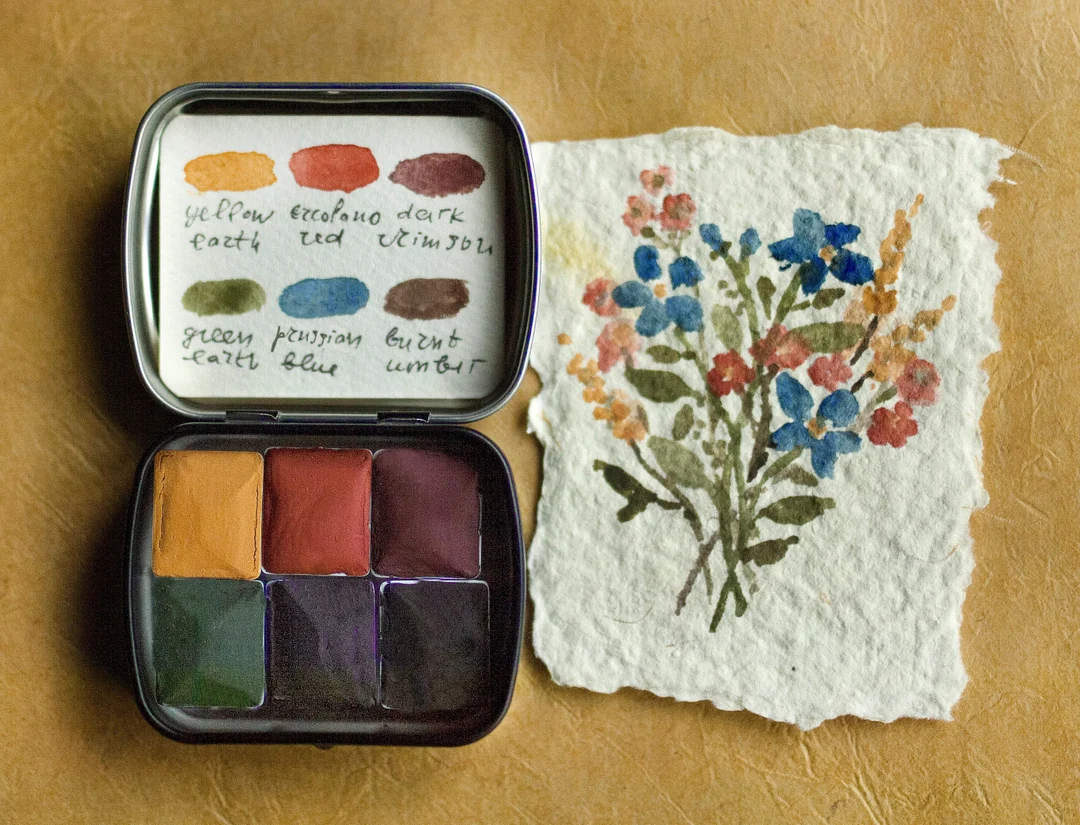
- Mini watercolor set: A small pan set is easy to control and less messy than tubes.
- Water brush: The kind you fill with water. It turns watercolor into a no-spill, no-jar situation.
- Optional: A small cloth or napkin for blotting, and one binder clip to hold pages in wind.
Choosing tools without overthinking
- Pen vs pencil: Pencil feels safer. Pen helps you stop erasing your personality out of the drawing. If you are nervous, start in pencil and ink just a few key lines.
- Paper matters more than paint: If watercolor is frustrating, it is often the paper, not you.
- Limit your colors: Two to six colors is plenty. Too many choices slows you down on location.
Easy subjects that look great fast
Beginners often pick the hardest possible subject first: a whole streetscape with cars, people, and complicated perspective. You can get there. Just not on page one.
Here are subjects that give you that satisfying “yes, I made a real sketch” feeling quickly.
Start with one object plus context
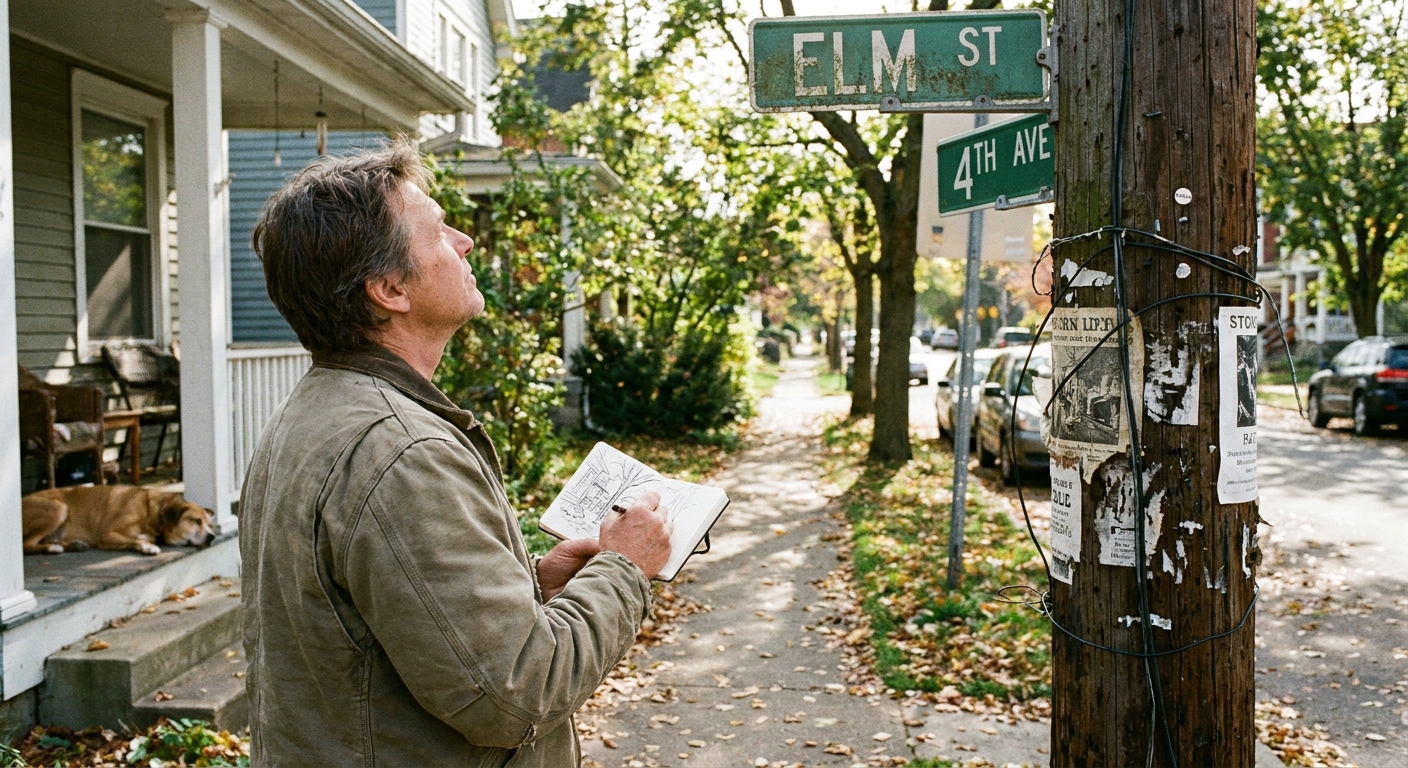
- A street sign with a bit of pole and sky
- A parking meter with the sidewalk edge
- A lamp post with a hint of the building behind it
- A mailbox with the curb line
Architecture-lite (friendly buildings)
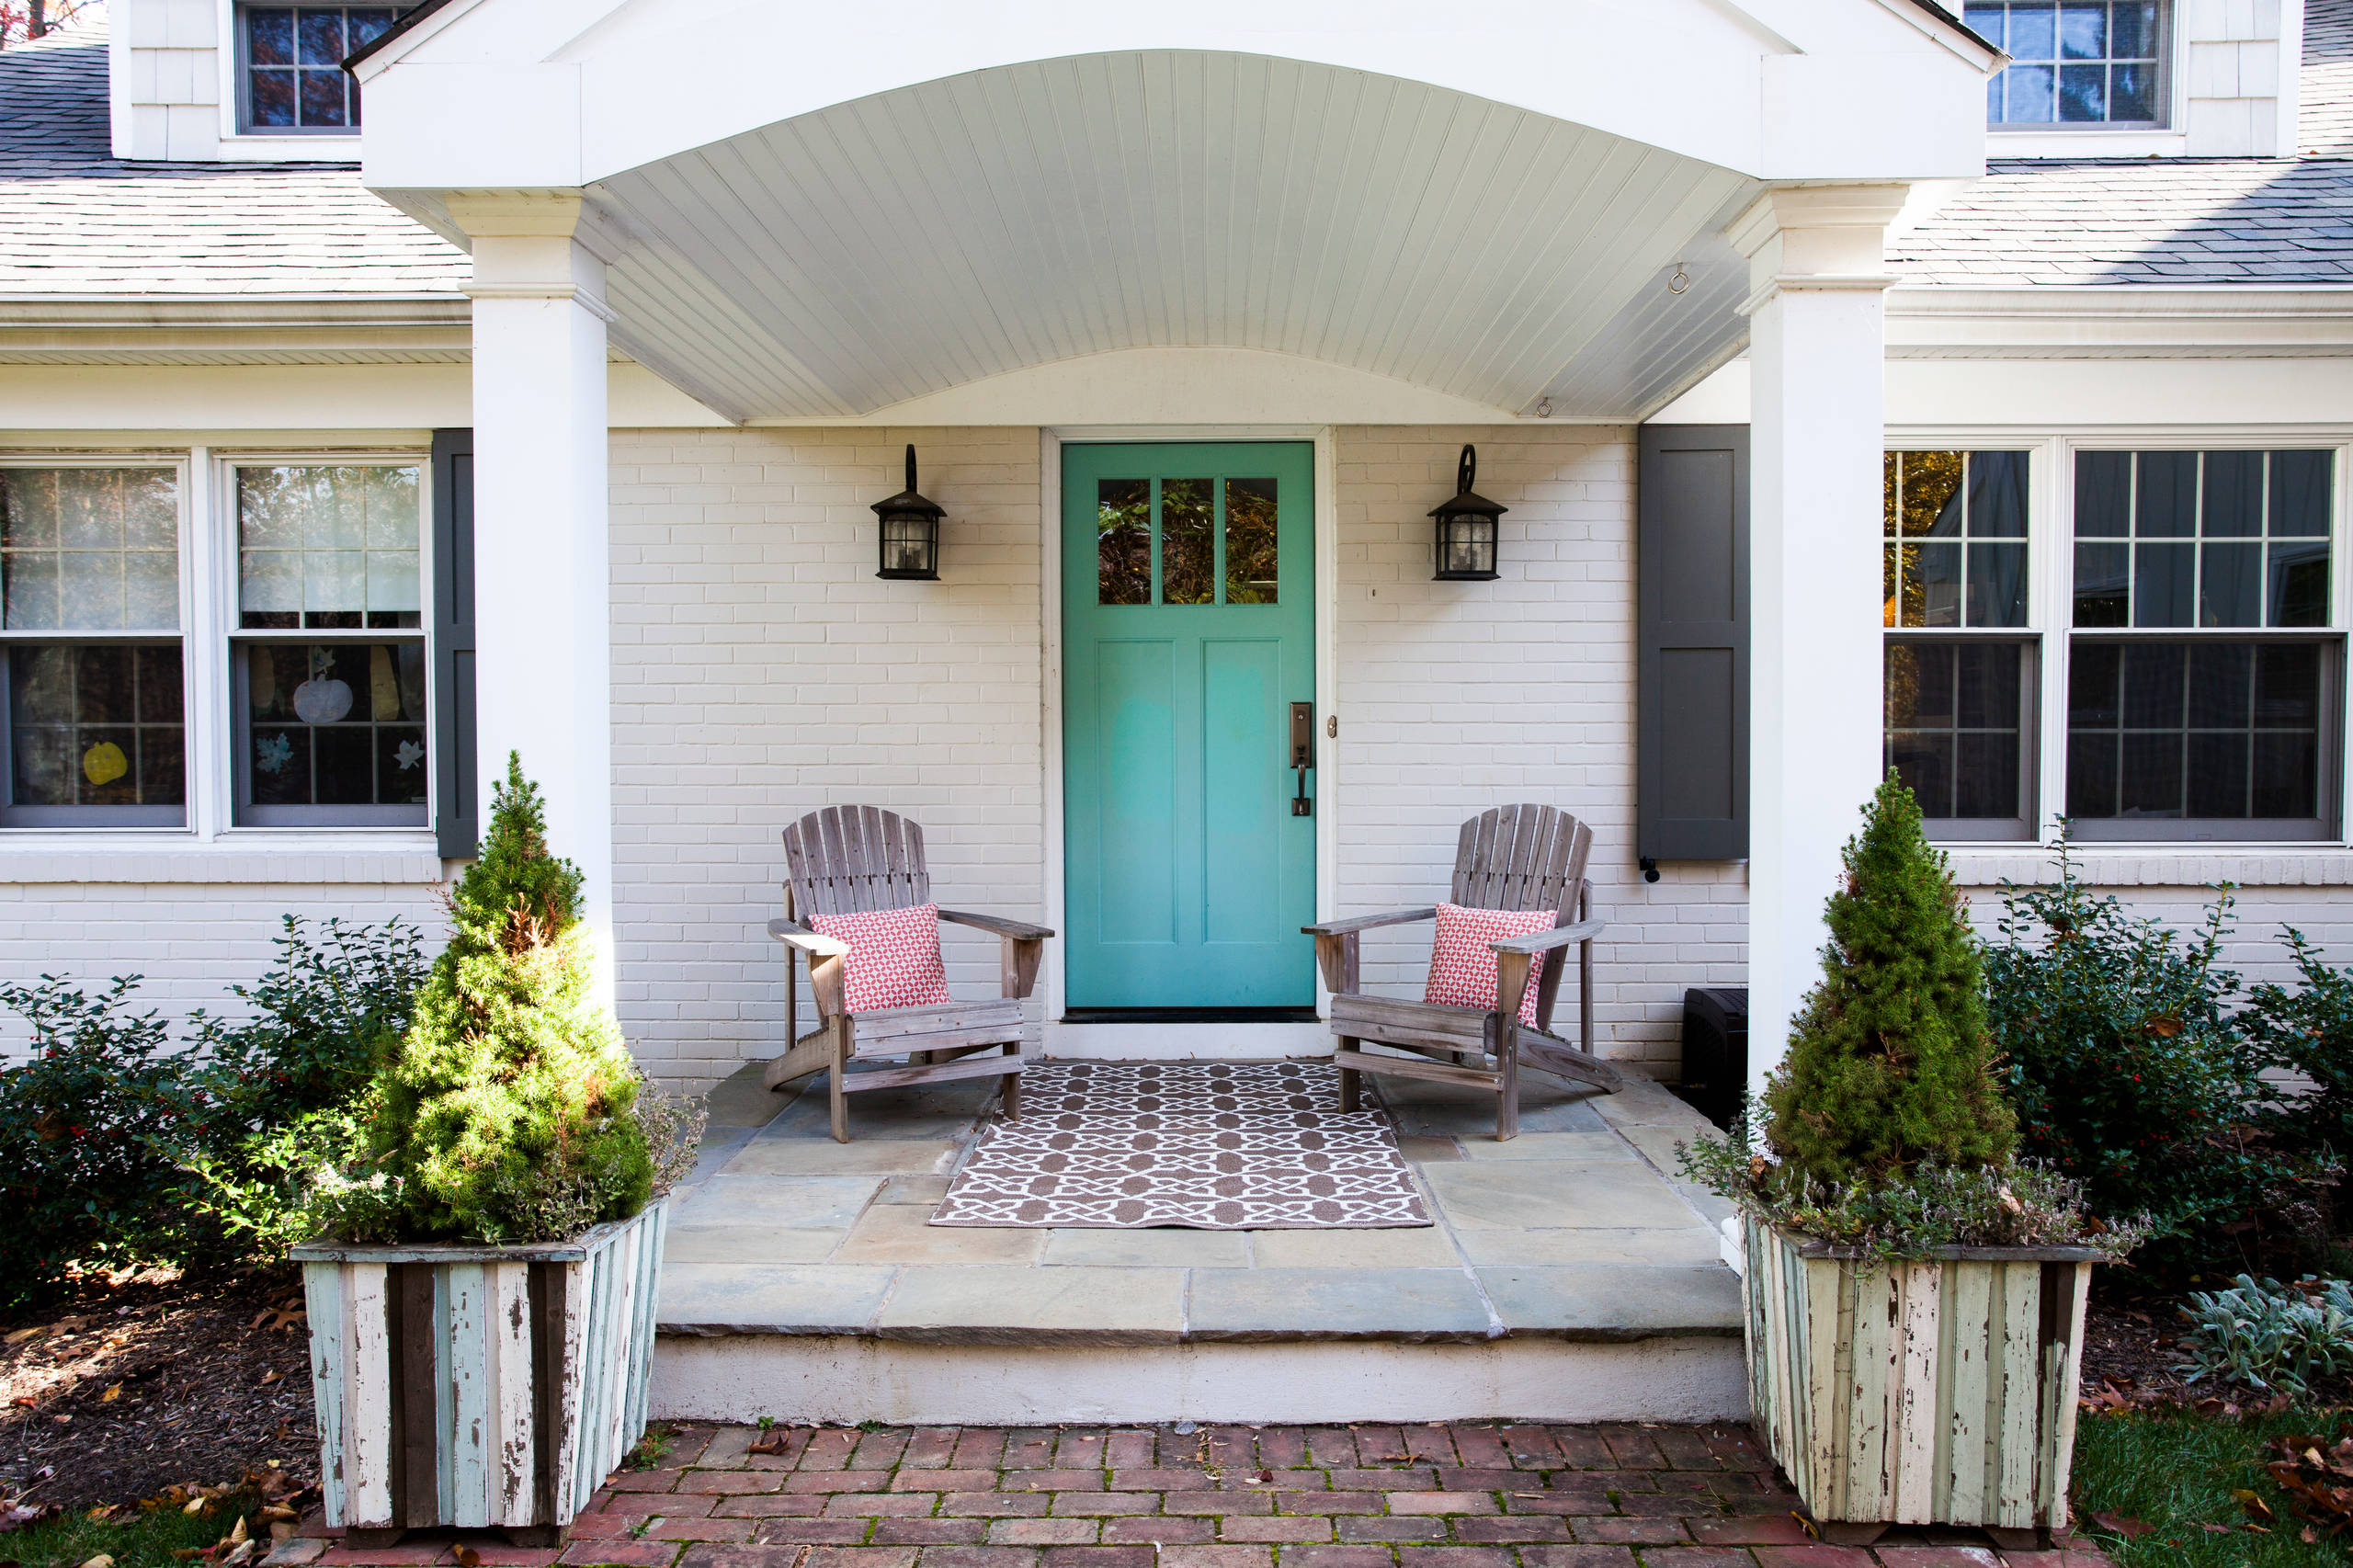
- A single doorway with steps
- One storefront window and the frame around it
- A small shed, garage, or kiosk
- A row of simple houses from across the street, cropped tightly
People without the pressure
- People from behind sitting on a bench
- Quick standing poses with minimal detail, like silhouettes
- Shoes and legs at a cafe table
Nature that still counts as “urban”
- A potted plant outside a shop
- A tree with a fence line
- Planters and a brick wall
If you are unsure what to draw, pick something with a strong outline and a few repeating shapes. Repetition makes a page feel cohesive fast.
Your first session workflow (15 to 45 minutes)
This is a simple routine you can repeat. The goal is one finished page, not a masterpiece. If your first time takes longer, that is fine. If you only have 15 minutes, that still counts.
Step 1: Pick a subject you can finish
Use this beginner filter: Can I draw it in 10 lines? If not, crop tighter or pick something simpler. Doorways are excellent. Benches are great. Parked bicycles are also very forgiving.
Step 2: Frame it with a viewfinder
Hold your hands up like a rectangle, or use your phone camera just to choose the crop. You are not cheating. You are composing.
Decide: portrait or landscape. Then commit.
Step 3: Put down the “big three” lines
- Ground line: Where the subject sits
- Tallest edge: A main vertical or boundary
- One angle: Roof line, curb, awning, or railing
These three lines keep your sketch from floating around the page.
Step 4: Block in simple shapes first
Think in rectangles, cylinders, and triangles. Details come after. For a storefront: big rectangle, then door rectangle, then window rectangles. For a bench: long rectangle, then legs.
Step 5: Add “character details” only
Choose three small details that make it feel specific, and stop there. Examples:
- The doorknob and mail slot
- The cracked corner of a sign
- The sticker cluster on a pole
This is where beginners tend to go on a detail spree. Try the three-detail rule for your first few outings. It builds restraint, and your page will look cleaner.
Step 6: Shadows before color
If you have a pen or pencil, add a few shadow shapes. Shadows do a lot of heavy lifting.
- Pick one light direction (even if it is cloudy)
- Add shadows as simple flat shapes
- Keep your darkest darks in just a few places
If you are not sure how to “shade” with pen, pick one approach and stick with it for the whole sketch:
- Hatching: parallel lines that follow the form
- Cross-hatching: a second layer of lines in the other direction for darker areas
- Scribble shading: loose looping marks, surprisingly friendly for beginners
Step 7: Add a quick wash (optional)
If you brought watercolor , keep it minimal:
- One light wash for the building
- One wash for the ground
- One accent color for a sign or door
Leave some paper white. White space is not unfinished. It is breathing room.
Step 8: Finish with a tiny note
Write the date and the place. Add one sentence: the weather, a sound you heard, what you drank. This turns a sketch into a memory.
Two beginner page layouts
Layout 1: One big sketch + two mini studies
- Draw one main subject taking up about two-thirds of the page
- Add two small boxes for quick mini sketches, like a street sign and a plant pot
- Repeat one color accent across all three
Layout 2: A “receipt page”
This is my favorite low-pressure layout. Pick a location like a cafe or park and draw three things you can reach with your eyes:
- The view out the window
- Your cup or water bottle
- One person or object nearby
It looks charming and intentional, even if each sketch is simple.
Etiquette and comfort
A few tiny logistics make on-location sketching easier, especially at the beginning:
- Choose a comfortable spot: Shade beats glare. A wall at your back beats feeling exposed. Sitting beats hunching, if you can.
- Mind the weather: Wind is real. That binder clip earns its keep. If it is cold, fingerless gloves help.
- If someone asks what you are doing: A simple “I am practicing drawing” is usually the best answer. If they seem uncomfortable, pivot to a different angle or subject. You are here to relax, not to win a debate.
- Stay aware: Especially near roads. Your sketchbook is not worth stepping into traffic for.
Common beginner snags (and quick fixes)
“My perspective looks wrong.”
Good news: urban sketching does not require perfect perspective. Use this shortcut: keep vertical lines mostly vertical, and let other lines “lean” consistently in the same direction (toward the same vanishing point). If something feels off, it is often because one roof line leans left while another leans right.
“I freeze because everything is too complicated.”
Crop tighter. Draw half the subject. Draw one corner of the building, not the whole building. Close-ups are not a compromise. They are a style.
“People move and my sketch looks messy.”
That is normal. Try “gesture snapshots”:
- Set a 30 second timer
- Draw the head, spine line, and legs only
- Stop when the timer ends, even if it is goofy
Goofy is how you learn.
“My watercolor looks muddy.”
- Use less paint and more water for the first wash
- Let one area dry before painting next to it
- Limit your palette and avoid mixing everything together
A tiny practice plan (first week)
If you want momentum, here is a gentle plan that keeps sessions short.
- Day 1: Draw one doorway or window in pen or pencil only.
- Day 2: Draw a street sign and add shadows.
- Day 3: Draw a bench or bike and focus on big shapes.
- Day 4: Do a “receipt page” with three mini sketches.
- Day 5: Repeat your favorite subject from earlier and add a simple wash.
Repetition is not boring. It is how your hand learns what your eyes already know.
FAQ
Do I need to draw outside to count as urban sketching?
Nope. Drawing from inside a cafe, your car, a bus seat, or even your apartment window absolutely counts. “On location” can be as simple as “I am here, looking at this.”
Should I sketch in pen or pencil as a beginner?
Either works. If you tend to erase a lot, try pen for one small sketch per page. Treat it like practice, not proof of talent.
What size sketchbook is best?
The best size is the one you will carry. Many beginners like A5 because it is portable but not tiny. If you feel overwhelmed, go smaller. If you feel cramped, go bigger.
How do I choose what to draw in a busy street scene?
Pick one anchor subject (doorway, sign, storefront) and let everything else fade into suggestion. You are allowed to leave things out. Your sketch is not a security camera recording.
Your only assignment: one page today
Grab a notebook, pick something within a five minute walk, and give yourself permission to make a beginner page. If it feels awkward, congratulations. That is the sound of your brain learning a new language.
And if you want the most librarian-sounding advice I can offer: put the supplies where you will trip over them. The best hobby tool is the one you see every day.