There is a special kind of peace that happens when you slow down enough to notice a leaf edge, a seed pod, or the way a vine insists on climbing absolutely everything. A nature journal is basically a permission slip to be curious on purpose.
You do not need to be an artist or a botanist. You just need a notebook, a pencil, and a willingness to be delightfully wrong for a while. That is how learning works, and honestly, it is half the fun.
What it is (and is not)
This guide focuses on a plant focused nature journal: a running record of plants you meet on your walks, hikes, or neighborhood errands. It can include sketches, notes, pressed leaves, photos, maps, questions, and little victories like, “I finally learned what poison ivy looks like and I did not touch it.”
What it is not: a flawless art portfolio, a scientific thesis, or another hobby you must monetize to justify. This is for noticing, remembering, and building a relationship with the living things around you.
If you can draw a lopsided oval, you can sketch a leaf. The goal is recognition, not perfection.
Simple supplies
You can start today with whatever you already have. Still, a few choices make the process easier and more enjoyable.
Notebook options
- Small sketchbook (A5 or pocket): easy to carry, perfect for quick field notes.
- Hardcover journal: durable in a backpack, pages stay stable while you draw.
- Loose pages on a clipboard: great if you like scanning and organizing later.
Drawing basics
- Pencil (HB or 2B) and a small eraser.
- Fine liner for optional outlines once you are home.
- Colored pencils or a tiny watercolor set if you want color, but this is optional.
Field friendly extras
- Phone camera for reference photos.
- Small ruler or a coin for scale.
- Magnifier (even a cheap one) for tiny flowers and leaf hairs.
- Painter’s tape or washi tape for attaching fallen leaves or bark rubbings.
- A zip bag for found treasures like a fallen seed pod. Please do not pick living plants in parks unless you know it is allowed.
My librarian heart must add one gentle reminder: rules vary by location. Some parks prohibit removing any natural objects, including fallen leaves or seed pods. When in doubt, take a photo, make a rubbing, or sketch it in place. Your journal can be a love letter, not a raid.
Choose a home patch
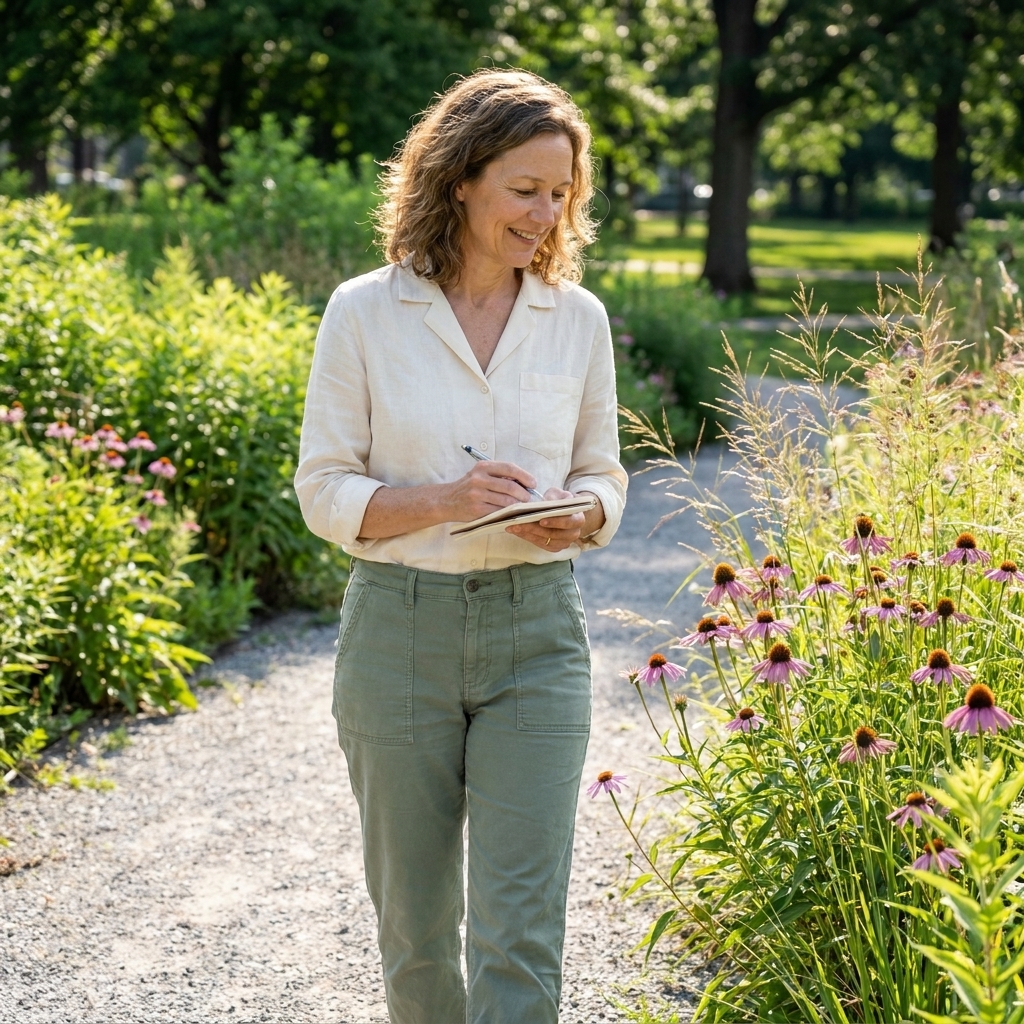
One of the easiest ways to build skill quickly is to choose a small area you can return to regularly. Think of it as adopting a plant neighborhood.
- A corner of your yard or apartment complex landscaping
- A city block with street trees and sidewalk weeds
- A local park loop
- A trailhead you visit once a month
Revisiting the same place teaches you seasons, bud to bloom changes, and which plants show up like clockwork. It also takes pressure off. You do not need to “find something special” every time. Ordinary is the point.
If getting out is hard right now, your home patch can be a balcony pot, a window box, a houseplant, or the view from a favorite bench. Still counts. Still lovely.
Page setups
If blank pages make you freeze, here are a few reliable layouts. You can stick with one format or mix them depending on the day.
Quick capture (5 minutes)
- Date, time, location (even just “behind the grocery store”).
- Weather: sunny, windy, after rain, first frost.
- One sketch: leaf, flower, bud, bark, or whole plant shape.
- Three notes: color, smell, texture, height, abundance.
- One question: “Opposite leaves or alternate?” “Why are the edges serrated?”
ID focused (later at home)
- Common name and scientific name (if you find it).
- Key features: leaf arrangement, flower shape, stem, fruit.
- Look alikes: what it could be confused with.
- Notes: habitat, bloom time, pollinators you saw.
Seasonal (monthly)
- A small map of your route
- A list of “firsts”: first buds, first blooms, first berries, leaf drop
- A few tiny thumbnail sketches to show change over time
Sketching without stress
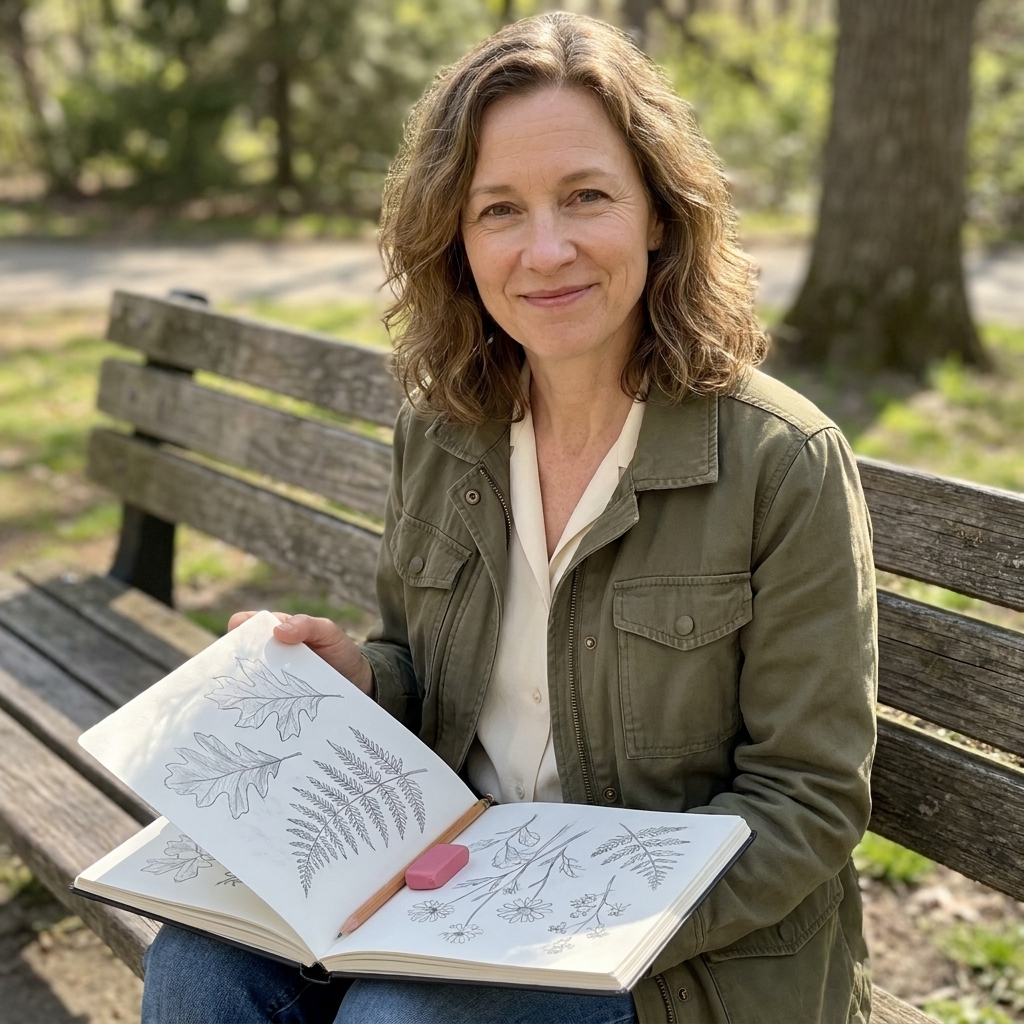
Botanical sketching sounds fancy. In practice, it is just careful looking plus simple shapes. Here is a low stress method I use when I am on a bench pretending I totally know what I am doing.
Step 1: Big shape
Draw the overall silhouette. Is it a clump, a single stalk, a shrub shape, a rosette (leaves in a circle at the base)? Big shapes help you recognize the plant again later.
Step 2: Leaf clues
Leaves carry a lot of ID clues. Try to note:
- Arrangement: opposite, alternate, or whorled along the stem.
- Shape: oval, lance like, heart shaped, lobed.
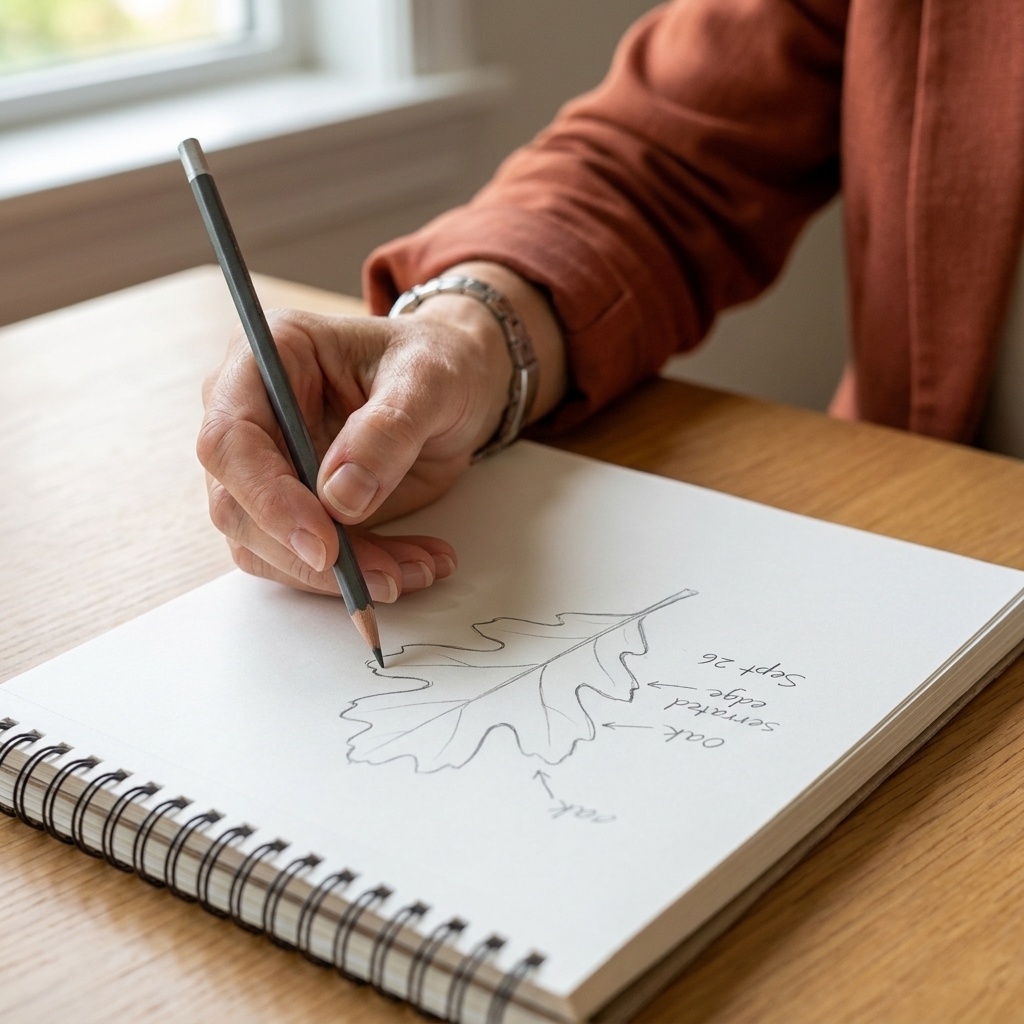
- Edge: smooth, toothed or serrated, scalloped.
- Veins: parallel, netted, prominent midrib.
Pro tip: Draw one “representative” leaf larger on the page, like a close up, even if your main sketch is the whole plant.
Step 3: Flower or fruit
Flowers can be tiny and frustrating, so give yourself permission to do a simplified version. Count the visible petal like parts if you can, and note anything odd like a central cone, a long tube, or clustered florets.
Step 4: Scale
Write measurements if you have them, or draw the leaf next to a coin outline or your fingertip width. Scale is a secret superpower for later identification.
Step 5: What photos miss
Sketches are wonderful, but your notes are the real magic. Record scent, stickiness, sap color, hairiness, how it grows, and what insects are visiting.
Plant ID basics
Plant ID can feel like you are trying to solve a mystery with a million suspects. The trick is to narrow the options with a few reliable clues, then confirm with a trustworthy source.
Start with observation
- Where is it growing: sun, shade, wet soil, dry gravel, forest edge?
- Is it a tree, shrub, vine, grass like plant, or broadleaf herb?
- What is the leaf arrangement: opposite or alternate?
- What is the flower type: clusters, single blooms, spikes, no flowers visible?
- Any distinctive features: milky sap, thorns, strong smell, fuzzy leaves?
Use photos like a detective
If you take phone photos for ID apps or later research, grab a few angles instead of just a scenery shot:
- Whole plant in its habitat
- Leaf close up (top and underside if possible)
- Stem and how leaves attach
- Flower or seed pod close up
- Bark if it is a tree
Reliable tools
Different tools shine in different situations. A combination works best.
- Regional field guide: fantastic for learning common local species and look alikes.
- Local native plant society pages or university extension sites: often the most accurate and practical.
- Community science apps (like iNaturalist): great for suggestions and human confirmation, especially if you upload multiple photos and location.
- Plant ID apps: useful as a starting point, but double check with a field guide or trusted website. Apps are confident in the way a toddler is confident, and I say that affectionately.
Write IDs in pencil
Early on, treat your identification as a hypothesis. I like using little language cues:
- “Possible: Virginia creeper”
- “Looks like: goldenrod species”
- “Confirmed: red maple (Acer rubrum)”
Labeling system
When you look back six months later, you will want your notes to be legible and useful. Here is a labeling system that stays tidy.
- Location: park name, nearest cross street, or “front yard bed by mailbox.”
- Habitat: sunny slope, creek edge, disturbed soil, shaded understory.
- Date: include year, especially if you plan to journal long term.
- Confidence: low, medium, high.
- Source: field guide page, website, app suggestion, expert confirmation.
Bonus: If you are someone who loves organization, assign each plant an entry number and create a mini index in the back. If you are not that person, welcome. You are among friends.
Ethics and safety
Use a leave no trace mindset
- Do not pick flowers in protected areas.
- If you collect anything, stick to fallen leaves or already detached bits, and only where it is allowed.
- Avoid trampling sensitive habitats to get “the perfect angle.”
Be cautious with touch
Some plants cause rashes or irritation. If you are unsure, use your eyes and camera instead of your hands. Wash up after your walk, and keep an eye out for poison ivy, poison oak, and stinging nettle depending on your region. Also avoid getting unknown sap on your skin, just in case.
Skip taste testing
Please do not eat anything based on an app suggestion. Edible plant foraging is its own hobby and deserves proper learning, ideally with an experienced local guide.
Easy prompts
On days when you feel stuck, prompts are a gentle nudge. Try one of these:
- Sketch the same plant from three distances: whole plant, leaf, flower.
- Find five different leaf edges and draw them like a tiny “edge library.”
- Pick one color (yellow blooms, red berries, silver leaves) and document what you find.
- Track one plant through a season with a small sketch each week.
- Write a “plant profile” like a character bio: habitat, quirks, associates (pollinators, neighboring plants).
Field problems
“My sketches look bad.”
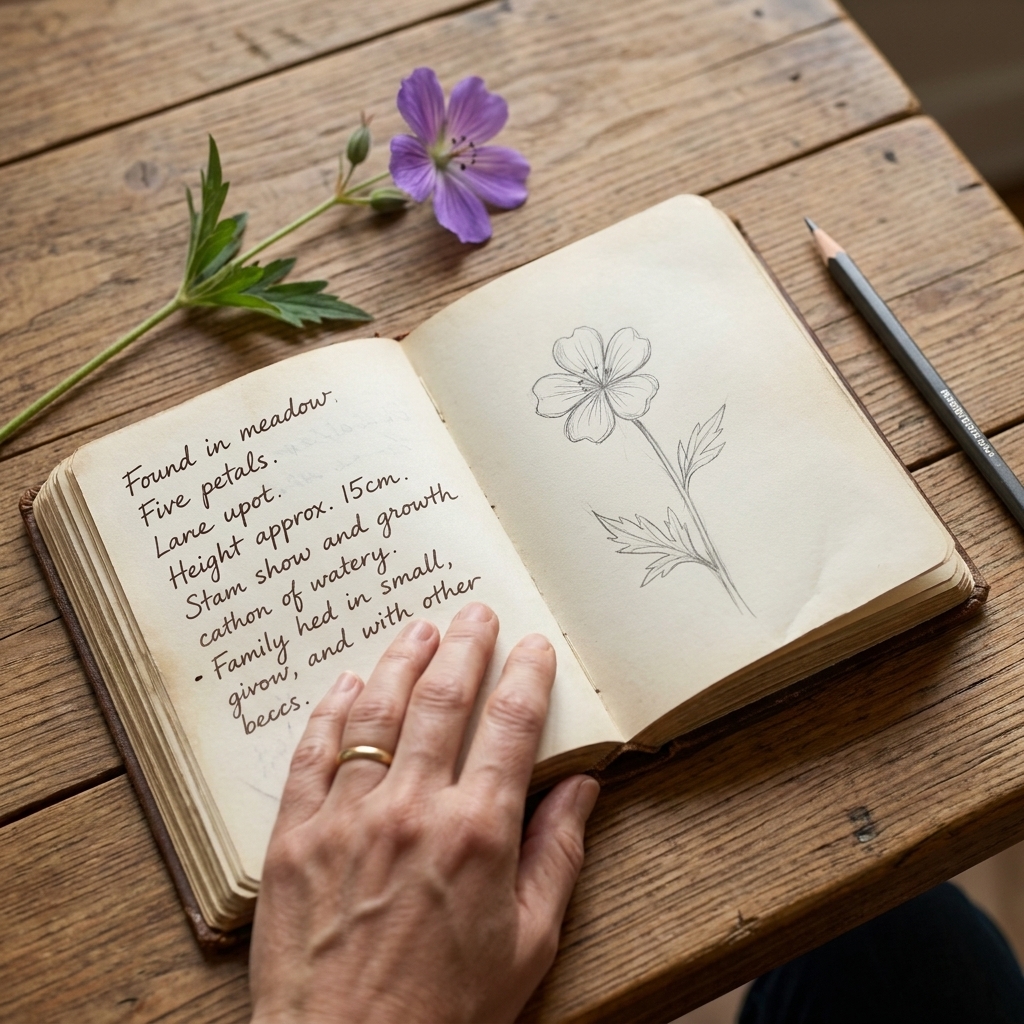
Perfect. You are learning. Try timed sketches: 30 seconds, 2 minutes, 5 minutes. Short drawings train observation without giving your inner critic time to set up camp.
“I cannot identify anything.”
Start broader. Label it as “oak species” or “daisy family” and build from there. It is completely normal to learn in layers.
“Everything looks the same.”
Focus on one feature at a time for a week. For example: only leaf arrangement. Once your brain learns that category, the world becomes less blurry.
“I do not have time.”
Make it tiny. One plant. One page. Three notes. Nature journaling is not a performance, it is a practice.
Wind, rain, and low light
On gusty days, brace your sketchbook against your knee or a backpack, and keep sketches simple. In drizzle, tuck your notebook under an umbrella or jacket and rely on quick notes plus a few photos. If the light is dim, focus on bold shapes and leaf arrangement, then add details at home from your reference shots.
Starter template
If you want a plug and play template, write this at the top of your next page and fill it in as you go:
Date:
Location:
Weather:
Plant description (quick):
Sketch:
Leaf arrangement:
Leaf edge:
Flower/fruit:
Height (estimate):
Habitat:
Visitors (bees, butterflies, birds):
Possible ID:
Confidence:
Next question:
That is it. That is the whole hobby in one page. The rest is repetition, noticing, and the quiet thrill of realizing you can now recognize the “mystery shrub” you used to walk past.
Make it fun
- Create a thrifted journal kit: pencil, tiny watercolor set, binder clip, and a snack. Beginner joy is fueled by snacks.
- Invite a friend and compare notes, not drawings. Two brains spot more details.
- Join a local walk hosted by a park naturalist or native plant group. Learning plant names out loud is surprisingly satisfying.
- Build a “plants of my block” list over a month. You will be amazed how much life is packed into a single street.
If you start a nature journal this week, begin with the most humble plant you can find. A dandelion. A sidewalk weed. A street tree. Because once you learn to see the ordinary clearly, the rest of the world starts waving at you.