Your first overnight backpacking trip is equal parts magical and mildly ridiculous. Magical because you get to fall asleep to night sounds and wake up to a view. Ridiculous because you will absolutely spend five minutes debating whether you truly need that extra pair of socks. You do, by the way. But maybe not three.
This checklist is built for beginners who want to survive and thrive without hauling a kitchen sink. Think lightweight where it counts, safe where it matters, and simple enough that you can actually enjoy being a beginner.
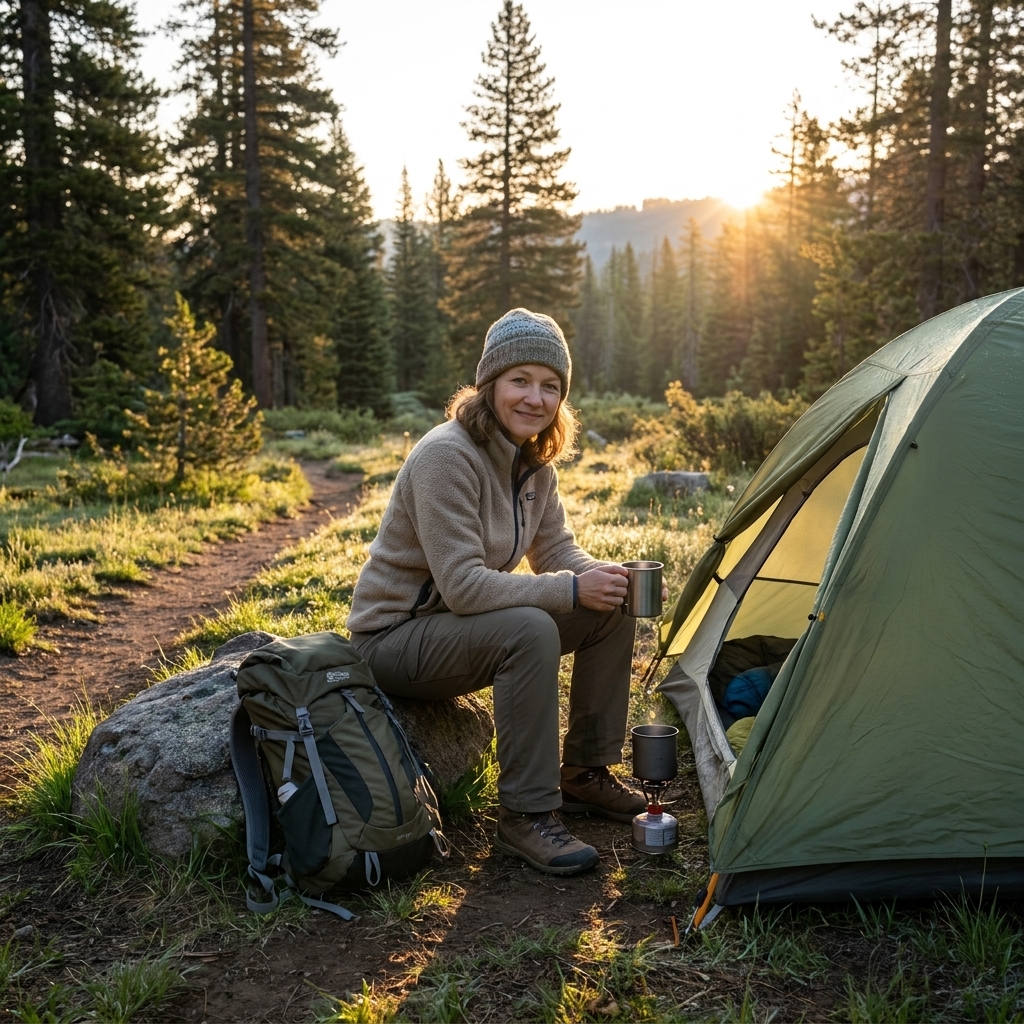
Before the essentials
A quick mindset shift that saved me from overpacking in my early days: your goal is not comfort like home. Your goal is comfort enough so you can sleep, eat, and feel secure.
- Test at home first: set up your shelter once in the yard or living room. Yes, your neighbors might see you. No, they cannot stop you.
- Check rules: some areas require bear canisters, ban campfires, require you to pack out toilet paper, or have specific tent sites.
- Match gear to conditions: temperature and precipitation matter more than distance for your first trip.
- Tell someone your plan: share your route, campsite area, and when you expect to be back. Boring now, comforting later.
A note on “10 essentials”
People use “the Ten Essentials” to mean the classic safety categories (navigation, sun protection, illumination, first aid, and so on). This article is a beginner-friendly version that covers those categories, plus a couple of real-world must-haves beginners forget (hello, bathroom kit).
1) Backpack (that fits)
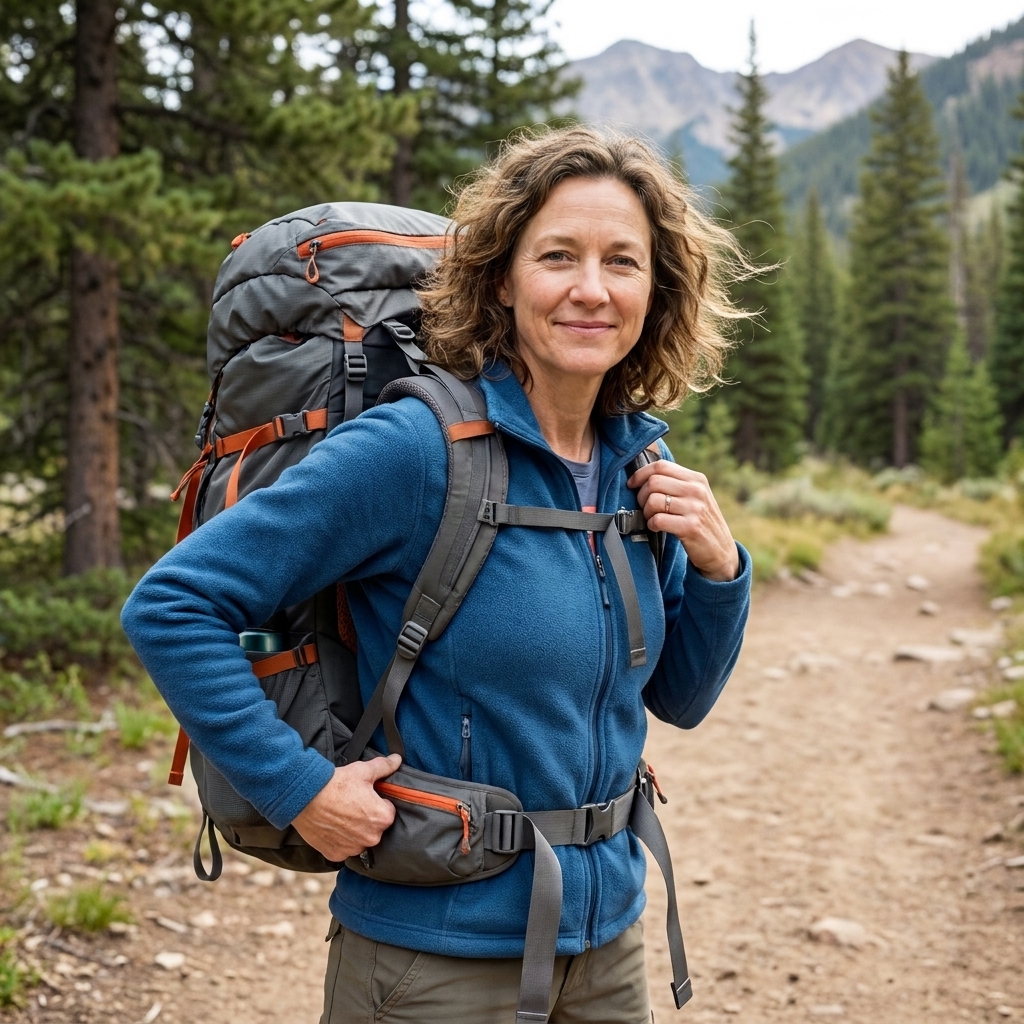
Your pack is the gear that carries all your other gear. For an overnight, many beginners do well with something around 40 to 55 liters, depending on how compact your sleep system is.
What to look for
- Proper fit: a hip belt that hugs your hips, not your waist. Most of the weight should ride there.
- Comfort under load: try it on with weight in the store if you can.
- Simple organization: one main compartment plus a few pockets is plenty.
Clara tip: If your shoulders feel like they are doing all the work, your hip belt is either too loose, too high, or the pack is the wrong size. Adjust first. Panic later.
2) Shelter
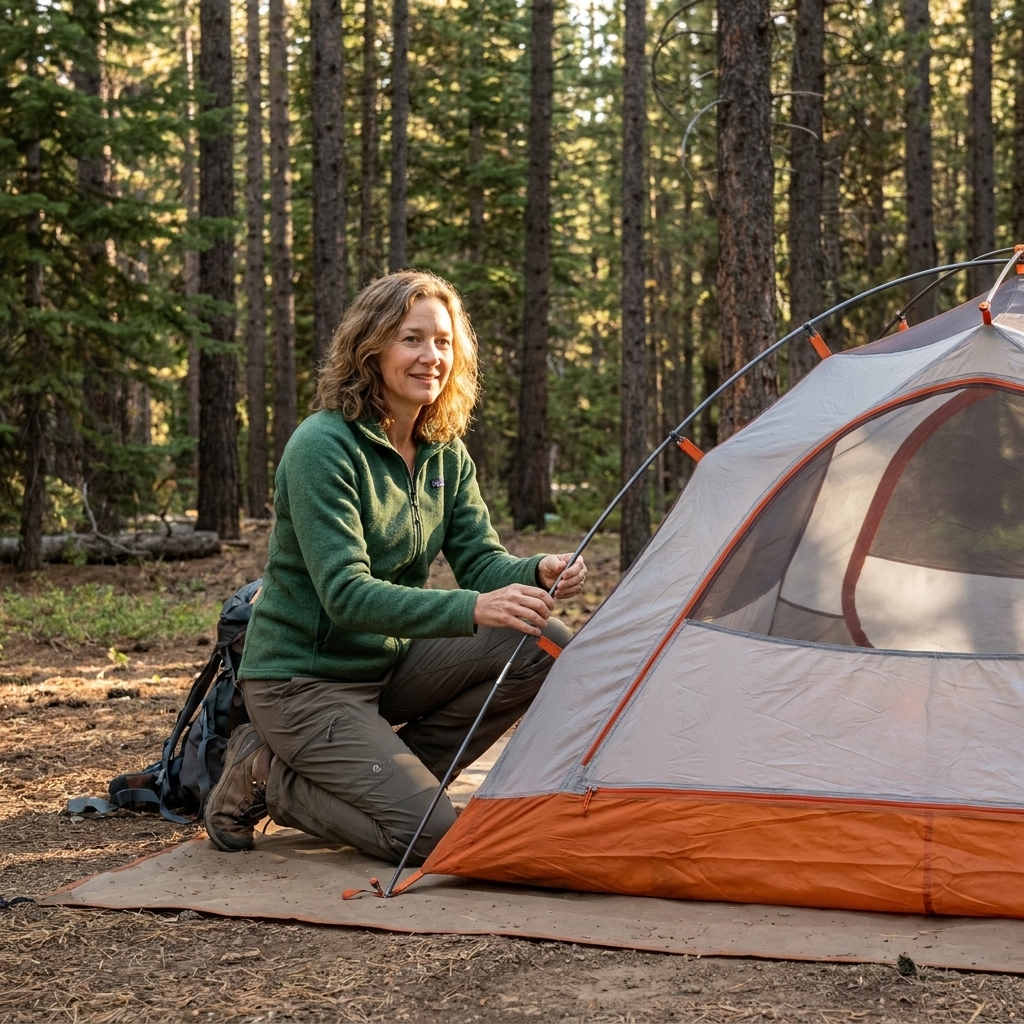
For a first overnight, a lightweight backpacking tent is usually the easiest learning curve. The goal is protection from wind, rain, and bugs, plus a little privacy when you are doing the bedtime shuffle.
Beginner-friendly notes
- Freestanding or semi-freestanding tents are simpler to pitch than some ultralight trekking-pole setups.
- Practice once before your trip, including the rainfly.
- Bring stakes and a repair option like a small patch kit or a bit of duct tape wrapped around a trekking pole.
3) Sleeping bag or quilt
Sleep is the secret sauce of enjoying the outdoors. Choose insulation that matches the expected low temperature. Many new backpackers are happiest with a bag rated around 20 to 30°F for three-season use, but always check your local forecast and elevation.
One quick nerd note that matters: temperature ratings vary by brand, and some list a “limit” rating rather than a “comfort” rating. If a comfort rating is listed, use that. Also, your sleeping pad R-value is a big part of the warmth equation.
What matters most
- Temperature rating: aim for a rating a bit lower than the forecasted low if you sleep cold.
- Down vs synthetic: down packs smaller and lighter; synthetic handles damp conditions better and costs less.
- Fit: too tight feels claustrophobic; too roomy can be chilly.
Clara tip: If you are unsure, bring a warm hat and dry sleep socks. They weigh almost nothing and feel like luxury at 2 a.m.
4) Sleeping pad
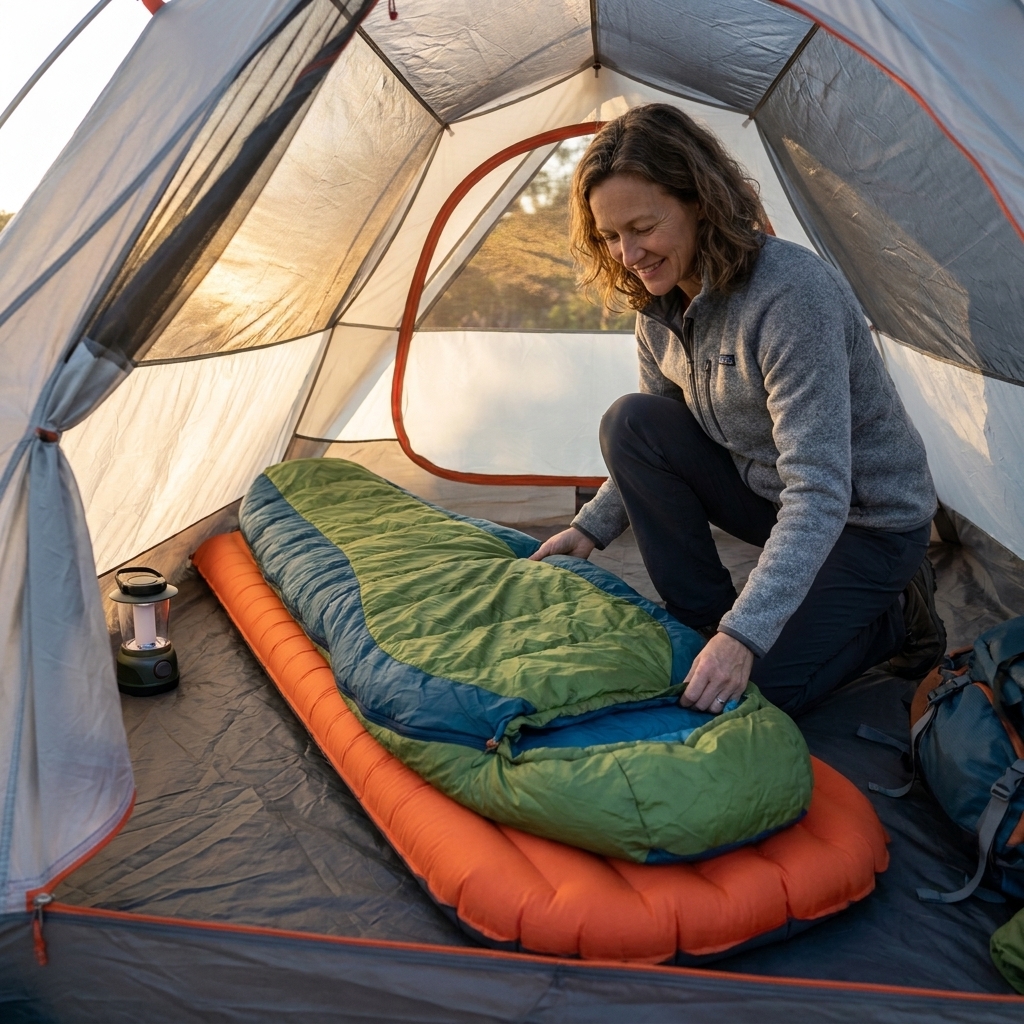
New backpackers often assume the sleeping bag is what keeps you warm. Surprise. Your sleeping pad does a huge amount of the insulation work by separating you from cold ground.
How to choose
- R-value: higher is warmer. For many beginners, R-value 3 to 4 is a friendly three-season range.
- Inflatable vs foam: inflatable pads are more comfortable and pack smaller; foam is tougher and simpler.
- Bring a patch kit if you use an inflatable pad.
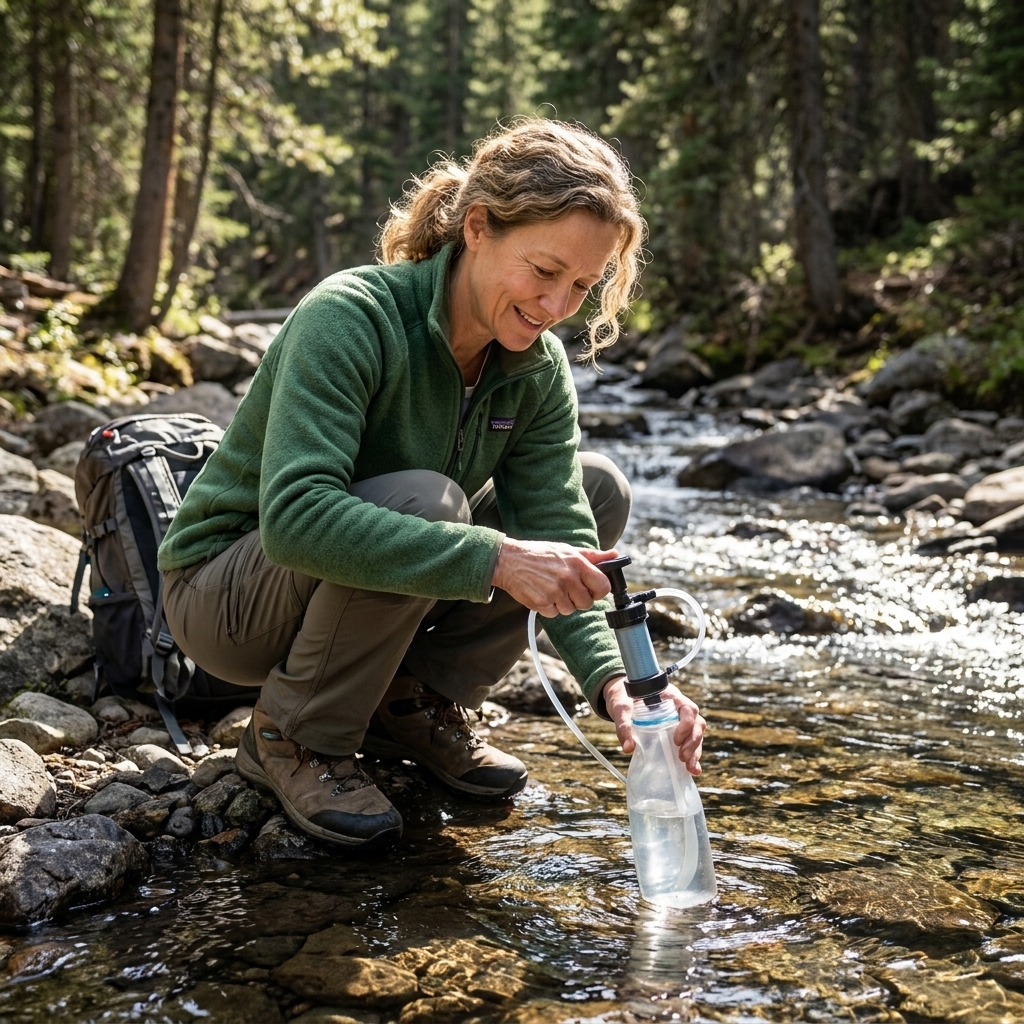
5) Water: carry and treat
For an overnight, you need a way to carry water and a way to make it safe. Even clear mountain streams can carry nasties you do not want to meet.
Beginner options
- Carry: water bottles or a hydration bladder (whatever you will actually use).
- Treat: filter, chemical tablets, or UV purifier. Filters are the most common beginner choice.
- Capacity: often 2 to 3 liters, but plan based on heat and the distance between reliable sources. If you are unsure, carry more.
Clara tip: Look at your route and decide where you will refill before you step onto the trail. Water planning is one of those boring skills that feels heroic later.
6) Food and cooking
Your first overnight is not the time to attempt gourmet camp cuisine unless your definition of gourmet is “hot noodles with extra cheese.” Aim for easy calories, minimal mess, and enough protein and carbs to keep you moving.
Plan for a little extra beyond what you think you will eat. The classic advice is extra food for delays, wrong turns, or the sudden discovery that hiking makes you a bottomless pit.
What to pack
- Dinner: dehydrated meal, instant rice, ramen, or couscous with add-ins.
- Breakfast: oatmeal packets, granola, or a breakfast bar plus coffee if that is your love language.
- Snacks: trail mix, jerky, nut butter packets, dried fruit, crackers, chocolate.
Cooking basics
- Small backpacking stove and fuel canister (or a no-cook plan).
- One pot or mug, plus a spoon.
- Mini lighter and a backup ignition source.
Leave No Trace note: pack out all trash, including tiny food bits and foil corners. They multiply like gremlins.
Smellables tip: cook and store food away from your tent when you can, and keep all smellables together (food, trash, toothpaste, sunscreen).
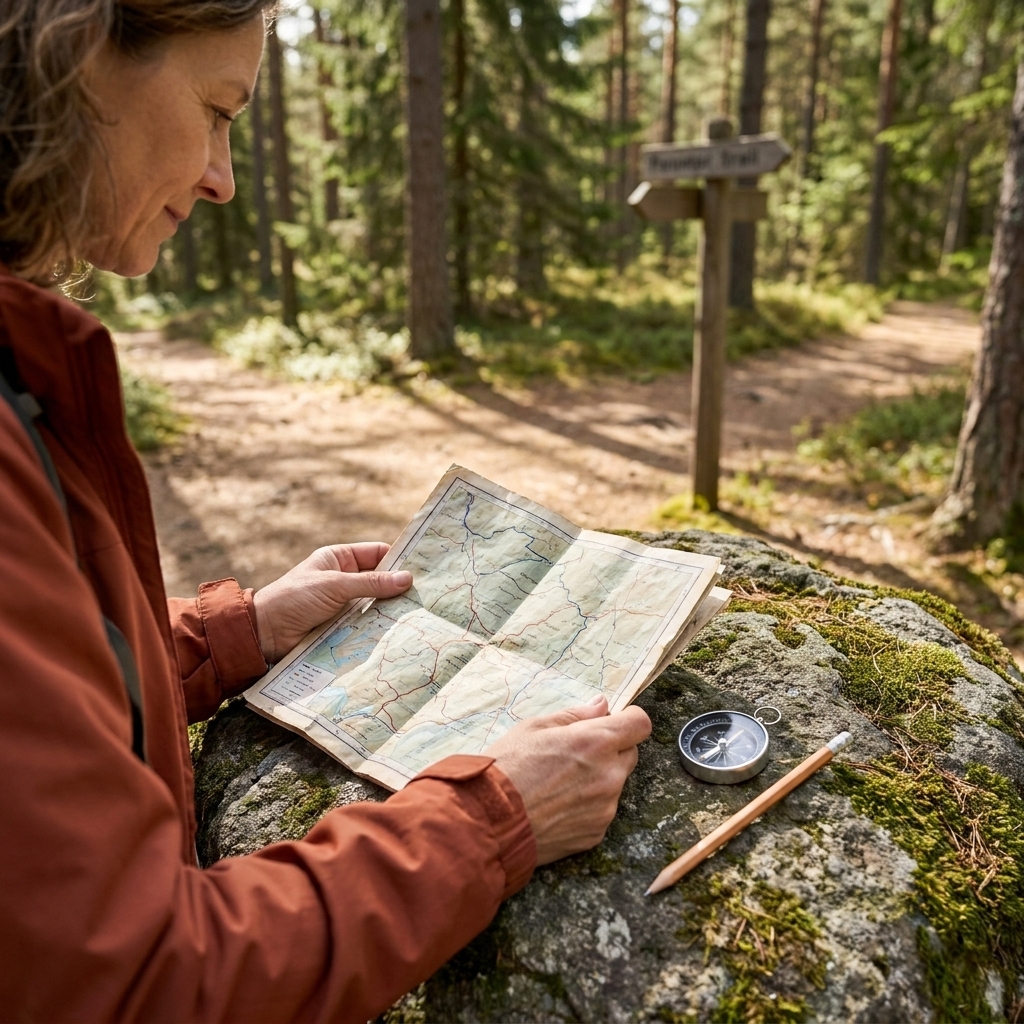
7) Navigation
Even on a popular trail, you want a basic navigation plan. Phones are helpful, but batteries and signal are not guaranteed.
A solid beginner combo
- Offline map on your phone (download it before you go).
- Paper map of the area, especially for longer or less-marked routes.
- Small compass if you know how to use it, or at least to orient a map.
Clara tip: Screenshot the key info too: trailhead, route, mileage, and your planned campsite. It is amazing how quickly details evaporate when you are hungry.
8) First aid and foot care
You do not need a suitcase of supplies, but you do need the basics to handle common problems: small cuts, hot spots, headaches, and allergy surprises.
Minimum helpful kit
- Bandages in a few sizes
- Antiseptic wipes
- Blister care (moleskin, blister pads, or tape)
- Pain relief (ibuprofen or acetaminophen)
- Any personal meds (plus extras)
- Tweezers (splinters happen)
Clara tip: Treat hot spots early. “I will deal with it later” is how blisters become a personality.
Bonus beginner move: air out your feet during breaks, and keep your sleeping socks sacred and dry.
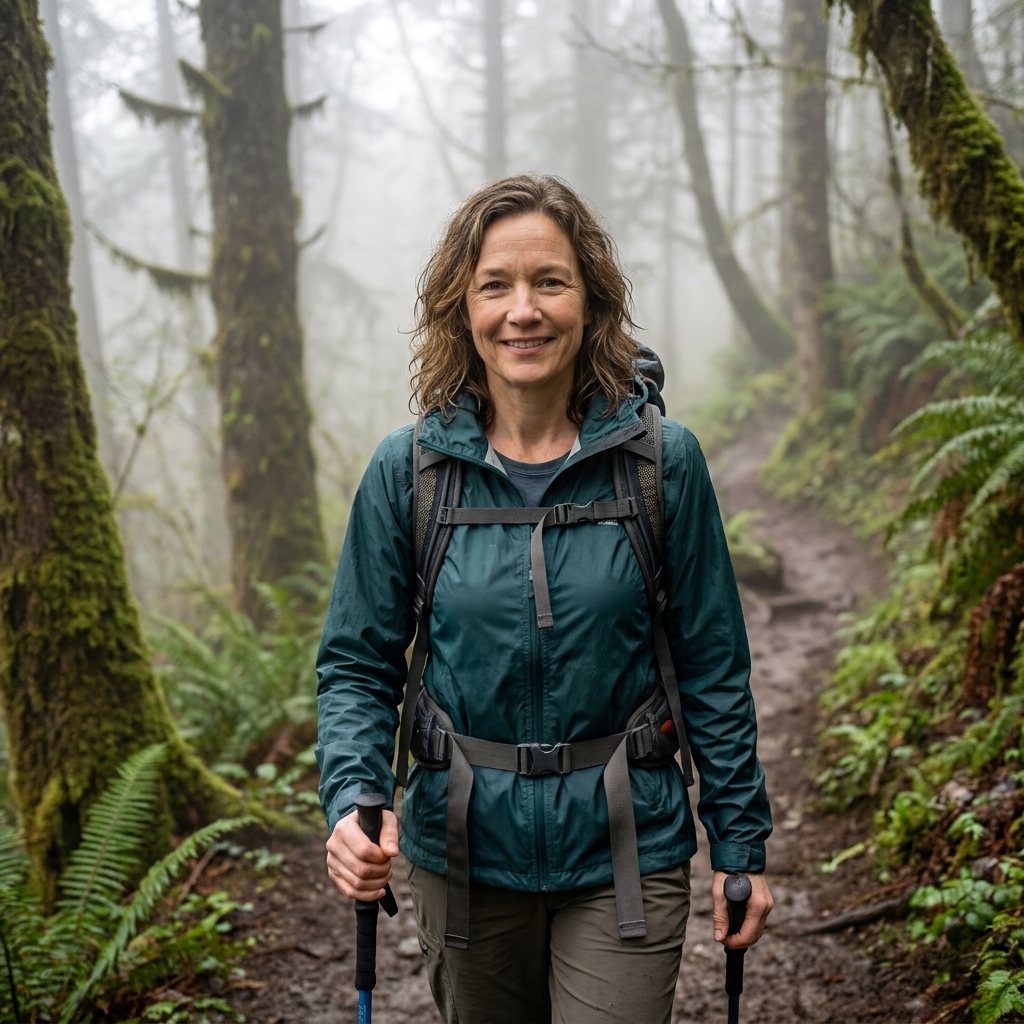
9) Layers and rain gear
Weather changes faster than your confidence on your first trip. Even in summer, nights can get chilly, and wet clothes can turn a pleasant hike into a soggy endurance test.
Go-to clothing basics
- Insulating layer: fleece or puffy jacket
- Rain jacket: breathable if possible
- Extra socks: dry pair reserved for sleeping
- Warm hat: lightweight but mighty
Skip cotton for most conditions. It holds moisture and steals warmth. Synthetic or wool is your friend here.
10) Light and safety
Once the sun goes down, a small light turns your campsite from “mysterious woods” to “cozy tiny home with snacks.” Also, you need a way to signal, handle small repairs, and stay calm if plans change.
What to bring
- Headlamp (hands-free is everything) plus fresh batteries
- Portable power bank if you are relying on a phone for photos, maps, or emergencies
- Whistle (often built into pack straps)
- Small multi-tool or knife
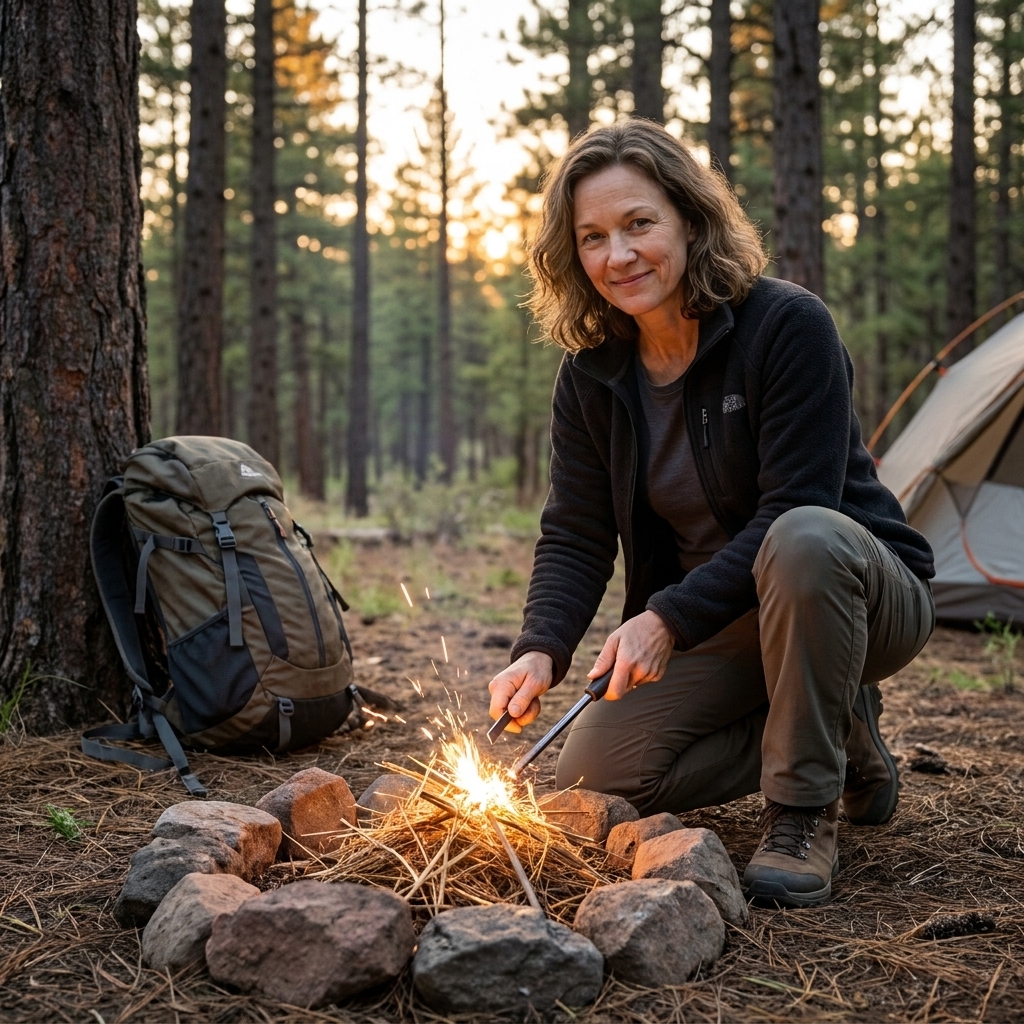
- Fire starter (lighter, plus backup) and knowledge of local fire rules
- Emergency blanket or bivy for worst-case warmth
Clara tip: Put your headlamp in the same pocket every time. Future-you, stumbling around in the dark, will be very grateful.
If you are heading somewhere with no cell service, a satellite messenger or PLB can be a smart add-on for beginners. Not required everywhere, just very reassuring.
Bathroom and hygiene kit
This is the section beginners forget until the moment they absolutely cannot forget. Pack a small kit and keep it easy to grab.
What to pack
- Trowel (for digging a proper cathole where allowed)
- Toilet paper in a zip bag, or wipes (plain, no fragrance)
- Hand sanitizer or biodegradable soap (use soap away from water sources)
- Waste bags to pack out toilet paper and wipes, and to follow local requirements (some areas require packing out all human waste)
Clara tip: Bring more bags than you think. They weigh nothing and solve so many tiny problems.
Sun protection
Sun exposure sneaks up on you, especially at elevation, on water, or on open ridgelines. Add these to your “do not forget” list.
- Sunscreen
- Sunglasses
- Sun hat or a cap
- Lip balm with SPF if you are prone to crispy lips
Food storage
Food storage is both a safety issue and a future-hiking privilege issue. The goal is to protect wildlife from your snacks and protect your trip from wildlife.
- Use what the area requires: bear canister, bear locker, or a proper hang where allowed.
- Keep smellables together: food, trash, toiletries, and yes, sometimes even your sunscreen.
Clara tip: A “food system” is not just a bag. It is a plan you can execute when you are tired and it is getting dark.
Quick mini checklist
If you want the essentials in one glance, here is the whole set:
- Backpack
- Shelter
- Sleeping bag or quilt
- Sleeping pad
- Water carry and water treatment (plus a little extra water when needed)
- Food plus simple stove and pot (plus a little extra food)
- Navigation (offline map, plus backup)
- First aid and blister care
- Warm layers and rain protection
- Headlamp plus basic safety items (power, whistle, multi-tool)
- Bathroom and hygiene kit (trowel, TP or wipes, sanitizer, waste bags)
- Sun protection (sunscreen, sunglasses, hat)
- Food storage system (as required locally)
Beginner questions
How heavy should my pack be?
A common beginner target is under 25 to 30 pounds total, including water and food. Lighter is nicer, but safety and warmth come first. If you are feeling overwhelmed, focus on cutting duplicates, not essentials.
Do I need bear spray?
It depends on where you are hiking and local guidance. Bear spray is most commonly recommended in grizzly country. In many black bear areas, the bigger requirement is proper food storage using a bear canister, bear locker, or a proper hang where allowed. Check the land management agency rules for your specific area.
Can I backpack with regular sneakers?
Some people do on well-maintained trails, but for many beginners, trail runners or hiking shoes with good grip are more comfortable and stable, especially with a loaded pack. Whatever you choose, make sure they are broken in before your trip.
What is the biggest rookie mistake?
Not eating and drinking early enough. Snack before you are totally bonky. Sip regularly instead of chugging once you feel wrecked, and consider electrolytes in hot conditions. Your body is doing a lot of work.
One last reminder
Your first overnight backpacking trip is not a gear test for perfection. It is a chance to learn what you like, what you can leave behind next time, and what makes you feel safe and cozy outdoors.
Pack the essentials, keep your plans simple, and let yourself be a beginner. The trail is very forgiving of people who show up curious and prepared.