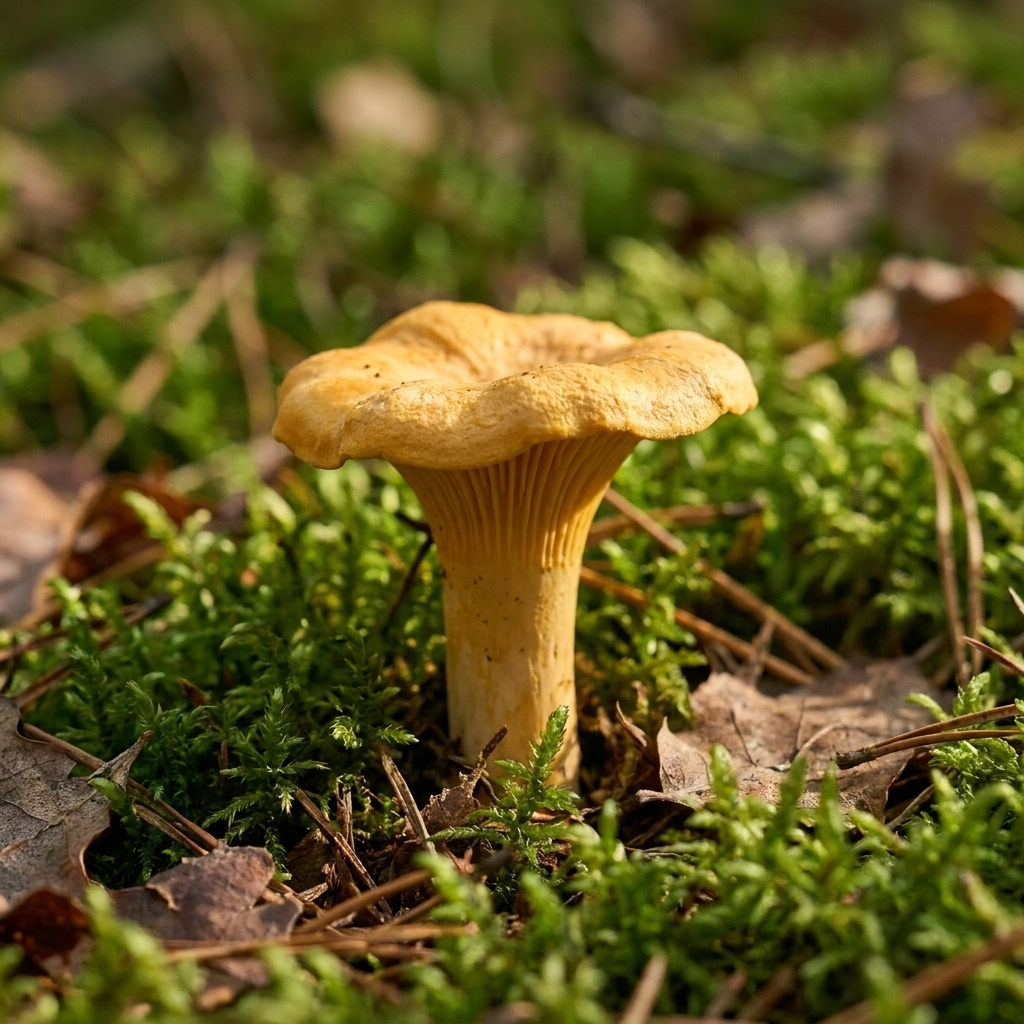
I love a good outdoors hobby because it nudges us into that sweet spot between awe and, occasionally, mild confusion. Like when the trail gets quieter than expected or your “quick day hike” takes longer because you stopped to admire every mushroom like it was a celebrity.
Most of the time, everything goes perfectly. But basic wilderness survival skills are like a seatbelt. You hope you never need them, and you feel much calmer knowing they are there.
Below are five fundamentals you can learn and practice safely. None of this is about becoming a lone-wolf action hero. It is about staying warm, hydrated, visible, and oriented long enough to get back to camp or meet help.
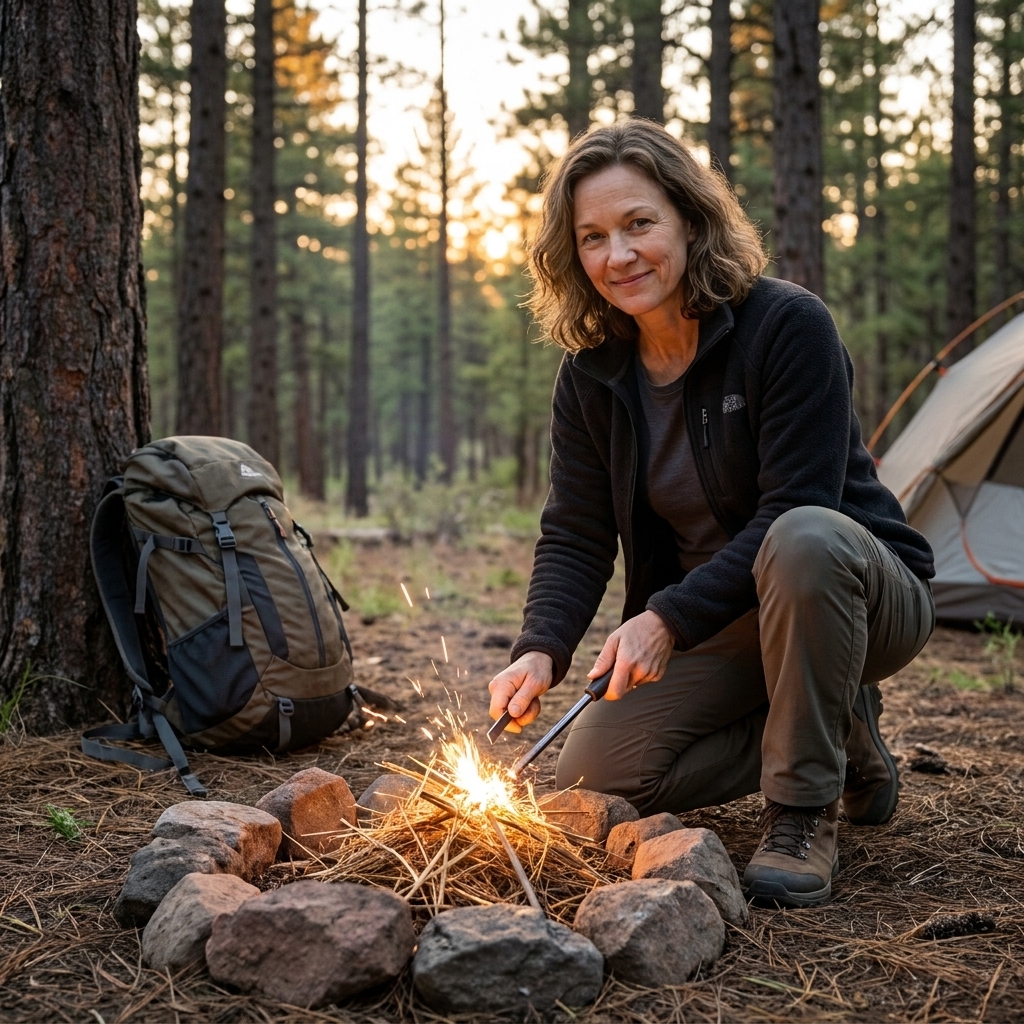
1) Build a fire (safely)
Fire provides comfort, warmth, a way to boil water, a morale boost, and sometimes a rescue signal. It is also a responsibility. Before you practice, check current fire restrictions for your area and choose a safe spot. If conditions are dry or windy, skip open flame practice and focus on the skills you can do without ignition.
What you need
- Tinder: very fine, very dry material that catches first (dry grass, pine needles, birch bark, a cotton ball with petroleum jelly, commercial fire tabs)
- Kindling: pencil-lead to finger-thick sticks
- Fuel wood: wrist-thick pieces you add once the fire is stable
- Ignition: lighter, waterproof matches, and ideally a backup like a ferro rod
Simple steps to practice
- Pick the safest possible location. Use an established fire ring if one exists. Clear a wide circle to bare mineral soil. Keep water nearby.
- Build your structure before lighting. A classic teepee works for most beginners: tinder in the center, kindling leaned around it with airflow gaps.
- Light the tinder, then feed gently. Add kindling in small amounts. Big sticks too early smother the flame.
- Maintain airflow. Fire needs oxygen. If it looks sleepy, it often needs more space between pieces, not more wood.
- Put it out like you mean it. Drown, stir, and feel the ashes. Repeat until everything is cold to the touch. Never bury hot coals. They can stay hot and reignite later.
Beginner tip: Your real skill is not lighting a flame. It is finding dry materials and building the fire lay so it can breathe.
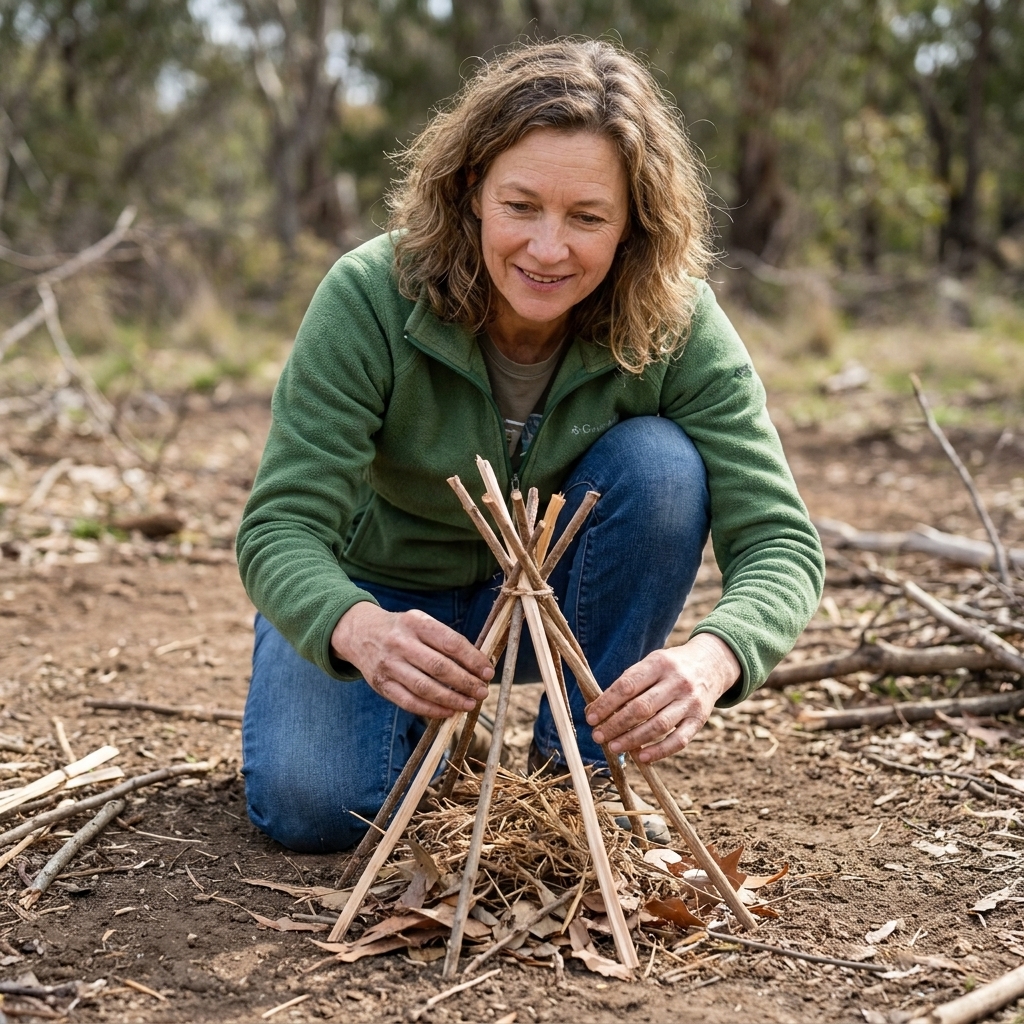
2) Purify water (clear is not clean)
If you take nothing else from this article, let it be this: natural water can contain microbes you cannot see. Even gorgeous mountain streams can make you sick.
Your main options
- Boiling: The most universally reliable method when you have fuel and a pot.
- Filtration: Great for speed and taste, especially a backpacking filter rated for protozoa and bacteria.
- Chemical treatment: Tablets or drops are lightweight backups, though they take time and can leave an aftertaste.
- UV purifier: Effective when used correctly, but depends on battery and relatively clear water.
How to do it in the field
Step 1: Pre-filter cloudy water. If your water is silty, strain it through a bandana or coffee filter first. This helps every other method work better.
Step 2: Choose a method you can execute well.
- Boil: Bring water to a rolling boil for 1 minute. If you are above about 6,500 ft (2,000 m), boil for 3 minutes. Some agencies may publish different guidance for specific areas, so follow posted local instructions when they exist.
- Filter: Use the filter exactly as instructed. Keep the clean side clean, and protect the filter from freezing. Most common backpacking filters do not remove viruses. Viruses are more of a concern near heavy human use, sewage, or livestock, so consider adding chemical treatment, UV, or using a true purifier when in doubt.
- Chemical: Treat for the full contact time listed on the package. Cold water usually needs more time.
Beginner tip: Carry a backup method. Filters clog, stoves fail, and tablets get forgotten in that one pocket you swear you checked.
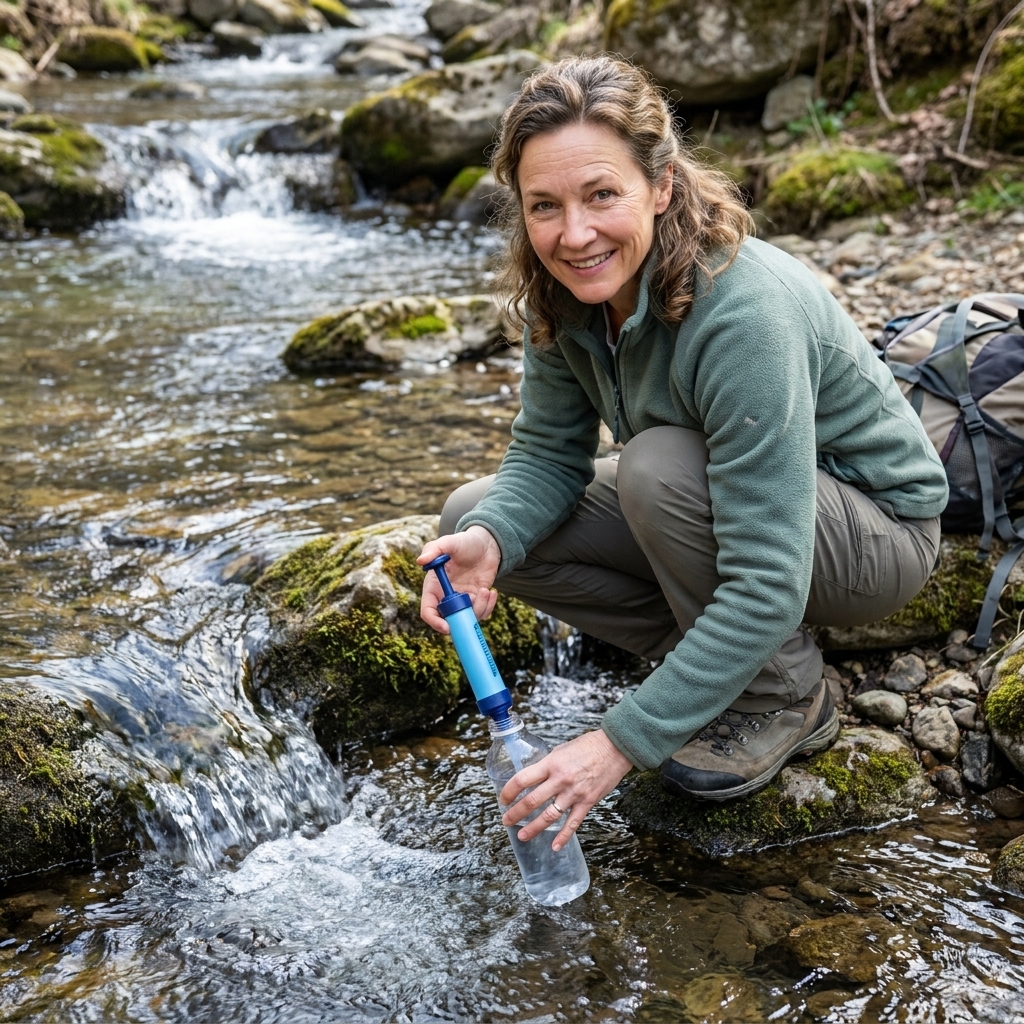
3) Make a basic shelter
You do not need a log cabin. In many situations, a basic shelter is simply something that blocks wind, sheds precipitation, and insulates you from the ground. Exposure can become dangerous faster than most people expect, especially when you are tired, damp, injured, or above treeline.
Here are two beginner-friendly approaches to practice.
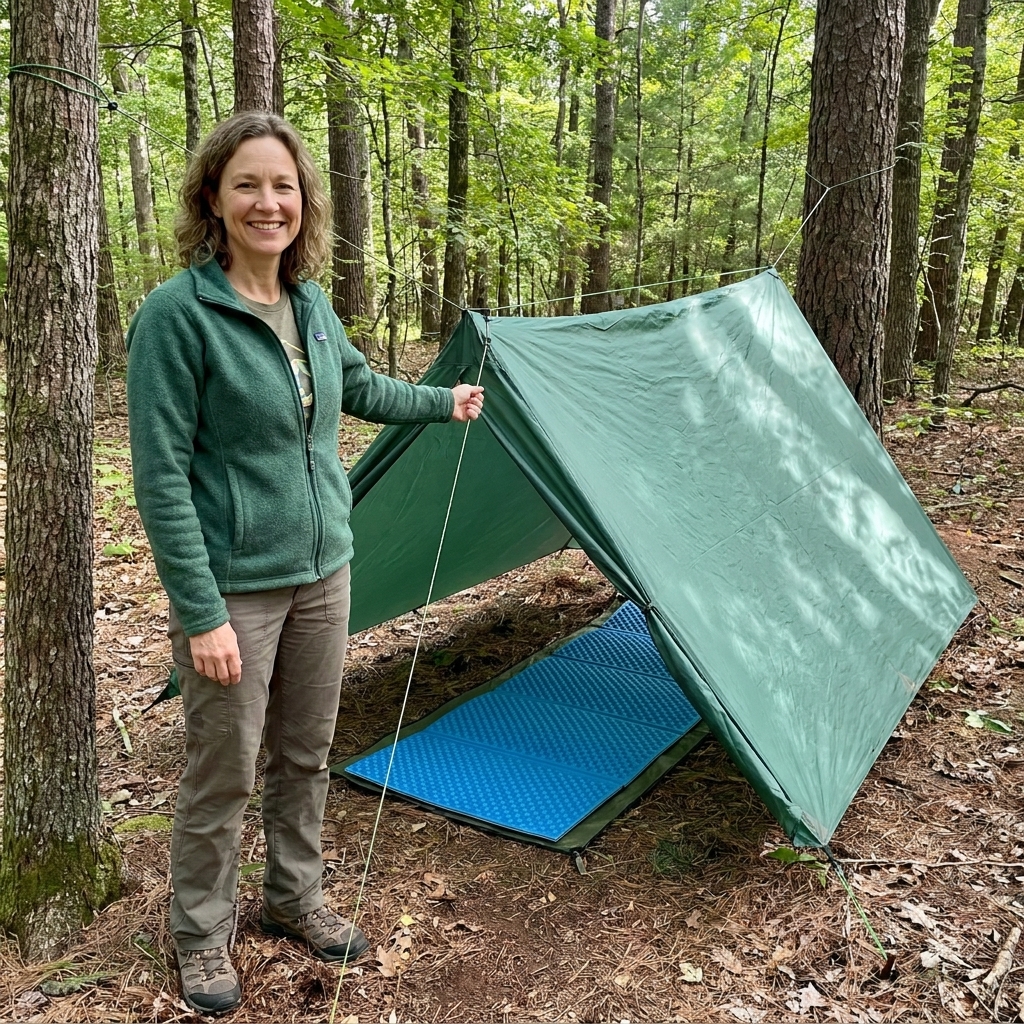
Tarp or poncho shelter
- Why it works: Lightweight, fast, and forgiving.
- What you need: tarp or poncho, cordage, a few stakes or sturdy sticks.
- Pick your site. Avoid low spots where water collects, dead trees overhead, and ridgelines with strong wind.
- Set a ridgeline. Tie cord between two trees at waist height.
- Drape and angle. Create an A-frame or a lean-to by staking one side lower to block wind.
- Insulate underneath. Add a thick layer of leaves or pine boughs (where legal and allowed) or use a sleeping pad to reduce ground heat loss.
Debris shelter (know it, use sparingly)
If you ever need to build from scratch, the priority is insulation and a small interior space you can warm with body heat. A debris shelter can work, but it is labor-heavy and can have real Leave No Trace impacts. Some areas prohibit cutting or collecting vegetation, and even when it is legal, it can damage sensitive habitats. Think of this as an emergency skill, not a fun weekend craft.
Beginner tip: The ground is sneaky. Even with a perfect roof, lying directly on cold earth can drain heat fast. Insulation under you matters as much as coverage above you.
4) Signal for help
When something goes wrong outdoors, the goal is often not “survive indefinitely.” It is “get found quickly.” Signaling is a skill you can practice without being in an emergency, and it pairs beautifully with the humble habit of telling someone where you are going.
Best methods (layer them)
- Sound: A whistle carries farther than your voice and does not shred your throat. Three blasts is widely recognized as a distress signal.
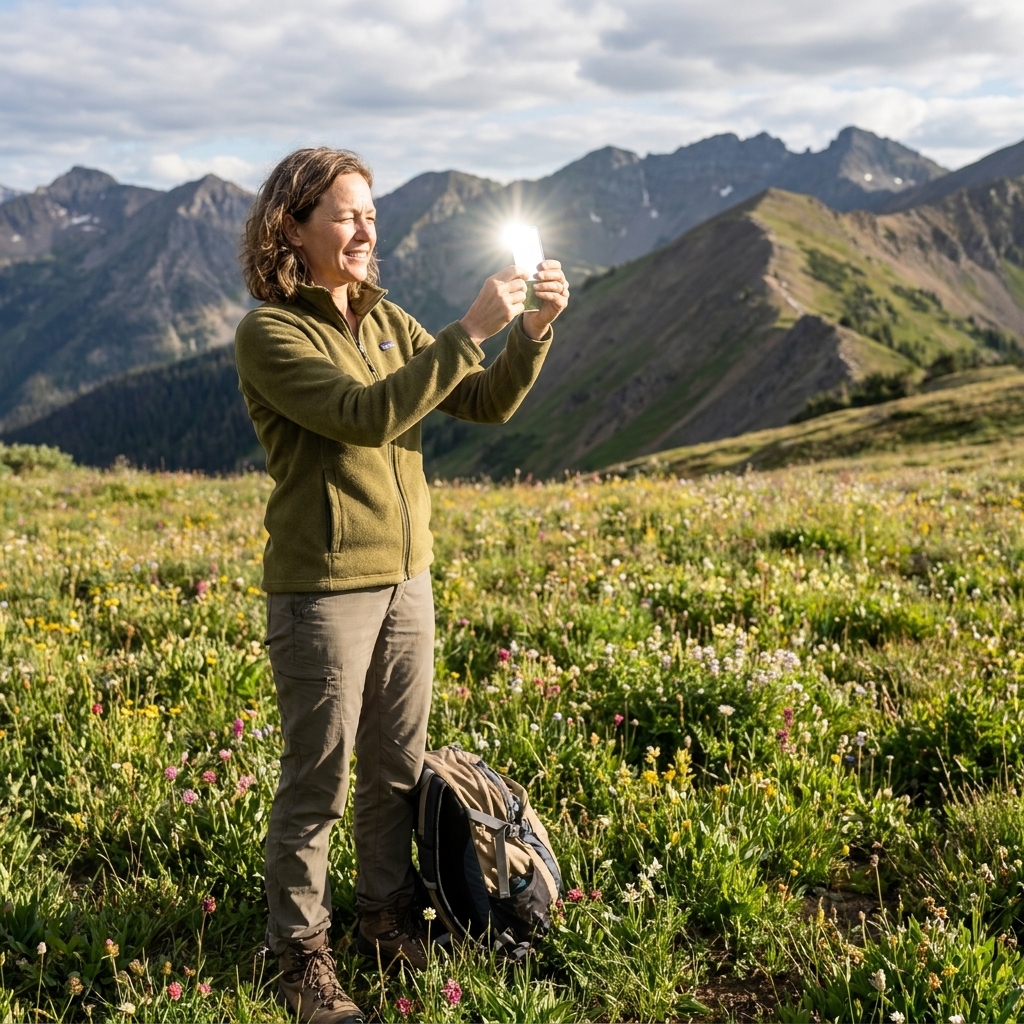
- Light: A headlamp or flashlight can flash attention, especially at dusk or night. A signal mirror is excellent in daylight when used correctly.
- Visible markers: Bright clothing, a tarp, or flagging stands out. Contrast is your friend.
- Smoke or fire: Only where safe and legal. A smoky fire can be visible, but never risk starting a wildfire.
- Tech: Phone (if you have signal), satellite messenger, or personal locator beacon. Technology is wonderful, but it should not be your only plan.
Be searcher-friendly
- Stay put if you are truly lost. Wandering makes you harder to find and burns energy. If you have already told someone your route, staying near your last known location helps rescuers.
- Get to a safe, visible location. Think open areas, but not exposed cliffs or dangerous river crossings.
- Use patterns. Three of something (whistle blasts, flashes) is more noticeable than random noise.
- Know when to call for help. If someone is injured, weather is turning dangerous, or you are stuck and cannot self-rescue safely, it is appropriate to contact emergency services or trigger SOS early. Waiting rarely makes things easier.
Beginner tip: Put your whistle somewhere you can reach if you fall. Shoulder strap, jacket zipper pull, or clipped to your pack strap works well.
5) Navigate and stay oriented
Navigation is not about knowing exactly where you are at all times. It is about reducing uncertainty. The sooner you notice you are off-route, the easier it is to correct.
Always-habits
- Know your turnaround time. Decide when you will head back no matter what.
- Notice landmarks on the way in. The trail looks different on the way out.
- Check in often. Every intersection or weird-looking bend is a good time to confirm you are still on plan.
Map and compass basics
- Carry a paper map. Phones are great, but batteries and screens are not eternal.
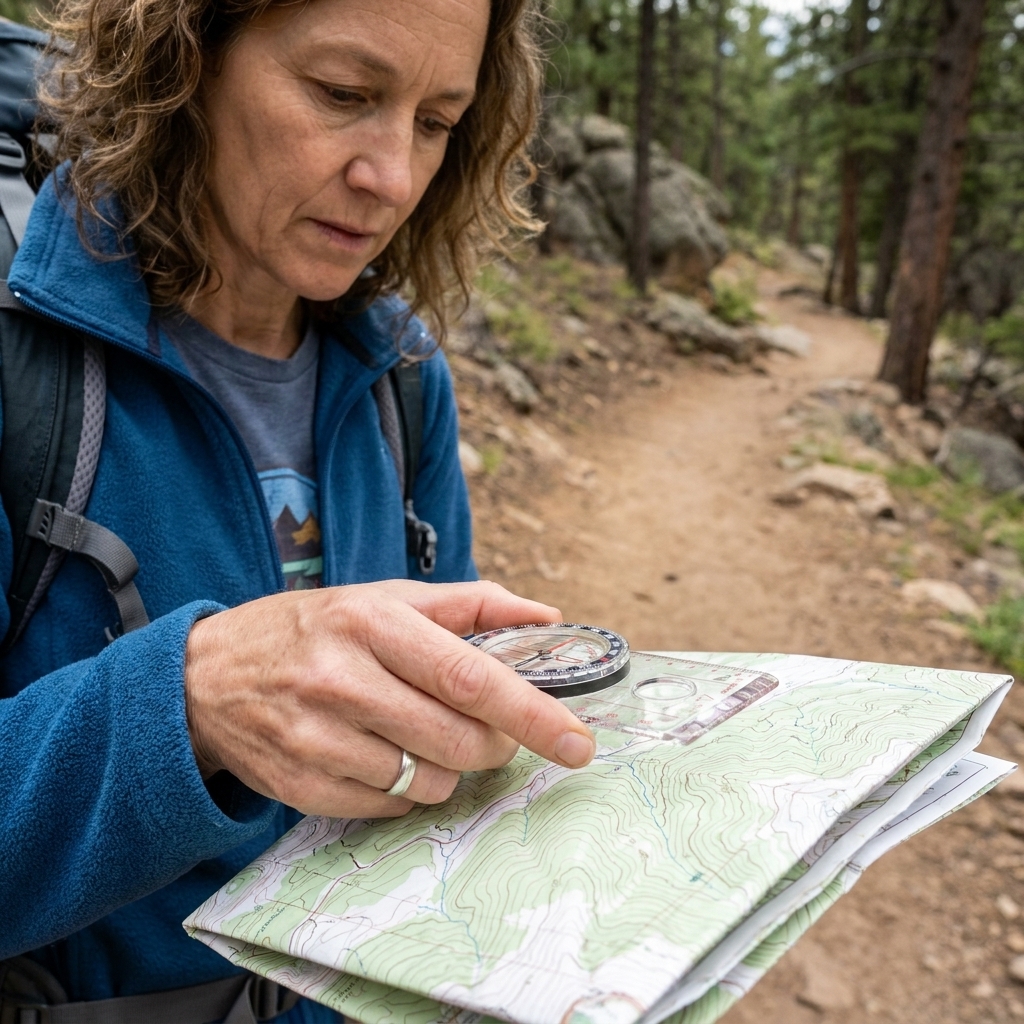
- Orient your map. Use your compass to align the map with north so the terrain makes sense.
- Identify handrails and backstops. A river, ridge, or road can guide you (handrail). A big feature you should not cross can stop you from going too far (backstop).
Beginner tip: Your best navigation move is often a pause. Sit, snack, sip water, and think. Hungry brains make dramatic decisions.
Pre-trip checklist
I am a former librarian, so yes, I love a good checklist. Here is the quick version you can save in your brain:
- Tell someone your route and return time.
- Carry the basics: water, a way to purify more, insulation layer, rain protection, headlamp, fire starter, first-aid supplies, food.
- Check the weather and adjust your plan accordingly.
- Dress for the boring emergency: a dry layer plus wind and rain protection goes a long way toward staying warm and thinking clearly.
- Pack one comfort item that helps you stay calm: a warm drink mix, an extra pair of dry socks, or a small sit pad.
Wilderness skills are not about fear. They are about confidence built from small, repeatable practice.
Quick FAQ
What is the first survival priority?
It depends on conditions, but a calm assessment comes first: injuries, weather, daylight, and your location. In many real scenarios the urgent priorities are treating injuries and stopping bleeding, staying warm and dry, getting safe drinking water, and making yourself findable.
Should I build a fire if I am lost?
Only if it is safe and allowed, and you can fully control it. If fire risk is high or restrictions are in place, focus on insulation, signaling with light or sound, and staying put.
Is a space blanket a real shelter?
It can be a helpful component. Space blankets are great for blocking wind and reflecting heat, but they tear easily and can trap condensation. Pair one with a tarp or natural windbreak when possible.
Do I need a survival knife?
A sturdy knife is useful, but it is not magic. For most hobby hikers and campers, a small fixed blade or reliable folding knife plus a fire starter, headlamp, and water treatment tool is a better skills-to-gear ratio.