Polymer clay jewelry is one of my favorite “beginner-friendly but still impresses people” crafts. You can start with a couple of clay blocks, a blade, and some jump rings, and suddenly you are making earrings that look like they belong in a boutique. If you are selling on Etsy, the goal is not just cute. It is consistent, durable, and easy to repeat without losing your mind.
Below are seven polymer clay jewelry ideas that tend to do well because they photograph beautifully, invite collecting, and can be made in small batches. I will also share practical tips on construction, finishing, and pricing so you are not accidentally paying yourself $1.25 an hour.
Before you list: what makes polymer clay jewelry sellable
I learned this the hard way in a library craft club: a beautiful piece that breaks after two wears becomes an expensive lesson. These quick checkpoints help your items hold up and earn great reviews.
- Condition your clay well. Under-conditioned clay can crack at thin spots, especially if it is also underbaked.
- Bake like it matters. Follow your brand’s time and temperature, and use an oven thermometer. Underbaking is one of the biggest reasons clay feels brittle later.
- Use quality, skin-safe hardware. “Hypoallergenic” is not a magic word, so be specific and disclose materials. Common safer options include implant-grade titanium, niobium, and 14k+ gold. Stainless steel varies by alloy, so name what you use.
- Plan for comfort. Lightweight earrings sell because people can wear them all day.
- Finish like you mean it. Sand, buff, and seal with intention. A smooth back and neat edges scream “professional.”
- Batch-friendly designs. If a design is hard to reproduce quickly, treat it as limited edition and price it like special work.
1) Statement arches and rainbows
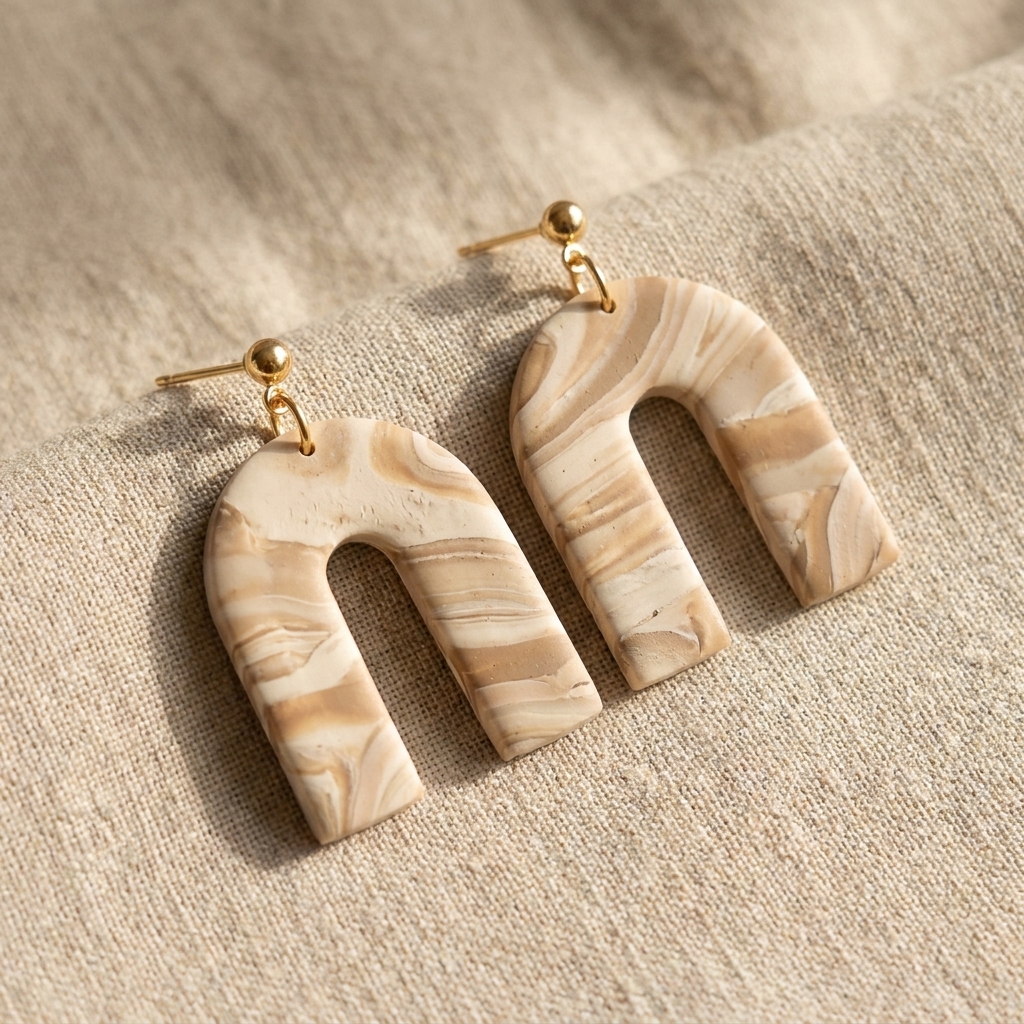
Arches are a polymer clay classic for a reason. They flatter most face shapes, give you lots of surface area for color, and look crisp in photos. They also invite easy variations: tall arches, squat arches, cutout centers, or stacked layers.
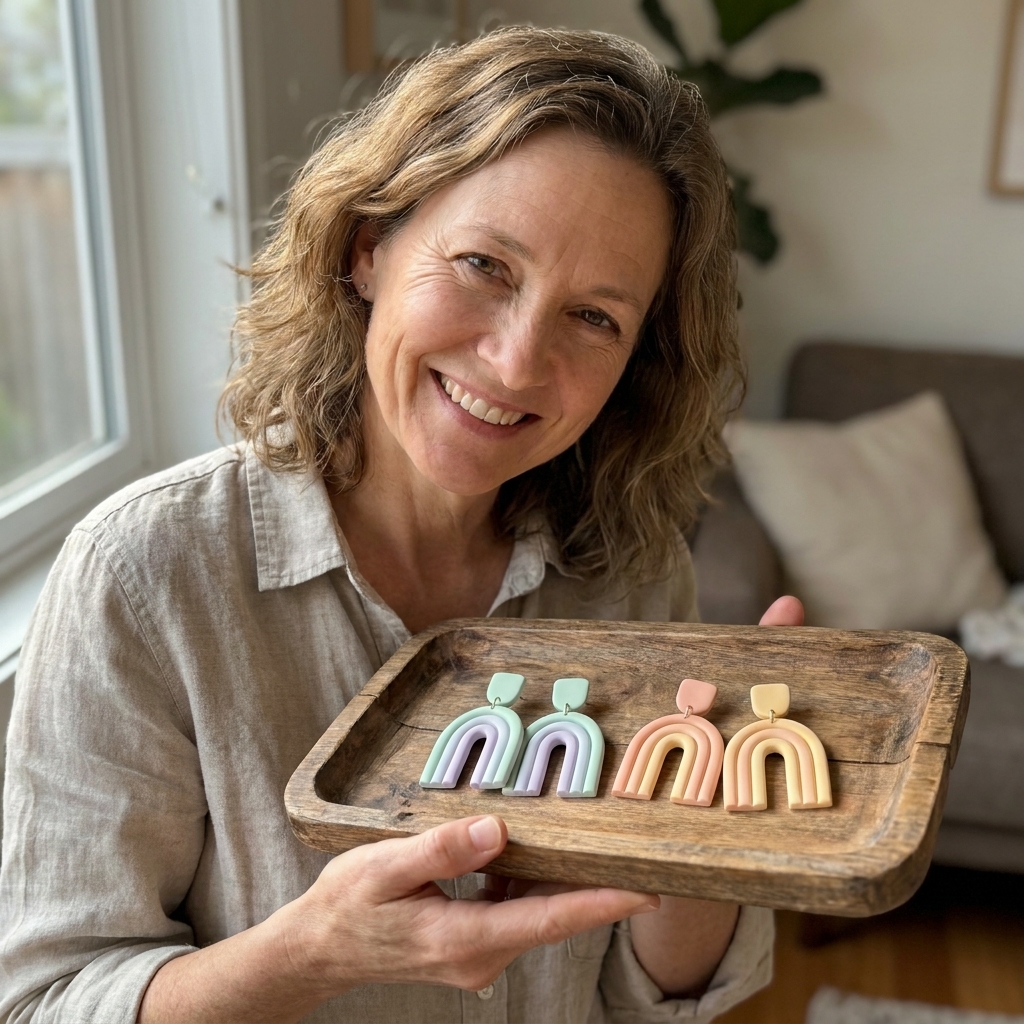
Make it stand out
- Try a cutout arch. Use a smaller cutter inside a larger one to reduce weight.
- Layer for depth. Stack two thin arches instead of one thick piece for a clean, modern look.
- Add texture subtly. A light linen or terrazzo texture reads as elevated without looking messy.
Pricing tip
Arches are “mid-range friendly.” If your arches use basic finishes and standard findings, price them as a dependable everyday statement piece. If you add hand-mixed marbling, multiple layers, or upgraded materials like gold-filled hooks instead of gold-plated, bump up accordingly because your time will absolutely go up.
2) Terrazzo speckle studs
Studs are the quiet workhorses of an Etsy shop. They are quick to ship, easy for customers to justify as an add-on, and great for gift buyers who are nervous about bold styles.
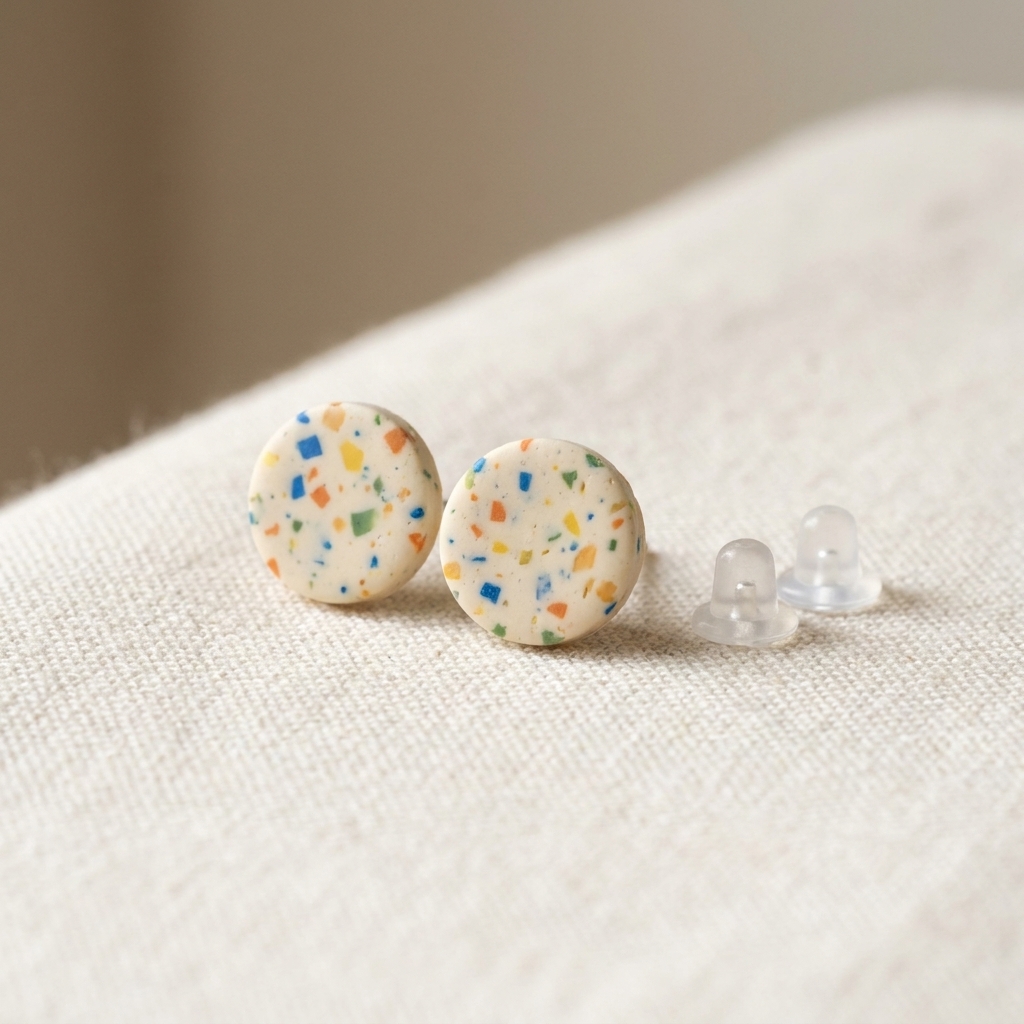
How to make them look polished
- Keep speckles consistent. Chop tiny bits of cured clay or mix micro-specks into your base, then roll gently to avoid muddy colors.
- Use a clean cutter. Wipe cutters between colors so edges stay sharp.
- Back them neatly. A smooth, flat back with a centered post reduces wobbly studs.
Pricing tip
Studs can be priced slightly lower, but do not underprice them. They often sell in multiples. Consider offering “pick any 3” bundles where your average order value increases without tripling your packaging effort.
3) Marbled “stone look” dangles
Marble effects are a tiny bit magical because they look fancy, but the technique is approachable. Neutral marbles, clay “agate,” and soft swirls give that boutique, earthy vibe many buyers love.
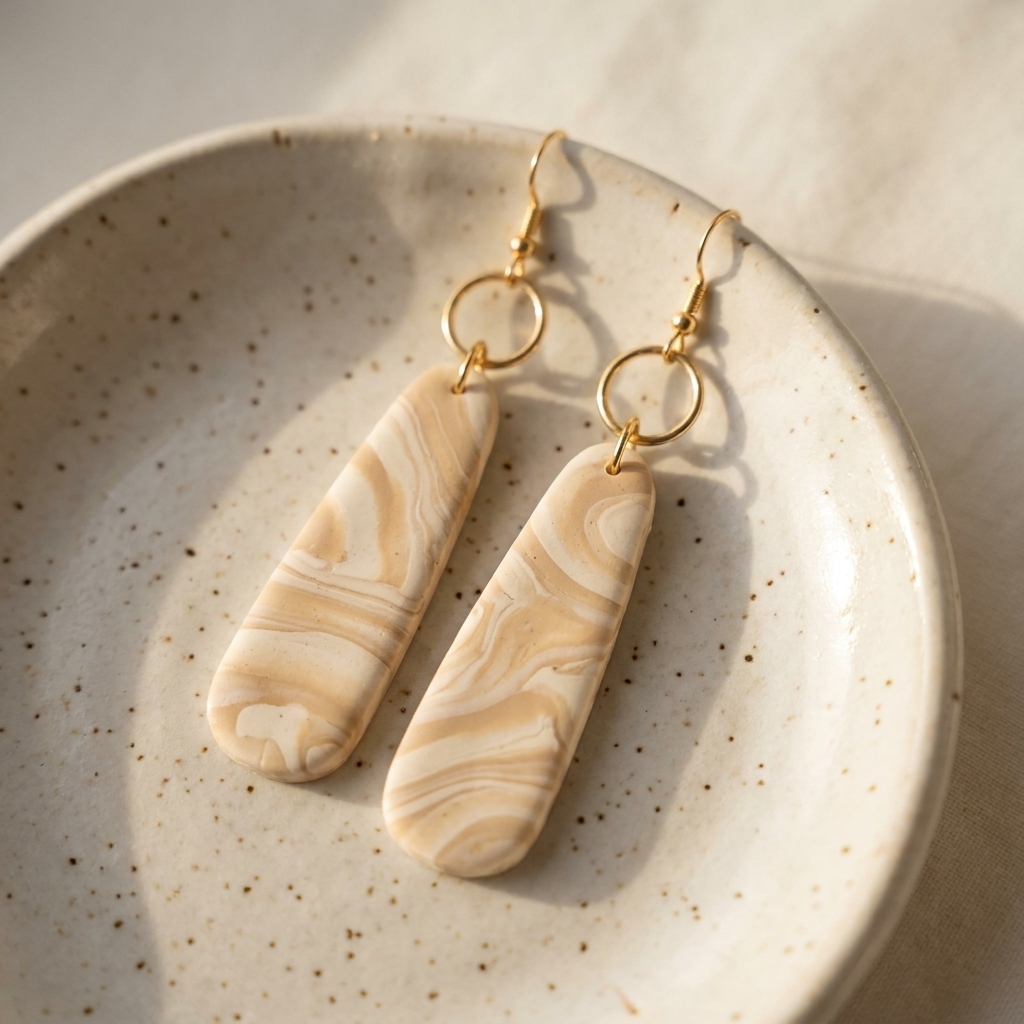
Technique notes (so it does not turn into beige soup)
- Twist, do not knead. Combine colors by twisting strands together and folding once or twice. Overmixing kills the pattern.
- Slice and stack. If your cane pattern looks uneven, slice it, rotate pieces, and recompress for more variety.
- Finish matters. Marble shows scratches. Wet-sand lightly and buff, or use a thin, even sealant if you prefer a satin look.
Pricing tip
Marbling is time-heavy because every pair is unique. Price for the extra minutes. Customers usually understand that “no two pairs are the same” comes with a slightly higher price.
4) Checkerboard and retro patterns
Retro patterns like checkerboard, wavy stripes, and color-block grids pop on camera and look playful without being hard to wear. They are also a smart way to use up scrap clay from other projects.
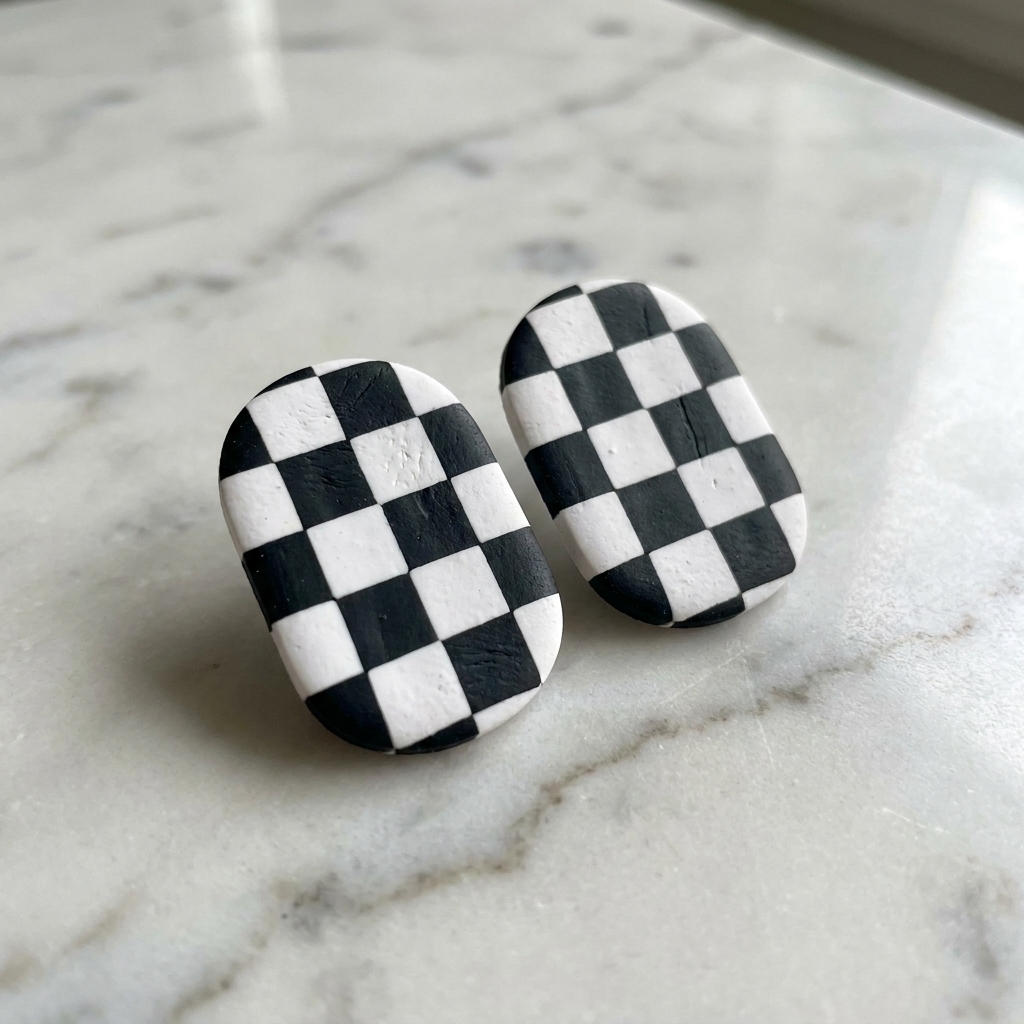
Keep your patterns crisp
- Chill your clay. A few minutes in the fridge before slicing helps prevent smearing.
- Use a sharp blade. A tissue blade gives cleaner pattern slices than a craft knife.
- Flatten evenly. Uneven thickness makes patterns look warped after baking.
Pricing tip
If you can batch these efficiently, patterns can be a strong profit style. Make a limited palette per drop so you are not constantly mixing new colors.
5) Minimalist hoops with clay charms
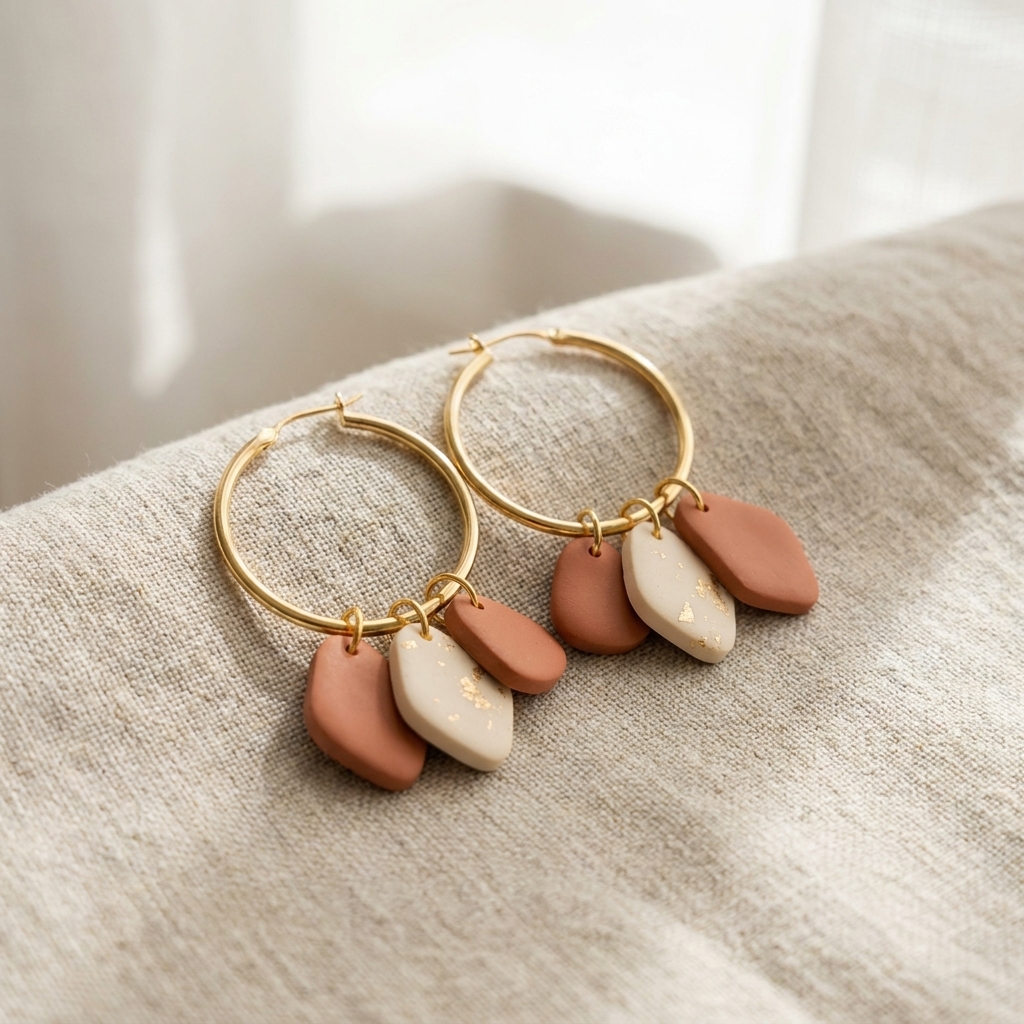
This style is a best friend to anyone who wants a “real jewelry” look with a handmade twist. You buy quality hoops, then add removable or fixed clay charms like tiny moons, pearls, teardrops, or abstract tabs.
Construction tips
- Go lighter than you think. Small charms sell because they are comfortable and versatile.
- Use strong connectors. Double jump rings or a small chain segment can reduce twisting and keep charms facing forward.
- Open jump rings correctly. Twist them side-to-side with flat-nose pliers instead of pulling them apart. They stay rounder and stronger.
- Offer charm options. One hoop style, multiple charm colors equals a tidy, scalable product line.
Pricing tip
Factor in the cost of the hoops. Good hoops cost more, but they also let you price higher and market the benefit of better materials.
6) Floral slabs and botanicals
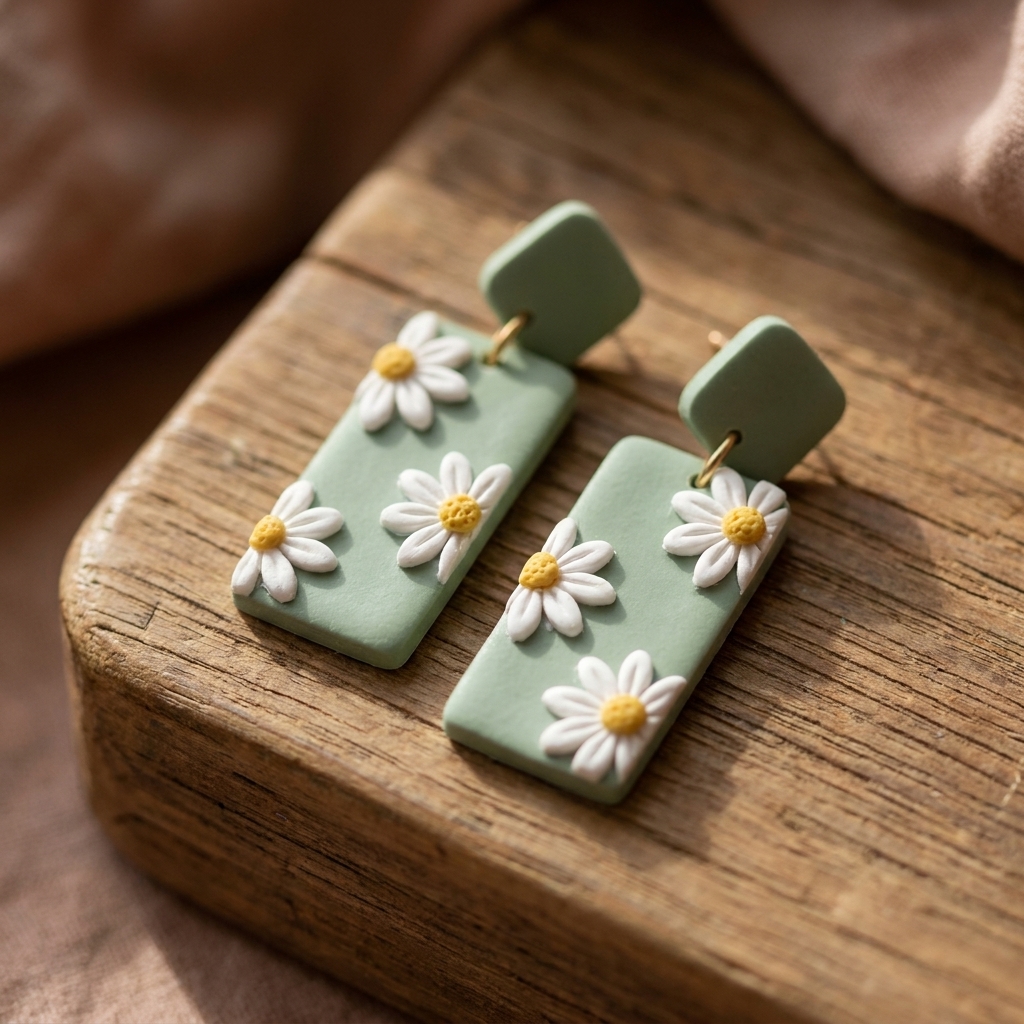
Florals can go sweet, modern, or earthy depending on your palette. Think pressed-flower effects, tiny sculpted daisies, or leafy textures made with a simple stamp. These work beautifully for spring and summer drops, weddings, and gift seasons.
How to avoid bulky flowers
- Use thin petals. Flatten small clay balls between your fingers or with a tiny roller.
- Keep centers small. Big centers add weight fast and can snag.
- Seal thoughtfully. If you use chalk pastels for shading, a light sealant helps protect the finish.
Pricing tip
Hand-sculpted florals are labor-heavy. Price them as detail work, not as “just another pair of earrings.” If you want florals at a lower price point, use stamped textures and painted details instead of fully sculpted petals.
7) Personalized initial charms and name accents
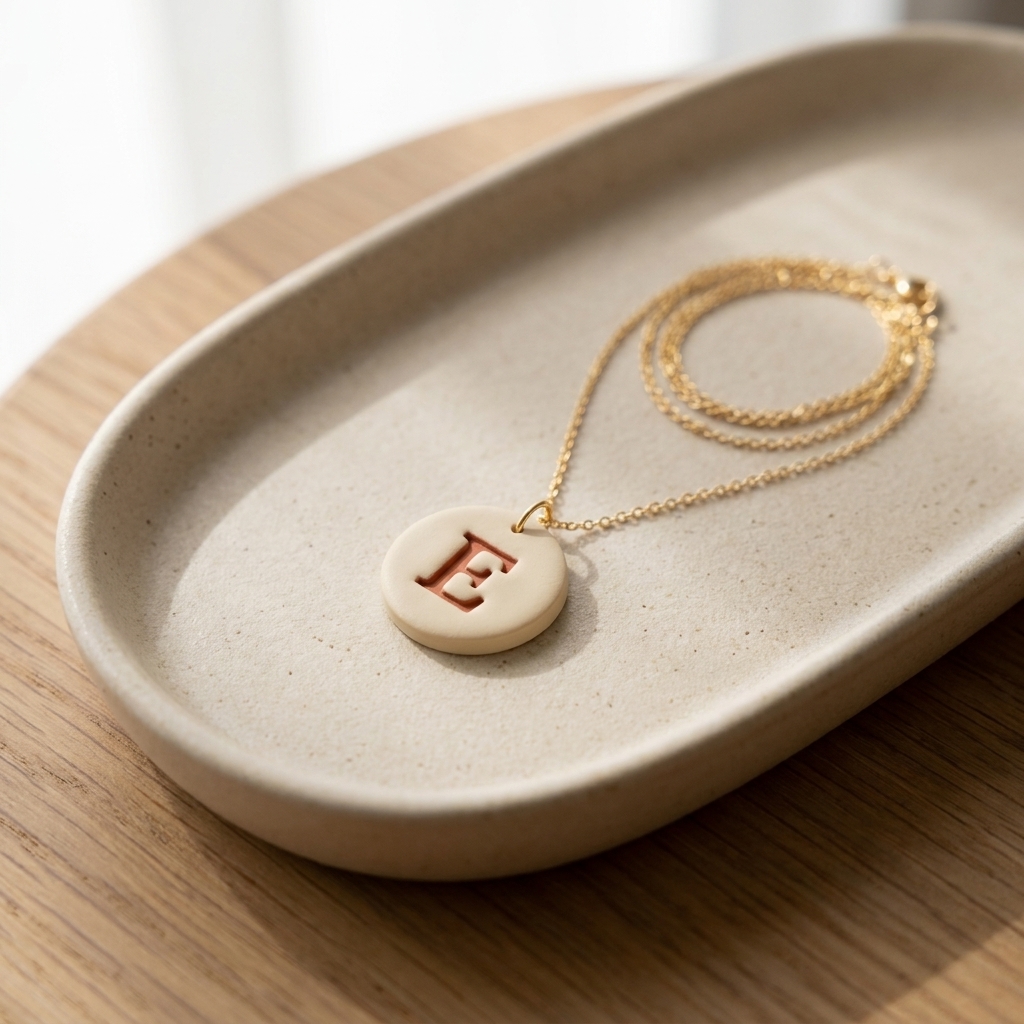
Personalization can be profitable because it feels special, and customers are often comfortable paying more. Polymer clay is perfect for tiny initial charms, stamped letter tiles, or subtle monograms on tag-style pendants and keychains.
Keep it neat and repeatable
- Use letter stamps. Stamps give cleaner results than hand-lettering unless calligraphy is already your thing.
- Make a template. A simple paper guide helps you center initials consistently.
- Set clear turnaround times. Protect your sanity by batching custom orders on specific days.
- Have a simple custom policy. Personalized items usually cannot be returned, so say that clearly in your listing and messages.
Pricing tip
Add a personalization fee that covers your extra handling time, messages, and proofs. Custom work includes admin time, not just clay time.
Crafting tips that raise your profit per piece
Make your jewelry stronger
- Mind thin spots around holes. Leave enough clay around punched holes, especially on heavy dangles.
- Drill with care (before or after baking). Drilling after baking can give cleaner holes for some shapes, but it is not automatically safer. Use a sharp bit, low pressure, and support the piece on a flat surface to avoid cracking.
- Use liquid clay wisely. It can act like a “glue” for adding details, but good clay-to-clay contact still matters.
- Pick a flexible clay for thin pieces. If you love skinny dangles, choose a brand that cures strong and slightly flexible, not snappy.
Sand and finish like a pro
- Wet-sand in grits. Start around 400 to remove imperfections, then go 800 to 1000+ for a smoother finish.
- Choose your sheen. Matte looks modern, gloss looks jewelry-like. Pick one consistent finish per collection.
- Test sealants. Some sealants can stay tacky on polymer clay. Always test your brand combination on a scrap piece. If you want examples, many makers use water-based varnish for a satin look, while resin gives a glassy finish but adds time and safety steps.
Batching without boredom
I like to batch by “mess level.” Condition and mix colors first, cut shapes next, then bake, then do assembly. Put on a podcast, pretend you are in a tiny factory run by a friendly goblin, and keep going.
Pricing polymer clay jewelry on Etsy (without guessing)
Pricing is part math, part confidence. You need to cover materials, fees, packaging, and your time. Here is a simple, practical way to think about it.
1) Calculate your base cost
- Materials per piece: clay, findings, jump rings, posts, backs, sealant
- Packaging per order: card, pouch, box, tissue, sticker, thank-you note
- Overhead slice: tools wear, blades, sandpaper, electricity for baking (keep this small but real)
2) Pay yourself for time
Track how long it takes to make one pair when you are working in a batch. If it takes 12 minutes of hands-on time per pair and you want $20 per hour, your labor cost is about $4 per pair.
3) Add platform fees and profit cushion
Etsy fees vary depending on listing and payment processing. Build a cushion so fees do not surprise you after a busy weekend. A small “profit buffer” also helps you run occasional promotions without going underwater.
Clara’s gentle rule: If you feel weird charging your price, do a quick reality check. If you would not be excited to make ten more at that price, it is probably too low.
Photos and listings that help your jewelry sell
Even a gorgeous earring cannot sell if it looks flat online. You do not need fancy equipment, just consistency.
- Use natural light. Near a window, indirect light, and a simple backdrop like linen or matte board.
- Show scale. Include at least one photo on an ear or next to a ruler so buyers understand size.
- Photograph backs and findings. This builds trust and reduces “what are the posts made of?” messages.
- Name your style clearly. Mention shape, color, and finish. Keep it simple and searchable for humans.
- Write care instructions. Polymer clay is durable, not indestructible. Suggest avoiding prolonged water, high heat, and heavy contact with perfume, lotion, or sunscreen. A quick storage tip helps too: keep pairs separate to prevent scratching.
- Consider sensitive-ear options. If you can, offer titanium hooks or clip-ons, and say what is available in your listing.
Quick FAQ
What polymer clay brand is best for jewelry?
For jewelry, you generally want a clay that cures strong and slightly flexible, especially for thin dangles. Popular go-to brands many makers trust include Sculpey Premo, Fimo Professional, and Cernit. Whatever you choose, test-bake a few thin strips in your oven and gently bend them after cooling. If they snap easily, adjust your bake (time and accurate temperature) or switch formulas.
Should I seal polymer clay earrings?
You do not always have to. Many makers sand and buff for a natural finish. Seal if you use surface treatments like powders or paint, or if you want a consistent sheen. Always test to avoid tackiness.
How do I keep earrings lightweight?
Use cutouts, keep slabs thin and even, and choose smaller connectors. Heavy earrings lead to fewer repeat customers, even if they look amazing in photos.
Pick one style and start small
If you are feeling overwhelmed, choose just one of these ideas and make a tiny collection of 6 to 10 pairs in a tight color palette. You will learn more from listing your first small batch than you will from planning the perfect imaginary shop.
And remember, hobbies do not have to become side hustles to be worthwhile. But if you are going to sell, you deserve to be paid fairly for your time, your materials, and your beginner-brave creativity.