There is a particular kind of joy in putting a freshly printed mini on the table and watching your group lean in like, “Wait, you made that?” If you have been hobby-curious about 3D printing for tabletop RPGs, I am here to give you the gentlest on-ramp possible, with the practical details that save you from sticky mistakes and the kind of safety steps that let you keep all your fingers, brain cells, and favorite hoodie.
This guide focuses on resin printing for miniatures (the crisp details are hard to beat), plus tips for terrain where resin shines and where it might not be your first choice.
Resin vs FDM: Why minis love resin
If you are brand new, here is the simplest split:
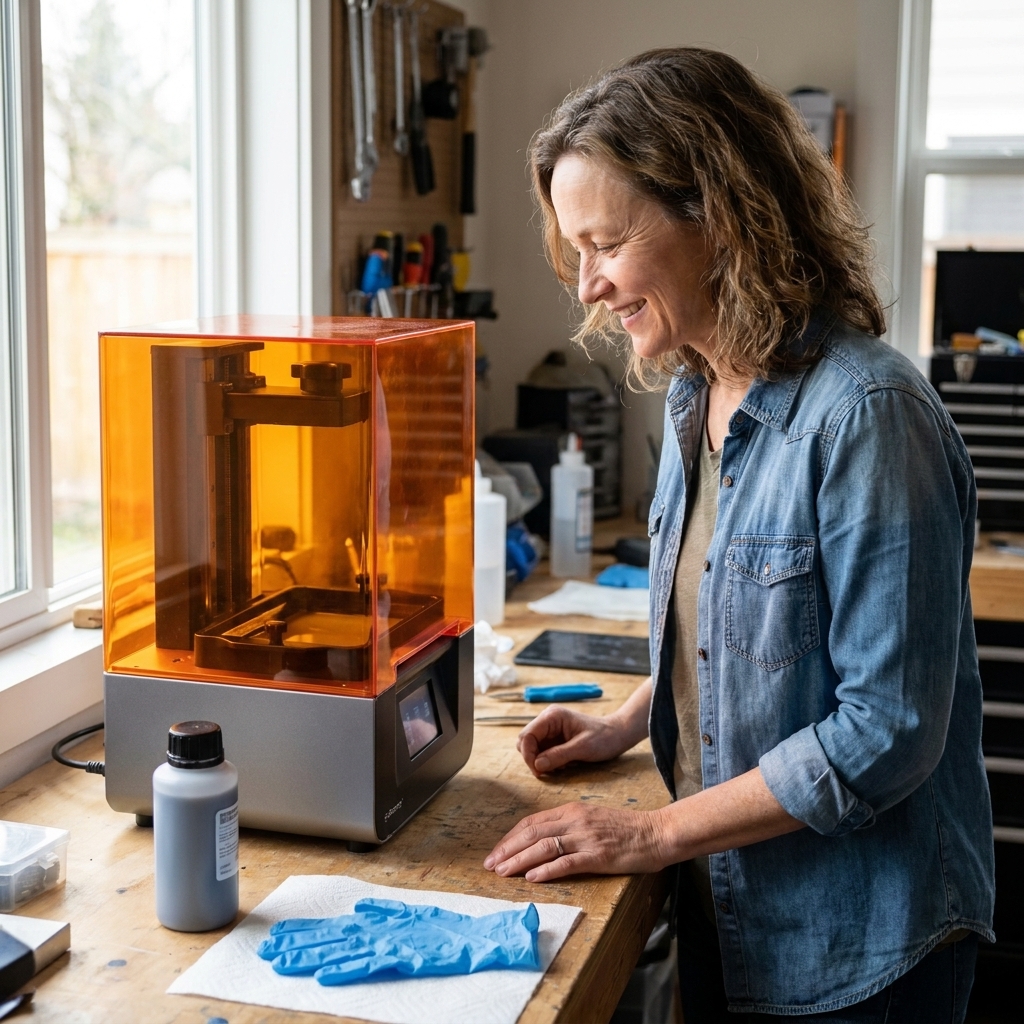
- Resin (usually MSLA/LCD, sometimes laser SLA or DLP): Best for miniatures, faces, armor trim, chainmail, tiny rivets, and anything you want to paint close-up. Prints are made by curing liquid resin with UV light, layer by layer.
- FDM (filament): Often better for big terrain pieces, storage inserts, and sturdy utility prints. It prints melted plastic through a nozzle. You can get great results, but tiny character minis usually show more layer lines.
This article is resin-first because you asked for high-quality tabletop figures, and resin is the reliable path to “wow, those details!” without years of tinkering.
Choosing the right resin printer
Buying a resin printer can feel like picking a dragon at a pet store. They are all impressive, some are temperamental, and a few absolutely require boundaries.
What matters for miniatures
- XY resolution (pixel size): For minis, this matters more than total “K” marketing. Smaller pixel size generally means sharper details.
- Build volume: Bigger is not always better. A modest build plate is perfect for squads of minis. Larger printers are great for big creatures or terrain, but they use more resin and take up more space.
- Reliability and community support: A popular model means more troubleshooting guides, better profiles, and more people who can answer “why did my wizard print as a pancake?”
- Ease of maintenance: A good vat, accessible screws, and a sturdy build plate save sanity.
Quick size guide
- Small to mid resin printer: Great for 28mm to 32mm minis, busts, and small scatter terrain like crates, barrels, and dungeon dressing.
- Large resin printer: Better for dragons, vehicles, large ruins, and printing many pieces at once. Also heavier cleanup and more resin to manage.
Checklist before you buy
- A place to print with active ventilation (more on that soon)
- A plan for washing and curing
- Budget for PPE and consumables (gloves, alcohol or cleaner, paint filters, paper towels, extra FEP film)
- Willingness to do small routine chores like leveling, cleaning the vat, and replacing film occasionally
My gentle advice: choose a widely used, well-reviewed beginner model from a major resin printer brand, and prioritize a stable workflow over chasing maximum specs. Consistency is what gets you miniatures on the table.
Safety first
Resin printing is not scary, but it is a chemical process. Treat it like you would treat strong cleaners or paint stripper: with respect and good habits. One key concept to know early: resin can cause skin sensitization over time, meaning repeated exposure can make your body react more strongly later. So we do not “tough it out.” We build good habits.
Your minimum safety kit
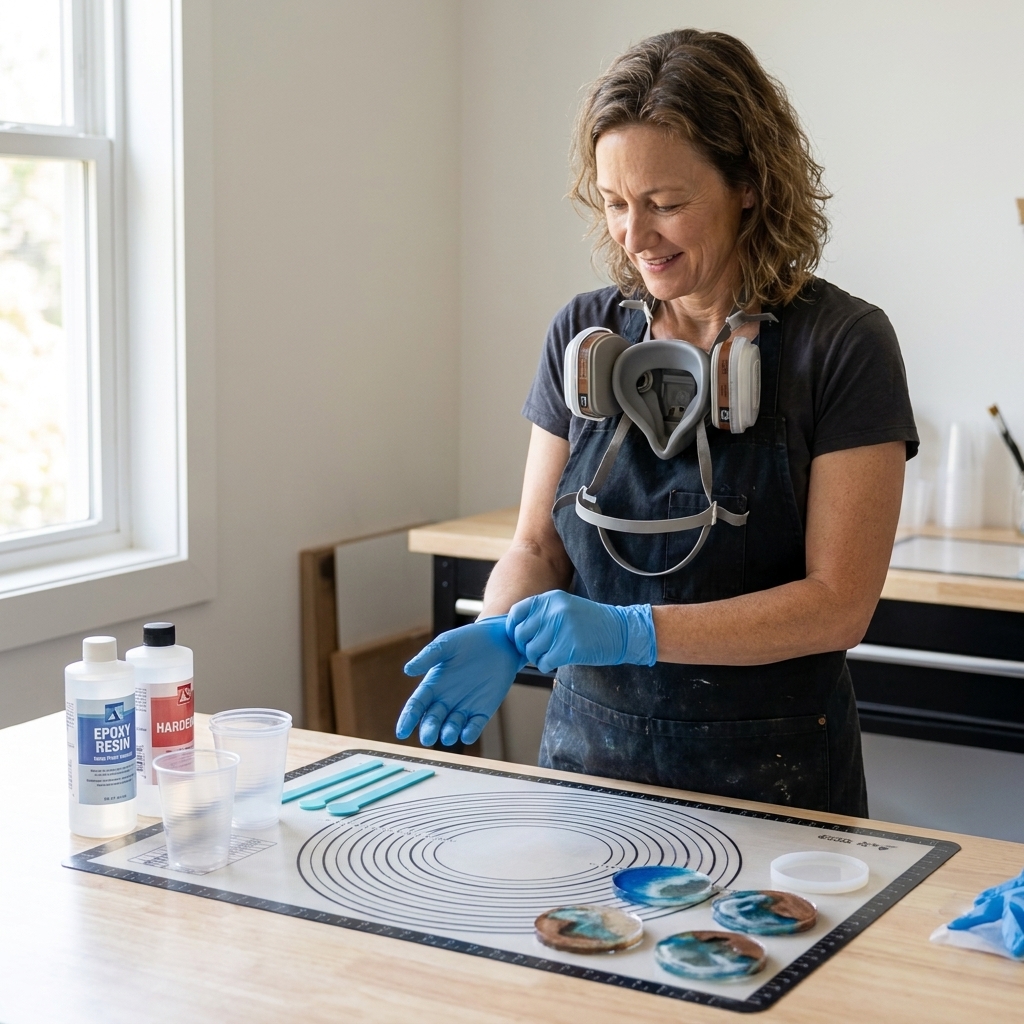
- Nitrile gloves (not latex). Buy a box. You will use them. Gloves every time, even for “quick” tasks.
- Eye protection for pouring and scraping.
- A respirator with organic vapor (OV) cartridges if you cannot confidently ventilate your space. Fit matters here. A great cartridge with a poor seal is just expensive jewelry.
- Dedicated tools (scrapers, tweezers, snips) that do not wander back into the kitchen.
- Silicone mat or disposable bench cover for spills.
Ventilation that helps
“Crack a window” is better than nothing, but ideal is active ventilation. Many hobbyists use a small enclosure and duct it to a window, or print in a garage or workshop space with airflow. Your goal is to avoid breathing resin fumes and IPA vapors for hours. Also, keep your printing area away from food, kids, and curious pets. Resin is not a “maybe” chemical.
Fire and storage note
Isopropyl alcohol is flammable. Store it sealed, use it away from flames or sparks, and give it the same respect you would give paint thinner.
Cleanup and waste
- Never pour liquid resin down the drain.
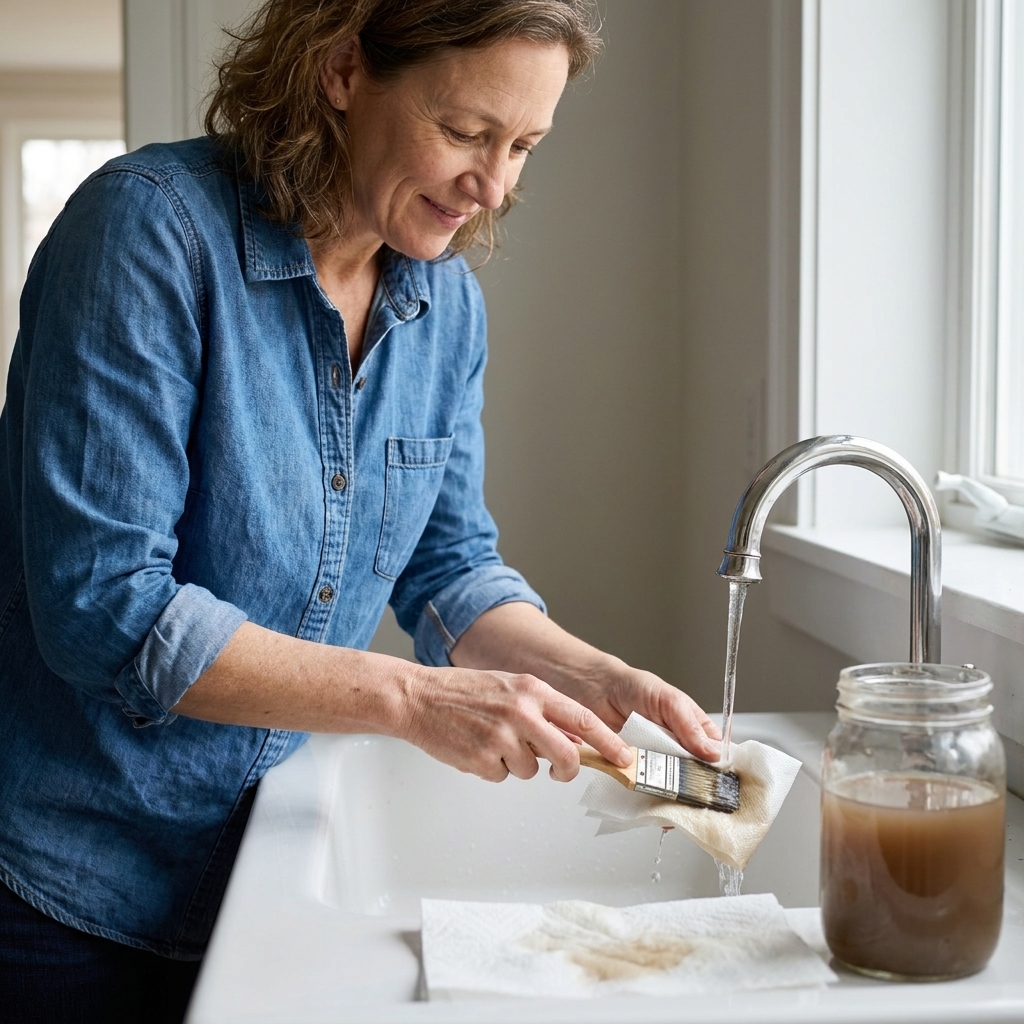
- Never pour resin-contaminated rinse water down the drain. This matters especially for water-washable resin (more on that below).
- Contaminated paper towels and gloves: cure them under UV light or sunlight until fully hardened, then dispose according to your local rules.
- IPA waste: let resin settle, cure the sludge, and reuse the cleared IPA when possible. For final disposal, follow local hazardous waste guidance. Do not assume it is safe to pour off.
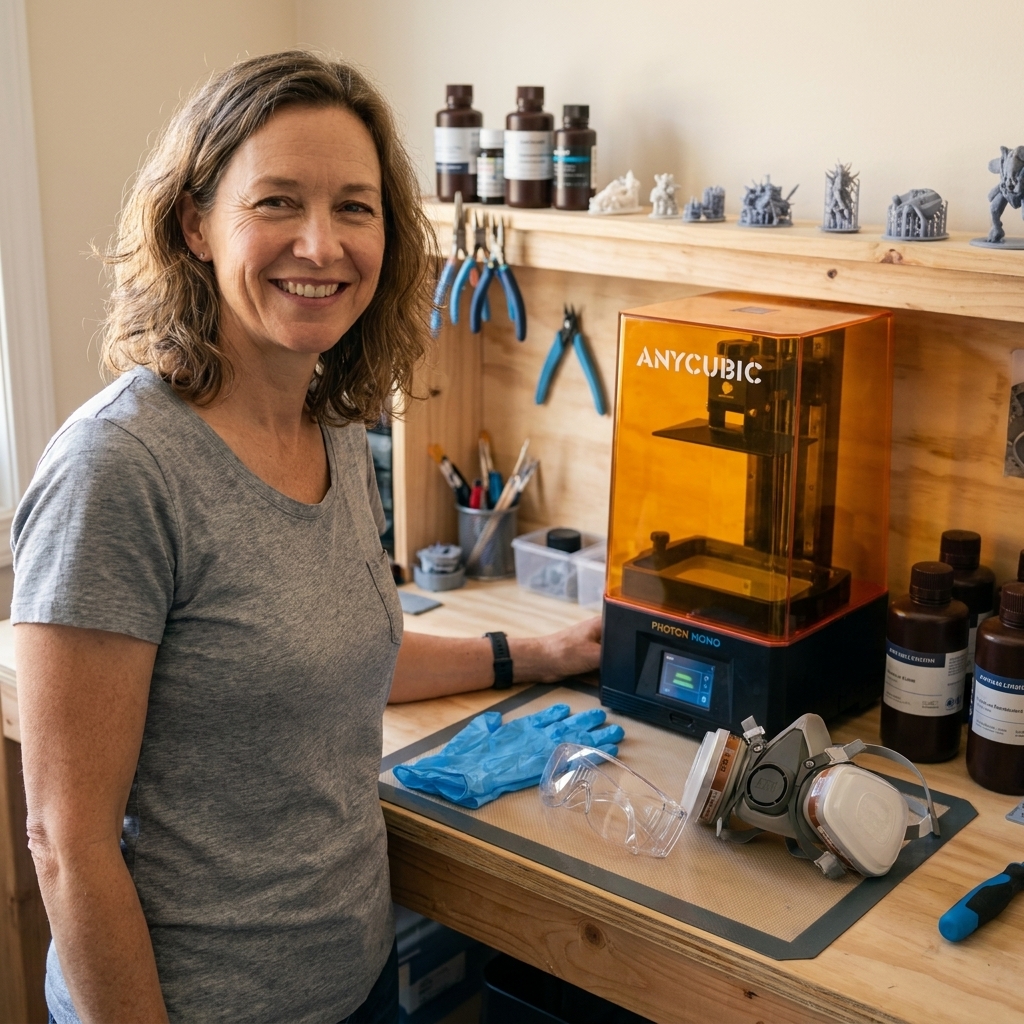
If you take nothing else from this guide: gloves every time, and cure your waste. Future-you will be grateful.
Washing, curing, and tacky prints
Resin printing is really three hobbies in a trench coat: printing, washing, and curing. The print is only halfway done when it comes off the build plate.
Wash and cure options
- Wash and cure station: Easiest and tidiest. Great if you want a smooth routine.
- DIY wash: Two containers with IPA (or an approved resin cleaner), one for a rough wash, one for a final rinse.
- DIY cure: A UV curing box or a UV lamp. Sunlight works, but it is inconsistent and can overcure parts, leading to yellowing or extra brittleness.
Why prints feel tacky
Tackiness usually means one of three things:
- Not washed well enough, so uncured resin is still on the surface
- Not cured long enough
- Wash solution is saturated with resin and needs replacing or filtering
A clean rinse step fixes a shocking amount of beginner frustration.
Water-washable resin
Water-washable resin is tempting because it looks like a shortcut around buying IPA. It can work well, but here is the non-negotiable truth: the rinse water is still resin-contaminated and toxic. Do not pour it down the sink, bathtub, or storm drain.
Handle the waste the same basic way you handle IPA waste: let solids settle, cure the residue, and dispose according to local rules. The water is “washable,” not “safe.”
Finding great STL files
STL files are the “recipe” for your mini. A good recipe makes cooking fun. A bad one makes you question your life choices.
Where to look
- Creator storefronts: Many sculptors sell directly and often include pre-supported files.
- Marketplaces: Great variety. Check reviews and preview renders carefully.
- Subscription libraries: If you print often, monthly bundles can be cost-effective and fun.
What to look for
- Pre-supported versions from a reputable creator, especially as a beginner
- Clear detail at tabletop scale: Overly thin daggers and cape edges can snap
- Pose stability: Wispy contact points can make printing and basing harder
- License clarity: If you are printing for personal games, most files are fine. Selling prints is a different category and usually requires a specific license.
Terrain STLs
Terrain files can be massive, and hollowing them incorrectly can create suction and print failures. If you are printing large terrain in resin, look for terrain designed for resin printing, with smart cuts, drainage, and assembly keys.

Slicing basics
Slicing is where your model becomes a printable plan. It feels technical at first, but you only need a few core ideas to get rolling.
Layer height for minis
- 0.05 mm: A common default. Good detail, reasonable time.
- 0.03 mm: Finer detail, longer prints. Lovely for faces and ornate armor.
Orientation
Printing a mini perfectly upright often creates visible layer lines on faces and chest plates. A slight tilt helps spread those layers and reduces suction forces.
Supports
- More supports on hidden surfaces: Under cloaks, under arms, soles of feet.
- Protect the face: Avoid support tips on noses and cheekbones whenever possible.
- Mind thin parts: Spears, swords, and antennae often need extra support.
Exposure calibration
If you want one “grown-up” habit that pays off fast, it is running a small exposure test when you switch resins. The goal is simple: fine details show clearly without edges looking swollen or soft. Keep notes so you can repeat your wins.
If you can, start with well-made pre-supported files and print a few “known good” models before you begin supporting your own. It is like learning to bake by using a proven cookie recipe first.
Your first successful print
Here is a routine that has saved many hobbyists from the early swamp of trial and error.
Step-by-step
- Pick a simple model: A stout mini with a solid stance beats a spindly rogue with ten daggers.
- Use a known resin profile: Start with manufacturer or community defaults for your printer and resin.
- Level the build plate carefully: Take your time. This is the “measure twice, print once” step.
- Print, then drip: Let the plate drain back into the vat for a few minutes.
- Remove the print: Use a scraper carefully. Protect your hands and eyes.
- Wash: Dirty wash first, then clean rinse.
- Support removal: Often easiest after washing and before final cure. A brief soak in warm water after washing can help supports release more cleanly for many resins. If you try it, test on a less precious model first.
- Cure: Rotate the mini for even curing. Do not blast tiny parts forever.
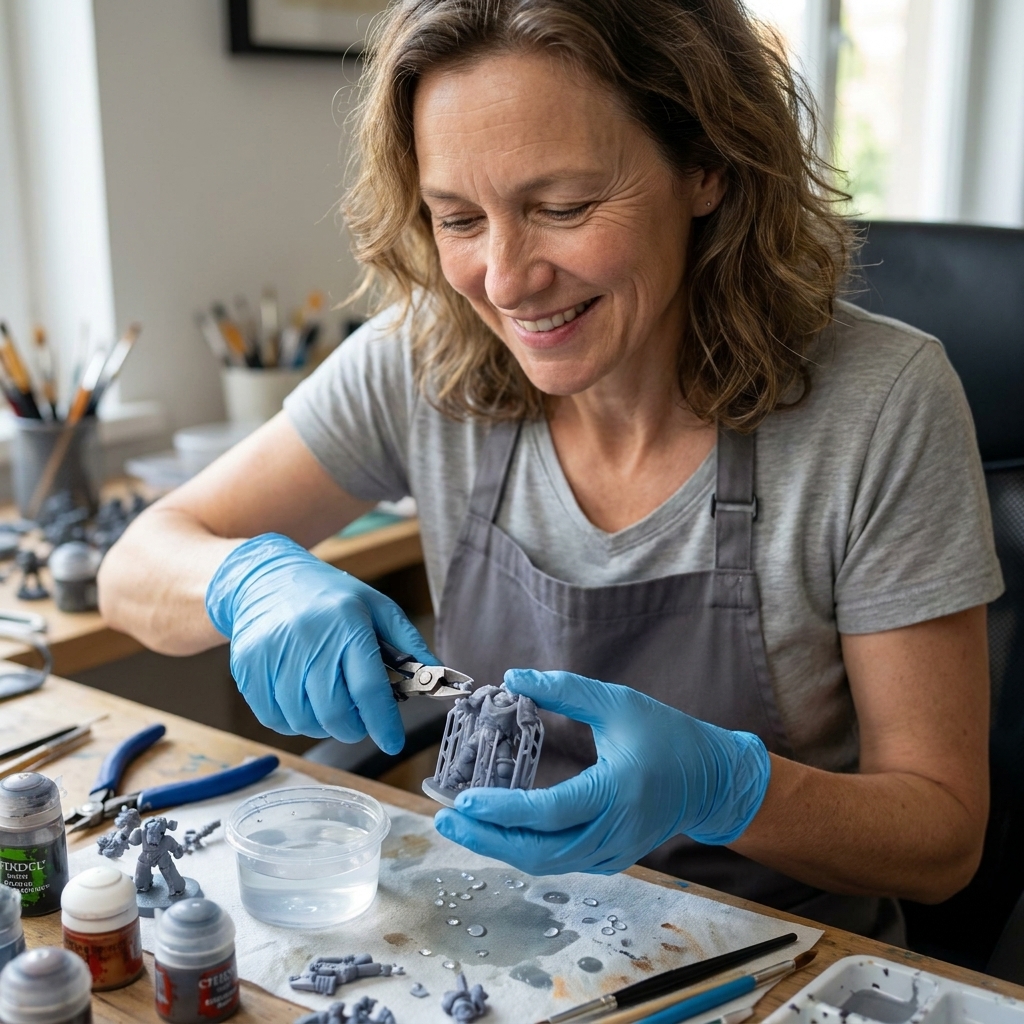
- Inspect and clean up: Clip nubs, lightly sand, and you are ready for primer.
Beginner test prints
- A small exposure test print for dialing in settings
- A chunky miniature with a cape or shield
- A set of simple dungeon scatter pieces like crates or candles
Once you nail these, your confidence will jump. Then you can invite the dragon onto the build plate.
Troubleshooting
“Nothing printed” or only a thin sheet
- Exposure too low
- Build plate not leveled
- Resin too cold or not mixed
- FEP film issues or debris in the vat
Supports printed, but the mini failed
- Insufficient support density
- Too much suction from hollow parts without proper holes
- Orientation needs adjusting
Warping or drooping parts
- Thin parts need better support
- Overheating during cure or uneven curing
- Model design is too delicate for tabletop handling
“My details look mushy”
- Overexposure
- Resin not suited for fine detail
- Layer height too large for the level of detail you want
- Dirty wash solution leaving residue
Quick environment fix
Cold resin is a silent saboteur. If your room is chilly, warm the space or the resin bottle gently (never on a stove, never in a microwave) and aim for a comfortably warm room. Stable temperature helps reliability.
When troubleshooting, change one thing at a time. Otherwise you end up with the hobby version of “I tried five cooking substitutions and now no one knows what the soup is.”
Choosing resin for minis
Not all resin feels the same on the table. Some is beautifully detailed but brittle. Some is tougher but slightly less crisp.
Beginner-friendly traits
- Good detail resin for faces and texture
- Low odor options exist, but “low odor” does not mean “safe to breathe”
- Toughness or a resin blend if you want fewer snapped swords
Durability tip
For gaming pieces that get handled a lot, many hobbyists mix a small amount of “tough” resin into their detail resin. If you try this, keep notes so you can repeat your results.
Paint-ready results
Removing support marks
- Clip close, then lightly sand
- Use a hobby knife gently for tiny nubs
- Place supports strategically so marks land on hidden areas
Priming
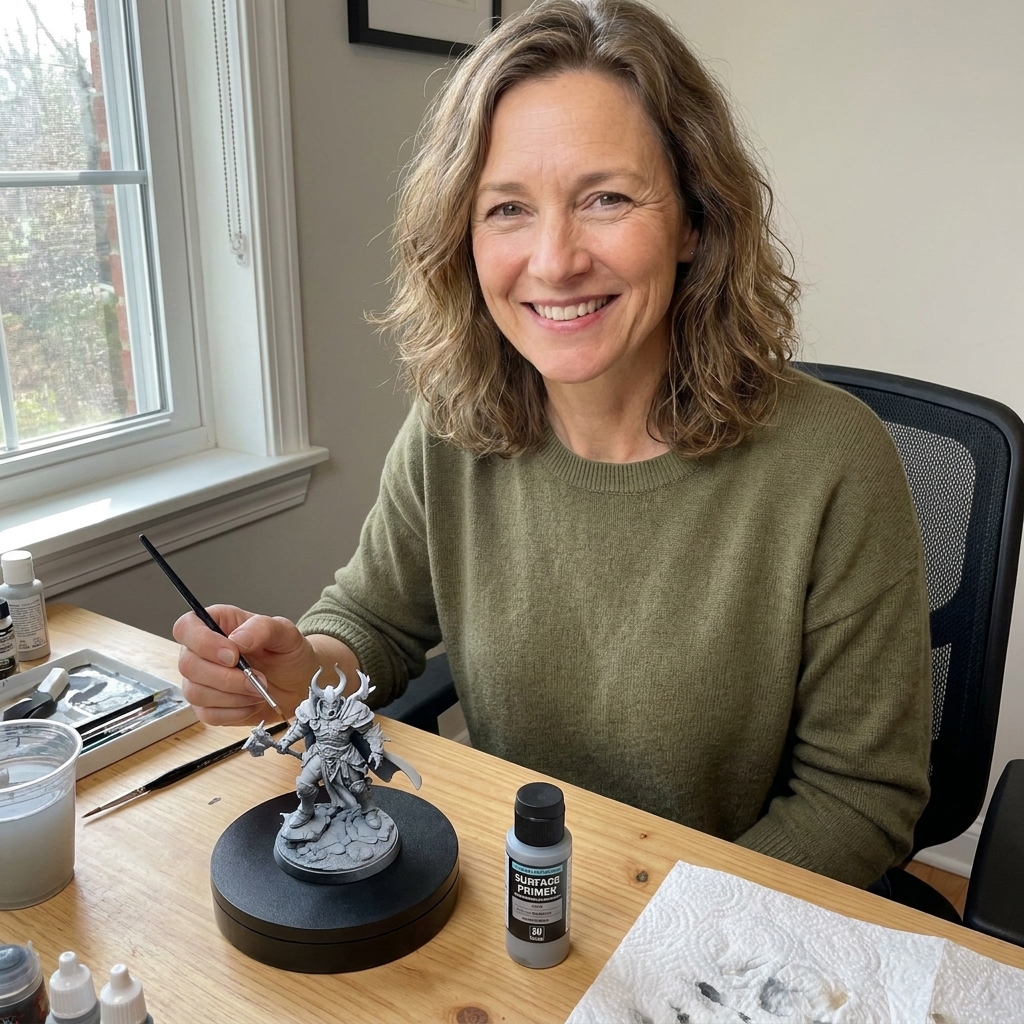
Once fully cured, resin minis usually take primer well. Use a primer designed for miniatures, and apply light coats to preserve detail.
Basing and durability
If a mini has a delicate stance, pinning feet to the base can help. You do not have to do this for every mini. Save it for the ones that look like they will fall over if someone sneezes.
Resin terrain tips
Resin terrain can look incredible, especially for detailed doors, statues, and dungeon dressing. For large walls and buildings, resin can be heavy and resin-hungry, so many groups use FDM for the big structural pieces and resin for the fancy details.
If you print big terrain in resin
- Hollow carefully to reduce resin use
- Add drainage holes so uncured resin can escape
- Wash the inside thoroughly and cure internal surfaces as best you can. Trapped resin can cause leaks, smells, or cracks later.
- Avoid sealed cavities which can crack later
- Print in parts when possible for better success and easier cleanup
Terrain is where patience pays you back. A slightly slower, more supported print is usually cheaper than reprinting an entire ruined tower.
Starter shopping list
Here is what most beginners end up needing, beyond the printer itself:
- Nitrile gloves (box)
- Safety goggles
- Respirator with OV cartridges (or a strong ventilation solution)
- IPA or approved resin wash solution, plus containers
- Wash and cure station (optional, but convenient)
- Paper towels and trash bags
- Silicone mat or disposable bench cover
- Plastic scraper, metal scraper, hobby snips
- Paint filters or fine mesh filters for resin and wash solution
- Spare FEP film and microfiber cloths
- UV flashlight (helpful for spot-curing spills)
FAQ
Is resin printing safe in an apartment?
It can be, if you have a dedicated, ventilated space and treat resin like a chemical product. Many apartment hobbyists use an enclosure vented to a window. If you cannot ventilate well, consider printing elsewhere or starting with FDM for terrain.
Do I need a wash and cure station?
No, but it makes the workflow easier and cleaner. A two-stage wash in containers plus a UV curing solution also works.
How long does it take to print a mini?
In resin printing, time mostly depends on the mini’s height (because each layer takes a set amount of time). Adding more minis to the same plate often does not add much time, but packing the plate very densely can increase peel forces and make failures more likely.
What is the best layer height for D&D minis?
0.05 mm is a great starting point. If you want extra crisp faces and do not mind longer prints, try 0.03 mm.
Why did my print fail halfway?
Common causes are poor supports, suction from hollow parts, debris in the vat, or exposure settings that need adjustment. Start by checking the vat for cured bits and re-evaluating supports and orientation.
Permission to be a beginner
Your first print will teach you something. Your tenth print will feel like magic. Somewhere around print number twenty, you will develop a strong opinion about paper towels and start saving oddly shaped containers “just in case.” Welcome to the club.
If you want, tell me what you are aiming to print first: character minis, monsters, or terrain. I can help you pick a smart first model and a workflow that fits your space.