Resin art has a magical way of making you feel like an alchemist with a mixing cup. You pour a clear liquid, wave a heat tool (carefully) like you know what you are doing, and somehow end up with a glossy piece that looks like it came from a boutique. The secret is not “talent.” It is the right resin, solid safety habits, and a calm, step-by-step process.
In this guide, I will walk you through what to buy, how to set up safely, and how to do a simple first pour you can be proud of, even if it is a little wobbly around the edges. Beginner joy is the goal.
Start here: what resin art is
Most beginner resin art uses two-part epoxy resin. You combine resin (Part A) with hardener (Part B). A chemical reaction turns the mixture from liquid to solid over several hours.
Resin can be poured into molds, spread as a coating on wood or canvas, tinted with pigments, or used to embed small objects. For your first project, we are going to keep it beautifully simple: a small resin coaster (or two) using a silicone mold.
Epoxy vs UV resin
- Epoxy resin: Mixed in batches, longer working time, great for coasters, trays, tabletop coatings, and deeper pours depending on the formula.
- UV resin: Cures under a UV lamp quickly, ideal for small jewelry pieces, but can be fussier about thickness and cure depth.
If you want the most flexible beginner path, start with epoxy. It gives you time to breathe, stir, and fix bubbles.
What epoxy resin to buy
Resin labels can feel like they were written by someone who assumes you already own three heat guns and a pressure pot. You do not need that energy in your life. Match the resin to the project. For molds and small pours, pick a formula made for molds.
Best type for beginners
- Art resin (coating resin): Designed for thin pours and glossy topcoats. Often self-leveling. Works for shallow molds.
- Casting resin: Designed for thicker pours (deeper molds). Lower heat buildup, often longer cure time. Great for coaster molds that are deeper or chunkier.
If you are buying one resin to start, choose a beginner-friendly casting resin if you plan to use molds, or an art resin if you want to coat surfaces. Many brands now label “for molds” clearly.
Key specs to check
- Mix ratio: 1:1 by volume is the easiest. Some are 2:1 and require more precision.
- Working time (pot life): Aim for 30 to 45 minutes as a beginner. Under 20 minutes can feel stressful.
- Cure time: Commonly 24 hours to demold and 72 hours to full cure, but this varies by brand, pour thickness, and temperature.
- Low odor: Low odor is not “no safety needed.” Odor is not a reliable hazard signal. Check the SDS for your specific product.
- Yellowing resistance: Look for “UV resistant” or “non-yellowing.” No resin is forever-proof, but better formulas help.
How much resin to buy
For coasters, a small kit is plenty. Many coaster molds take about 30 to 90 ml (1 to 3 oz) per coaster depending on size and depth. The easiest way to know your exact mold capacity is delightfully low-tech: fill the mold with water, then pour the water into a measuring cup. Dry the mold completely before using resin.
Clara tip: If your budget allows, buy resin from a supplier with clear safety data and consistent batches. Mystery resin with vague instructions can turn your first pour into a sticky soap opera.
Safety and setup
I know. The fun part is the pour. But resin safety is where you earn your creative freedom. Uncured epoxy can irritate skin and lungs and can cause sensitization over time, meaning you react more strongly with repeated exposure. If you develop a rash, breathing irritation, or headaches, stop and reassess your setup and product. When in doubt, consult the SDS and a medical professional.
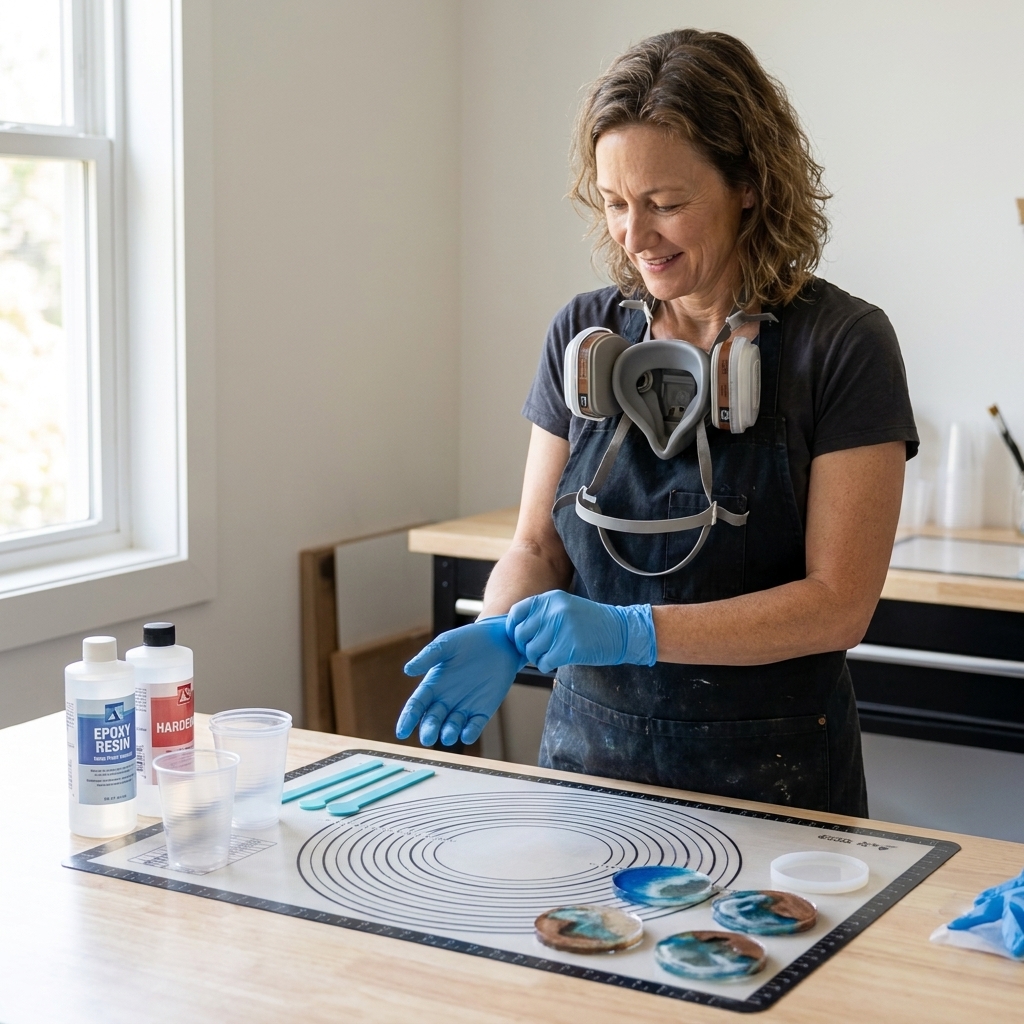
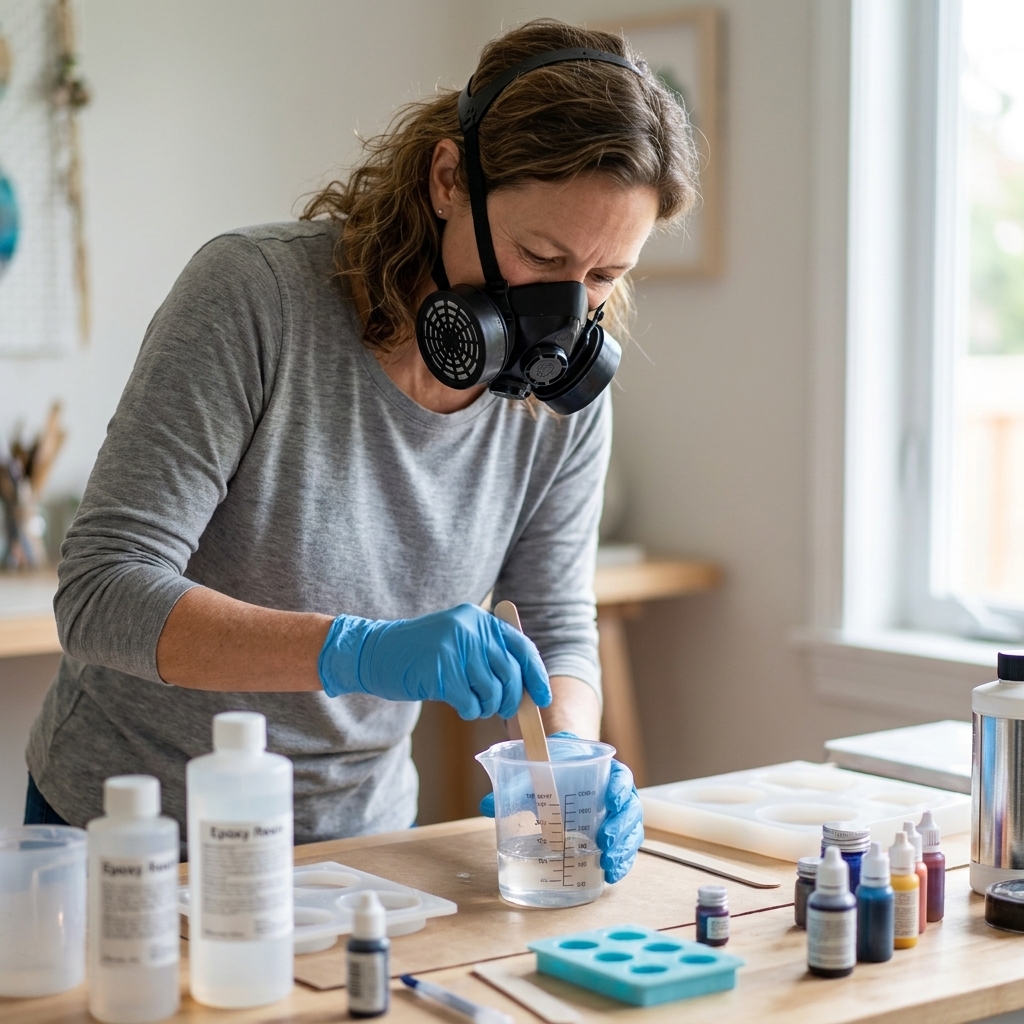
Minimum safety kit
- Nitrile gloves: Not latex. Nitrile resists chemicals better.
- Respirator: Strongly recommended. Many epoxies have low VOCs, but you still want to avoid inhaling fumes and any aerosolized particles. Choose cartridges based on the SDS for your product. For many makers, a combination OV/P100 setup covers organic vapors plus particulates. Fit matters a lot. A poor seal is basically a costume.
- Eye protection: Safety glasses, especially when mixing and using alcohol sprays.
- Apron or old clothes: Resin does not “wash out.” It becomes part of the outfit.
About sanding cured resin
When you sand cured epoxy, you create fine dust. That dust is a bigger respiratory concern than “odor.” Use a P100 particulate filter (or an OV/P100 combo), wet-sand when possible, and clean up dust carefully. Do not sand without protection and good ventilation.
Your workspace checklist
- Ventilation: Work in a well-ventilated area. Open windows and use a fan to move air out if possible.
- Cover your surface: Use a silicone mat, freezer paper (shiny side up), or plastic sheeting.
- Level table: Resin self-levels, which is great until your table is slightly tilted and your coaster becomes an abstract hill.
- Control dust: Wipe down the area first. Pet hair is impressively brave and will try to join your resin.
- Warm room temperature: Many epoxies like about 70 to 75°F (21 to 24°C). Cold rooms mean thick resin and more bubbles.
Essential supplies
You can absolutely build a resin studio that looks like a small laboratory. For your first pour, keep it lean.
Must-haves
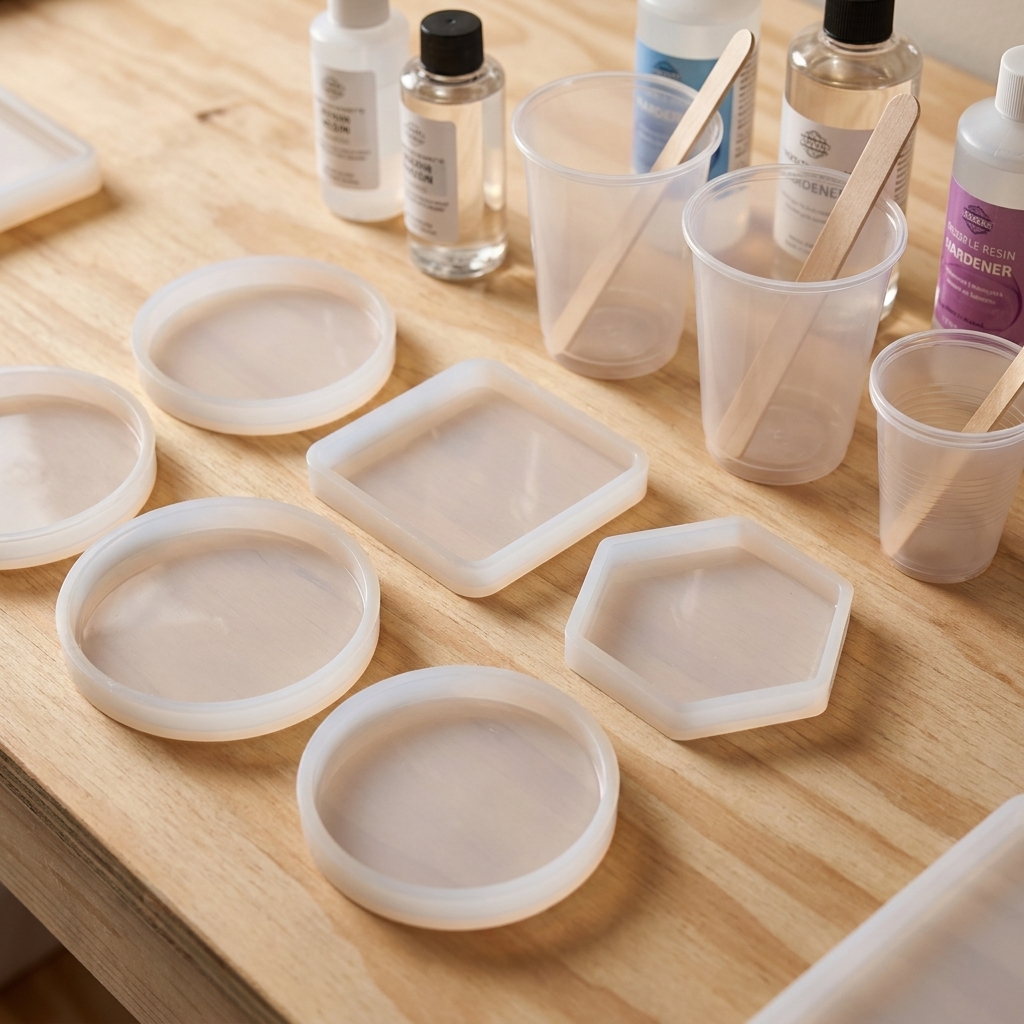
- Two-part epoxy resin: Beginner-friendly, ideally 1:1 by volume.
- Silicone molds: Start with simple coasters or small trays.
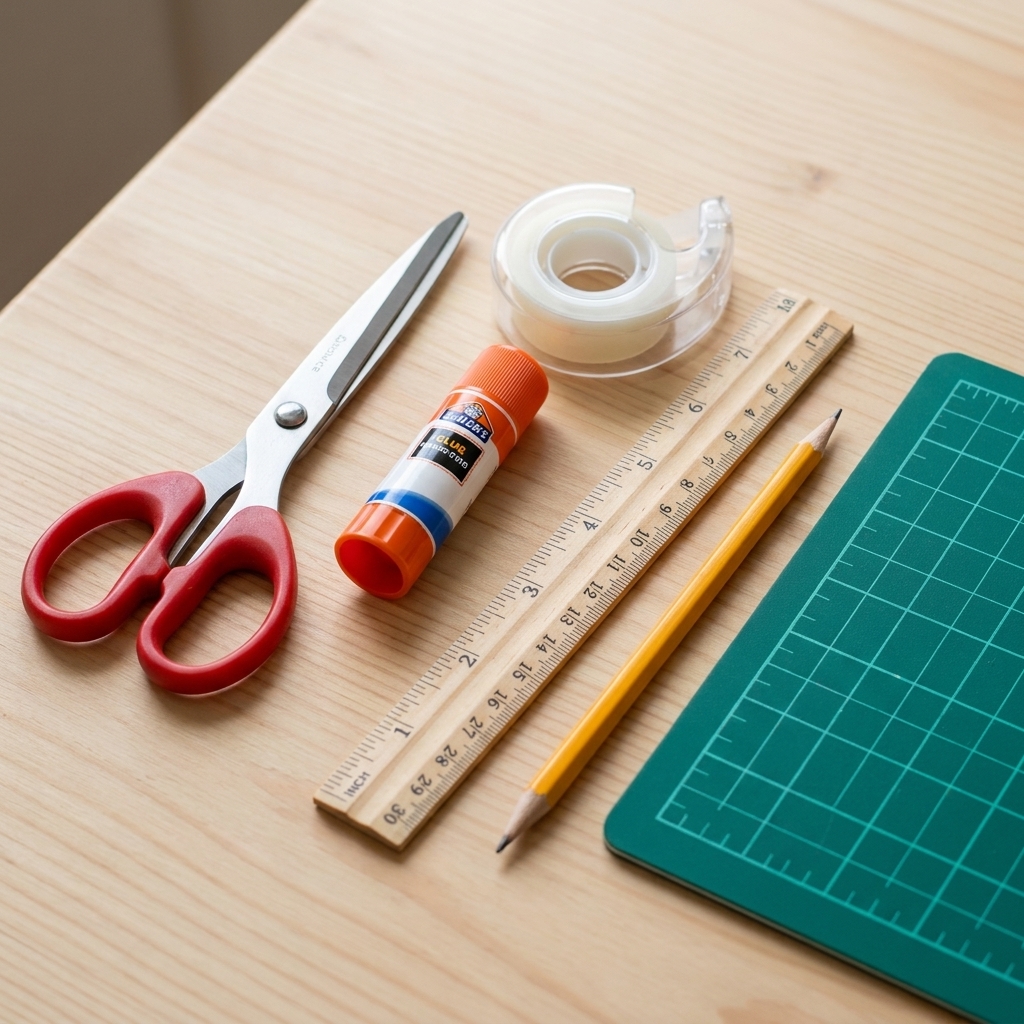
- Mixing cups: Graduated cups help measure accurately.
- Stir sticks: Silicone stir sticks are reusable. Wooden sticks work too.
- Heat tool for bubbles: A small heat gun or culinary torch. A hair dryer can blow dust and is usually too chaotic.
- Pigments (optional): Mica powder or resin dye. Start with one color plus metallic, if you want flair.
Nice-to-haves (later)
- Silicone measuring cups: Great for less waste.
- Alcohol spray bottle (isopropyl 91%+): Helpful for surface bubbles in some projects. Use carefully and keep away from flame.
- Toothpicks: Perfect for popping stubborn bubbles in corners.
- Leveling feet or shims: If your workspace has a slight tilt.
Your first project: resin coasters
This project teaches the core resin skills: measuring, mixing, tinting, bubble control, and demolding. And you get something useful at the end, which feels like a small miracle.
Before you start
- Read your resin’s instructions fully. Every brand has its own timing and rules.
- Put on gloves, respirator, and eye protection.
- Level your table and set out molds on a protected surface.
- Pre-warm your resin bottles in a lukewarm water bath for 5 to 10 minutes if your room is cool. Keep caps on tight and dry the bottles before opening. Warm resin mixes smoother and traps fewer bubbles.
Step 1: Measure accurately
Measure Part A and Part B exactly as instructed. If the label says 1:1 by volume, use the measurement lines on your cup. If it says by weight, use a digital scale. Do not guess. Resin is very literal.
Step 2: Mix slowly and thoroughly
Stir for the time listed on the label, often 3 to 5 minutes. Mix slowly, scraping the sides and bottom. Fast stirring makes a bubble party.
Optional but helpful: Use the “double cup method.” After mixing in the first cup, pour into a second clean cup and stir another 30 to 60 seconds. This reduces unmixed streaks that can cause sticky spots.
Step 3: Add color (optional)
Add a tiny amount of pigment. With mica powder, start with one small scoop. With liquid dye, start with a few drops. You can always add more, but too much pigment can interfere with curing.
About acrylic paint: Some makers use very small amounts successfully, but it can cause cloudiness or cure issues depending on the resin and the paint. For your first projects, resin dyes, alcohol inks, and mica are more predictable.
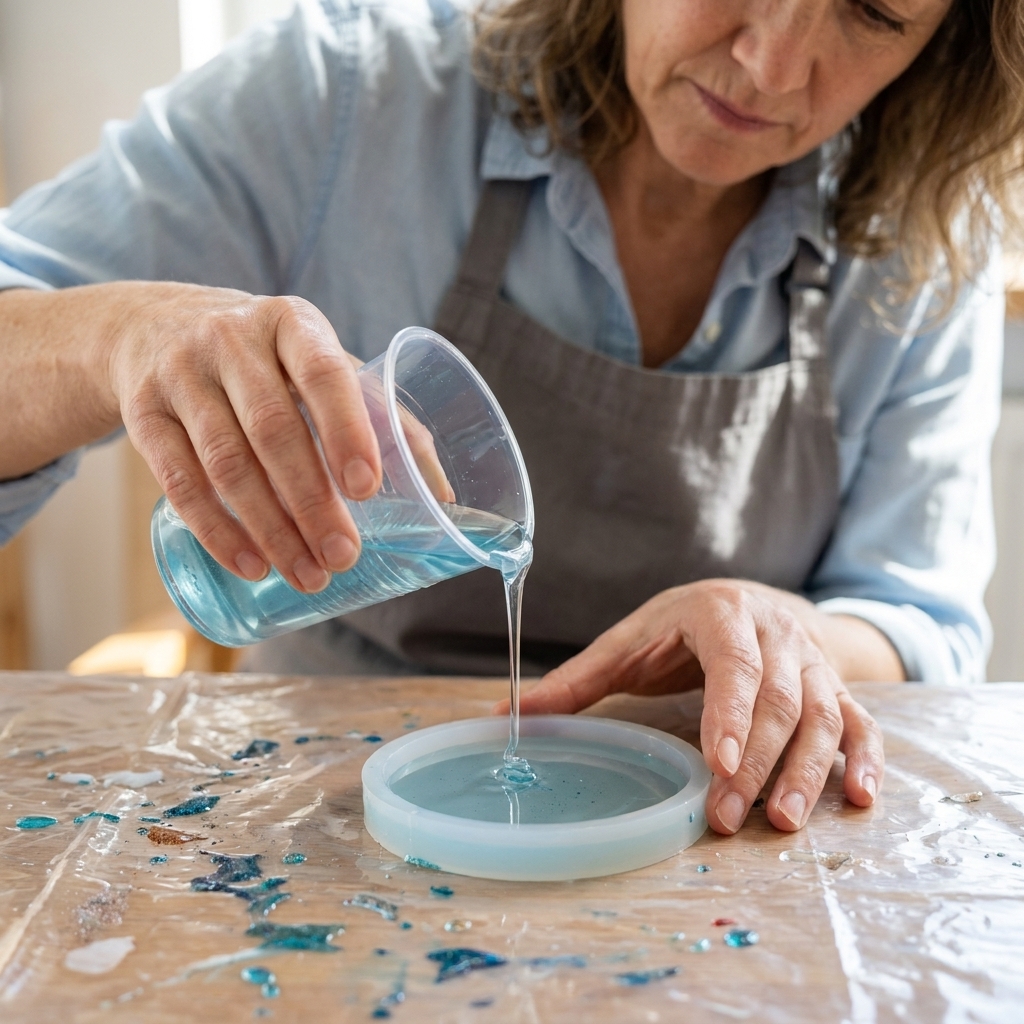
Step 4: Pour into molds
Pour slowly, close to the mold surface to reduce bubbles. Fill to the top, but leave a hair of room to avoid overflow when you heat.
Step 5: Deal with bubbles
Wait 2 to 5 minutes for bubbles to rise. Then use your heat tool briefly over the surface.
- Heat gun: Keep it moving, several inches away. Too much heat can cause ripples or scorch marks.
- Torch: Quick passes only. Keep flames away from anything flammable, especially alcohol.
Pop corner bubbles with a toothpick if needed.
Step 6: Cover and cure
Cover your molds with a clean plastic bin or cardboard box to keep dust out. Let them cure undisturbed for the recommended time.
Step 7: Demold and finish
When the resin is firm and cool (often around 24 hours, but check your label), gently peel the silicone away. If the edges feel sharp or you have a little “flash” (thin overflow), you can:
- Trim with small scissors or a craft knife once fully cured
- Lightly sand the edge and add a thin resin topcoat for shine
Common mistakes
If your first pour is not perfect, congratulations. You are officially doing resin art.
It stayed sticky or soft
- Cause: Incorrect ratio, poor mixing, temperature issues, or too much pigment.
- Fix: If it is just tacky on top, you may be able to scrape off the soft layer and recoat with correctly mixed resin. If it is gummy throughout, it usually needs to be discarded. For next time, measure carefully and mix longer, using the double cup method.
Lots of bubbles
- Cause: Resin was cold, stirred too fast, or poured from too high.
- Fix: Warm bottles, stir slowly, pour close to the mold, and use gentle heat in short passes.
Cloudy resin
- Cause: Moisture, cold temperatures, or incompatible additives.
- Fix: Work in a warm, dry space. Keep lids on bottles. Choose resin-specific colorants for the most reliable cure.
Waxy or slippery surface
- Cause: Some epoxies can develop amine blush in cool or humid conditions.
- Fix: Wash the cured surface with soap and water, then dry fully. If you are recoating, lightly sand after washing for better adhesion.
Warping or overheating
- Cause: Pouring too thick with a coating resin, or curing in a hot environment.
- Fix: Use casting resin for deeper pours and follow the maximum pour depth on the label.
Easy techniques that impress
Once you can measure and mix confidently, you can start playing. Here are a few techniques that are forgiving and fun.
Swirls with two colors
Pour a base color, then drizzle a second color in a thin stream. Use a stir stick to gently drag a few lines through the surface. Stop before you overmix and lose the contrast.
Petri effect (with the right materials)
This is the dreamy “ink sinking” look. It typically requires alcohol inks and a white sinker ink. Some resins and molds behave better than others, so treat this as a second or third project after you have a feel for cure timing.
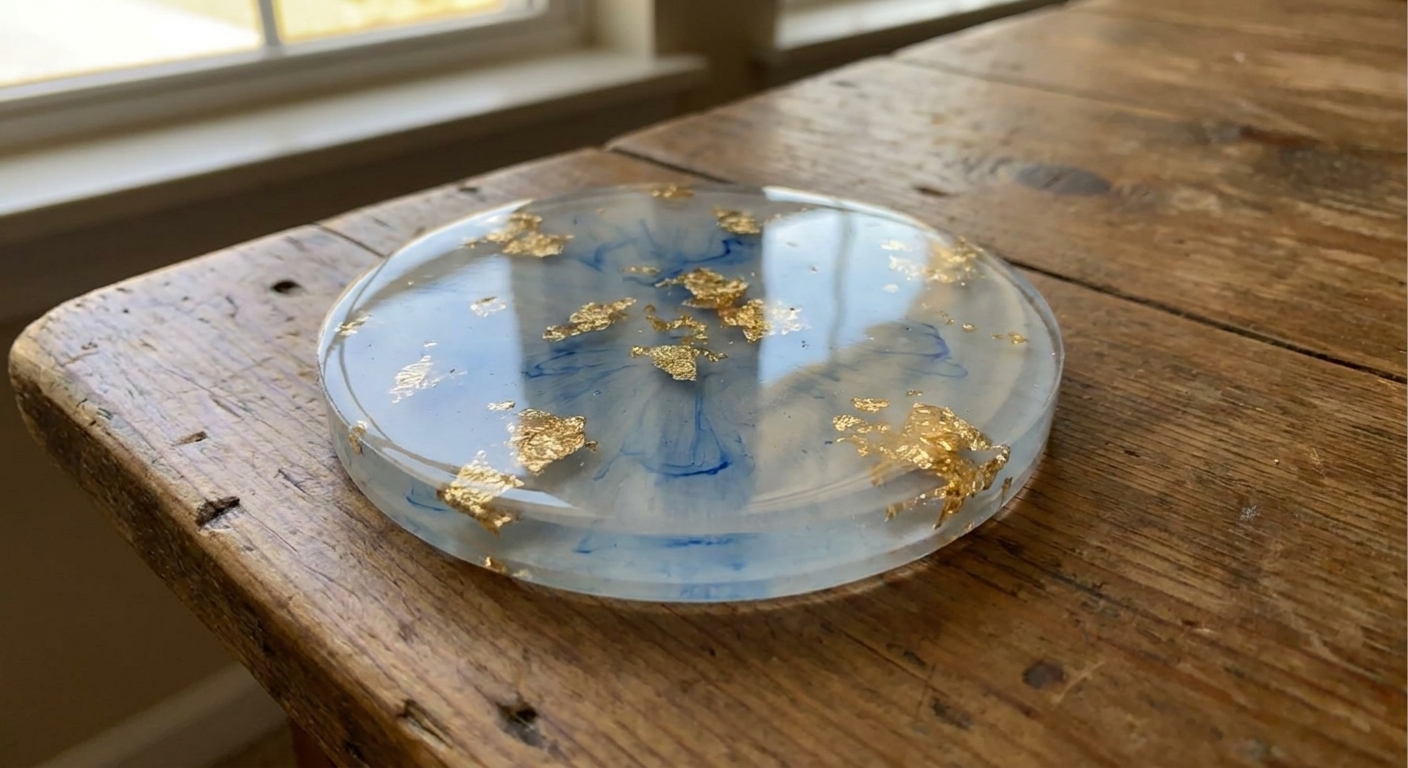
Gold leaf accents
Add tiny bits of metallic foil between layers. Pour a thin layer, let it thicken slightly (check your resin’s gel time), place foil, then pour the next layer.
Cleanup and disposal
Cleaning tools
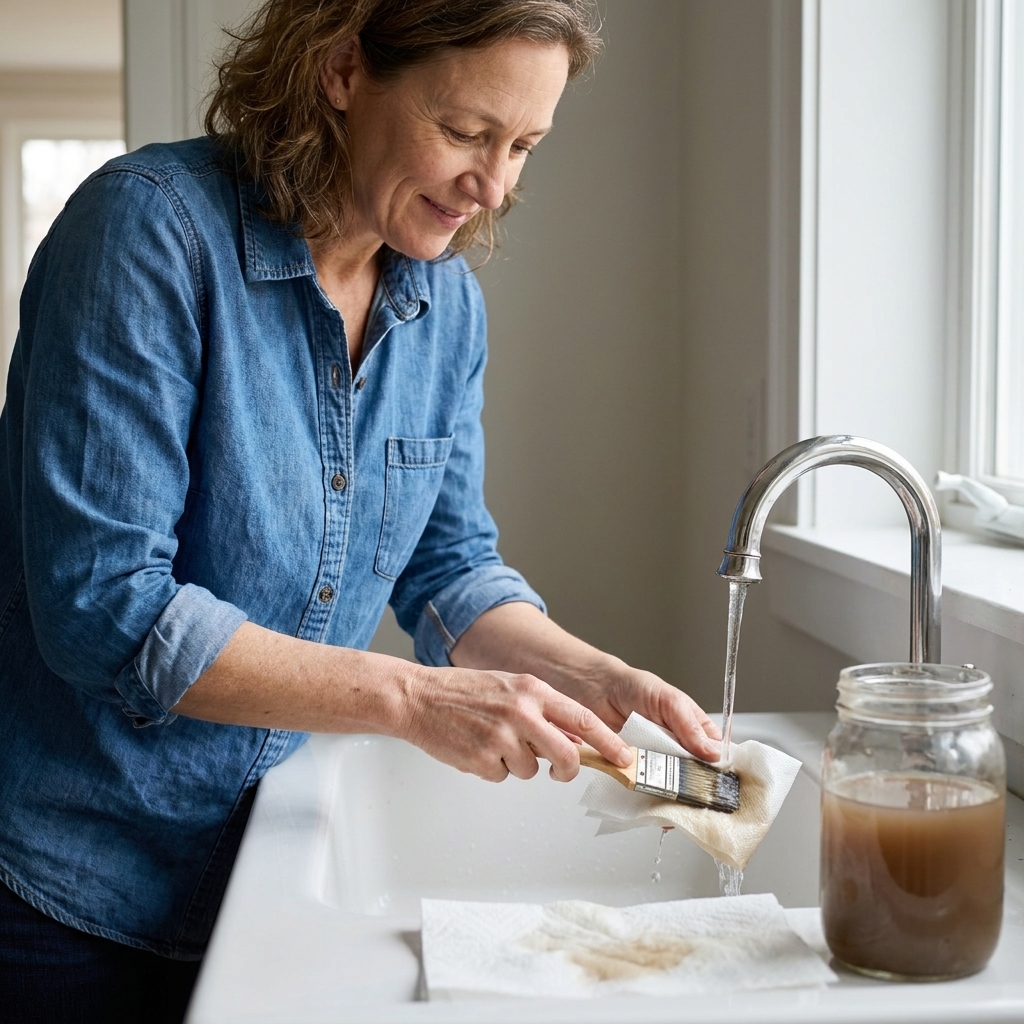
- Wipe resin off tools with paper towels before it cures.
- Let leftover resin cure in the mixing cup, then peel it out.
- For silicone tools, cured drips often peel right off.
Do not pour resin down the drain
Uncured resin should never go into sinks or drains. Let waste cure fully, then dispose according to your local guidelines for household trash. Keep resin and hardener bottles tightly capped and stored away from heat and sunlight.
FAQ
Is epoxy resin safe to use at home?
Yes, if you treat it like a chemical product, not like paint. Use nitrile gloves, good ventilation, and respiratory protection appropriate for your product and process. Avoid skin contact with uncured resin and keep pets and kids out of the workspace.
Do I really need a respirator if the resin is “low odor”?
Low odor does not mean non-toxic. Odor is not a reliable safety signal. Check the SDS for your resin, and choose cartridges accordingly. Also remember that sanding cured resin creates dust, which calls for a P100 particulate filter or an OV/P100 combo.
Why did my resin turn yellow?
All epoxy resins can yellow over time, especially with UV exposure and heat. Choose a resin labeled UV resistant, keep finished pieces out of direct sun when possible, and consider a UV-protective topcoat for display items.
Are resin coasters food-safe?
Coasters are fine for cups and glasses, but epoxy is generally not considered “food-safe” for direct food contact (like cutting boards) unless the product is specifically certified for that use and fully cured according to instructions.
Will hot mugs damage my coasters?
Sometimes. Some epoxies can soften or imprint under high heat. If you love extra-hot drinks, look for a resin with higher heat resistance and consider adding cork backing to protect surfaces.
What is the easiest resin art project for a total beginner?
Coasters in silicone molds are my top pick. They are small, quick to demold, and teach the core skills without requiring special tools.
A gentle next step
Once you have made a set of coasters you like, try one small upgrade: embed dried flowers, make a two-layer pour, or add a simple swirl. The goal is not to “master” resin in a weekend. The goal is to give yourself a new kind of calm, curious play.
If you try your first pour and something goes sideways, tell yourself what I used to tell my library craft club: we are collecting stories, not grading outcomes.