Resin is one of those hobbies that feels like magic right up until it decides to humble you. One minute you are pouring glossy liquid glass, the next you are staring at trapped bubbles, a cloudy cast, or a piece that is somehow both hard and sticky at the same time.
The good news is that most resin problems come from a handful of predictable causes: temperature, moisture, mixing habits, measuring accuracy, and timing. In this guide, we will troubleshoot the big three complaints (bubbles, cloudiness, sticky surfaces) and then hit a few other common failures you might run into as you level up.
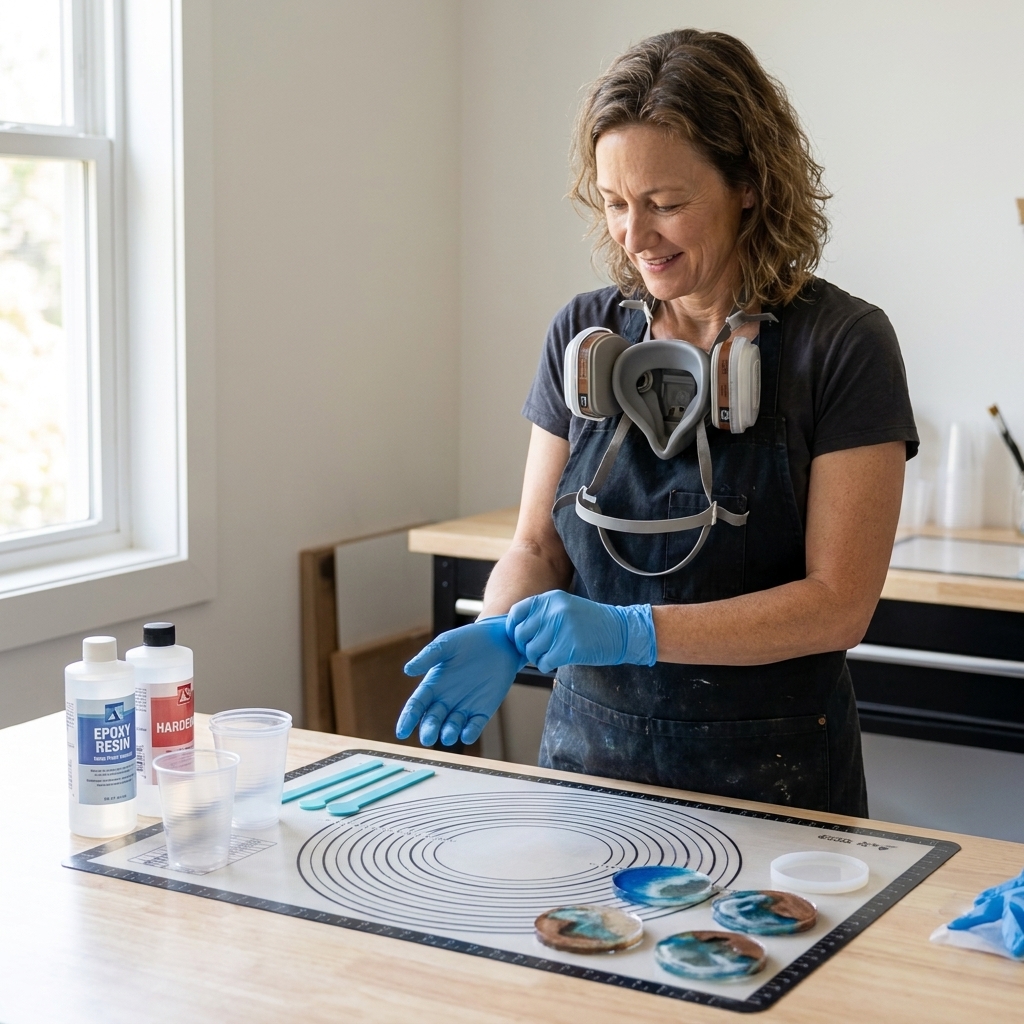
Quick safety note: Work in a well-ventilated space, wear nitrile gloves, and avoid skin contact. Sand cured resin with dust control (mask or respirator) and keep resin tools out of food areas.
Before you troubleshoot: a 60-second diagnosis
If you only do one thing, do this quick check. It will save you from guessing and re-pouring the same mistake.
- How long has it cured? Many epoxies need 24 to 72 hours to fully harden, and deeper casts can take longer. Always check your product’s technical sheet for cure schedule.
- What is the room temperature? Many resins behave best around 70 to 75°F (21 to 24°C), but brands vary. Cold rooms make bubbles worse and curing slower, so confirm the recommended range for your formula.
- Did you measure by the right method? Some resins are 1:1 by volume, others are by weight. Using the wrong method causes sticky or soft resin.
- Did anything add moisture? Wet inclusions, water-based dyes, humid air, and condensation can all create cloudiness and cure issues. Cold molds can “sweat” when brought into warm humid air, which is basically a haze invitation.
- What type of resin is it? Coating resin for tabletops behaves very differently from deep pour resin, and UV resin is its own little universe.
Bubbles: why they happen and what to do
Bubbles are usually trapped air. The trick is figuring out where that air came from: mixing, pouring technique, the mold, or the items you embedded.
Cause 1: Vigorous mixing (tiny foam bubbles)
If your surface looks like soda fizz or there are lots of pinhead bubbles throughout, it is often mixing technique.
- Prevent it: Mix slowly and deliberately, scraping the sides and bottom. Aim for a steady fold rather than a whisk. Flat stir sticks tend to introduce fewer bubbles than skinny round ones.
- Good habit: After mixing, let the cup sit for 2 to 5 minutes so bubbles rise before you pour, but only if your resin has the pot life for it. With fast-set formulas, waiting too long can thicken the mix and trap more bubbles.
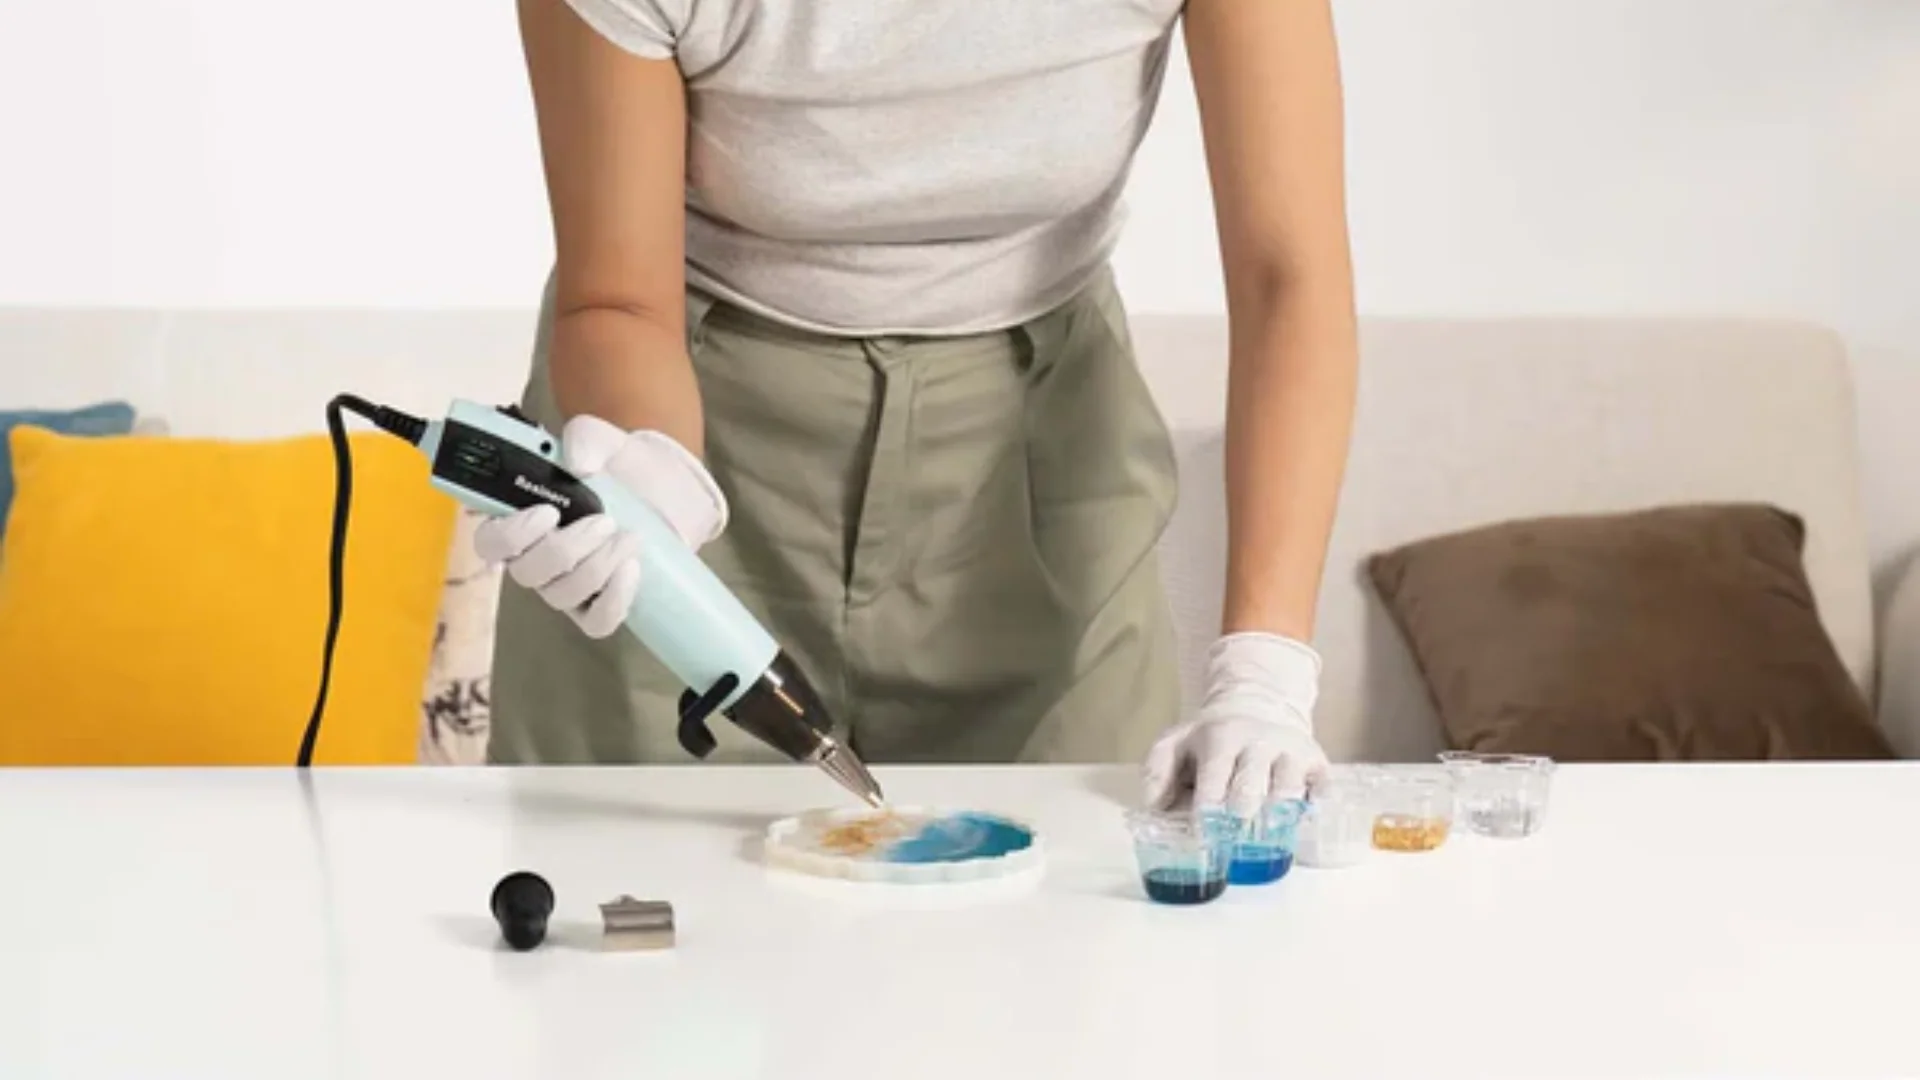
- Fix it now: Once poured, pass a heat gun or torch quickly over the surface. Keep it moving to avoid scorching or ripples.
Cause 2: Cold resin or cold workspace (bubbles that will not rise)
Cold resin is thicker, so bubbles get stuck instead of floating up.
- Prevent it: Warm your bottles in a lukewarm water bath for 10 to 15 minutes before measuring, if your manufacturer allows it. Do not use hot water, and do not submerge caps or threads. Dry the bottles completely before opening so no water drips in.
- Also: Warm your room and your molds. A chilly silicone mold is basically a bubble trap, and cold molds can also cause condensation in humid rooms.
- Fix it now: Gentle warmth helps. A warming mat or a warm (not hot) area can encourage bubbles to rise during the first hour.
Cause 3: Pouring too fast or from too high (big random bubbles)
When resin waterfalls into a mold, it pulls air along for the ride.
- Prevent it: Pour slowly in a thin stream, close to the mold.
- Pro tip: For detailed molds, paint a thin contact layer of resin into corners first with a stir stick or silicone brush, then fill.
Cause 4: Bubbles clinging to silicone (the polka-dot edge problem)
Sometimes bubbles collect along the mold wall and cure into little craters or pimples.
- Prevent it: Tilt and rotate the mold after pouring to help bubbles detach.
- Also: Tap the mold on the table, or use a vibrating tool (even a handheld massager against the table leg works in a pinch).
- Fix it later: Sand the cured bump and polish, or dome with a thin coat of resin if the piece allows.
Cause 5: Air escaping from inclusions (flowers, wood, paper, cork)
Porous materials release air for quite a while, especially in warm resin.
- Prevent it: Seal porous items first with clear-drying glue, Mod Podge (fully cured), spray sealer, or a thin layer of resin allowed to gel.
- Also: Pre-coat the inclusion with mixed resin, then place it in the mold.
- Fix it now: Watch the piece during the first 30 to 60 minutes and pop bubbles as they appear.
Heat gun vs torch: which one should you use?
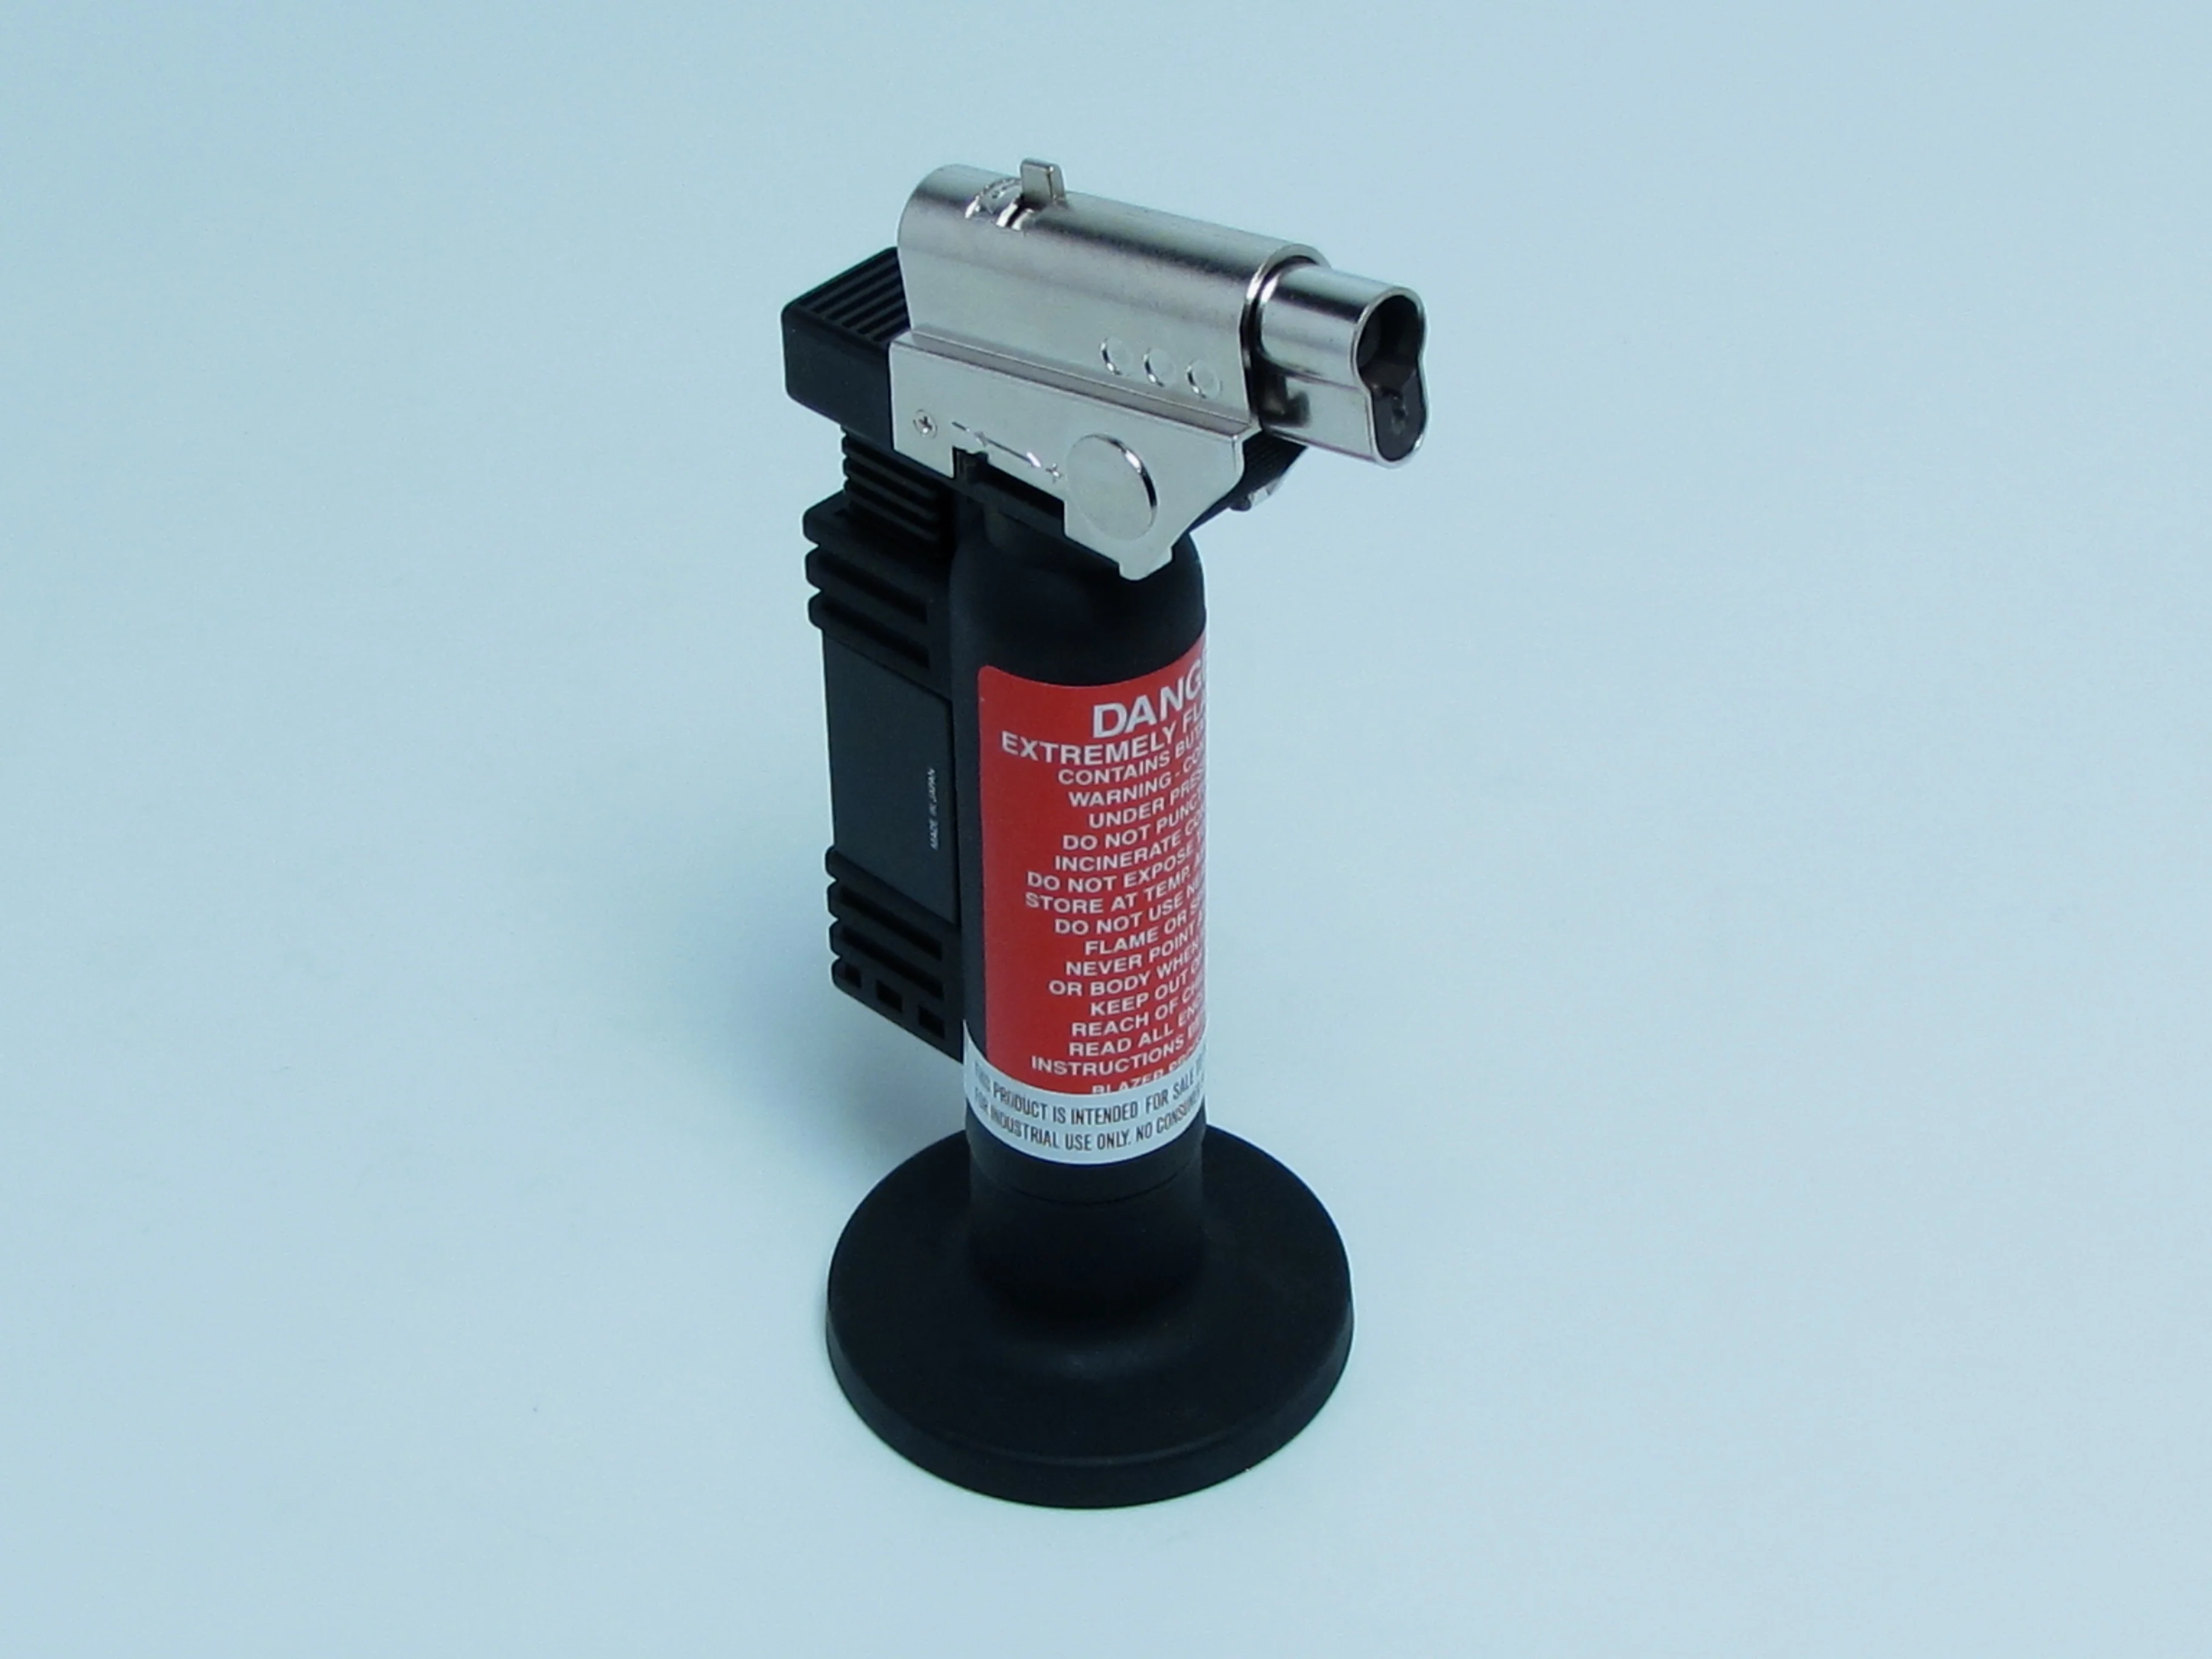
- Torch: Fast at popping surface bubbles, but easier to scorch resin or damage molds if you linger. Use quick passes and keep distance.
- Heat gun: More controlled heat, but it can blow dust or hair into wet resin if you aim it like a leaf blower. Use low airflow if possible and cover the piece after.
If bubbles cured in, can you fix it?
Often, yes. Your options depend on where the bubbles are.
- Surface bubbles or pinholes: Sand flat, clean thoroughly, then apply a thin top coat (a fresh resin layer) to restore gloss.
- Deep internal bubbles: You cannot remove them, but you can sometimes disguise them with pigment, mica, glitter, or by changing the backing.
- Large voids near the surface: Drill or open the void slightly, then fill with fresh resin using a syringe or toothpick.
Cloudiness: haze, milky spots, and dull finishes
Cloudy resin is usually about moisture, overheating, or incompatible additives. Clear resin is fussy about water in particular. It wants none of it, ever.
Cause 1: Moisture contamination (milky swirls, foggy patches)
Humidity, wet molds, water-based colorants, and damp inclusions can all create haze. A very common culprit is condensation on a cold mold (the mold “sweats”), then that moisture gets sealed into the pour.
- Prevent it: Keep your workspace dry. If it is a humid day, consider a dehumidifier or run your HVAC.
- Prevent it: Make sure molds are bone-dry after washing. Water hiding in a texture detail is a repeat offender.
- Prevent it: Use resin-safe colorants. Alcohol inks and resin dyes are generally safer than water-based craft paint.
- Fix it: If cloudiness is from moisture, it usually cannot be fully reversed once cured. Your best bet is prevention, or sanding and top-coating if the haze is only on the surface.
Cause 2: Too much pigment or mica (looks cloudy instead of translucent)
Colorants are powerful. A little goes a long way, and mica in particular can turn transparent resin into mysterious fog quickly.
- Prevent it: Start tiny. Toothpick-tip tiny. Mix, check, then add more if needed.
- Also: If you want transparent color, use dyes designed for clarity and keep mica for opaque or pearlescent looks.
Cause 3: Microbubbles mistaken for cloudiness
A cast full of tiny bubbles can read as haze, especially in thicker pieces.
- Prevent it: Warm resin (within manufacturer guidance), mix slowly, and pour in layers if your resin is not a deep pour formula.
- Fix it: Pressure pot users get the clearest results because pressure compresses bubbles so they cure too small to see. It does not remove bubbles, it makes them effectively invisible.
Cause 4: Overheating and flash cure (cloudy, rippled, or warped)
If resin gets too hot, it can cure unevenly and trap bubbles and haze.
- Prevent it: Respect your resin’s maximum pour depth. Deep molds need deep pour resin.
- Also: Mix smaller batches. A big cup of resin heats up faster than the same amount spread out in a mold.
- Fix it: Severe overheating usually means the piece is a redo. For mild dullness, sanding and a thin clear top coat can restore shine.
Sticky surfaces: tacky tops, soft spots, and resin that never cures
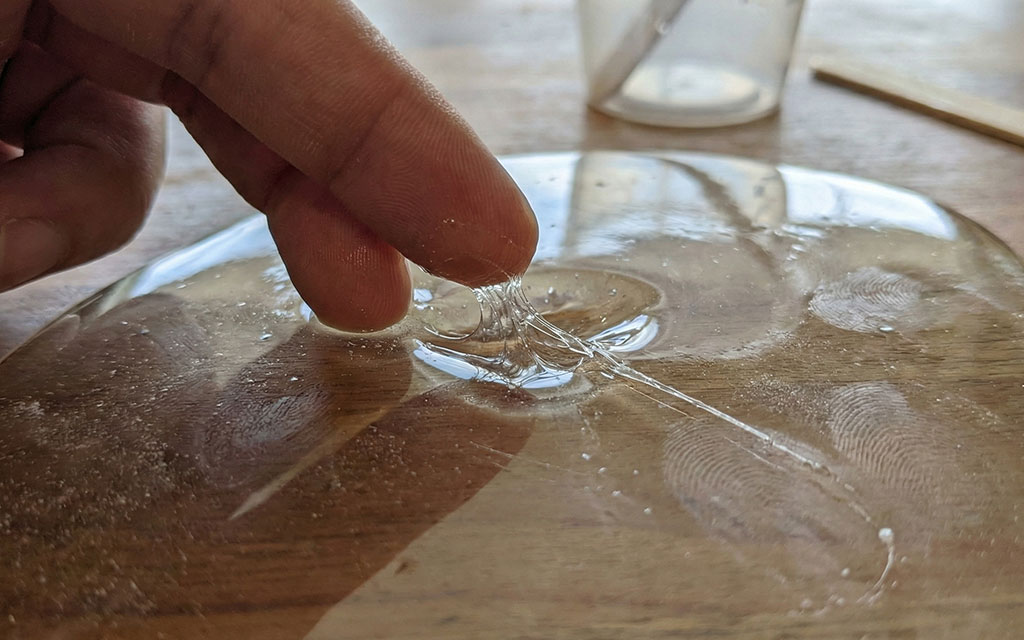
Sticky resin is frustrating because it feels like you did everything right. Most of the time, tackiness comes down to measurement, mixing, temperature, or surface inhibition from contaminants.
Cause 1: Incorrect ratio (the classic)
If your resin is still sticky after the full cure time, wrong ratio is the first suspect.
- Prevent it: Read the label every time. Some products are 1:1 by volume, others 2:1, and some are measured by weight.
- Prevent it: Use graduated mixing cups for volume resins. For weight-based resins, use a digital scale and tare between components as directed.
- Prevent it: Measure carefully. Close enough is rarely close enough with resin chemistry.
Cause 2: Incomplete mixing (sticky streaks or soft pockets)
Resin can look mixed and still be unmixed along the sides and bottom of the cup. Silicone mixing cups can be sneaky here because resin can cling to the walls. Scrape thoroughly.
- Prevent it: Mix for the manufacturer’s full time, scraping sides and bottom. Then do the double-cup method: pour into a second clean cup and mix again for 30 to 60 seconds.
- Symptom clue: If only some areas are sticky, you likely had unmixed resin rather than a global ratio problem.
Cause 3: Too cold during cure (soft, bendy, or tacky)
Resin likes warmth to cure properly. Cold can slow or stall the reaction.
- Prevent it: Cure in a stable warm spot, ideally in the typical 70 to 75°F (21 to 24°C) zone, unless your product specifies otherwise.
- Fix it: If the piece is mostly cured but a little tacky, gentle warmth for 24 hours can sometimes help it finish curing. Do not bake it in an oven you cook food in.
Cause 4: Too much additive (paint, alcohol ink pooling, oily pigments)
Additives can interfere with curing if you add too much or use the wrong kind.
- Prevent it: Use colorants made for resin and keep the total additive amount low.
- Also: Avoid mixing in anything water-based unless the product explicitly says it is compatible.
Cause 5: Amine blush (waxy film on epoxy)
Some epoxies can develop a cloudy or greasy, waxy surface film, especially in cool, humid conditions. It can feel tacky to the touch even if the resin underneath is cured. True sticky, uncured resin is a different problem (often ratio or mixing).
- Fix it: Wash the surface with warm water and a little dish soap, then dry thoroughly. Lightly scuff sand if you plan to top coat.
- Prevent it: Cure warmer and drier when possible, and cover your piece to protect it from drafts and humidity swings.
How to fix sticky resin safely
This depends on whether you have a tacky surface film or a soft, uncured mess.
- If it is a surface film (amine blush): Wash, dry, then sand and top coat if needed.
- If it is tacky but mostly hard: Let it cure longer in a warm area. Then sand thoroughly and apply a properly mixed top coat.
- If it is still soft or gummy after extra time: Scrape it out of the mold and dispose of it according to the product’s guidance. Clean the mold following the mold maker’s recommendations. If you use isopropyl alcohol, test first on a small area and avoid prolonged soaking. Let the mold fully dry, then re-pour with fresh accurately measured resin.
More common resin casting failures (and quick fixes)
Fish eyes or craters
Little round craters often come from oil or silicone contamination, including mold release overspray, hand lotion, or oily pigments.
- Prevent it: Clean molds well, avoid touching interior mold surfaces, and be cautious with mold release.
- Fix it: Sand the surface flat and top coat. If the contamination is ongoing, clean everything and switch cups, sticks, and gloves.
Warping or bendy pieces
Thin casts can flex, and some resins stay slightly bendy by design. Warping is more common when curing is uneven or the piece is demolded too early.
- Prevent it: Let pieces cure the full time before demolding. Support thin molds on a rigid tray.
- Fix it: Sometimes gentle warmth and pressing flat (between smooth boards lined with parchment) can help, but results vary.
Cracks in deep pours
Cracks are usually from excess heat buildup or pouring deeper than the resin is formulated for.
- Prevent it: Use deep pour resin and pour in layers if required. Keep the room temperature stable.
- Fix it: Cracks often cannot be made invisible, but you can sometimes fill them with tinted resin as a design feature.
Dust, lint, and mystery hairs
Resin is basically a lint magnet with a PhD in “how did that get in there?”
- Prevent it: Cover your piece with a clean plastic bin, cardboard box, or dust cover while it cures.
- Fix it: Once cured, sand out the debris and top coat for gloss.
UV resin issues (quick reality check)
If you are using UV resin, the rules change a bit. Cure depends on lamp wavelength and power, layer thickness, and how transparent your resin and add-ins are.
- Common causes: Layers poured too thick, weak lamp, wrong wavelength for your resin, or pigments that block light.
- Fix it: Cure in thinner layers and keep the lamp close enough per the resin directions. If the surface is sticky, try an extra cure cycle, flip and cure the back, or finish with a clear top coat designed for UV resin if your brand recommends it.
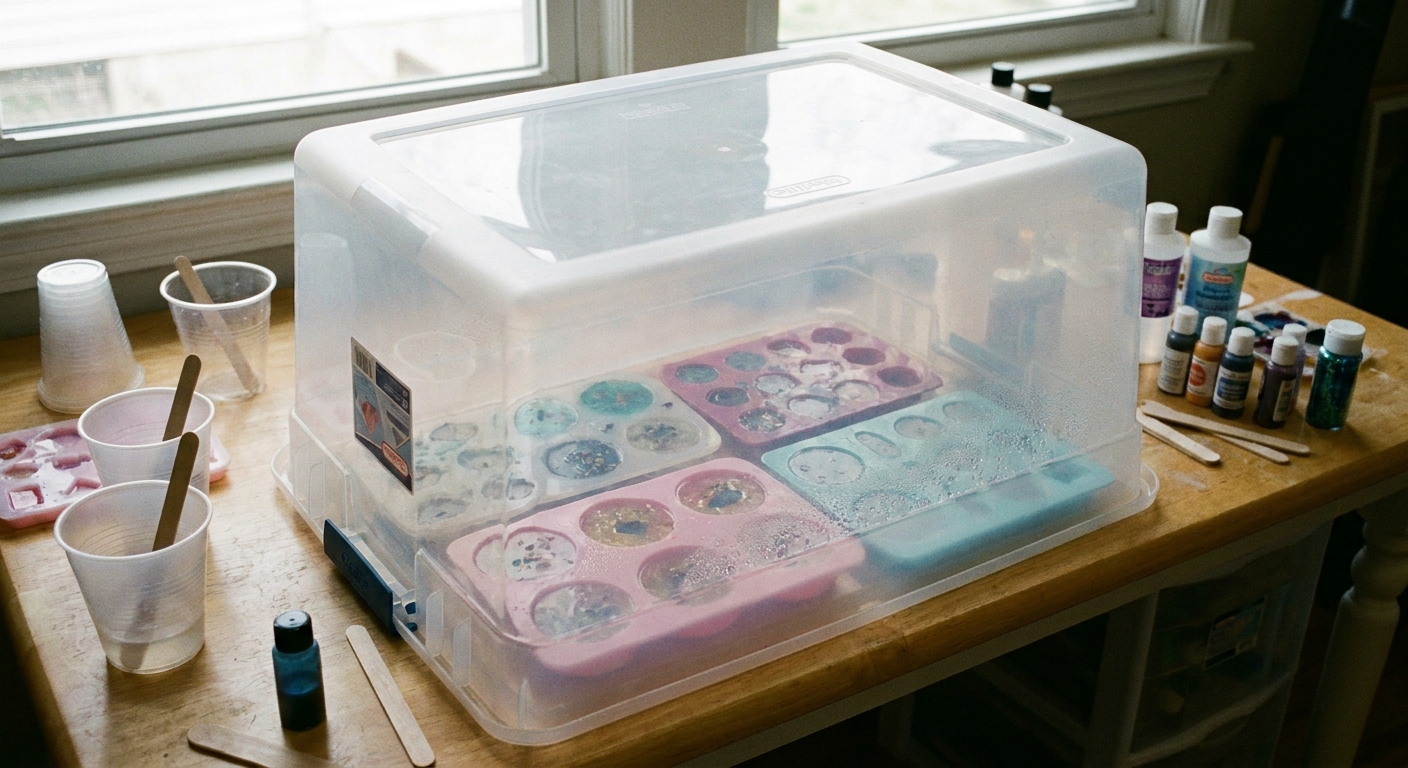
Prevention checklist for cleaner pours
If you want the simplest “do this every time” routine, here it is.
- Work in a warm, dry room with stable temperature (or the range your product specifies).
- Warm resin bottles with care (if allowed): use lukewarm water, keep caps dry, and dry bottles fully before opening.
- Measure accurately using the method your resin requires (volume vs weight).
- Mix slowly, scrape sides and bottom, then use the double-cup method.
- Pour slowly and close to the mold. Paint resin into details first.
- Pop surface bubbles with brief, moving heat (torch or heat gun, used carefully).
- Seal porous inclusions before embedding.
- Cover projects while curing to keep out dust.
- Wait the full cure time before sanding, drilling, or gifting.
FAQ
Why is my resin cloudy after curing?
The most common causes are moisture (humidity, wet molds, condensation, water-based colorants), too much pigment, or lots of microbubbles. If the cloudiness is only on the surface, sanding and a clear top coat may restore clarity. If it is throughout the piece, it is usually not fully reversible.
Why is my resin still sticky after 24 hours?
Some resins need longer than 24 hours, especially in cooler rooms or thicker pours. Persistent tackiness often points to incorrect ratio, incomplete mixing, or curing too cold. Check your product’s cure schedule, give it more time in a warm area, and if it stays gummy, it is usually a redo.
How do I remove bubbles without a pressure pot?
Warm the resin (within manufacturer guidance), mix slowly, let it rest briefly only if you have pot life for it, pour in a thin stream, and use quick passes of a heat gun or torch to release surface bubbles. For detailed molds, brush a thin layer into corners first.
Can I pour a new layer over a failed pour?
Often, yes. If the piece is cured hard, sand to create tooth, clean thoroughly, and then re-pour. If the base layer is soft or uncured, remove it first. Pouring fresh resin over a gummy layer usually locks the problem in.