Geocaching is modern treasure hunting, except the “treasure” is usually a tiny container tucked into the world like a secret handshake between strangers. You use GPS coordinates to navigate to a hiding spot, sign a logbook, and then put everything back exactly as you found it. You can start for free, you do not need special athletic abilities, and yes, you are absolutely allowed to feel delightfully dramatic about it.
Below is a beginner-friendly path to your first find, plus the little etiquette rules that keep the game fun for everyone.
What it is (and is not)
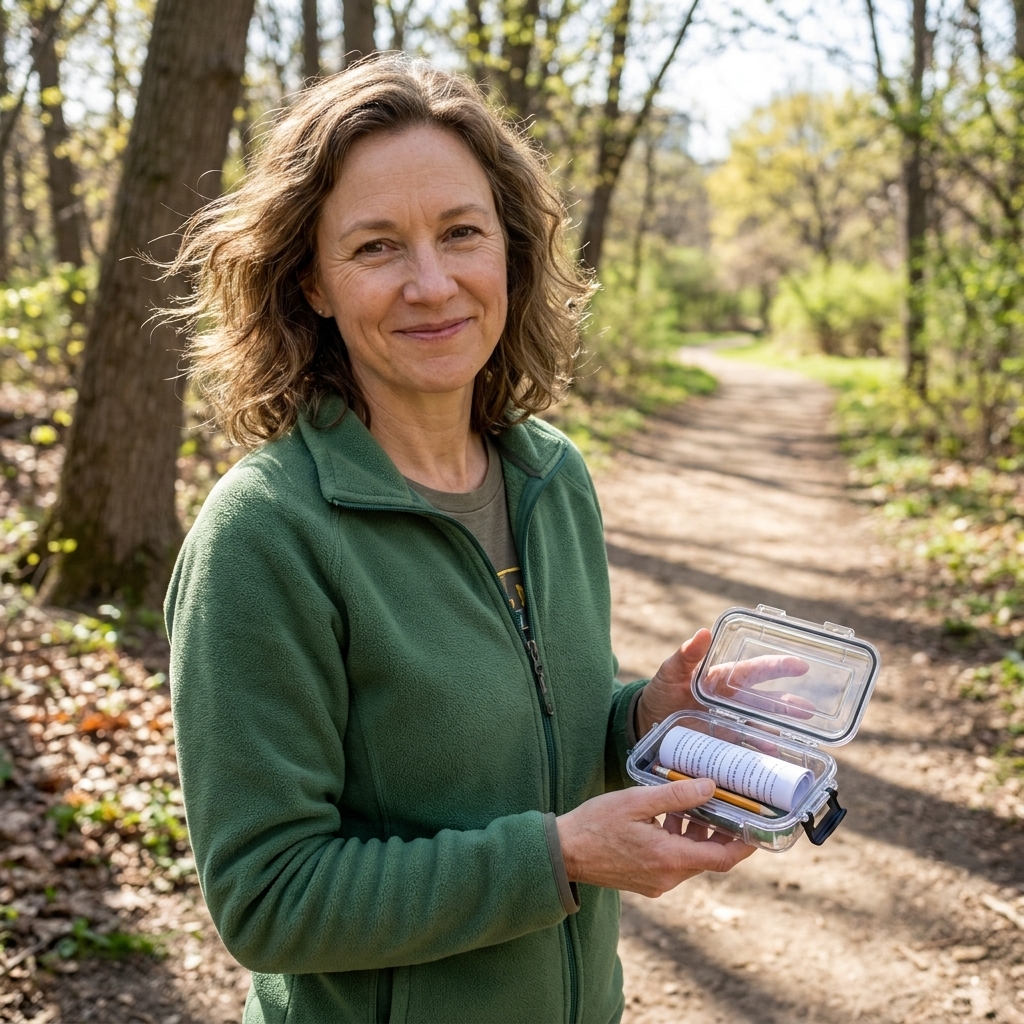
Geocaching is a worldwide outdoor game where people hide containers (called caches) and share their GPS coordinates online. Other players use an app to navigate to the spot, find the cache, and log the find.
- It is: a choose-your-own-adventure walk, a puzzle now and then, and a reason to visit trails, parks, and quirky corners of your town.
- It is not: digging holes, breaking branches, climbing on unsafe structures, or taking anything that is not meant to be traded.
Most caches are small and simple. Some include trade items. Some are purely “sign the log and smile at your own cleverness.” All of them depend on respect: for nature, for property, and for the next person who wants that same little spark of discovery.
Step 1: Get an app
You have two common paths:
- Official Geocaching app (Geocaching by Groundspeak): The most straightforward way to start. Great for beginners, with a huge database and easy logging.
- Alternative apps (varies by platform): Some offer different map styles or tools. They can be wonderful, but I recommend starting official first so the basics feel simple.
Quick setup checklist
- Download the app and create a free account.
- Allow location services while using the app.
- Set a username you do not mind seeing attached to your public logs.
- Open the map and zoom to your area to see nearby caches.
You can find plenty with a free account. Depending on your area, you may also notice many caches are marked Premium Member Only. A Premium membership unlocks those Premium-only listings plus extra tools like advanced filters, offline lists, and more ways to organize your finds. You do not need Premium for your first outing, but it is there if you catch the bug (it happens).
Step 2: Coordinates, simplified
Geocaching coordinates usually look like this:
N 40° 26.771 W 079° 58.732They are written in degrees and decimal minutes (often shortened to DDM). Here is the human version:
- N/S tells you north or south of the equator.
- E/W tells you east or west of the prime meridian.
- The numbers narrow your location down to a very specific spot.
Two beginner tips that save wandering
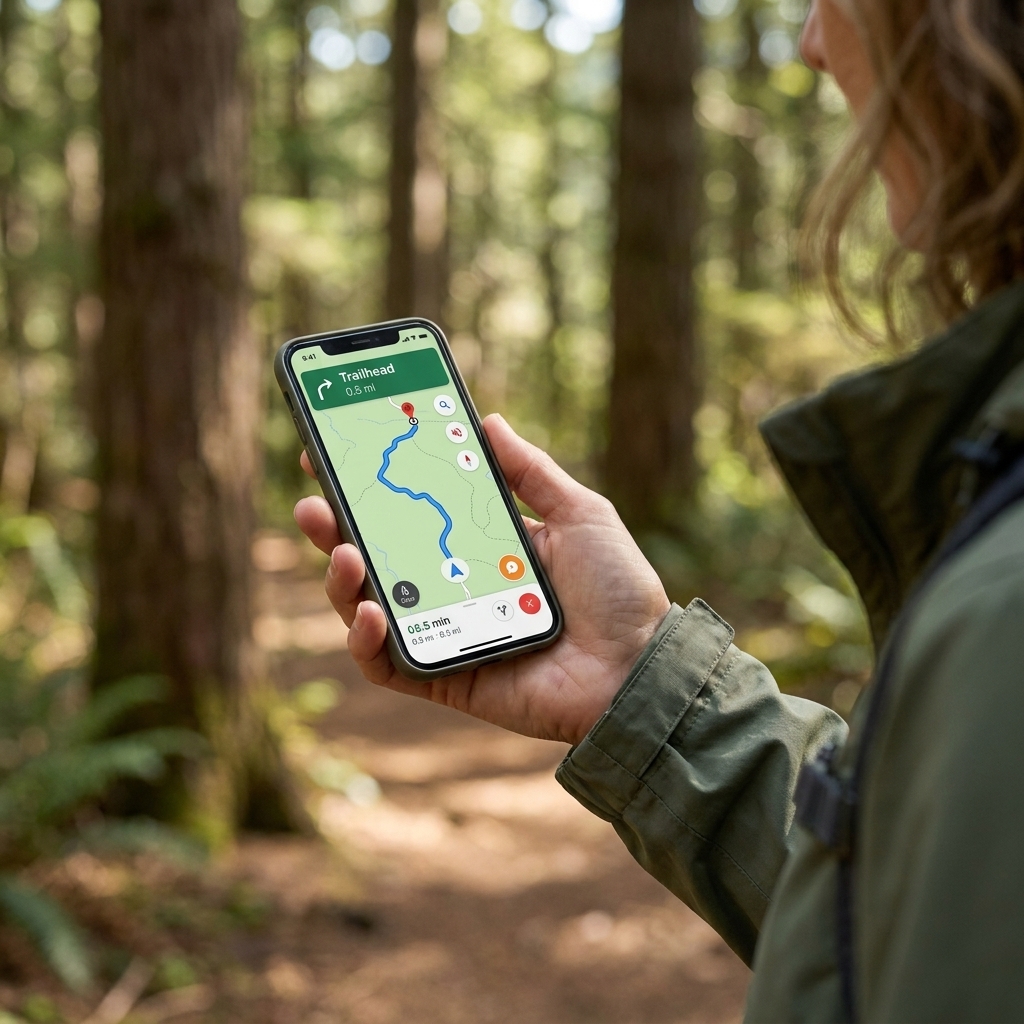
- Let the app do the work. As a beginner, you will almost never hand-enter coordinates. Tap a cache on the map and hit “Navigate.”
- GPS drift is normal. Your location may bounce around by 10 to 30 feet (3 to 10 meters), and sometimes more in heavy tree cover or between tall buildings. When you are close, slow down and start searching with your eyes.
Step 3: Pick an easy first cache
Your first geocache should feel like a friendly welcome, not an advanced exam. When you tap a cache listing, look for these fields:
Difficulty and terrain
- Difficulty (D): How tricky it is to find or solve. Start with D 1 to 1.5.
- Terrain (T): How hard the walk is. Start with T 1 to 2 for paved paths, gentle trails, and low-effort access.
Cache size
- Regular and Small caches can be easier for beginners than Micro.
- Micro is often something bison-tube or bolt-sized, and some are even nano. Fun, but they can make your first hunt feel like searching for a peanut in a leaf pile.
Read the recent logs
The log history can tell you what to expect. Check for:
- “Found it!” recently, which suggests it is still there.
- Mentions of maintenance issues like a broken container or a missing log.
- Gentle hints from past finders (often written carefully so it is not spoiled).
Skip these at first
- Puzzle caches (until you feel ready to solve clues at home)
- High terrain caches (steep hikes, water crossings, climbing)
- Anything with repeated “Did Not Find” logs (DNFs). DNFs are normal and not shameful, but they can be frustrating on day one.
Step 4: Pack a tiny kit
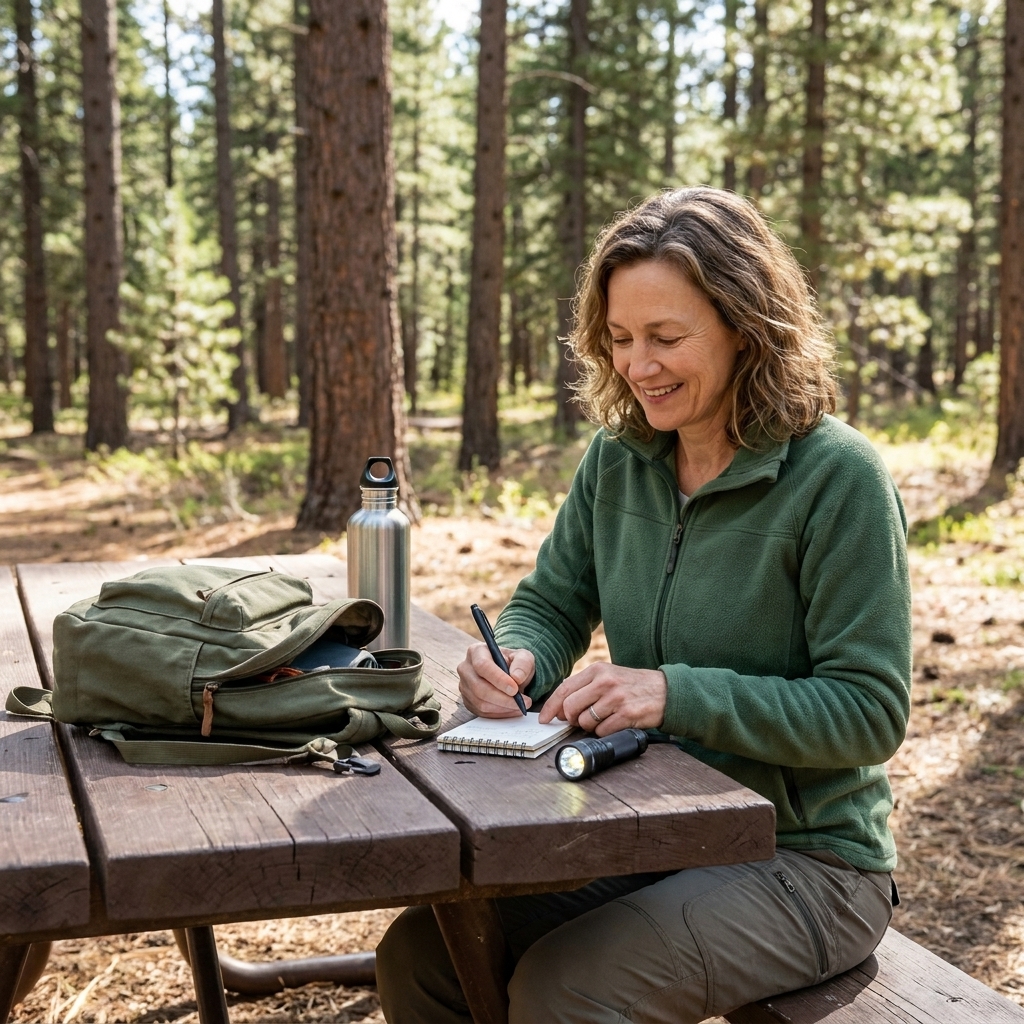
You can geocache with just your phone and a pen, but a few extras make it smoother.
Beginner essentials
- Pen or pencil (many caches do not include one)
- Charged phone and optionally a small battery pack
- Comfortable shoes and weather-appropriate layers
- Water, especially for longer walks
Nice-to-have extras
- Tweezers (helpful for tiny rolled logs)
- Hand sanitizer (because, well, outdoors plus shared containers)
- A small zip-top bag (to protect a damp logbook until it can be replaced properly)
- Trade items if you are hunting a larger cache: small toys, keychains, stickers. Nothing edible, scented, or messy.
And one safety note from my former-librarian, rule-following heart: tell someone where you are going if you will be on a quiet trail, and respect posted hours and signage.
Step 5: Navigate, then search
Once you hit “Navigate,” the app will guide you close to the coordinates. When you are within about 30 feet (10 meters), it is time to switch from “map brain” to “treasure hunter.”
How to search like a geocacher
- Look for “geosense” spots: the base of a sign, the back of a guardrail, a hollow in a tree, a rock that looks slightly too intentional.
- Search with your eyes first. Avoid tearing through plants or moving big rocks. Most hides are designed to be found without disturbing nature.
- Check the hint if you are stuck. On Geocaching.com, hints are often encoded with ROT13, but the app typically has a “Reveal hint” option so you do not have to decode anything yourself.
- Use the description. Sometimes the container type or placement is mentioned.
If you feel like people are watching, you are experiencing a classic geocaching phenomenon called “muggles.” (That is just our playful term for non-geocachers.) It is okay to step away, loop back, and search when it is quieter.
Step 6: Sign and rehide
Found it? Take a second to savor it. That little rush counts.
What to do at the cache
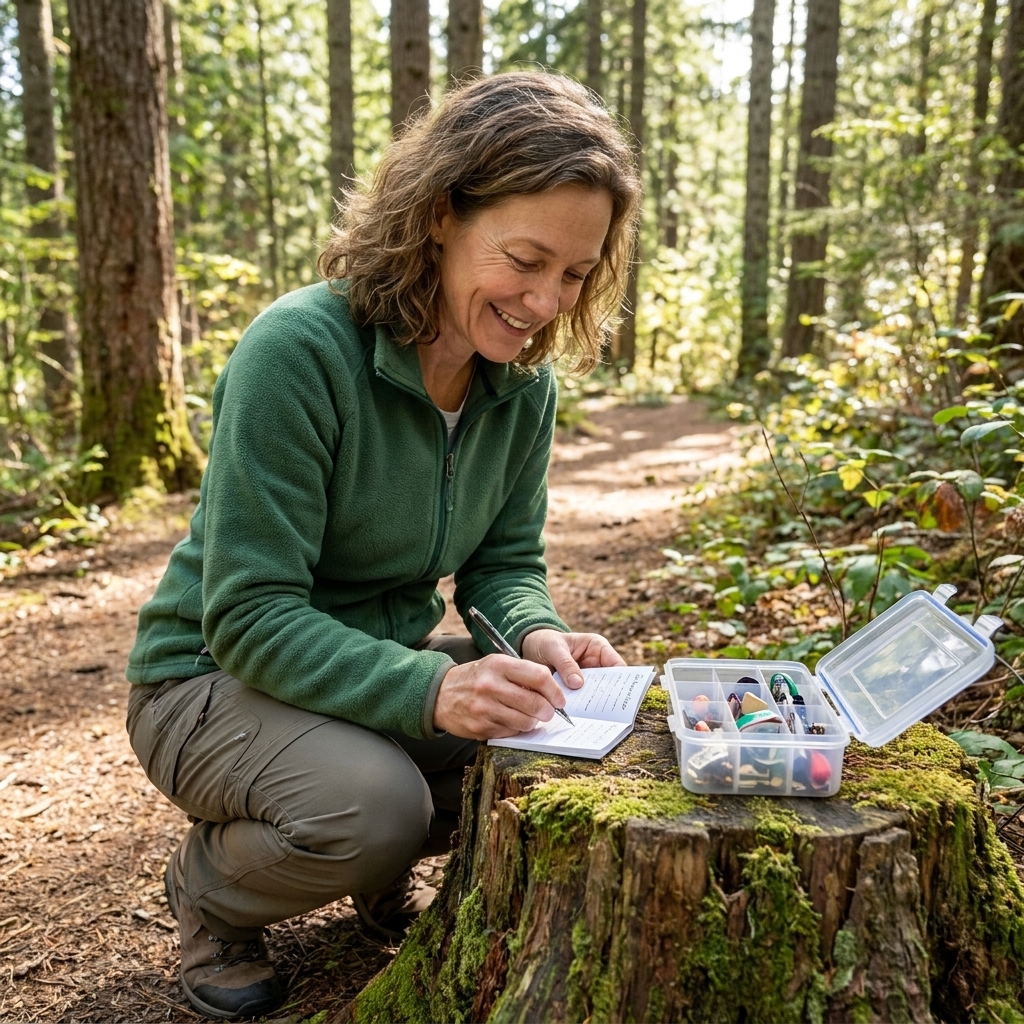
- Open the container carefully. Keep pieces together so nothing drops into leaves.
- Sign the logbook with your geocaching username and the date.
- If it is a trade cache: common etiquette is “trade even or trade up.” If you take something, leave something of similar or greater value. Also, trackables are not trade items, and they are not meant to be kept.
- Close it tightly to keep out water.
- Rehide it exactly as you found it. Same spot, same camouflage, same orientation if it was tucked a certain way.
That last part matters. A slightly different rehide can turn a fun find into a missing cache for the next person.
Step 7: Log it
After your hunt, open the cache listing and choose your log type. The most common are:
- Found It: You located the cache and signed the log.
- Did Not Find (DNF): You searched but did not find it. This helps owners know if something might be missing.
- Needs Maintenance: The cache is damaged, soaked, or the log is full. Use this when there is a real issue.
What to write (no spoilers)
A good log can be short and sweet:
- Share the walk or the view.
- Mention if the area was busy or muddy (future-you will appreciate this too).
- Avoid giving away the exact hiding method.
And yes, you can upload photos. Many geocachers love seeing the scenery. Skip photos that reveal the hiding spot.
Common cache types
- Traditional: Coordinates lead straight to the container. Best for first-timers.
- Multi-cache: You visit multiple points to reach the final container.
- Mystery or Puzzle: You solve something first, then get the real coordinates.
- Event: A meet-up for geocachers. Lovely if you want community without awkward pressure.
- Trackables: Tagged items that move from cache to cache. If you take one, log it properly, move it along in a reasonable time, and help it continue its journey.
Etiquette that matters
- Leave no trace. Stay on trails when possible and do not damage plants or habitats. If you can safely pick up a little litter on your way out, that is basically geocaching’s quiet side quest (often called CITO, Cache In Trash Out).
- Respect property and boundaries. If you must cross a fence, ignore a “No Trespassing” sign, or enter a restricted area, it is not the right cache for today.
- Be discreet. If lots of people are around, wait. A hidden cache is only fun if it stays hidden.
- Do not move caches. Even if you think you found a “better spot.” Cache owners choose locations for a reason.
- Report real issues. A wet log, cracked container, or missing cache is worth noting.
One more ethics note: placing caches requires permission from the landowner or land manager. As a finder, you do not have to solve that puzzle, but it is part of the culture and why we take “respect the space” so seriously.
Think of it like returning a library book in good condition, except the library is a tree hollow and the book is a tiny scroll you found while pretending you were not doing anything suspicious.
Your first outing plan
If you want a no-fuss first day, try this:
- Pick one Traditional cache rated around D 1.5 / T 1.5 in a local park.
- Read the description and hint before you leave.
- Bring a pen, water, and a calm, curious attitude.
- Give yourself 20 to 30 minutes to search, then decide if you want to log a DNF and try a different cache.
- End with a treat: a snack, a coffee, or a happy lap around the park because you just joined a worldwide treasure hunt.
Beginner questions
Is it safe?
Generally, yes, especially when you choose low-terrain caches in public parks during daylight. Use basic outdoor safety: stay aware of your surroundings, watch footing, and skip any cache location that feels unsafe or trespasses.
Do I need special GPS gear?
No. A smartphone is enough to start. Dedicated GPS units can be nice for remote areas, but they are not required for beginners.
What if I cannot find it?
That is normal. Log a DNF, read past logs for gentle hints, and try again later. DNFs help cache owners know when something might be missing, and they help future finders set expectations.
Can I bring kids?
Absolutely. Pick easy terrain, avoid tiny micro caches at first, and make it a scavenger-hunt walk. Bring hand wipes and a pen that actually writes. Those two things will make you feel like a wizard.
What should never go in a cache?
Avoid food, scented items, anything sharp or dangerous, and anything that could melt or leak. When in doubt, choose small, clean, durable items.
Ready to find one?
Geocaching is one of my favorite reminders that play is still available to us as adults. You do not have to be “good” at hiking, navigation, or outdoorsy things to enjoy it. You just have to be curious, willing to look under a few suspicious rocks (gently), and brave enough to sign your name on a tiny log like you are part of a secret club.
Pick one easy cache this week. Let your first find be a warm-up, not a performance. The treasure is the moment you realize the world is full of hidden stories, and you can go find them.