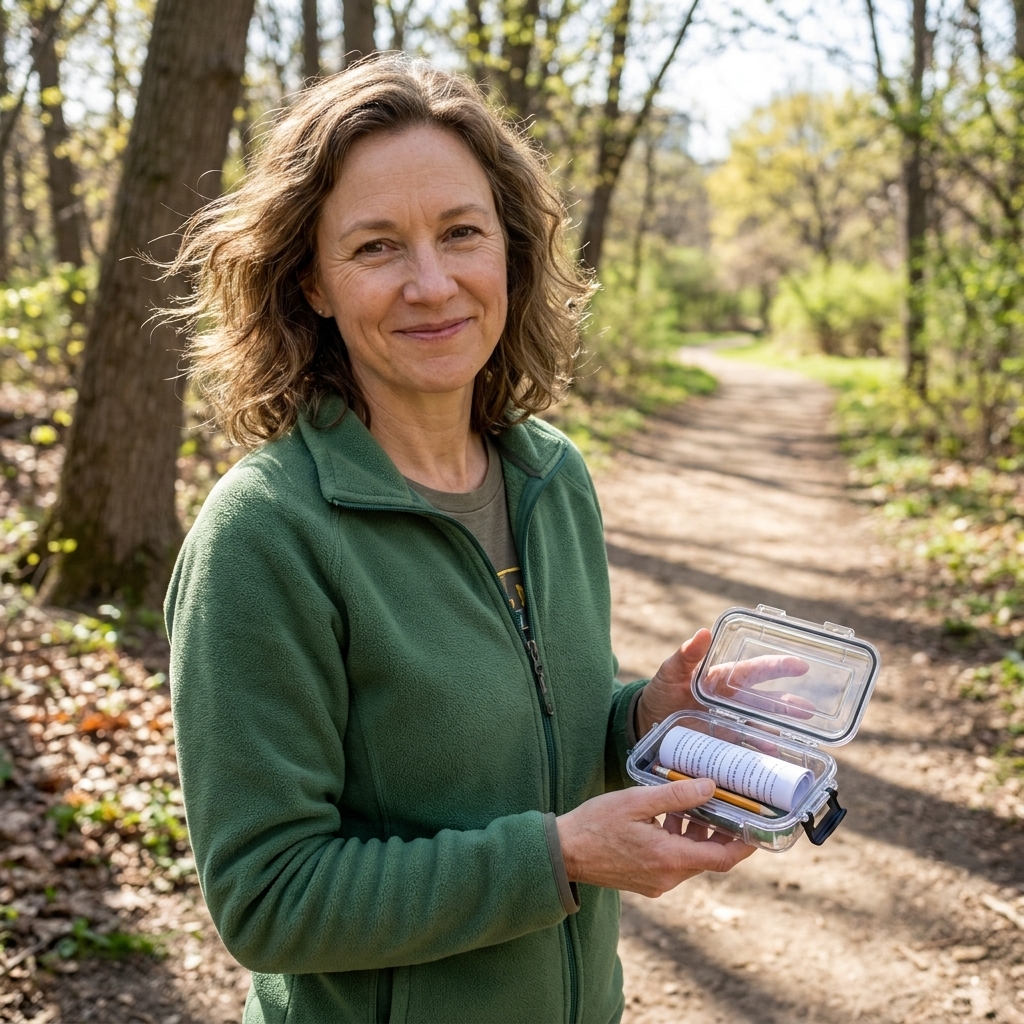
Geocaching is basically a real-world treasure hunt where your phone points you toward a hidden container, you find it, sign a tiny log, then record your find in the app. It is delightfully low-pressure, surprisingly family-friendly, and (my favorite part) it gives adults permission to be goofy in public while “just checking the map.”
This guide will walk you through what to bring, how to find your first cache, and how to log it without accidentally committing any geocaching faux pas. You do not need fancy gear. You do not need to be outdoorsy. You just need a curious brain and a pen.
What geocaching is (and what it is not)
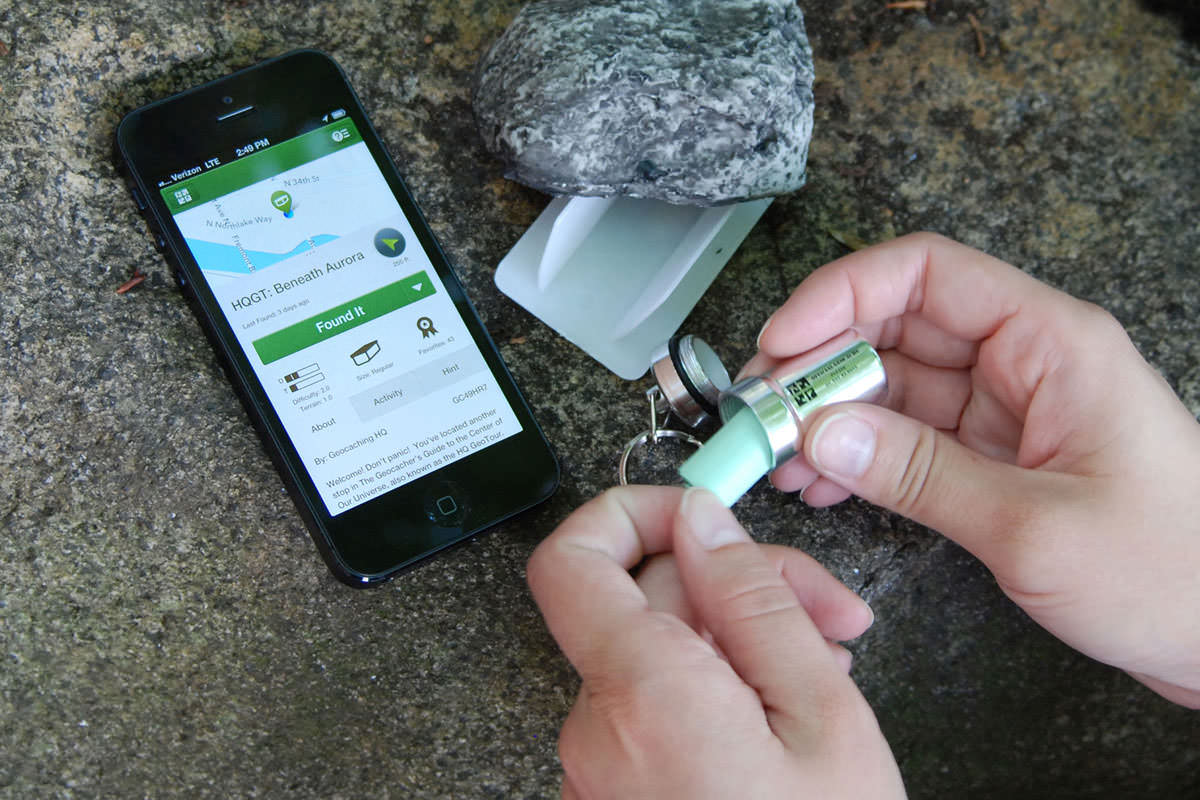
Geocaching is a global game where people hide containers (called caches) and share the GPS coordinates online so others can find them. Most caches include a physical log inside. Your job is to locate the cache, sign the physical log when you can, and record your find digitally.
The basics you will see in the app
- Cache types: Most beginners start with Traditional caches (go to the coordinates, find the container). You will also see puzzles and multi-stage caches, which are fun later.
- Difficulty and Terrain ratings: Difficulty is how tricky the hide is. Terrain is how hard the walk is. For your first outing, aim for D 1 to 2 and T 1 to 2.
- Size: Micro (very small) to Regular and Large. If you want the easiest “aha!” moment, pick Regular when you can.
- Attributes: Little icons that warn you about things like night-only, ticks, steep climb, stroller-friendly, or “bring a pen.”
- Coordinates and GZ: Coordinates are the GPS location you are navigating to. GZ means “ground zero,” the spot where your GPS says you are basically on top of the cache. (It might still be a few steps away because phones wobble. More on that below.)
What it is not
- Not metal detecting: You are not digging. A well-placed cache is findable without disturbing the environment.
- Not taking random items: If you trade swag, the friendly norm is “trade even or trade up” (and it is also fine to trade nothing). You never take the logbook.
- Not a race: Slow down, read the description, enjoy the walk, and leave the spot looking exactly the same.
- Not trespassing: Do not hop fences, ignore posted signs, or enter restricted areas. Cache listings are meant to be placed with permission, but as a seeker you should still trust your eyes and your gut.
What to bring for your first geocache hunt
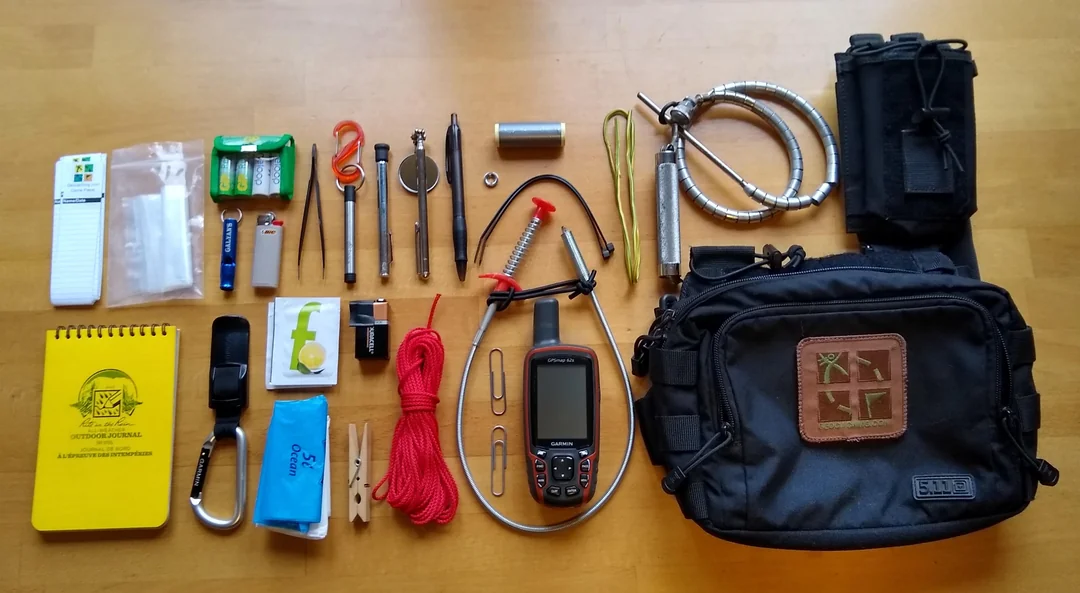
If you have a phone, you already have your main tool. Everything else is “make it easier” gear. Here is a beginner kit that fits in a pocket or small bag.
Must-haves
- Phone with the geocaching app (and location services turned on).
- A pen or pencil: Many caches are missing pens, and tiny logs are hard to sign with a chunky marker. A short golf pencil is perfect.
- Comfortable shoes and a little water, especially if you are bringing kids.
Nice-to-haves (still low-cost)
- Small flashlight: Helpful for peeking under benches or into tree hollows.
- Tweezers: For micro caches where the log strip is tightly rolled.
- Hand sanitizer: Cache containers live outdoors and sometimes get damp or gritty.
- Charged battery pack: GPS and screen brightness can drain phones faster than you expect.
- Bug spray or tick protection if you are in brushy areas.
If you plan to trade items
Many caches contain small trinkets. If you want to participate in trading, bring a few simple, family-friendly items like stickers, clean keychains, or small toys. Avoid anything scented, food, matches, knives, or anything that could melt or leak.
How to choose a great first cache
Your first geocache should feel like a friendly handshake, not an escape room. Here is how to set yourself up for a quick win.
Beginner-friendly filters
- Type: Traditional
- Difficulty: 1 to 2
- Terrain: 1 to 2
- Size: Regular or Small
- Accessibility: Look for paved paths, park-and-grab, or stroller-friendly attributes if needed
Read these parts before you leave home
- Description: Sometimes it tells you where to park, what trail to use, or what to watch out for.
- Hint: Use it when you are stuck, not as a test of character.
- Recent logs: If several people report “Did Not Find” in a row, that cache might be missing. For a first hunt, pick one with recent “Found it” logs.
Quick tip: If you want the most confidence-boosting first find, pick a cache in a well-loved city park with lots of recent finds. Those tend to be maintained and easier to spot.
Using the app: a simple step-by-step
The app you use may vary slightly depending on your phone, but the flow is the same.
- Create an account and allow location access.
- Find a nearby cache using the map view. Tap one to open its page.
- Check the basics: Type, Difficulty, Terrain, Size, and whether it is available (not disabled).
- Tap “Navigate” and follow the directions to get close.
- Once you are within about 30 feet (10 meters), stop following the dot like it is turn-by-turn driving directions and start searching with your eyes. GPS can bounce, especially under trees or near buildings.
- Use the hint and the description: Look for spots that can hide a container without damaging anything.
Understanding GPS wobble (so you do not feel “bad at it”)
GPS on a phone is amazing, but it is not magic. Tree cover can interfere, and in cities signals can bounce (multipath interference), which makes your location jump around. It is normal to arrive and see your distance wobble. When that happens:
- Stop walking for 10 to 20 seconds and let your location settle.
- Walk a small circle and see where the distance consistently drops.
- Put the phone down and scan likely hiding spots within a small radius around GZ.

How to actually find the cache (the fun part)
Most caches are hidden in plain sight once you learn the common patterns. You are looking for something that seems slightly out of place but not vandalized.
Common beginner hides
- Under a bench (magnetized container or tucked in a corner)
- Behind a sign (often magnetic)
- Inside a hollow log or in the crook of a tree
- Under a pile of sticks that looks intentionally arranged
- In a guardrail (please be extra careful around roads)
Geocaching manners in one minute
- Do not dig, pry, or break anything. If it feels destructive, it is not the right move.
- Be discreet when possible, especially in busy areas. Geocachers call non-players “muggles,” and the goal is to keep caches from being removed.
- Put it back exactly as found. Same spot, same orientation, same cover.
- Leave no trace. If searching is starting to tear up an area, pause and reassess.
What is inside a cache?
It depends on the size:
- Micro: Usually just a rolled paper log. No room for trinkets.
- Small: Logbook plus a few tiny trade items.
- Regular: Logbook and a handful of small toys or swag.
- Large: Bigger container with more trading options, sometimes kid favorites.
Regardless of size, your main mission is usually the same: sign the physical log. If the log is missing or too wet to sign, do your best, mention what happened in your online log, and consider posting a maintenance note if the app offers it (more on that below).
A note about trackables
Sometimes you will find items with tracking codes (often dog tags or special coins). These are called trackables. They are meant to move from cache to cache. If you take one, log it properly in the app and try to move it along within a reasonable time.
How to log your first find (without overthinking it)
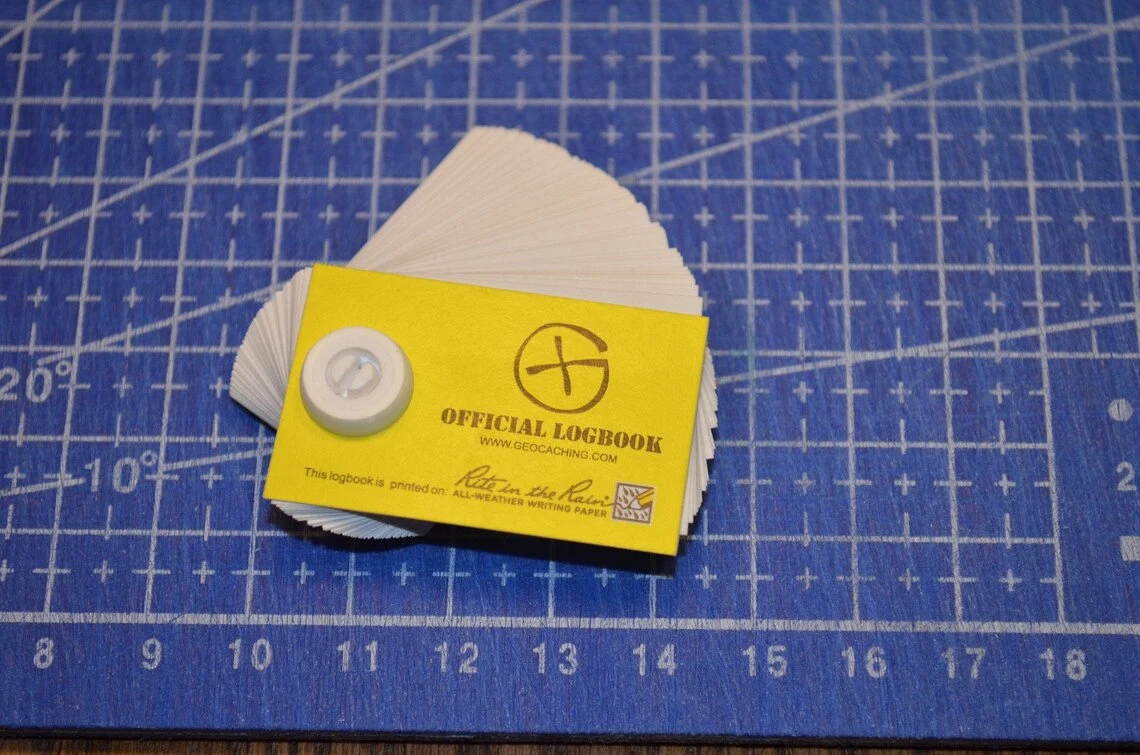
There are two logs: the physical log in the cache, and the digital log in the app. You will do both.
Step 1: Sign the physical log
- Open the container and find the log.
- Write your geocaching username and the date. A quick note is optional.
- Close everything securely so it stays dry.
Step 2: Log it in the app
- On the cache page, choose Log Geocache or Found it.
- Add a short message. A few sentences is plenty.
- Optional but appreciated: mention the condition of the container or log (wet, full, cracked), especially if maintenance is needed.
- Post your log.
What to write? Try something like:
- “Found it on a sunny walk. Great hide, thanks for placing!”
- “Kids loved this one. Log was a bit damp but still signable.”
- “Quick find after reading the hint. Put it back as found.”
Beginner reassurance: Your first log does not have to be witty. It just has to be honest and kind.
DNF vs maintenance notes
- Did Not Find (DNF): Use this when you searched and did not find the cache. DNFs are normal and genuinely helpful, especially if several stack up in a row.
- Maintenance notes (wording varies by app): Use this when you found a clear issue like a soaked log, cracked container, or missing lid. Keep it factual and polite. You can also mention small issues in your “Found it” log.
- Escalation logs (like “Needs Archived”): Save these for more serious situations and for when you have a little experience, unless the listing clearly describes a safety or access problem. When in doubt, a simple DNF or maintenance note is a good start.
A simple first outing plan (30 to 60 minutes)
If you want an easy, low-stress first geocache adventure, here is a plan that works for solo adults, couples, or families.
- Pick one Traditional cache in a park with easy terrain and recent finds.
- Pack: phone, pen, water, and optional flashlight.
- Read the description and hint before you arrive so you are not squinting at your screen in the wind.
- Navigate to the general area, then slow down for the last 30 feet.
- Search for 10 to 15 minutes. If you are stuck, use the hint and check recent photos (if available).
- If you do not find it, log a DNF and try another cache. This is normal, and it helps the cache owner know what is going on.
Safety and family-friendly notes
Geocaching is generally very safe, but it is still an outdoor activity with normal outdoor considerations.
Quick safety checklist
- Check where the cache is located before heading out. Avoid spots too close to busy roads, steep drop-offs, or restricted areas.
- Watch for poison ivy, ticks, and sharp objects, especially around urban hides.
- Bring kids into the process: let them hold the pen, spot hiding places, or be the “logbook captain.”
- Teach the rule: if we move sticks or rocks, we put them back exactly as found.
- Respect private property and posted signs. If it feels questionable, skip it.
Weather-friendly tip
On hot days, choose shaded parks and bring extra water. On rainy days, look for caches with attributes that suggest a sheltered location, and pack a small zip bag for your pen and phone.
Common beginner questions
Do I need a paid membership?
You can start geocaching for free. Some caches are reserved for premium members, but there are plenty of beginner-friendly finds available without paying anything.
What if I cannot find the cache?
It happens to everyone. Log a DNF so the owner has a heads-up, then try another cache nearby. Your geocaching skills grow fast with a few attempts.
Is it okay to go geocaching alone?
Yes, as long as you choose safe locations and let someone know where you are if you are heading into quieter trails. Many people geocache solo as a relaxing walk-with-a-mission hobby.
Can we do this with little kids?
Absolutely. Choose easy terrain, avoid roadside hides, and aim for Small or Regular containers so the “treasure” moment feels real. A tiny notebook for kids to write their own mini-log can also be a big hit.
What should I do if the cache is damaged or missing?
Note it in your online log. If the container is clearly broken or the logbook is soaked or missing, mentioning it kindly helps the cache owner maintain it. If your app has a maintenance log option, that is a good time to use it.
Your next step: make it a tiny tradition
Once you find your first cache, you will start seeing your neighborhood differently. That empty corner of the park. That trail you never noticed. That little pocket of adventure hiding behind the ordinary.
If you want to keep it simple, set a goal like one cache a week or one cache per new park. No pressure, no side hustle, just a small reason to get outside and be a beginner again.