Wildlife photography is one of those hobbies that makes you feel like a kid again, the kind who can stare at a squirrel for ten minutes and call it a “great day.” The trick is learning how to bring home photos that feel as alive as the moment, without stressing the animal or yourself.
Below are seven practical tips I wish I could have taped to my camera the first time I tried to photograph a heron and got, instead, a lovely collection of blurry water.
1) Pick the right lens
If you try wildlife photography with a standard kit lens, you will quickly learn a universal truth: animals are not interested in posing ten feet from you. A longer lens lets you fill the frame while keeping a respectful distance.
Easy lens guidelines
- 300mm (or equivalent): A great entry point for birds in larger spaces and bigger mammals at moderate distances.
- 400mm to 600mm: The sweet spot for birds, smaller mammals, and skittish subjects.
- 100mm to 400mm zooms: Flexible for hikes, changing distances, and “something just ran across the trail” moments.
Friendly reminder: crop sensor cameras give a tighter field of view (crop factor). A 300mm lens frames like about 450mm (1.5x) on many APS-C systems, or about 480mm (1.6x) on some.
One more thing that genuinely helps: use a lens hood. It reduces flare and protects the front element from branches, drizzle, and your own enthusiastic fumbling.
2) Start with shutter speed
In wildlife photography, blur is usually caused by one of two things: your hands or the animal moving. Either way, shutter speed is your first line of defense.
Starting shutter speeds
- Perched birds, calm mammals: 1/500s (and do not be surprised if you prefer 1/800s for small birds that twitch)
- Walking, head turns, tail flicks: 1/800s to 1/1000s
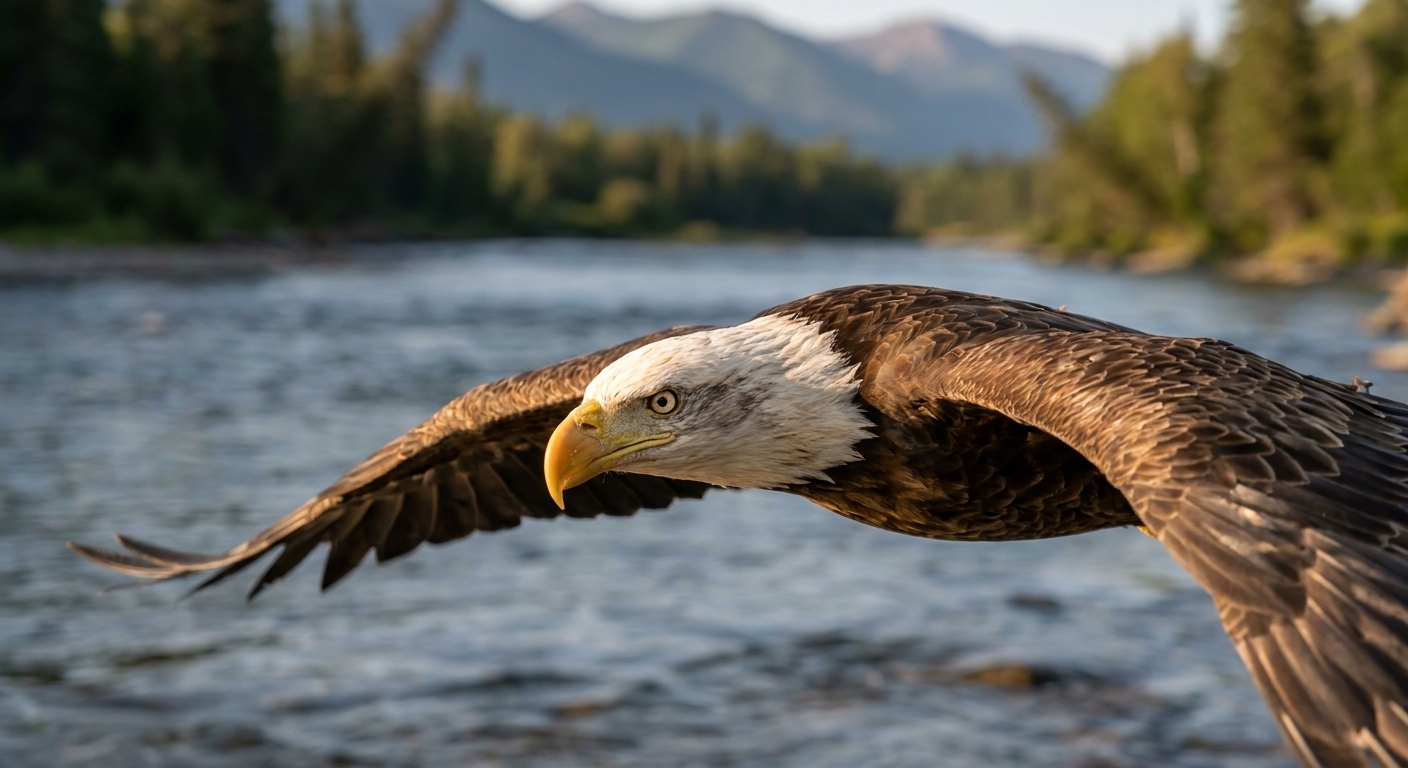
- Birds in flight : 1/1600s to 1/3200s
- Fast action (chases, takeoffs): 1/2500s and up
If you are thinking, “But what about low light,” yes. That is where ISO comes in, and we are going to be friends with it.
Beginner setup: try Shutter Priority (S or Tv mode). Pick a shutter speed and let the camera handle the rest while you learn.
3) Use Auto ISO (with limits)
Many beginners avoid ISO like it is a bad idea at a potluck. But a slightly noisy photo is almost always better than a blurry photo. Modern cameras handle higher ISO surprisingly well, especially if your exposure is solid.
A simple “set it and relax” approach
- Turn on Auto ISO.
- Set a maximum ISO your camera can handle comfortably (common starting points are ISO 3200 or ISO 6400).
- Keep your shutter speed where it needs to be for motion.
If your camera allows it, set a minimum shutter speed in Auto ISO (often found in ISO settings). This is especially handy in Aperture Priority + Auto ISO, or in Manual mode + Auto ISO if you want full control of aperture and shutter speed while the camera floats ISO.
Quick permission slip: you are allowed to take photos that are not technically perfect. You are also allowed to keep them because the moment is perfect.
4) Focus and shoot in bursts
Wildlife moves unpredictably. Your focusing setup can do a lot of heavy lifting, especially with birds and anything that changes direction quickly.
Helpful settings to try
- Continuous autofocus (AI Servo, AF-C): keeps tracking as the animal moves.
- Back-button focus: separates focusing from the shutter button so you can track more deliberately.
- Subject detection or animal eye AF: wonderful when it works, especially for mammals and larger birds.
- Burst mode: use short bursts. Think “tap-tap-tap,” not “hold until your card fills.”
If your camera offers different AF area modes, start with a small zone rather than “auto everything.” It helps the camera focus on the animal, not the nearest twig that is photobombing your whole life.
5) Watch light and backgrounds
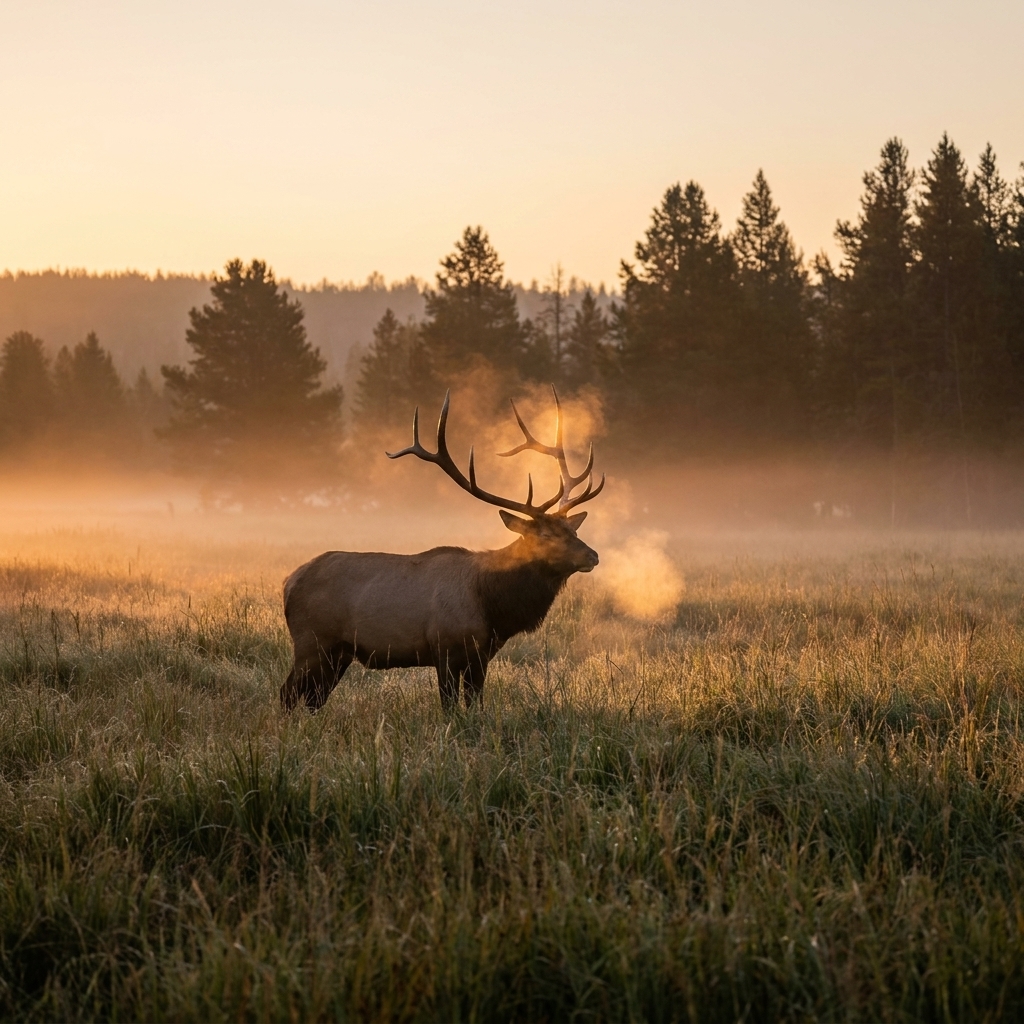
Wildlife images look “pro” when the light is kind and the background is calm. You do not need exotic locations. You need good angles and a little patience.
Quick wins in the field
- Chase soft light: early morning and late afternoon are your best friends.
- Keep the sun behind you (at least at first): it lights the animal’s face and brings out detail.
- Watch the background: take one step left or right to avoid bright distractions and intersecting branches.
- Get low: photographing at eye level makes animals look more present and less like a “nature snapshot.”
If you are stuck with a busy background, open your aperture (lower f-number) to blur it. Many wildlife shooters land around f/5.6 to f/8 depending on light and how much of the animal they want sharp.
One exposure tip that saves photos
Wildlife often comes with tricky contrast: bright sky, dark subject, and a camera meter that gets confused. Use exposure compensation when needed. A common move is plus compensation for a dark animal against bright water or sky, or minus compensation for a white bird in sun. If you can, shoot RAW. It gives you more room to recover highlights and lift shadows later.
6) Slow down (fieldcraft)
The best wildlife photos often come from doing less, not more. Instead of walking quickly and hoping to “find wildlife,” try slowing down and letting wildlife continue their routines around you.
Gentle, effective habits
- Move like you are trying not to wake a toddler: slow steps, no sudden gestures.
- Pause often: animals notice movement more than stillness.
- Pay attention to wind and scent: for many mammals, being downwind matters as much as being quiet.
- Use natural cover: trees, bushes, a ridge line, or your car as a blind (where legal and safe).
- Listen: alarm calls from birds can signal predators or other animals moving through.
- Return to the same spot: learning one small area deeply is powerful.
If you want a simple assignment, pick one local park or trail and visit it weekly for a month. Photograph the same pond, same grove, same field edge. You will start noticing patterns, and your photos will improve faster than you expect.
7) Keep it ethical
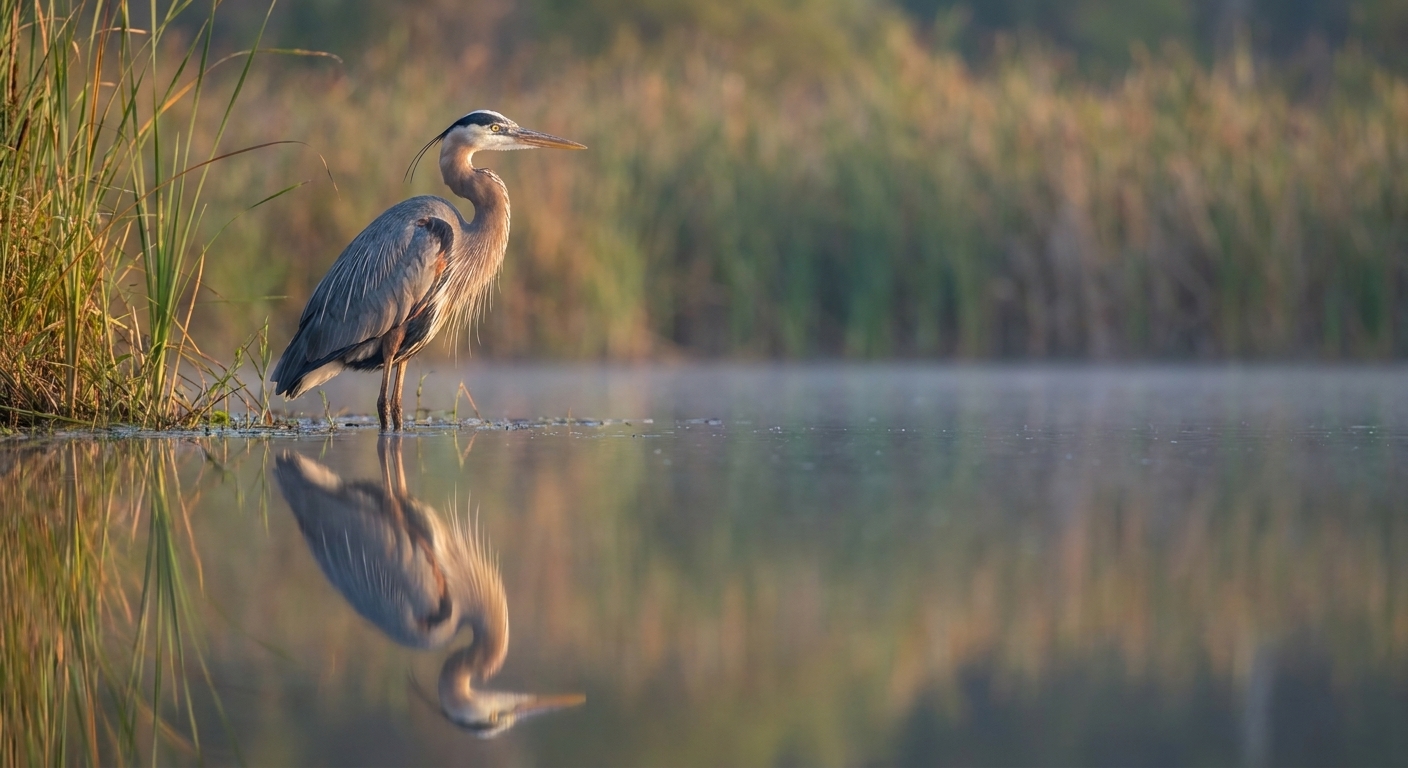
This is the heart of wildlife photography. The goal is to witness, not interfere. A “stunning” image is not a win if an animal had to waste energy fleeing, abandon food, or leave its young.
Guidelines I follow
- Keep a respectful distance. If the animal changes behavior because of you, you are too close.
- Never chase or corner wildlife, especially for a flight shot.
- Avoid nesting areas and sensitive habitats. If you see signs asking you to stay back, treat them like the law of gravity.
- Skip baiting and call playback unless you are trained, permitted, and certain it is appropriate for the species and situation. In many parks and refuges, baiting and playback may be illegal or explicitly prohibited.
- Leave no trace: stay on trails where required, pack out everything, and be mindful of trampling vegetation.
If you are ever unsure, choose the option that gives the animal more space. Future-you will be proud.
Quick starter kit
- Camera with continuous autofocus
- Telephoto lens (or a bridge camera with strong zoom)
- Extra battery and memory card
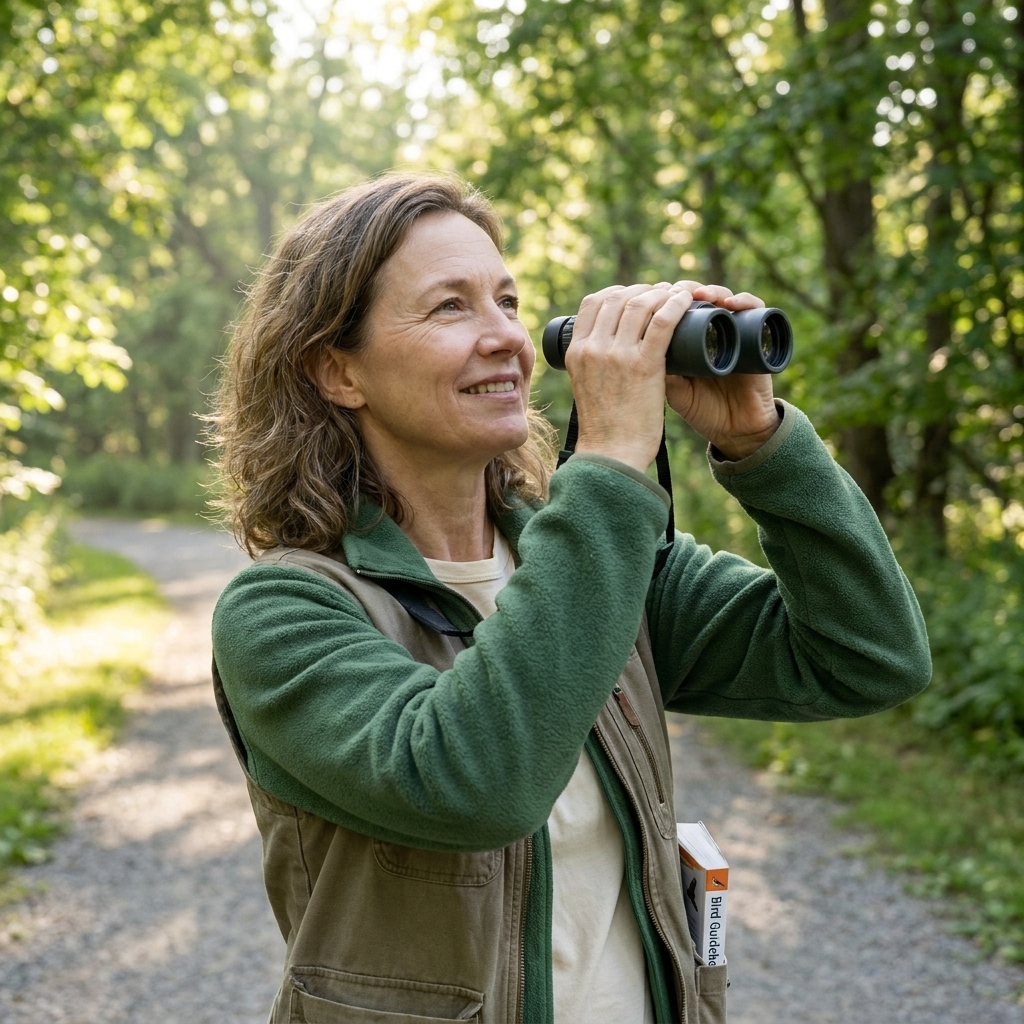
- Binoculars (optional but extremely helpful)
- Neutral clothing (nothing fancy, just not neon)
- Small microfiber cloth for lens and viewfinder
- Simple support: a monopod, bean bag for a car window, or a small tripod if your setup is heavy
- Comfortable shoes and a little snack for patience
Stabilization note: if your lens or camera has image stabilization, it can help for handholding and panning. If you lock the camera down on a tripod, some setups prefer stabilization off. Check your manual, and do a quick test at home so you are not guessing in the field.
FAQ
What camera is best for wildlife photography?
The best camera is the one you will actually carry. Look for decent autofocus tracking and good high-ISO performance. Many modern entry-level mirrorless and DSLR cameras can make excellent wildlife images when paired with a long lens.
Do I need a tripod?
Not always. For long lenses, a monopod or a bean bag on a car window can be a wonderful compromise. If you shoot in low light or use a very heavy lens, a tripod or monopod can reduce fatigue and camera shake.
How do I get sharper wildlife photos?
Increase shutter speed, use continuous AF, stabilize your stance, and shoot short bursts. Also, try to keep your focus point on the animal’s eye or head, and avoid letting the camera grab focus on nearby branches.
What is the best time of day to photograph animals?
Early morning and late afternoon are usually best for both animal activity and soft light. Midday can still work, especially in shade, on overcast days, or for animals that are active throughout the day.
Your next step
If you want an easy win this week, set your camera to Shutter Priority, choose 1/1000s, turn on Auto ISO, and go photograph the most ordinary wildlife you can find. Pigeons, squirrels, ducks, neighborhood rabbits. They are excellent teachers and far less judgmental than we imagine.
For a little extra polish, try one simple composition habit: place the eye near an upper third, and leave a bit of space in the direction the animal is looking or moving. Tiny change, big difference.
And if your first outing is mostly blurry tails and empty branches, congratulations. You are officially doing wildlife photography.