If you've ever stepped outside, looked up, and thought, “Okay… I see stars. Now what?” you're in excellent company. Stargazing is one of the few hobbies that asks for almost nothing: a patch of sky, a little time, and your willingness to be a beginner.
This guide will help you read the night sky without a telescope by learning a few reliable constellations, understanding the Moon’s rhythm, and using astronomy apps in a way that feels helpful, not overwhelming.
Start here: what you actually need
Let's keep this delightfully simple. You can do meaningful stargazing with zero gear. A few small extras just make it more comfortable.
The true essentials
- Darkness (or at least dimness): Even a backyard can work if you tuck yourself away from porch lights.
- Time: Give your eyes 15 to 20 minutes to adjust and you'll notice a big improvement. (For maximum sensitivity, it can take 30 to 45 minutes or longer.)
- Something warm: Night air has a sneaky way of feeling colder than expected.
Nice-to-have extras
- A blanket or camp chair: Your neck will thank you.
- A red light: A red flashlight or red screen filter helps preserve night vision.
- Binoculars: Not a telescope, but a joyful “secret upgrade.” Even basic binoculars can reveal star clusters and the Moon’s craters. (Quick safety note: never use binoculars anywhere near the Sun.)
Beginner permission slip: You don't have to memorize everything. Your goal is simply to recognize a few sky landmarks and feel oriented.
How to find stars: use anchors
When people get stuck, it's usually because they try to “read” the whole sky like a textbook. Instead, find a few big, easy shapes that act like anchors. Once you've got an anchor, you can hop to nearby constellations and bright stars.
Tip: use brightness and shape
- Start with the brightest things: The Moon, then bright planets, then bright stars.
- Look for simple geometry: A dipper, a W, a rectangle, a line of three.
- Work in small wins: One constellation per night is plenty.
Five beginner patterns to learn
These are popular for a reason: they're relatively easy to spot and they help you find other things. (You'll see the term asterism sometimes. It just means a recognizable star pattern that's part of a larger constellation.)
1) The Big Dipper (in Ursa Major)
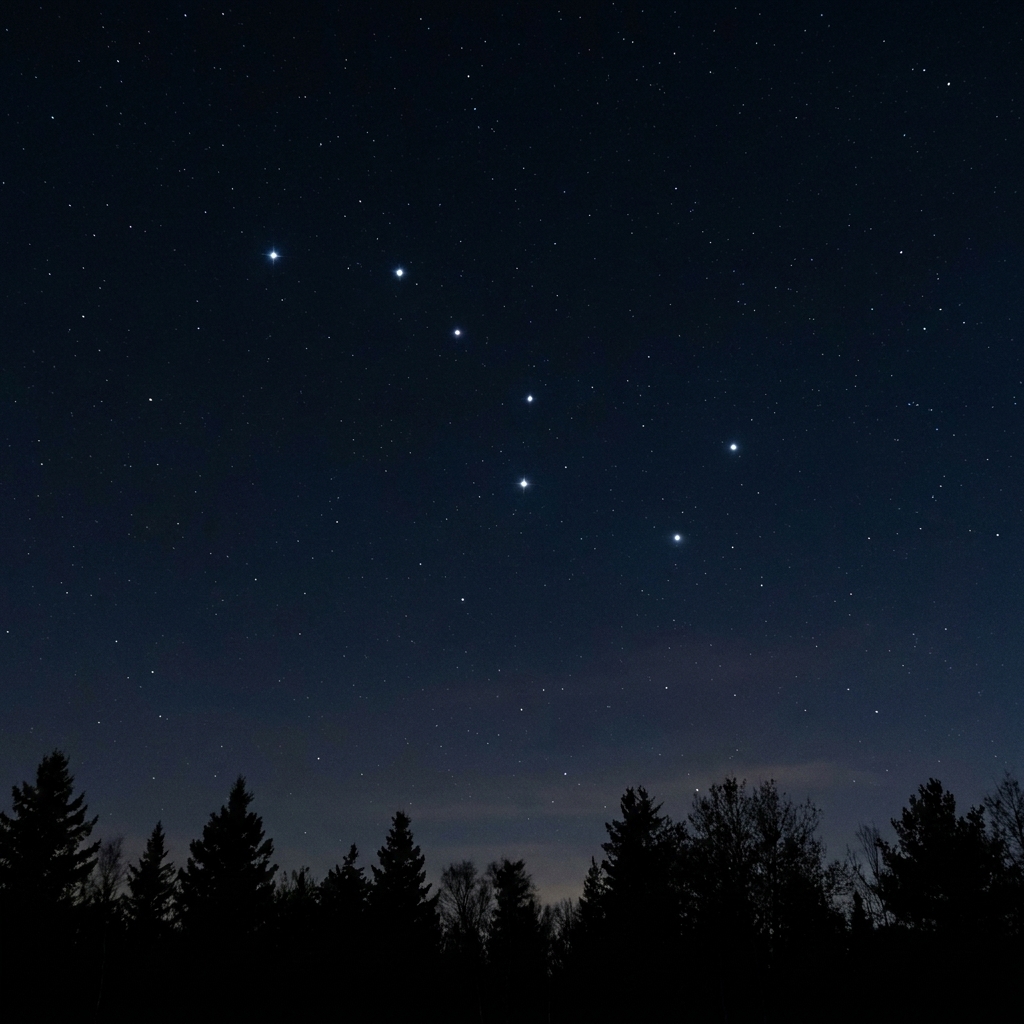
The Big Dipper is like the friend who always shows up on time. It's not a full constellation, but it's one of the best sky anchors there is.
- How to spot it: Look for a “bowl” of four stars with a curved “handle” of three stars.
- What it helps you do: Find the North Star.
2) Polaris and the Little Dipper (Ursa Minor)
Polaris isn't the brightest star in the sky, but it's famously steady. It sits very close to true north.
- Find Polaris using the Big Dipper: Locate the two stars at the outer edge of the Big Dipper’s bowl (often called the “pointer stars”). Draw an imaginary line through them and extend it about five times that distance. You'll land on Polaris.
- Then try the Little Dipper: Polaris is at the end of its handle, but the rest of the Little Dipper can be faint in light-polluted areas.
3) Cassiopeia
Cassiopeia is a bold “W” (or “M,” depending on the season and how it's rotated).
- How to spot it: Look opposite the Big Dipper across Polaris. If the Big Dipper is high, Cassiopeia is often lower, and vice versa.
- Why it's great: It's a strong shape even when the sky isn't perfectly dark.
4) Orion
Orion is the winter celebrity for many mid-northern locations. In the Northern Hemisphere, it's best on winter evenings and is largely absent from summer evenings, though you may still catch it very late at night or before dawn in some seasons.
- How to spot it: Find three evenly spaced stars in a short straight line. That's Orion’s Belt.
- Bonus: Hanging below the belt is a fuzzy patch called the Orion Nebula. In binoculars, it looks like a soft, glowing smudge.
5) The Summer Triangle (Vega, Deneb, Altair)
This is a huge triangle made of three bright stars from three constellations. Big is good here.
- How to spot it: Identify three bright stars forming a large triangle overhead on summer evenings.
- Why it's useful: It helps you learn Lyra, Cygnus, and Aquila as a cluster of neighbors.
If you're in the Southern Hemisphere
A quick note: Polaris, the Big Dipper, and Cassiopeia are mainly Northern Hemisphere favorites. If you're south of the equator, try these anchors instead:
- Crux (the Southern Cross): A compact cross that's easy to recognize in many southern skies.
- The Pointers (Alpha and Beta Centauri): Two bright stars that lead your eye toward the Southern Cross.
- No bright pole star: There's no single “southern Polaris,” so star-hopping often starts with Crux and the Pointers.
Apps are especially helpful here because they can label your local sky instantly without you having to translate a Northern-focused star chart.
Planets with the naked eye
Planets are the ultimate “wow, I found something” moment because they're bright and often visible even in cities. The trick is knowing what makes them different.
How to tell a planet from a star
- Stars twinkle more. Planets tend to shine more steadily, especially when they're high in the sky. (Low on the horizon, everything can twinkle a lot due to turbulence.)
- Planets stick near the zodiac. They appear along the same general band the Sun and Moon travel, through the zodiac constellations (astronomers call this band the ecliptic).
Common naked-eye planets
- Venus: Often the brightest “star” near sunrise or sunset.
- Jupiter: Very bright, often cream-colored. With binoculars you may spot its four largest moons as tiny points.
- Saturn: Steady and yellowish. Rings need magnification, but finding Saturn at all feels like magic.
- Mars: Smaller and reddish when it's well placed.
If you're unsure, an app can confirm it in seconds, which leads us to my favorite modern compromise between wonder and certainty.
Track the Moon like a calendar
The Moon is the best beginner teacher because it's big, obvious, and constantly changing. If you learn its phases, you'll automatically get better at predicting what the sky will look like.
The phases in plain language
- New Moon: The Moon is near the Sun in the sky, so nights are darkest. Great for seeing faint stars.
- Waxing Crescent to First Quarter: The Moon is an evening object, appearing in the afternoon and after sunset. By first quarter, it sets around midnight.
- Waxing Gibbous to Full Moon: Bright nights. Wonderful for moonlight walks, tougher for faint stars.
- Waning Gibbous to Last Quarter: The Moon rises later at night and hangs around into morning. Around last quarter, it's highest around sunrise.
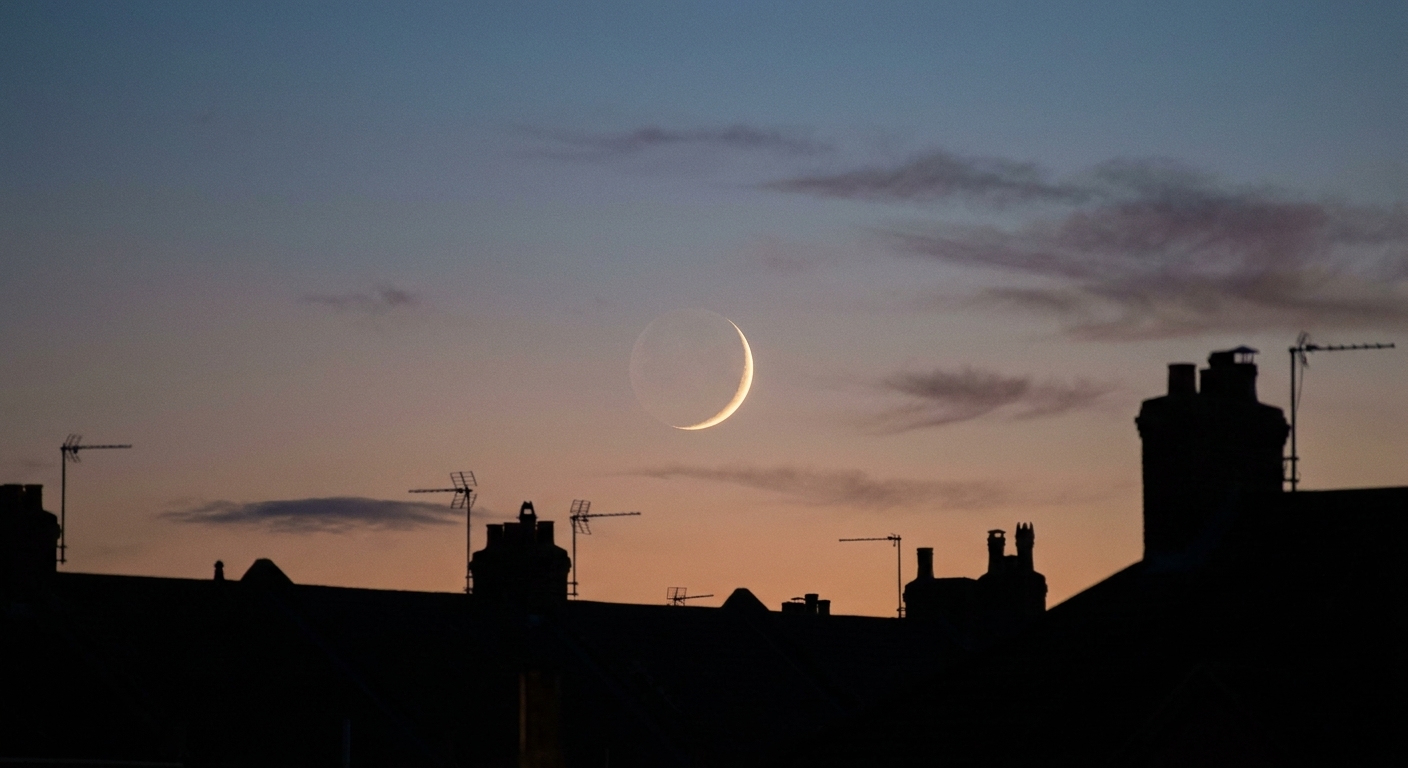
- Waning Crescent: Best seen before sunrise, delicate and lovely.
A beginner trick: the “D” and “C” clue
In the Northern Hemisphere, a helpful memory is: a Moon that looks like a D shape (right side lit) is often growing (waxing), and a Moon that looks like a C shape (left side lit) is often shrinking (waning). This flips in the Southern Hemisphere.
One caveat: if the Moon is very low, the crescent can look like a “smile” and the tilt can make this trick confusing. When in doubt, check an app once, then file it away as “learned.”
Moon observation ideas that never get old
- Notice how the Moon’s position changes night to night against the background stars.
- Look along the “terminator,” the line between light and dark. That's where craters and mountains pop with shadow detail.
- Keep a simple Moon journal for a month. Two sentences per night is enough.
When to go
A tiny bit of timing makes stargazing feel dramatically easier.
- For stars and the Milky Way: Aim for the week around the new Moon, when the sky is darkest.
- For Moon observing: Any time works, but crescent and quarter phases often show the best crater shadows.
- For best clarity: Look for nights with low haze or smoke. Even when the sky looks “clear,” faint stars vanish fast in humidity.
Using apps without losing the magic
Astronomy apps are like having a friendly librarian in your pocket. They can identify objects, show you what’s rising next, and help you learn names at your own pace. The goal isn't to stare at your phone all night. It's to look up more confidently.
What to look for in a good app
- AR sky view: You point your phone at the sky and it labels what you're seeing.
- Night mode: A red or dim setting that protects your night vision.
- Tonight view: A simple list of what’s visible in your location.
- Notifications: Optional alerts for meteor showers, conjunctions, or bright planet pairings.
My favorite way to use an app
- Look first, app second. Spend two minutes just noticing shapes and bright points.
- Pick one target. For example: “I'll find Orion’s Belt,” or “I'll find Jupiter.”
- Confirm with the app. Get the name, then put the phone away.
- Repeat once or twice. After that, let your eyes wander.
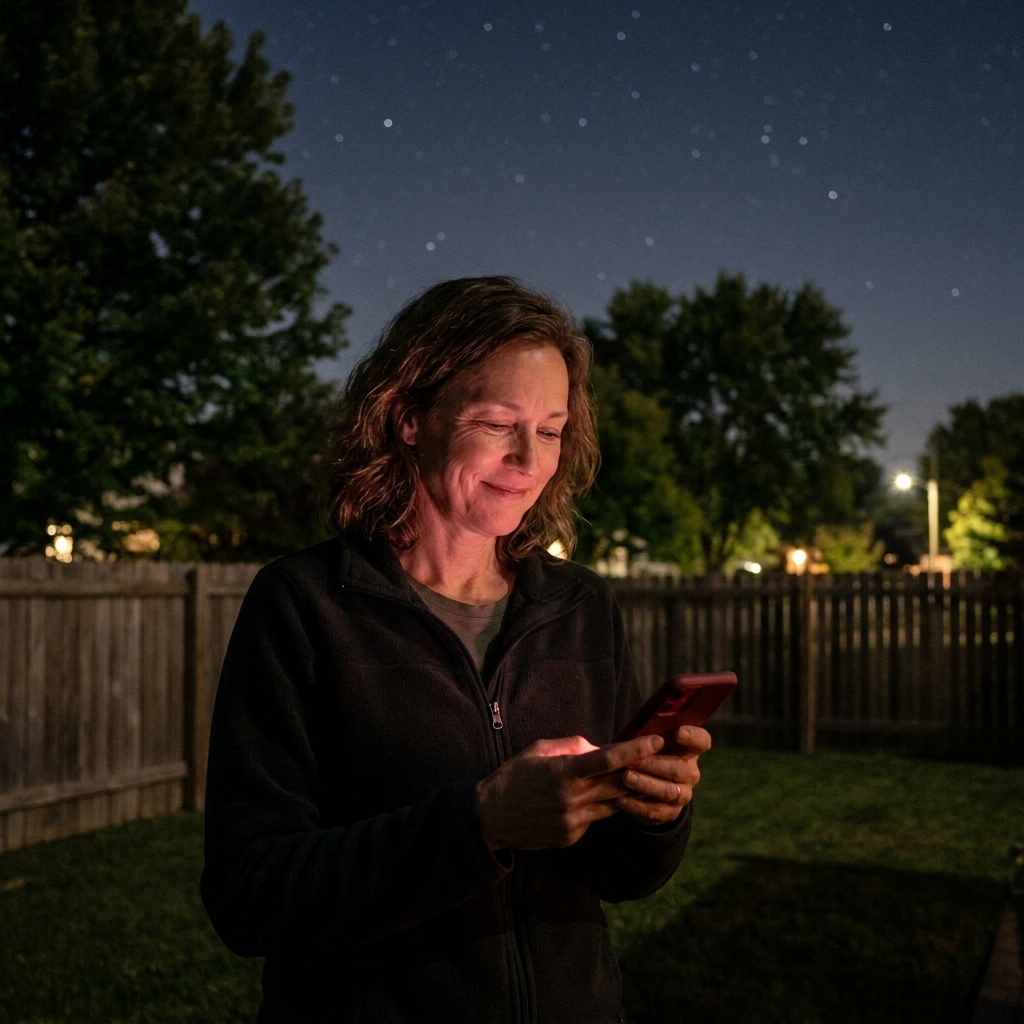
Small safety note: Be mindful of where you're standing while looking up at a screen. Even a very dignified adult can trip over a garden hose.
A simple 20-minute routine
If you want a repeatable plan you can do anytime the sky is clear, try this.
- Minute 1 to 5: Let your eyes adjust. Turn off bright lights. Get comfortable.
- Minute 6 to 10: Find the Moon or the brightest object. Identify it. Note the phase if it's the Moon.
- Minute 11 to 15: Find one anchor pattern (Big Dipper, Cassiopeia, Orion, or the Summer Triangle depending on season and location).
- Minute 16 to 20: Use an app to confirm one new thing, then end by free-looking.
Do this once a week for a month and your brain will quietly start building a map.
Make city skies work
If you live under light pollution, you're not disqualified. You just need different expectations and slightly different targets.
What you can still see
- The Moon and its phases
- Bright planets
- Major constellations with bold shapes (like Orion, the Big Dipper, Cassiopeia, or Crux depending on where you live)
- Occasional meteors
- Some bright star clusters with binoculars, depending on conditions
Practical light tips
- Block direct glare: Stand in the shadow of a building or tree to hide streetlights.
- Choose a darker direction: Look away from the brightest part of town if you can.
- Go higher: A hill or rooftop deck (where allowed and safe) can open up more sky.
What you might spot all year
You don't need a telescope to enjoy seasonal sky events. A few favorites:
- Meteor showers: Best watched from a dark spot with a wide view of the sky. No equipment needed, just patience and warm socks.
- Conjunctions: When the Moon and a planet appear close together. These are dramatic even from cities.
- Eclipses: Lunar eclipses are safe to watch with your eyes. Solar eclipses require proper eye protection.
If you're unsure whether something's happening tonight, that's a perfect moment for an app’s “events” tab.
Beginner FAQ
How long does it take for eyes to adjust to the dark?
Most people notice a big improvement after 15 to 20 minutes. If you stay out longer, you can keep gaining sensitivity for 30 to 45 minutes or more. Avoid checking a bright phone screen during that time if you can, or use a red night mode.
Why can I see some stars one night but not the next?
Thin clouds, humidity, smoke, and even bright moonlight can wash out fainter stars. The sky can look “clear” and still be hazy in a way your eyes feel immediately.
Do I need to know north, south, east, and west?
It helps, but you can cheat. Most stargazing apps show cardinal directions, and Polaris gives you north once you find it (if you're in the Northern Hemisphere).
Are binoculars worth it if I don't want a telescope?
Yes. Binoculars are the sweet spot for casual stargazing. They're portable, affordable, and surprisingly powerful on the Moon and bright star clusters. If your hands shake, try bracing your elbows, leaning against a wall, or using a tripod adapter.
A gentle challenge for tonight
Step outside for ten minutes. Find the Moon if it's up. Then pick one anchor: the Big Dipper, Cassiopeia, Orion, the Summer Triangle, or the Southern Cross depending on your season and hemisphere. If you only manage to spot one shape and feel a little more oriented than you did yesterday, that counts.
The night sky rewards repeat visitors. You don't have to be an expert. You just have to keep showing up and looking up.