Birdwatching is one of those hobbies that looks impressively serene from the outside, like you must already own a beige vest and know the difference between a wren and a warbler on sight. In reality, you can begin today with whatever you are wearing, a little curiosity, and the willingness to say, “Yep, that is definitely a bird,” as a proud first step.
Here is what helps most: binoculars that do not fight you, a field guide (or app) you will actually use, and a simple approach to identifying the birds you are most likely to see right where you live.
Start with what is around you
If you want birdwatching to stick, make it easy. Focus on birds that are already sharing your space: the backyard regulars, the park crowd, the “parking lot pigeons,” and the ones that sing while you are trying to sleep in.
Good first locations
- Your own window (truly underrated, especially with a cup of tea)
- Neighborhood parks with trees, shrubs, and a little water
- Ponds, marshes, and river trails for ducks, herons, and other easy-to-spot water birds
- Edges where two habitats meet, like field plus woods or shoreline plus reeds
Pro tip from my librarian years: pick one “home patch,” a place you can visit often. Seeing the same area in different seasons is how you start noticing patterns, and it feels delightfully detective-like.
Also, a comfort note: you do not need special clothing. If you want an easy upgrade, prioritize comfortable shoes and quieter fabrics (that swooshy jacket can turn you into a moving sound effect). Neutral colors are optional, not a requirement.
Binoculars 101: what to buy
Binoculars are the only piece of gear I consider truly “essential,” and even then you can start without them. But once you try a decent pair, you will understand why birders get a little misty-eyed about optics.
Quick binocular vocabulary
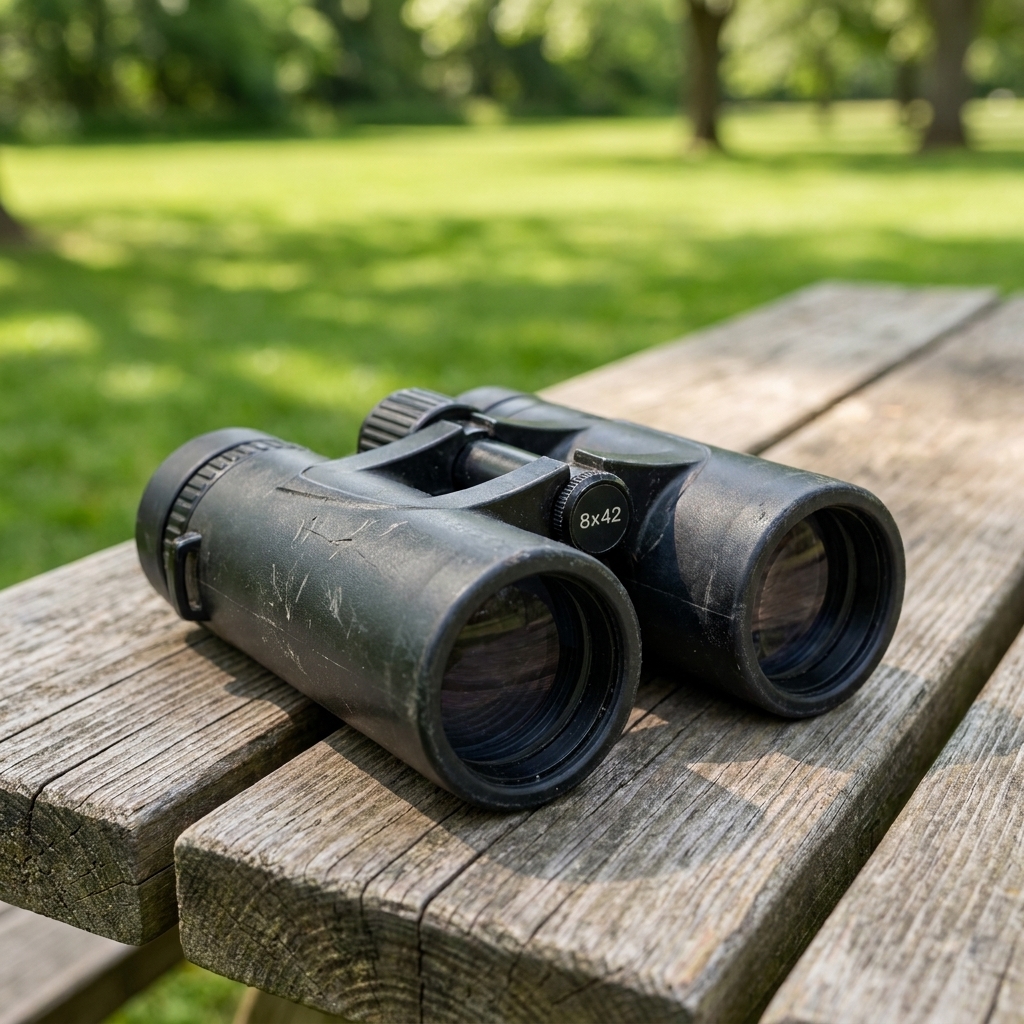
Most binoculars are labeled like 8x42:
- 8x is magnification. It makes the bird look about eight times larger in angular size, basically like it is eight times closer.
- 42 is the size of the front lenses in millimeters. Larger objective lenses can help in low light, but brightness also depends on magnification, coatings, and glass quality. Bigger is not automatically better.
Best beginner choice: 8x42
If you buy one thing and want it to work in most situations, choose 8x42. It is steady enough for beginners (10x can feel shakier), and usually bright enough for woods and cloudy days, especially in decent mid-range optics.
Other solid options
- 8x32: lighter for travel and smaller hands, slightly dimmer at dawn or dusk
- 10x42: more reach for open areas, but harder to hold steady
Features worth paying for
- Waterproof and fogproof: because weather happens, and birdwatching is often a “we will go anyway” hobby
- Good close focus (often listed in feet or meters): helpful for feeders and nearby birds
- Comfortable eye relief: important if you wear glasses
How to test binoculars in 60 seconds
- Check comfort: do they feel balanced in your hands or like bricks?
- Focus on a sign across the store or parking lot. Does the focus wheel feel smooth?
- Look at branches against the sky. Are the edges crisp or weirdly colored?
- Adjust the interpupillary distance (hinge in the middle) until you see one circular image, not two.
If possible, buy from a place with an easy return policy. Binoculars are a little like hiking boots. You can read all the reviews, but your face and hands get the final vote.
Field guides and apps
You do not need a shelf of books to enjoy birdwatching. One guide you trust, plus a simple way to take notes, will carry you far.
Field guide basics
A good field guide helps you answer three questions: What did I see? Where do I live? What time of year is it?
- Regional guides are easier for beginners because they show fewer species.
- All-in-one North America guides are wonderful, but can feel like studying for a final exam if you are brand new.
Apps that make learning easier
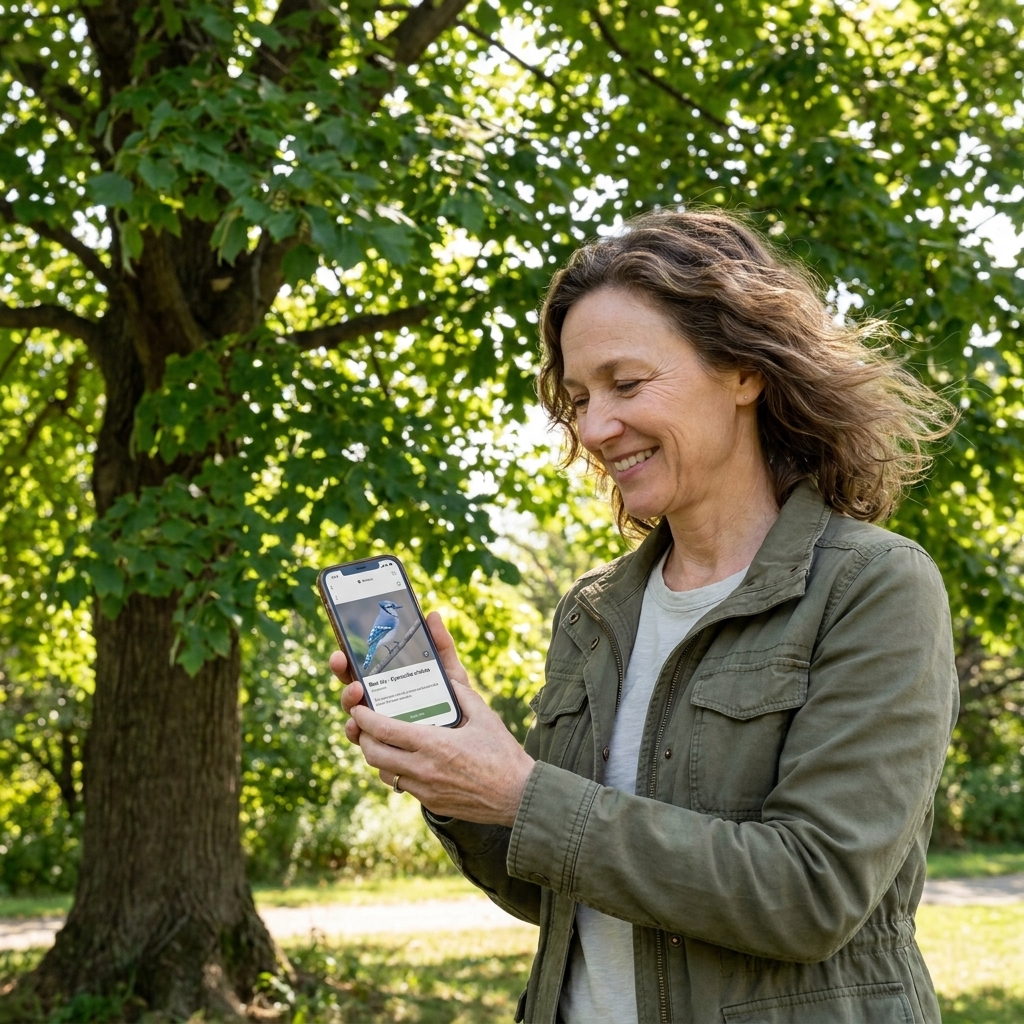
- Merlin Bird ID: great for step-by-step identification and sound ID in many regions.
- eBird: great for keeping lists and seeing what others are spotting nearby.
If you use sound ID, treat it as a helpful clue, not a final answer. Apps can be wonderfully smart and occasionally very confident about being wrong, which is relatable, honestly.
How to identify birds
When you are new, it is tempting to chase the “rare” birds. I recommend the opposite: learn the common ones so well that anything unusual practically announces itself.
Shape, color, behavior
- Shape: robin-like, sparrow-like, duck-like, hawk-like. Big picture first.
- Color pattern: think blocks and contrast, like “black cap,” “white wing bars,” “striped chest,” not “a gorgeous caramel ombre.”
- Behavior: hopping on the ground, clinging to tree trunks, hovering at flowers, tail bobbing.
- Habitat: water, woods, open field, backyard feeder.
- Voice: even a simple “buzzy,” “clear whistle,” or “chatter” note helps later.
Field marks you can actually see
Birds do not always pose politely. Look for marks you can catch in a quick glance:
- Wing bars (light stripes across the wings)
- Eye ring or eyebrow line
- Chest streaking (bold streaks versus a plain belly)
- Bill shape (thin and pointy, thick and conical, long and curved)
Make peace with “unknown”
Sometimes the most accurate ID is: “small brown bird, likely a sparrow, flew into shrubs, refused to cooperate.” That is not failure. That is birdwatching. Jot down what you did see, and you will be shocked how often you figure it out later.
What to bring
Here is the low-pressure starter kit. The goal is comfort and consistency, not looking like you are leading an expedition.
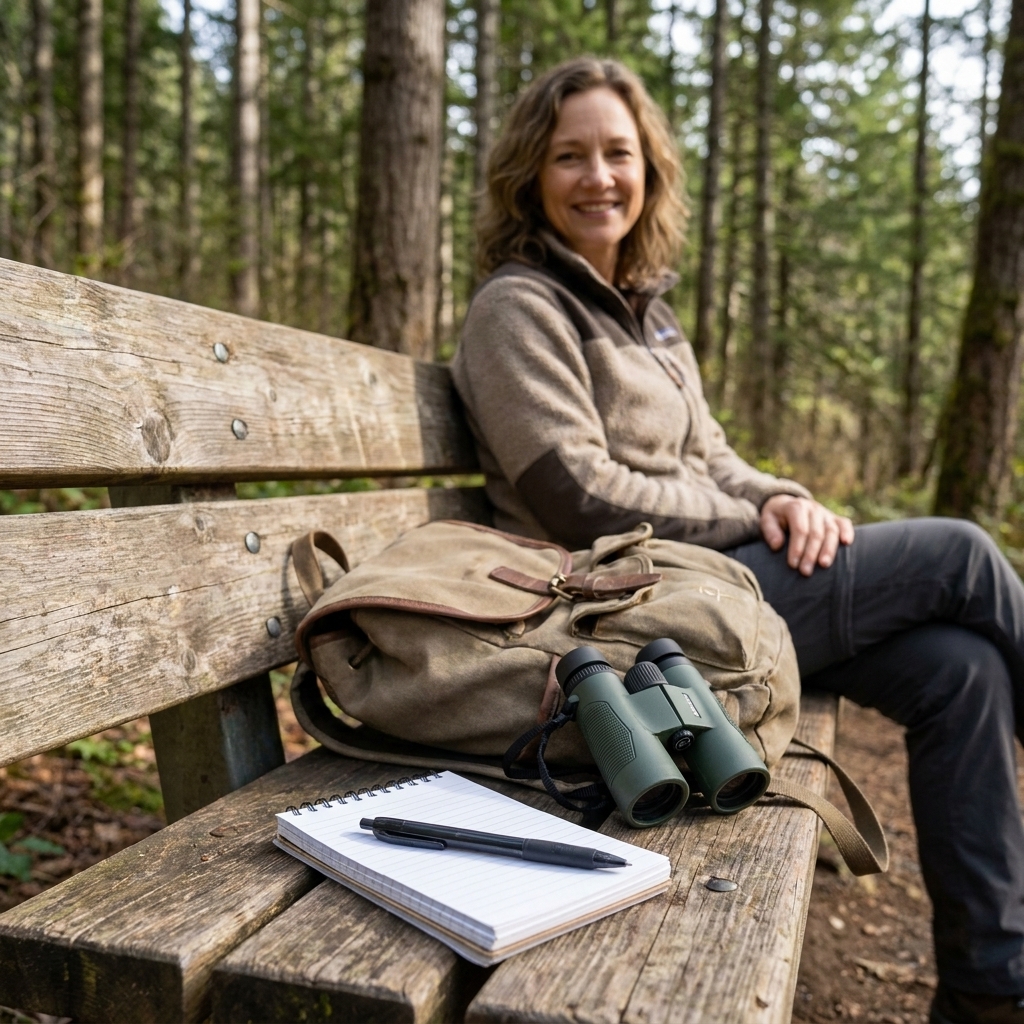
- Binoculars (or just your eyes, if you are starting simple)
- Phone for an app, photos, or notes
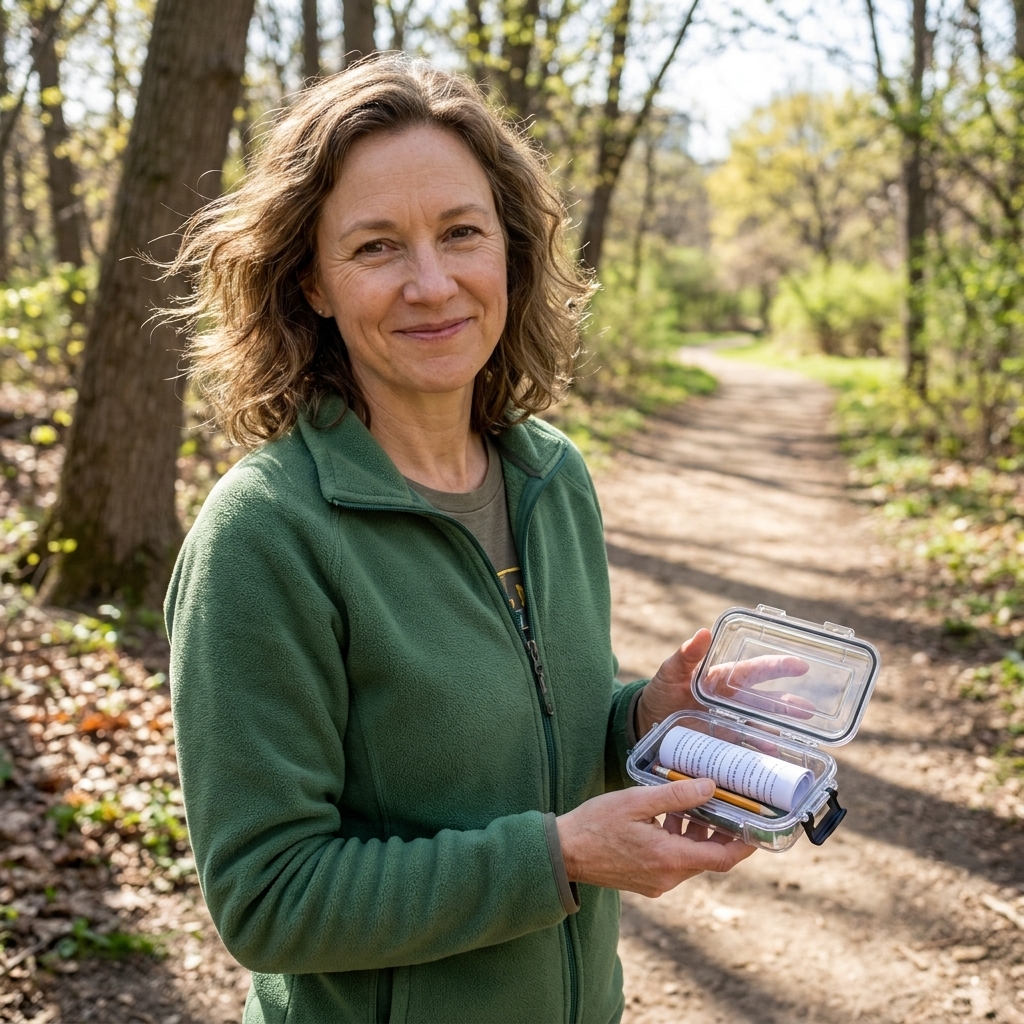
- Small notebook and pen if you like analog tracking
- Water and a snack if you are out longer than 30 minutes
- Layers because standing still gets chilly fast
- Optional: a lightweight hat to cut glare and help you spot movement
Skills that feel like magic
1) Learn to scan
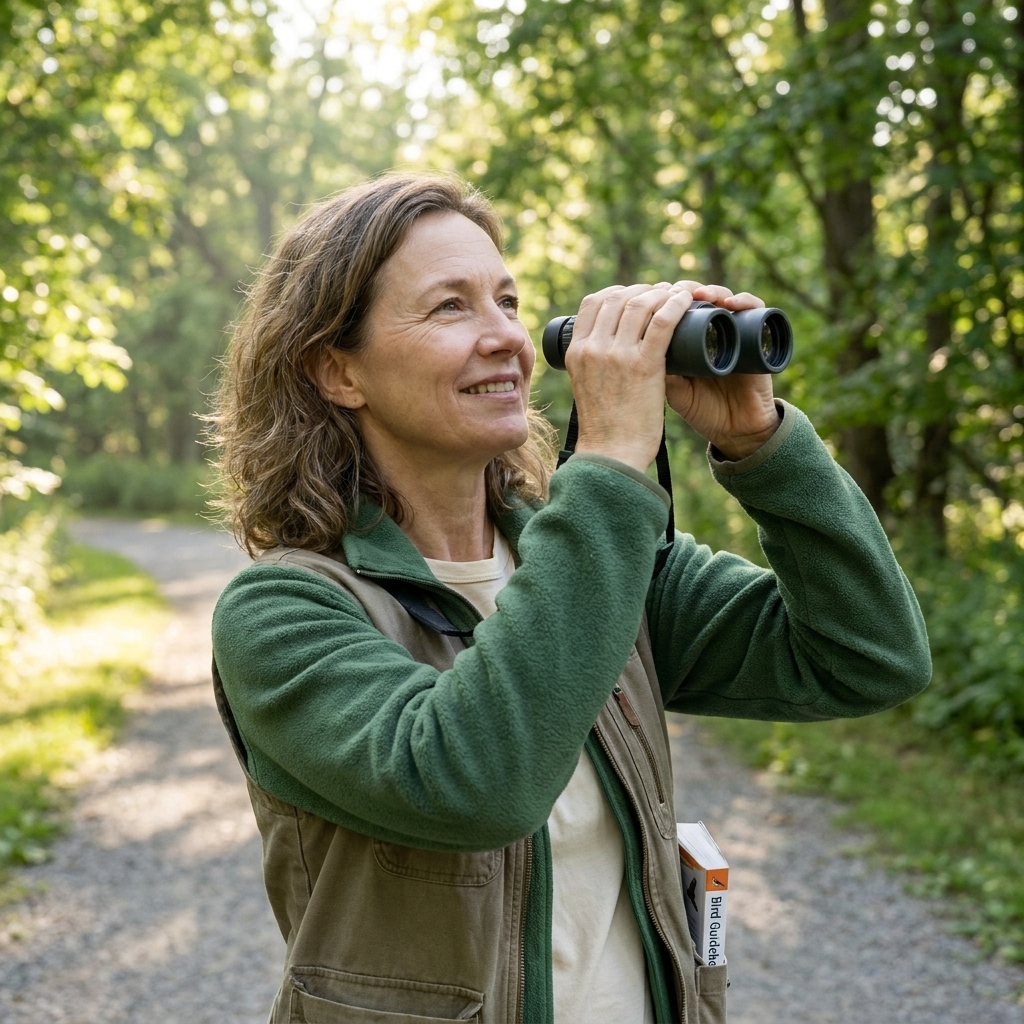
Instead of staring into one tree like it owes you answers, scan slowly from left to right. Look for movement first. Then raise binoculars.
2) Practice binocular lift
This is the secret move that makes you feel like a “real birder.” Keep your eyes on the bird, lift binoculars without looking down, then focus. Practice at home on a lamp or a picture frame. Yes, really.
3) Use the sun
If you can, keep the sun behind you. Front lighting makes colors and patterns pop. Facing into the sun turns everything into a dramatic silhouette, which is artistically nice and ID-wise unhelpful.
4) Be politely boring
Move slowly. Pause often. Birds notice frantic energy. Think of yourself as a calm, nonthreatening piece of scenery with snacks.
Common birds to learn first
This will vary by region, sometimes a lot. Even within North America, a city yard in the Southwest will have a different cast than a leafy neighborhood in the Northeast. Still, many beginners will run into some version of these “starter birds”:
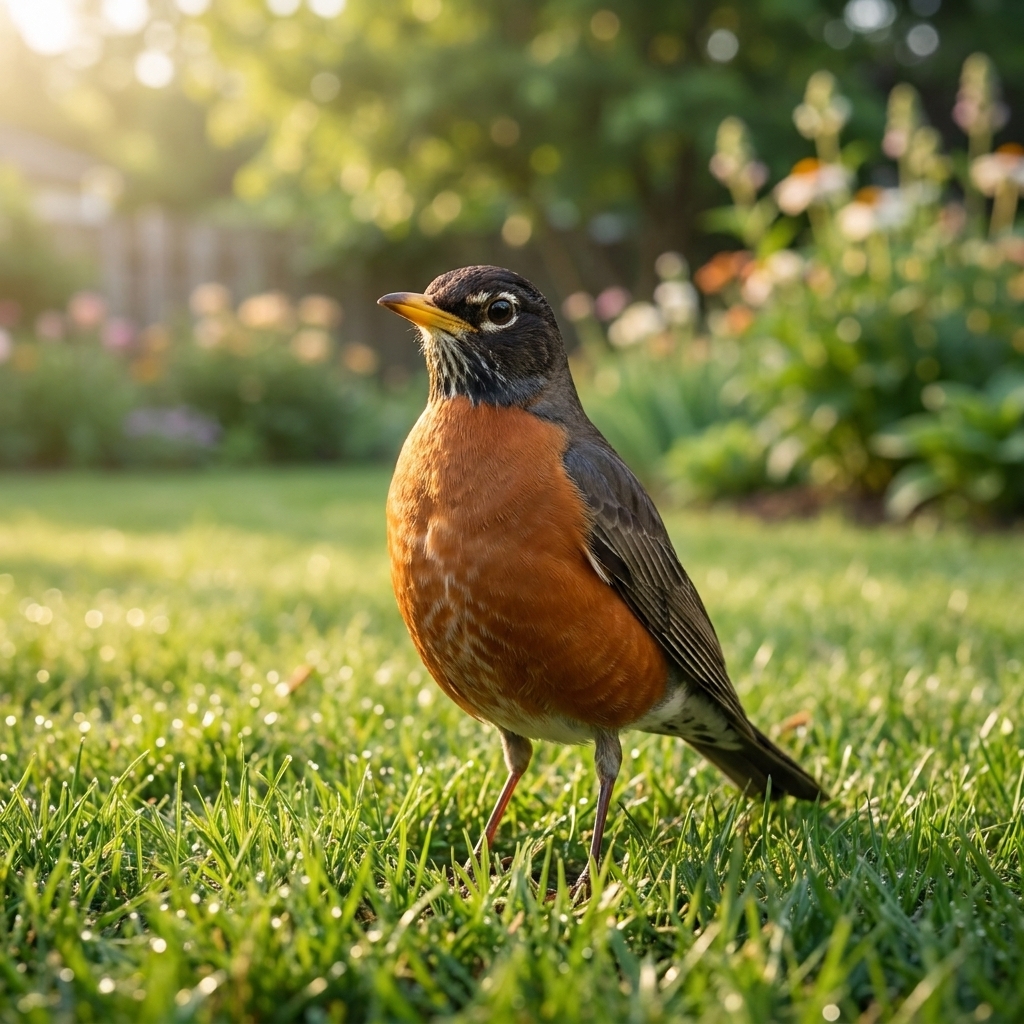
- American Robin: medium-sized, often on lawns; listen for clear, cheerful phrases at dawn
- Northern Cardinal: bright red males, warm brown females; strong crest and thick bill
- Blue Jay: loud, bold, blue and white; loves peanuts and causing a scene
- Mourning Dove: soft gray-brown, long tail; gentle cooing that sounds like a lullaby
- Black-capped Chickadee (or similar chickadee species): tiny, curious, quick; black cap and bib
- House Sparrow and House Finch: common around people; great practice for learning small differences
If you are outside North America, the same strategy applies: learn your most common neighborhood birds first. Ask a local birding group or check recent sightings in your area.
Backyard basics
If you want more birds close to home, feeders can help. Keep it simple, and keep it responsible:
- Choose one food: black oil sunflower seeds are an easy all-around option in many areas.
- Keep cats indoors: it is one of the biggest ways to help birds in a real, measurable way.
- Prevent window strikes: if birds hit your windows, add decals or exterior screens, and place feeders either very close to the glass (within about 3 feet) or farther away (around 30 feet), so collisions are less likely to be deadly.
Etiquette and safety
Birdwatching is wonderfully gentle, and a few simple habits keep it that way for everyone, including the birds.
- Keep a respectful distance, especially near nests or fledglings.
- Stay on trails in sensitive habitats like wetlands and dunes.
- Avoid playback of bird calls in most casual situations. It can stress birds, particularly during nesting season.
- Be mindful at feeders: clean them regularly and pause feeding if illness is spreading locally.
- Share space kindly: if you join a group, keep voices low and do not crowd someone else’s view.
Seasons and expectations
Some days are fireworks, some days are a few familiar faces and a lot of leaves. That is normal. Spring and fall migration can bring surprising variety, winter can concentrate birds around food and water, and summer can be quieter once nesting is underway. If your local patch feels “slow,” it might just be doing its seasonal thing.
Your first week plan
If you like a little structure, here is an easy starter plan that builds confidence without turning fun into homework.
- Day 1: Watch from a window for 10 minutes. Write down three birds or three “mystery birds.”
- Day 2: Learn one common bird. Just one. Look it up, listen to its call if available, and notice its behavior.
- Day 3: Take a short walk at a nearby park. Aim for noticing, not naming.
- Day 4: Practice binocular lift and focus on stationary objects at home.
- Day 5: Visit water if you can. Ducks are excellent confidence builders.
- Day 6: Make a “life list” of what you have seen so far, even if it is five birds.
- Day 7: Revisit your home patch and compare what changed.
Small repeated visits beat one grand outing every time. This is the cozy secret of birdwatching.
Beginner FAQ
Do I need expensive binoculars?
No. A comfortable mid-range pair can be wonderful, and even an entry-level pair can get you started. The best binoculars are the ones you will actually take outside.
What time of day is best?
Early morning is often busiest for birdsong and movement. But the best time is the time you can go consistently, even if that is lunchtime on a Tuesday.
What if all the birds look the same?
That is normal. Start with size, silhouette, and behavior. “Little brown jobs” are a rite of passage. You will get there, and future-you will be annoyingly proud about it.
How do I keep track without making it a chore?
Try a tiny note after each outing: date, place, and one bird that made you smile. That is enough to build momentum and memory.
Permission to be a beginner
Birdwatching rewards patience, but it also rewards joy. Celebrate the small wins: your first hawk, the first time you recognize a song, the moment you spot a woodpecker without anyone pointing.
And if you do nothing else today, step outside for five minutes and listen. The birds are already out there, doing their thing, ready to be noticed.