Drone photography has a funny way of making you feel like a wizard and a toddler at the same time. One minute you are hovering smoothly over a shoreline, the next you are panic-scrolling through settings like you just bumped the wrong button. If you are tech-savvy but new to aerial shooting, you do not need more gear. You need a few reliable habits.
Below are seven essentials that will immediately improve your photos, keep your flights safer, and make your editing workflow feel less like guesswork and more like a repeatable recipe.
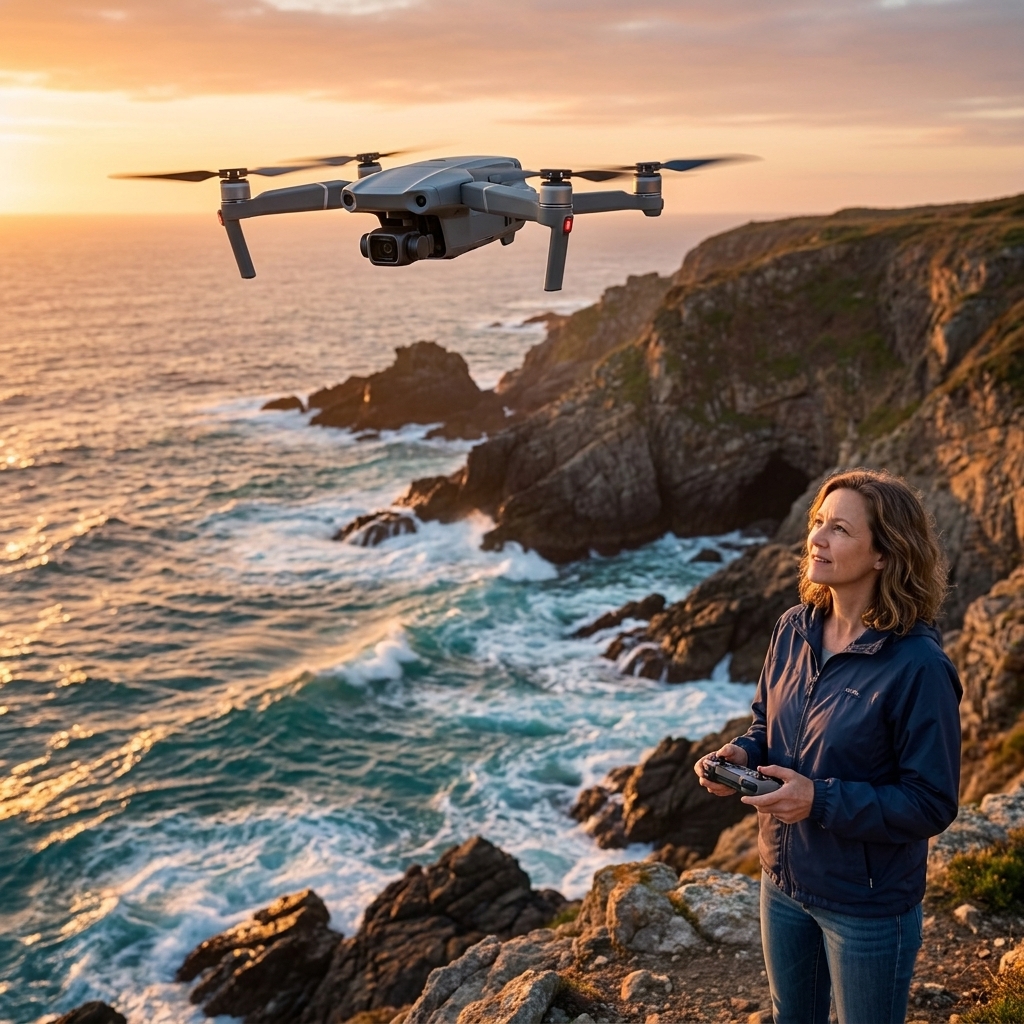
1) Plan the flight first
Most “blurry, tilted, why is this so gray” drone photos start before takeoff. A little planning buys you calmer flying and cleaner images.
A quick pre-flight checklist I actually use
- Check wind at altitude, not just at ground level. Drones can look stable near you and get bullied 200 feet up.
- Pick a subject first: a lighthouse, a bridge curve, a lone tree, a pattern of rooftops. “I will just fly around” is how you end up with 87 photos of… nothing.
- Plan your sun: morning and late afternoon give you texture and depth. Midday sun flattens scenes and makes water glare like a mirror.
- Set a return-to-home altitude that clears nearby trees and buildings, but does not go higher than it needs to. Extra altitude can mean more wind and more battery use.
- Confirm storage and battery: empty card, full battery, and a spare if you have one.
Also, do yourself a favor and establish a landing zone before you launch. A simple, clear patch of ground saves you from awkward last-second hand catches and frantic dodging of tall grass.
Legal basics (quick and practical)
Rules vary by country, but three ideas travel well: keep the drone in visual line of sight, respect no-fly zones, and watch local height limits (often around 120 m or 400 ft). If your area requires registration or remote ID, handle that before you start chasing sunsets.
2) Shoot RAW (when you can)
If your drone allows RAW or DNG, turn it on for still photos. RAW files hold more detail in highlights and shadows, which matters a lot in aerial scenes where you often have bright sky, reflective water, and darker land all in the same frame.
RAW is not magic. It just gives you editing room. You still want a decent exposure and a steady drone, but RAW can help you pull back a bright sky or lift shadow detail in trees without turning everything into crunchy noise.
If your drone does not offer RAW, do not panic. For JPEG shooting, your best move is to protect highlights (slightly darker exposure beats a blown-out sky) and set white balance manually if the light is consistent, so your edits are not fighting color shifts later.
Tip from a former librarian who loves a good system: create a folder structure you can stick with, like Drone/2026-08-Location. Your future self will send you a thank-you card.
3) Keep ISO low, set shutter smart
Auto mode is fine for learning to fly, but it often makes odd choices for photos. When you are ready for a small upgrade, switch to Pro or Manual controls and focus on these two settings first.
ISO: keep it as low as possible
ISO is your image “brightness booster,” and it also boosts noise. Aerial images with noisy shadows look muddy fast. Start at ISO 100 (or your drone’s base ISO) whenever you can.
Shutter speed: match the motion
Even if your drone is hovering, there is motion: wind, micro-adjustments, and your own stick inputs.
- For crisp stills: 1/320 to 1/500 is a solid starting range. On calm days you can often go a bit slower. In wind or when you are moving, faster is safer.
- For intentional motion blur: slower shutters can look cool, but for photos they increase blur risk. Save slow shutter experiments for calm days and deliberate shots.
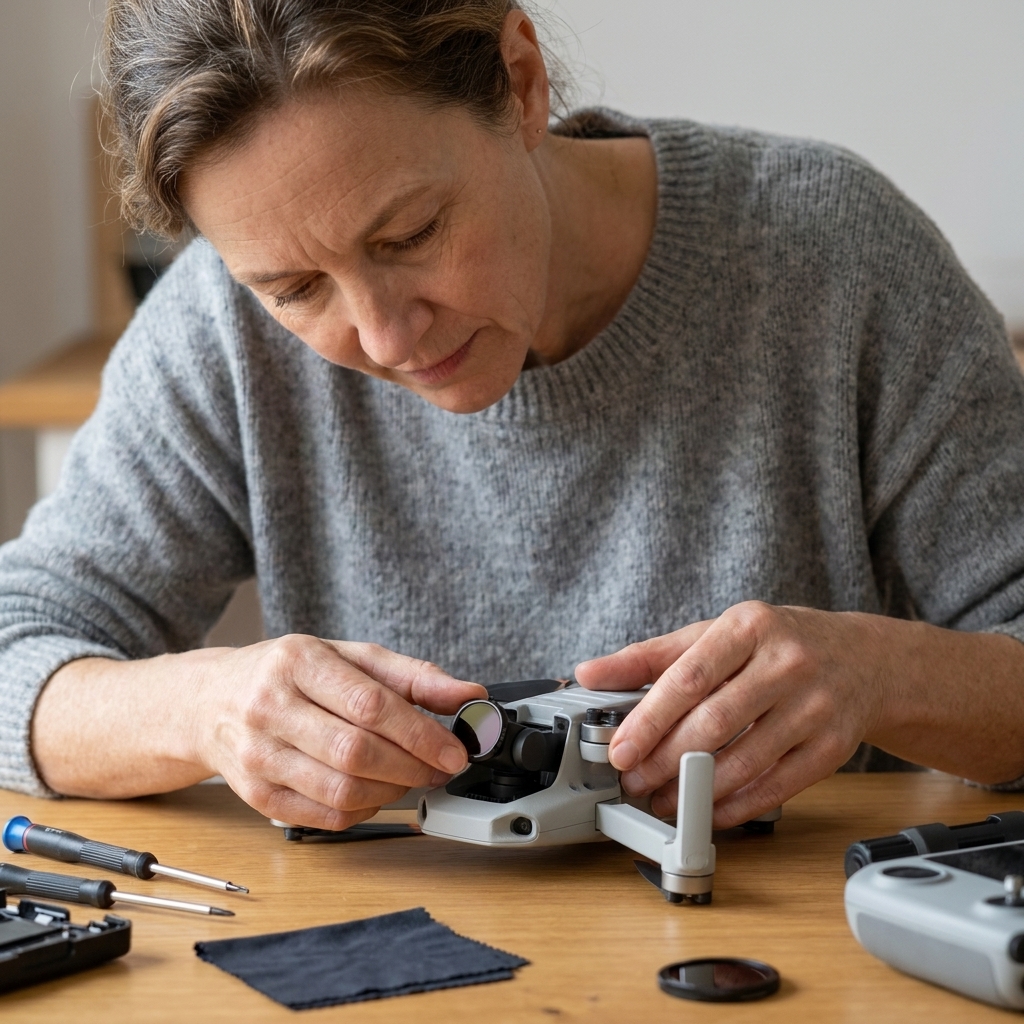
If your scene is bright and your shutter is still too slow at ISO 100, that is when an ND filter becomes helpful. Think of ND as sunglasses for your camera.
Quick filter note: ND controls light. A polarizer controls reflections and haze, but it can be tricky on wide lenses and can make skies look uneven from the air. Start with ND first and add a polarizer only when you know you want that specific effect.
4) Use histogram and bracketing
A drone screen in full sun can lie to you. The photo might look fine on your controller and still be blown out when you get home.
Histogram: your tiny truth-teller
Turn on the histogram if your app supports it. Try to avoid piling data hard against the extreme right edge, because those highlights are generally clipped and often cannot be recovered, even from RAW. Bright clouds and reflective water are common culprits.
AEB for high-contrast scenes
If your drone has AEB, use it when the scene is tricky: sunrise, sunset, snow, beaches, city skylines. The drone takes multiple exposures quickly, giving you options or a path to an HDR blend later.
Beginner-friendly approach: pick the best single frame from the bracket set. You do not have to merge HDR on day one.
5) Compose for the air
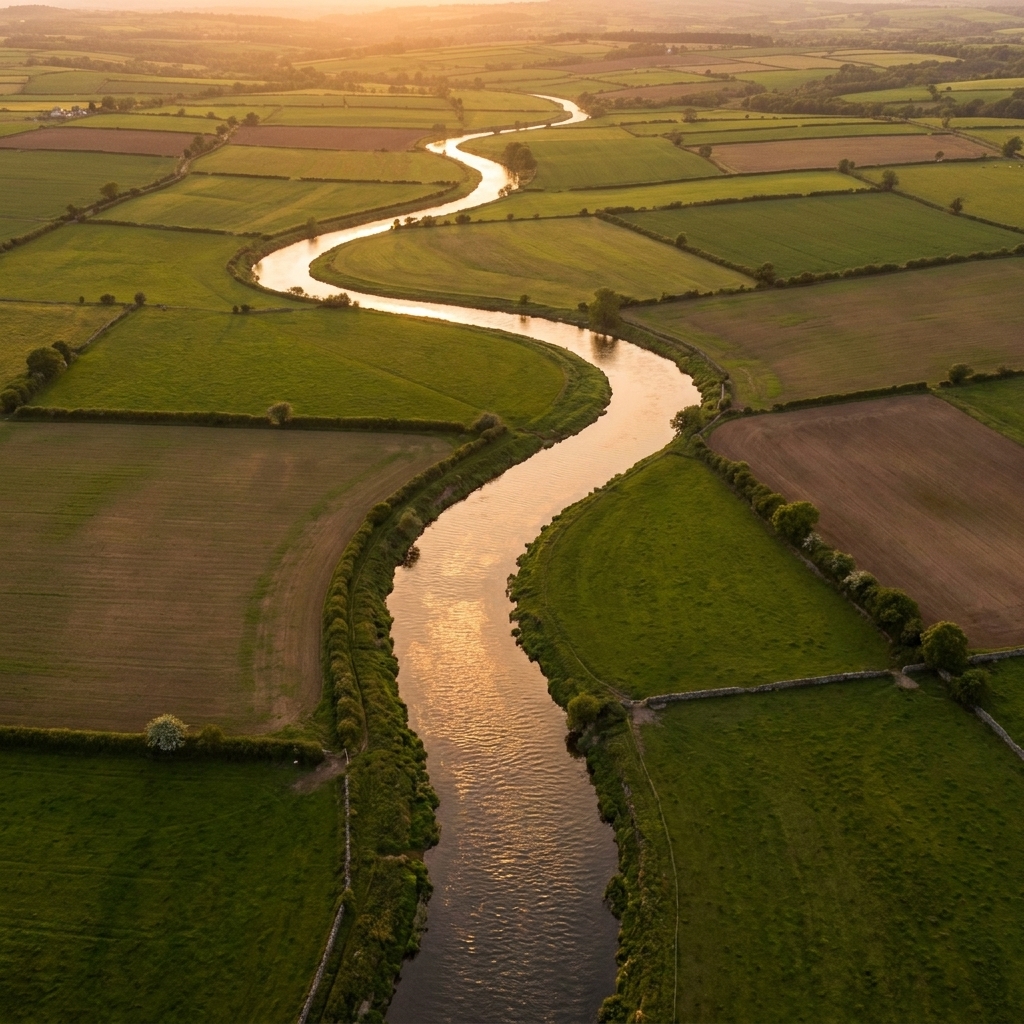
From above, the world stops behaving like it does at eye level. You are no longer photographing “things,” you are photographing shapes, lines, and patterns.
Three composition moves that work fast
- Find leading lines: roads, rivers, fences, shorelines, rows of trees. Let them pull the eye through the frame.
- Look for geometry: roundabouts, crop fields, rooftops, parking lots. Aerial symmetry is weirdly satisfying.
- Use one anchor subject: a boat, a hiker, a red roof. Tiny subjects help viewers understand scale.
And yes, the rule of thirds still works up there. But do not be afraid of centered symmetry when the scene calls for it.
6) Make sharpness boring
Sharp photos are not flashy, but they are the foundation for everything else. When sharpness is consistent, you can play with color and mood without fighting technical issues.
My sharpness routine
- Tap to focus on your main subject area before you shoot, especially if you changed altitude or angle.
- Check gimbal tilt and horizon. Many apps include a horizon line or grid overlay. Use it.
- Hover, breathe, shoot: stop moving for a moment, let the drone settle, then take the photo.
- Shoot bursts if your drone supports it. Tiny vibrations happen. A short burst increases your odds of a tack-sharp frame.
If you are noticing consistently soft images, clean the lens and confirm there is no smudge. This is the drone equivalent of finding a fingerprint on your glasses.
7) Two-minute edits that make a difference
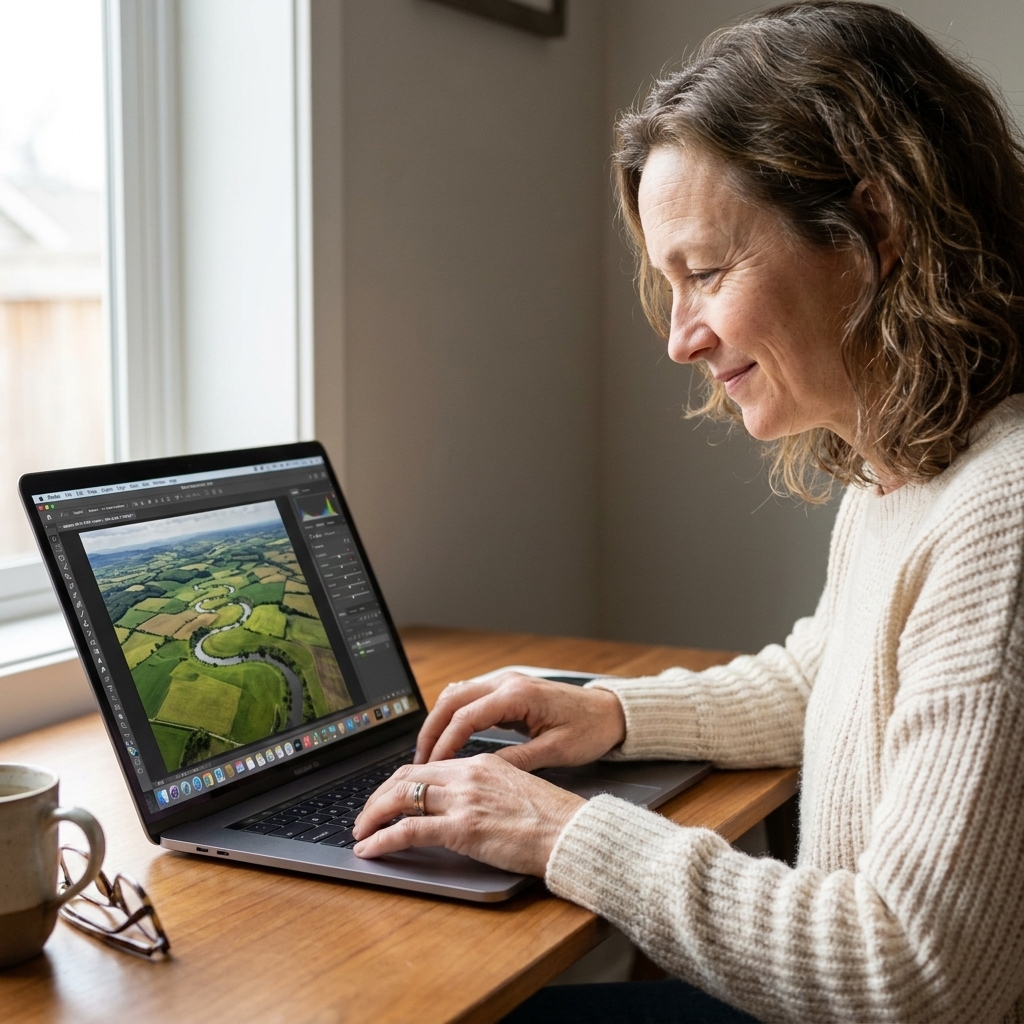
You do not need a complicated editing workflow. A small set of repeatable adjustments will make your drone photos look intentional instead of accidental.
A simple edit order
- Crop and straighten first. Fix the horizon. Trim distractions at the edges.
- Set white balance so the scene feels natural, or intentionally warm at golden hour.
- Adjust exposure, then pull down highlights and lift shadows gently.
- Add a little contrast or a mild curves adjustment. Go easy. Aerial photos can get crunchy fast.
- Texture and clarity: small amounts help define patterns like rooftops and fields.
- Noise reduction only if needed, then sharpen lightly.
One more hobbyist truth: editing is where you develop your taste. Save a few versions, come back the next day, and see which one still feels good. The goal is not perfection. The goal is learning what you like.
One tiny setting note: “Log” or flat profiles are mainly a video thing. For stills, most people are happier with the standard photo color mode, then fine-tune in post if you are shooting RAW.
Quick safety note
Follow your local drone regulations, respect no-fly zones, and avoid flying over people or private spaces where you do not have permission. Even if you are chasing the perfect shot, the best flight is the one that ends with a safe landing and zero awkward conversations.
Troubleshooting
My photos look washed out
Lower exposure a bit, watch the histogram, and consider bracketing. Midday sun also does this, so try early or late light. Haze can make scenes look milky too, so add a touch of dehaze or contrast in editing, but keep it subtle.
Everything looks blurry
Use a faster shutter speed, hover before shooting, and keep ISO low. Also check for lens smudges and strong wind at altitude.
The horizon is tilted
Calibrate the gimbal if your drone supports it, enable grid lines, and straighten in post-processing as needed.
My shots feel boring
Choose a single subject, look for strong lines or patterns, and try a true top-down composition. Also, change altitude in bigger jumps than you think: 30 feet can be subtle, 150 feet can be a whole new world.
One last nudge
Keep a “favorite five” folder. After each flight, pick just five images you like and jot down one reason why. In a month, you will have a clear map of your style, plus a tiny confidence boost you can actually see.
Now charge those batteries, pick a subject, and go get your bird’s-eye view.