Needle felting is one of those crafts that feels like magic the first time it clicks. You start with a puff of wool that looks like it belongs in a pillow, you poke it a bunch of times (gently, carefully), and suddenly it becomes a firm little shape you can hold in your hand.
If you have been curious but intimidated, this is your permission slip to be a beginner. We are keeping it simple: a small tool list, a comfy setup, wool that behaves, and one first project you can finish in a single sitting.
What it is (plain English)
Needle felting uses a special barbed needle to tangle wool fibers together. Each poke pushes fibers inward and catches them on tiny barbs, which locks them into a denser, firmer mass. The more you poke, the firmer and smoother it gets.
No thread, no loom, and no water or soap required for needle felting. (That said, wet felting is a separate technique that does use water and soap. Today we are staying dry.)
Tools you actually need
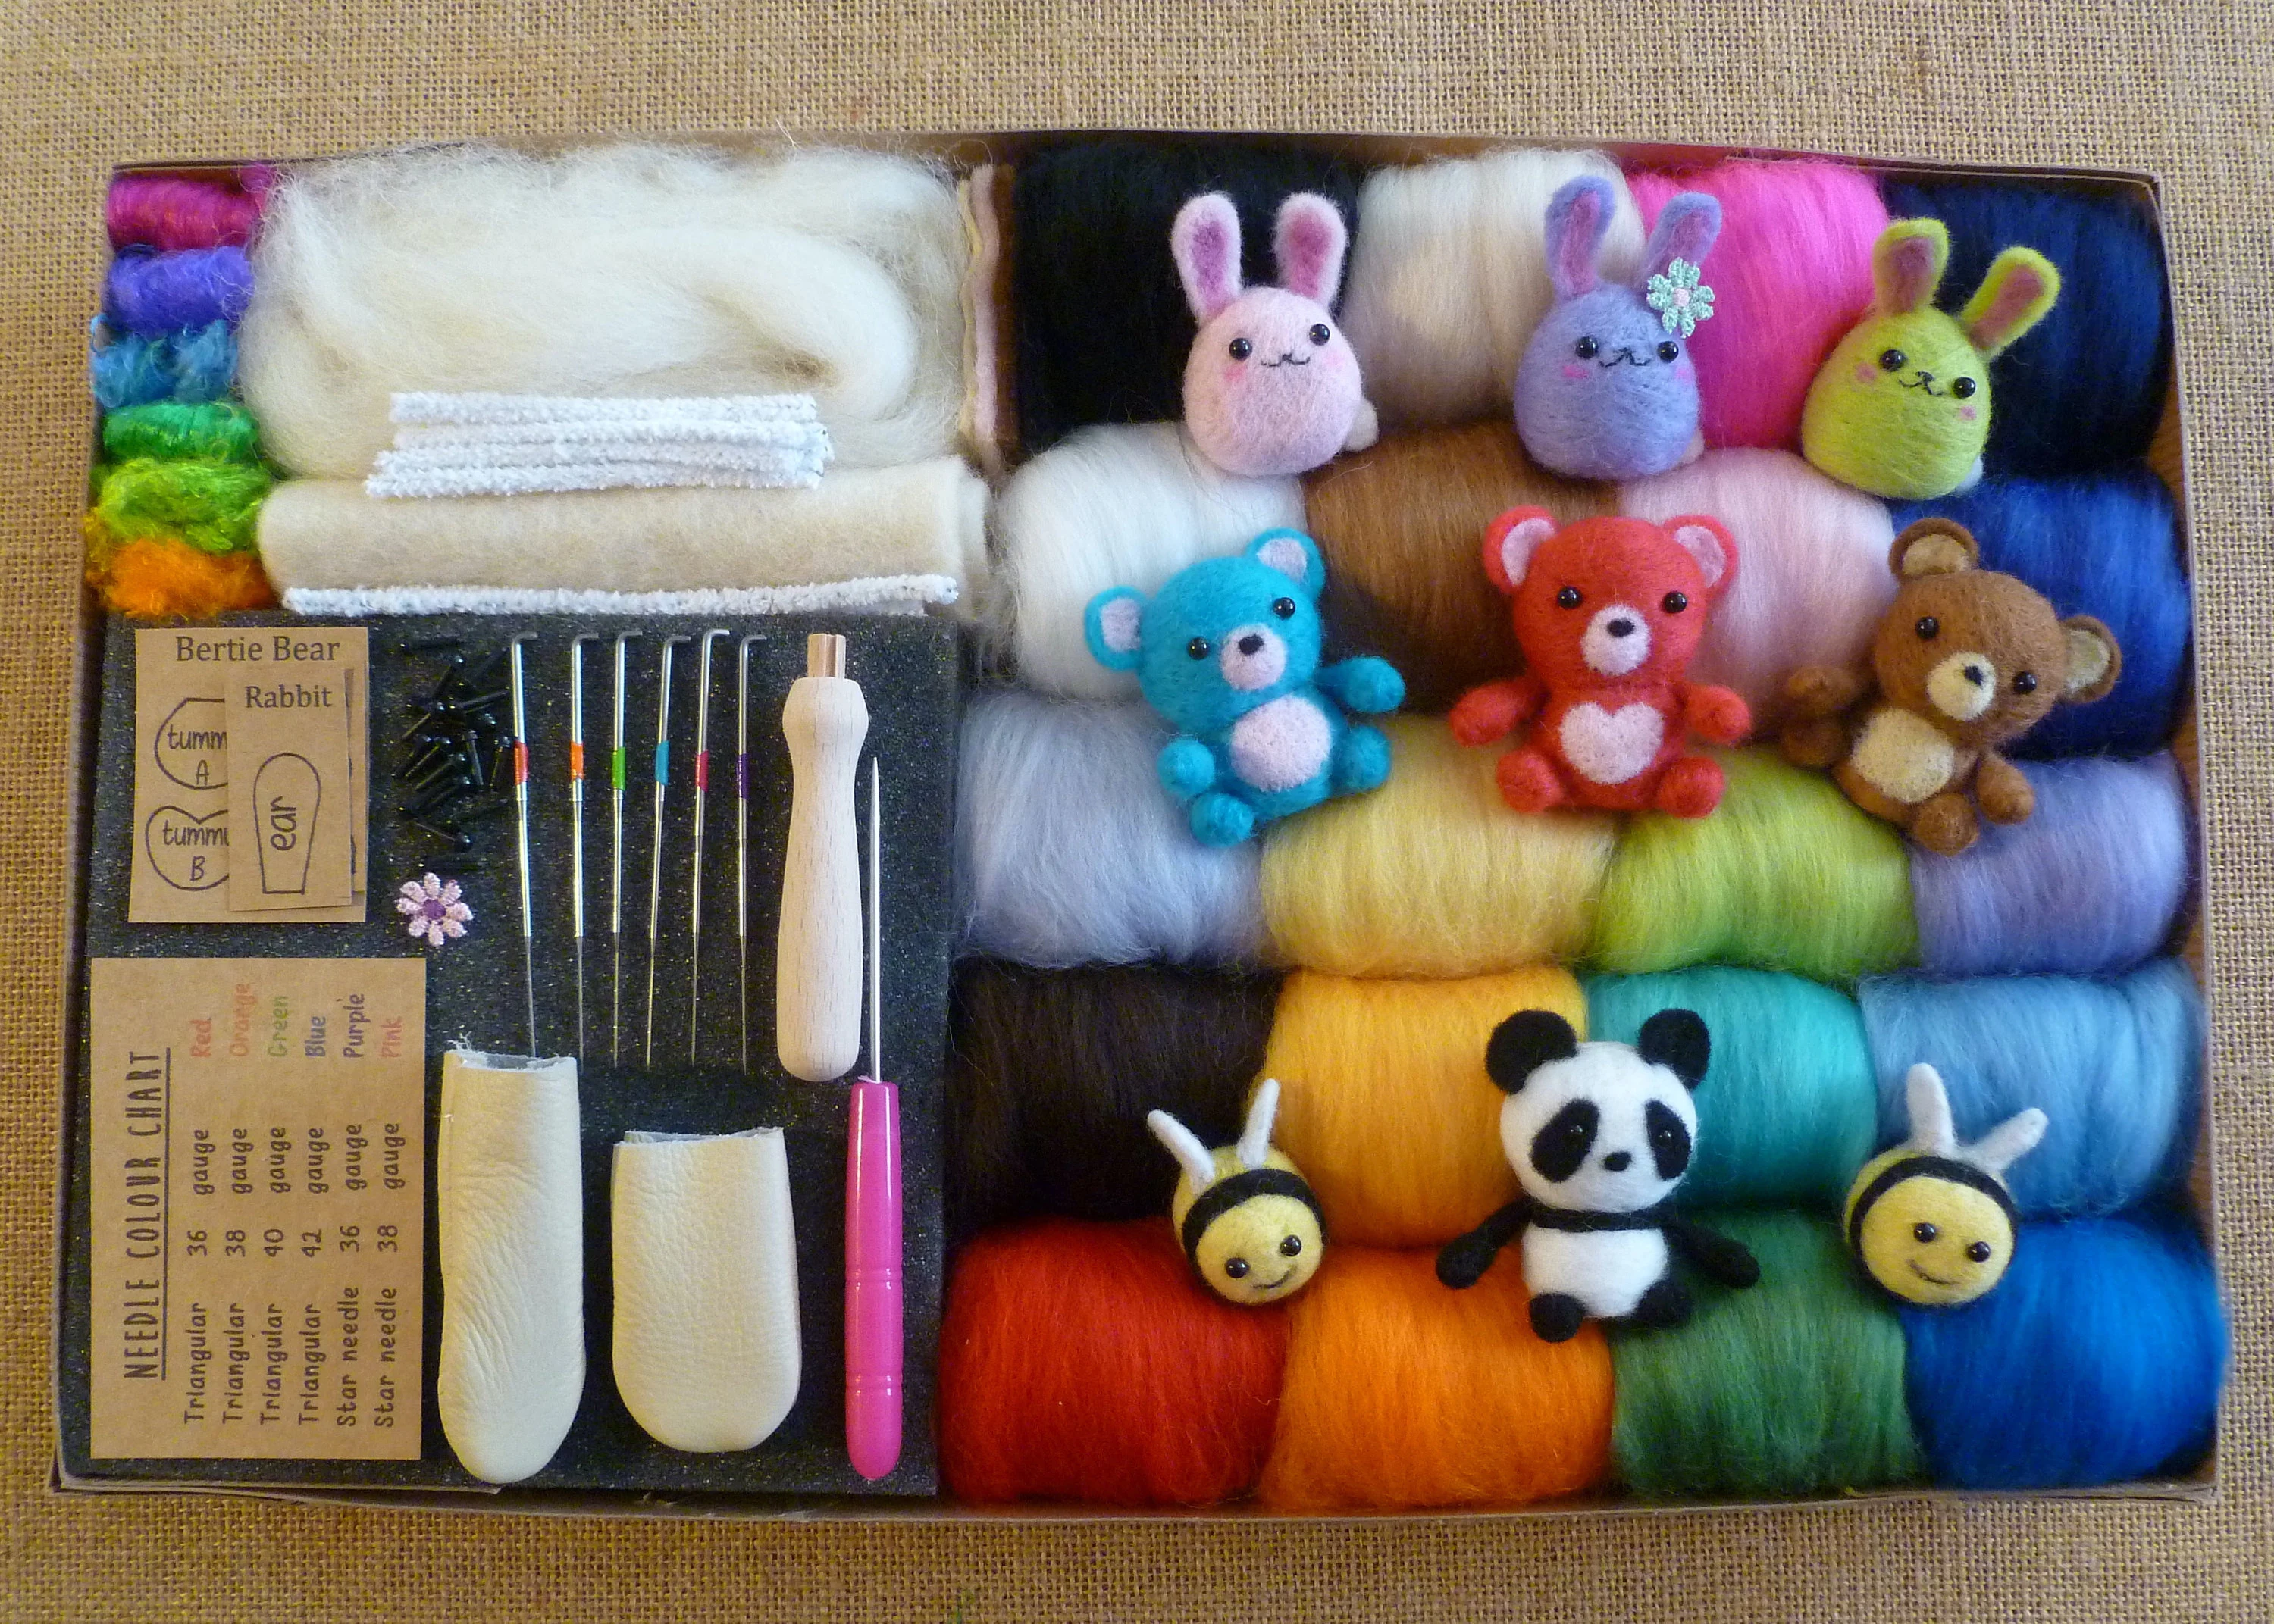
You will see a lot of fancy kits. Some are great, some are mostly cute packaging. For a first successful project, you only need a short list.
1) Felting needles (a simple mix)
Felting needles are brittle and sharp, and they come in different gauges and shapes. For beginners, it helps to have two “speeds,” plus a spare because needles do break.
- One coarser needle (common choices are around 36 to 38 gauge) for faster shaping at the beginning.
- One finer needle (common choices are around 40 to 42 gauge) for smoothing the surface near the end.
- One extra needle in either size, just in case.
If you are shopping and see needle shapes like triangle, star, or spiral, do not stress. A basic triangle needle is totally fine to start with.
If your kit does not list gauge numbers, that is okay. Aim for at least one “faster” needle and one “finishing” needle rather than a single type.
2) A needle holder (optional, very nice)
You can felt with a bare needle, but a simple handle gives you a better grip and helps prevent hand fatigue. Many beginner kits include one. If not, it is a small upgrade that makes the hobby feel less fiddly.
3) A felting surface (do not skip this)
You need something that protects your table and your needle tip.
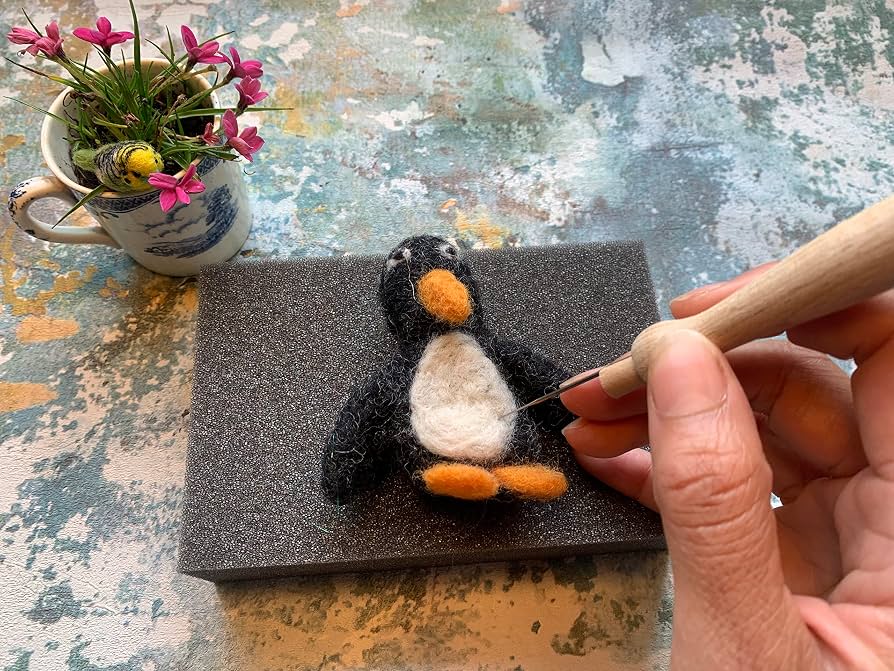
- Foam felting mat: affordable, common, and beginner-friendly. It will eventually look fuzzy and a little chewed up. That is normal.
- Wool felting pad: firmer and longer-lasting, with less foam lint sticking to your work. A bit pricier.
Avoid felting directly on your lap, couch, or a bare table. Your future self will thank you.
4) Wool
More on wool choices in a minute, but yes, wool is a tool in this craft. The type you pick affects how quickly your project firms up and how smooth it looks.
5) Small scissors (or snips)
These are for trimming stray fibers and for snipping small amounts of wool. You do not need special craft scissors. Just something sharp enough to be satisfying.
Helpful extras (nice, not necessary)
- Finger cots or leather finger guards to protect from accidental pokes.
- Small cookie cutter as a shaping guide if you like structure.
- Pipe cleaners or floral wire if you eventually want bendy limbs, but skip this for your first project.
Wool for beginners
In a perfect world, all wool would behave the same. In reality, some wool felts quickly and some wool wants to stay fluffy forever. For your first project, you want the cooperative kind.
Start with carded wool or beginner-friendly roving
- Carded wool (batts) has fibers going in many directions, so it tangles and firms up faster.
- Roving has fibers more aligned, so it can take a little longer to compact, but it is still very workable.
If you see core wool, it is often a smart pick. It is commonly less expensive and tends to felt up quickly, which makes it great for building the inside of your shape. You can add prettier colors on the outside later.
Pick colors that make learning easier
For a first project, choose:
- One light solid color (cream, light gray, pale brown) because you can see the shape clearly while you work.
- One accent color (pink for cheeks, black for eyes, green for leaves) so you get the joy of details without a huge palette.
What to avoid on day one
- Very silky, slippery blends that are slow to felt.
- Super tiny decorative “tops” packs where you barely have enough material to practice shaping.
- Lots of synthetic shine. Needle felting is easiest with wool and other animal fibers that have natural crimp and scales. Some synthetics can work, they just tend to be slower and less grippy.
Set up your workspace
Needle felting is small and portable, which makes it tempting to craft anywhere. I am all for cozy crafting, but a few minutes of setup makes the whole experience calmer and safer.
A simple, beginner-proof setup
- Flat table with good light (window light or a bright lamp).
- Felting mat centered in front of you.
- Wool in a shallow bowl, tray, or zip bag so it does not drift off like tumbleweeds.
- Needles stuck into a cork, pincushion, or stored in a case when you are not actively using them.
If you have pets, consider a quick “wool management” habit. Wool is very tempting to cats and very edible-looking to some dogs. Keep your active wool in a container, and do a fast sweep of your surface when you are done.
Safety basics
Needle felting is low-risk as crafts go, but the main hazard is obvious: you are holding a sharp needle and repeatedly aiming it near your fingers.
Three rules that prevent most pokes
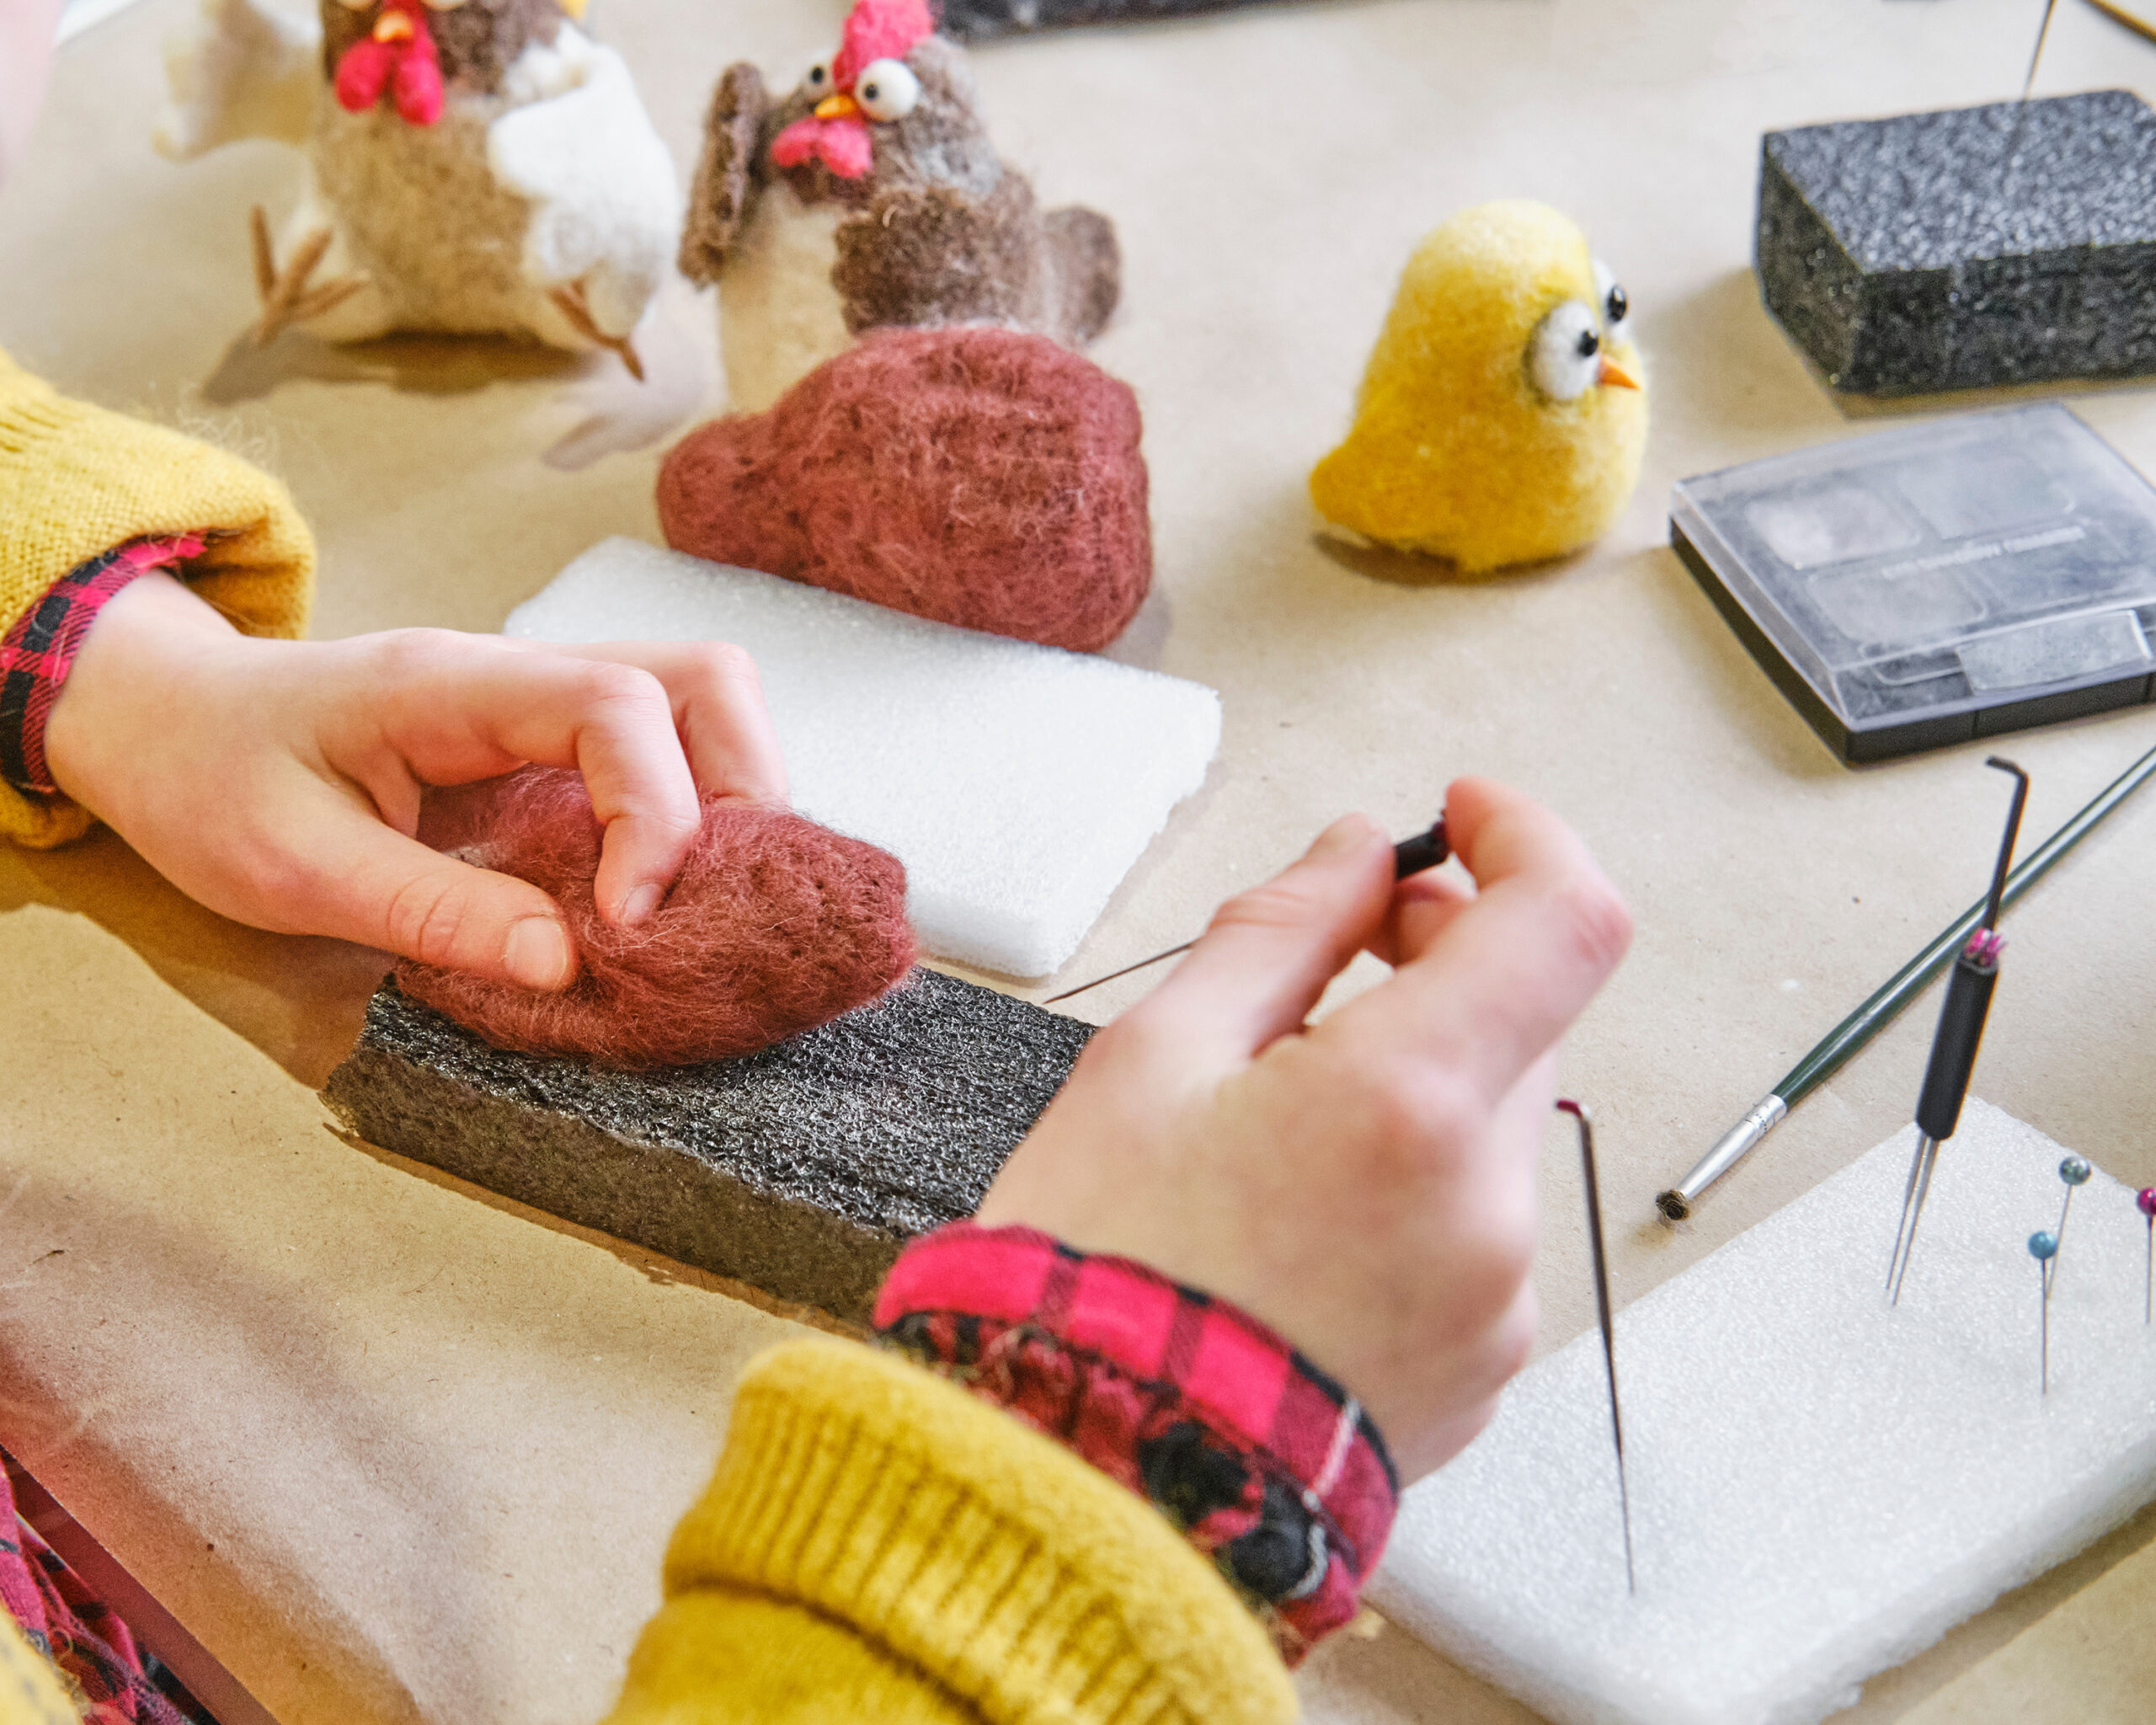
- Poke straight down, not sideways. Felting needles can snap if bent, and sideways pokes increase the odds of hitting your finger.
- Keep your holding hand behind the needle’s path. Rotate your project, not your needle angle.
- Go slower near edges and tiny parts. This is where fingers wander into danger.
Use finger protection if you want it
There is no medal for going without finger protection. Finger cots and leather guards exist because everyone gets poked eventually. If you have shaky hands, numbness, poor lighting, or just prefer extra safety, use them from the start.
If a needle breaks
It happens. Stop and find all pieces right away, especially if you craft around kids or pets. Dispose of broken needle bits in a rigid container (an old pill bottle works) before tossing in the trash.
When to take a break
If your hand starts cramping, your shoulder creeps up toward your ear, or you notice yourself poking faster and sloppier, pause. Five minutes of stretching beats an hour of grumpy crafting.
Your first project: a simple ball
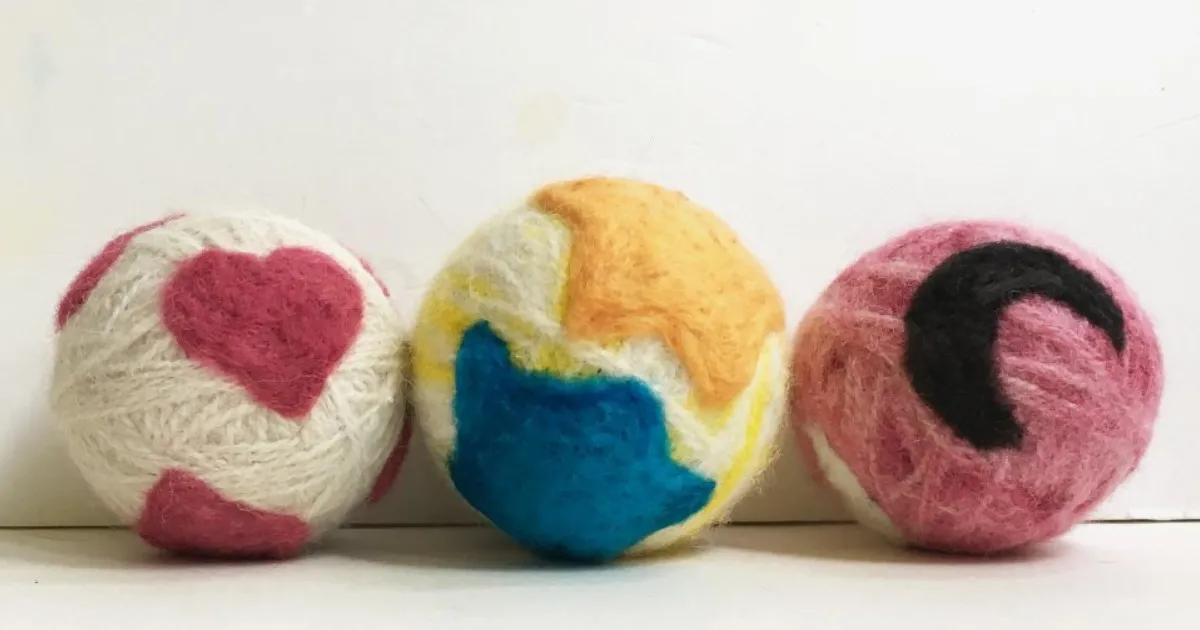
Most people want to start with an animal. I love that enthusiasm. But the secret to loving needle felting long-term is learning to make firm, smooth basic shapes first. A good ball is the gateway to basically everything.
This first session has three wins: you learn how wool compacts, you practice rotating your work, and you end with a finished object. For most beginners, a small ball takes about 15 to 45 minutes, depending on size, needle choice, and how firm you want it.
Step 1: Pull off wool the right way
Instead of cutting a chunk off the bundle, pull the wool so the fibers stay airy and easy to tangle. Start with an amount about the size of a small clementine for a beginner ball. You can always add more.
Step 2: Make a loose starter ball
Gently roll the wool into a loose ball between your palms. Do not squeeze hard. Think: fluffy snowball, not stress ball.
Step 3: Start felting with your coarser needle
Place the wool on your mat and begin poking straight down. Rotate the ball often. Every so often, turn it in your fingers and poke a new area so it firms up evenly.
At first, the wool will feel like it is doing nothing. Then you will notice it holding its shape. That is the moment everyone gets hooked.
Step 4: Firm it up
Keep poking and rotating until the ball feels springy and dense, not squishy. A good beginner benchmark: when you pinch it, it resists and bounces back instead of collapsing.
Step 5: Smooth the surface with a finer needle
Switch to a finer needle and do lighter, more frequent pokes on the surface to reduce fuzz. You are not trying for glass-smooth perfection. You are just taming the flyaways.
Turn it into a first real thing
Once you can make a ball, you can make something that looks intentional without adding complicated parts.
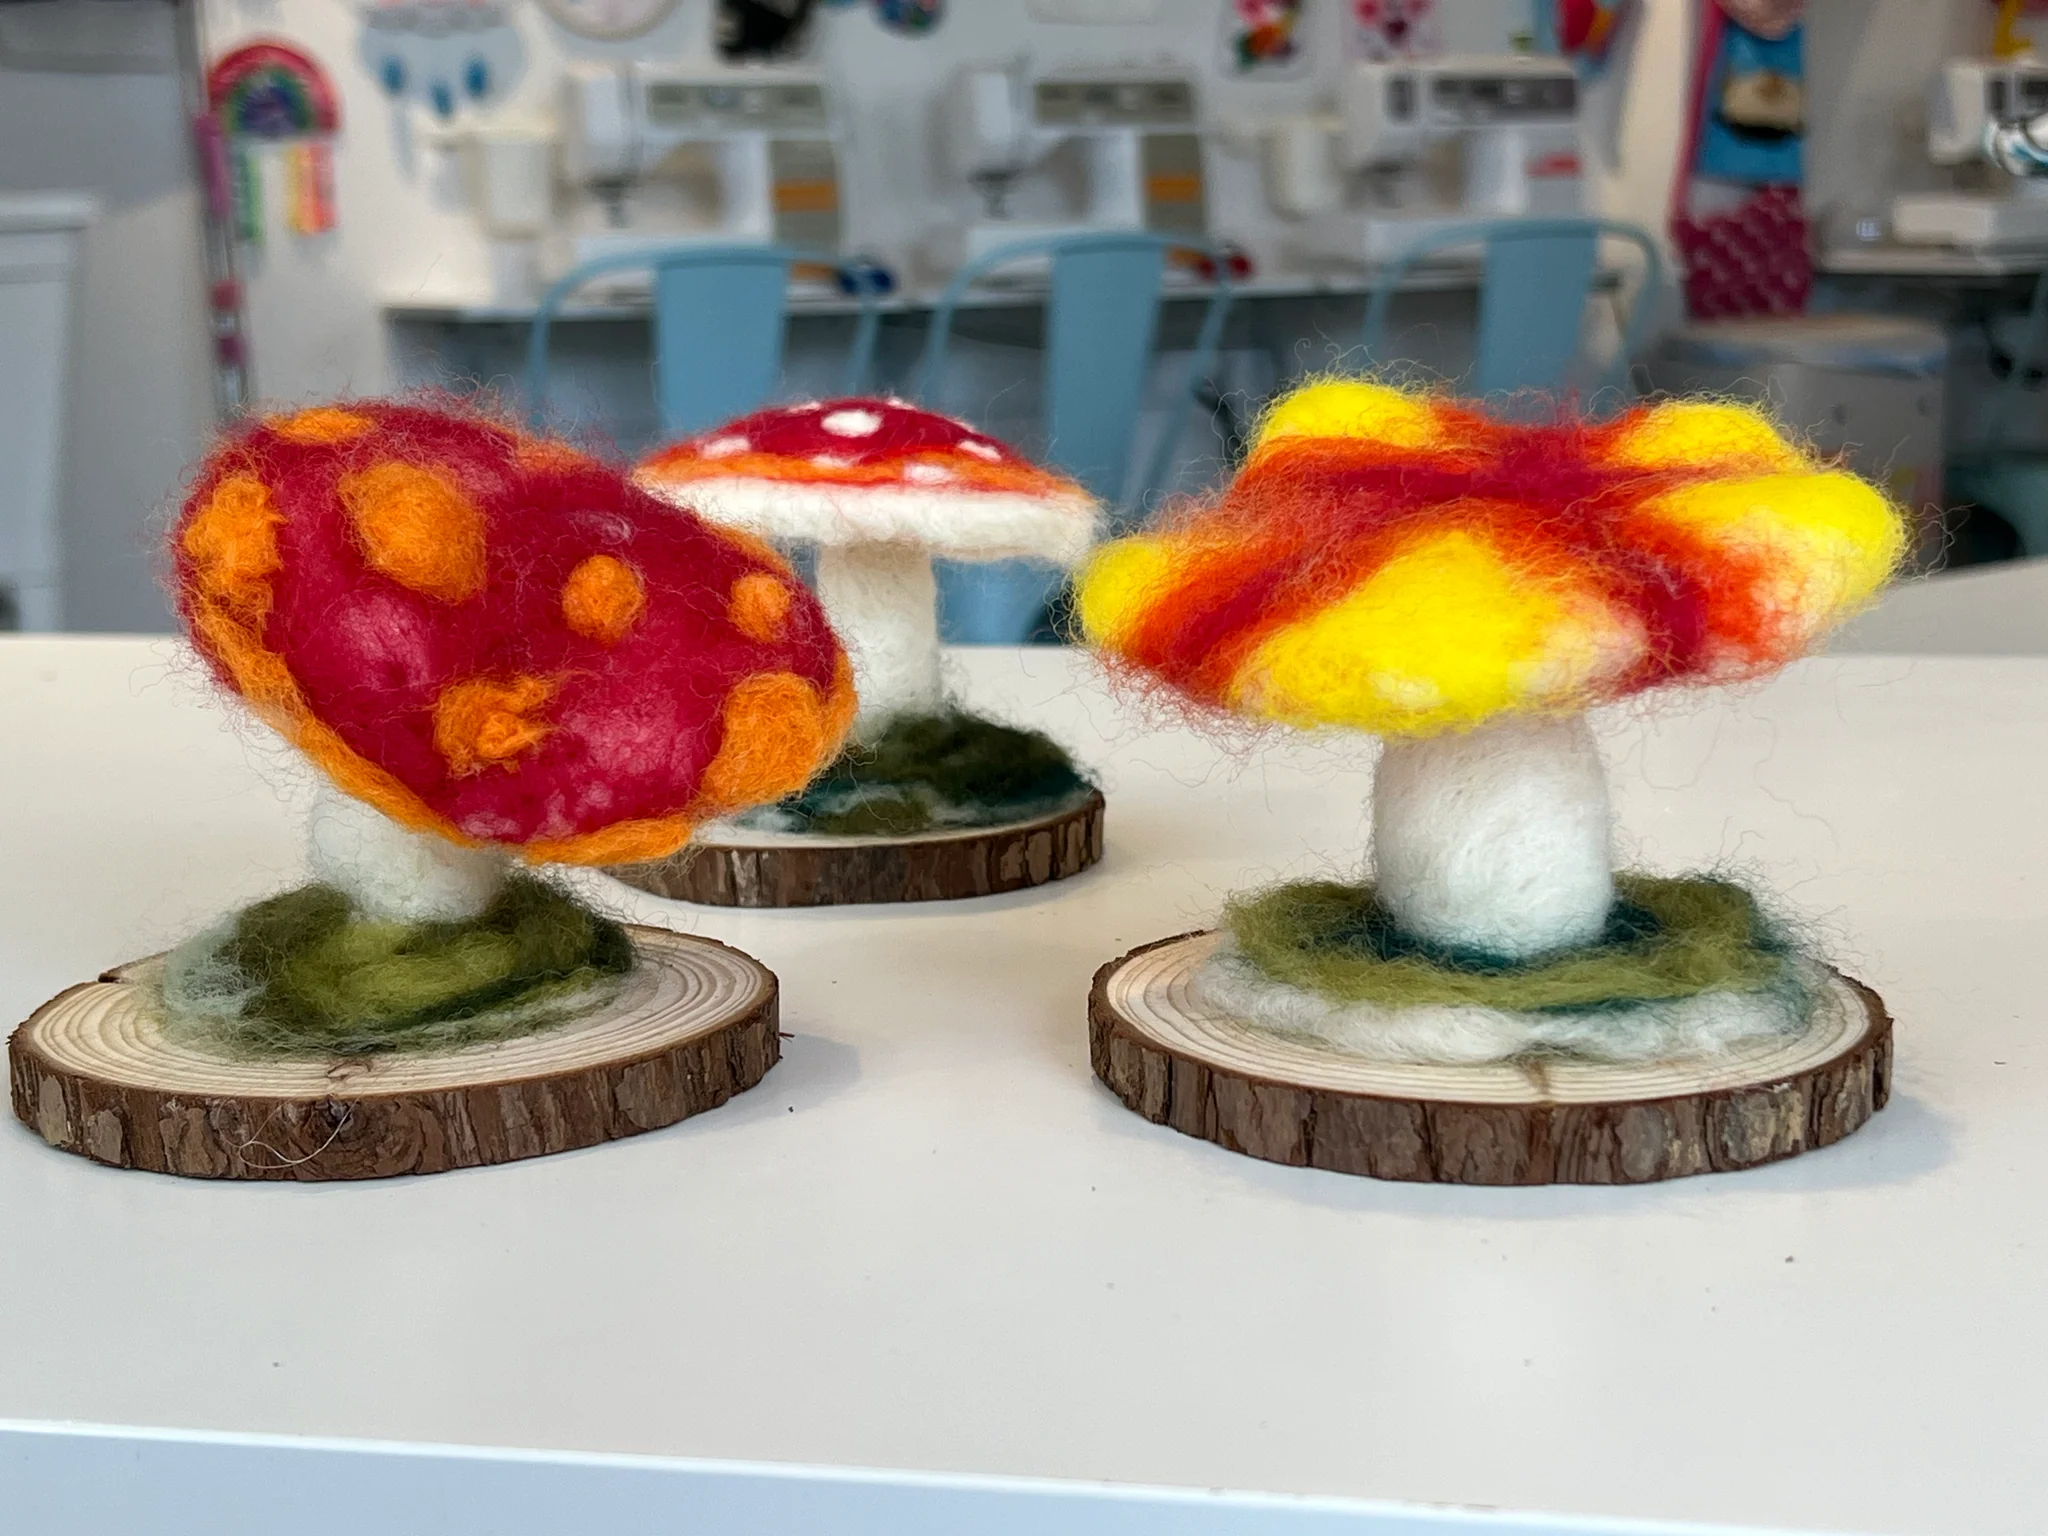
Option A: Tiny mushroom
- Cap: Use your finished ball as the mushroom cap.
- Stem: Roll a small strip of wool into a short cylinder (like a stubby marshmallow) and felt it firm.
- Attach: Hold the stem against the cap and poke where they meet. Rotate and poke around the seam until it feels secure.
- Add spots (optional): Felt tiny dots of white wool onto the cap.
This is a wonderful first project because it teaches attachment without delicate limbs or tiny ears.
Option B: Simple heart
- Felt a firm ball.
- Pinch the bottom to make a gentle point and poke to lock that point in.
- Use your fingers to create a dent at the top center, then poke into that indentation to define the two heart lobes.
Details and finishing
Add details in thin layers
For cheeks, spots, or simple eyes, use a tiny wisp of wool instead of a thick clump. Lay it on the surface like a whisper, then tack it down with light pokes. Thin layers felt in faster and look cleaner.
Reduce fuzz (the easy way)
A little fuzz is normal. To tidy things up:
- Use a finer needle with light surface pokes.
- Do a quick snip of obvious flyaways with small scissors.
- Stop when it looks good from arm’s length. That is the level most people actually enjoy looking at.
Common beginner mistakes
“It is still fluffy after forever”
Cause: Not enough pokes, poking too gently, or using a needle that is too fine too soon.
Fix: Switch to a coarser needle for the early stage, poke more firmly straight down, and focus on compacting before smoothing.
“It looks lumpy”
Cause: Felting one side too long without rotating, or starting with a tight ball that hides unevenness.
Fix: Rotate constantly. If a lump forms, poke around it and blend extra wool into low spots rather than trying to shave it down.
“My wool is sticking to the foam mat”
Cause: Wool fibers catching in the foam.
Fix: Lift and rotate your piece often. If it keeps snagging, a wool pad can reduce sticking, but frequent rotation usually solves it.
“My needle keeps breaking”
Cause: Poking at an angle, hitting a hard surface, or twisting the needle while it is inside the wool.
Fix: Poke straight down and pull straight out. Make sure you are working fully on the mat, not half on and half off.
First session checklist
- Felting mat on a flat table
- Two needles (one coarser, one finer), plus a spare if you have it
- Wool in a light color plus one accent
- Finger guard if you want extra confidence
- Plan: felt one firm ball, then turn it into a mushroom or a heart
If you finish and think, “This is a little wonky but I love it,” congratulations. That is the hobby doing its job.
FAQ
Does needle felting hurt your hands?
It can, especially if you grip tightly or work for long stretches. A needle holder helps, and so do short breaks. If you have joint pain, try smaller sessions and a comfortable chair and table height so your shoulder is relaxed.
Is needle felting safe for kids?
Because the needles are sharp and brittle, I treat needle felting like a supervised sharp-tool activity. Older kids who follow instructions can do simple projects with close supervision and finger guards. For younger kids, wet felting is often a better fit.
Do I have to buy an expensive kit?
No. A small bundle of wool, a couple of needles, and a foam mat can take you far. Kits can be convenient, but the goal is usable materials, not a giant pile of extras.
Where should I buy supplies?
Craft stores are fine for basic mats and starter needles. For more consistent wool (especially core wool and a good color range), specialty felting shops and well-reviewed online sellers are worth a look. In listings, look for 100% wool, “carded batt,” or “core wool” if you want an easy start.
How do I store needles and wool?
Store needles in a case, cork, or closed container so they cannot roll away. Store wool in zip bags or clear bins to keep it clean and keep curious pets out of it.