Punch needle embroidery is one of my favorite “instant gratification” crafts because it rewards you quickly. You punch. You glide. Suddenly you’ve got plush little loops that look like they belong in a cozy boutique. If you can handle a pencil and a little patience, you can make a small rug.
In this guide, I’ll walk you through the exact beginner choices that matter most: what cloth actually works, how to thread your needle without losing your mind, and how to make tidy loops that stay put.
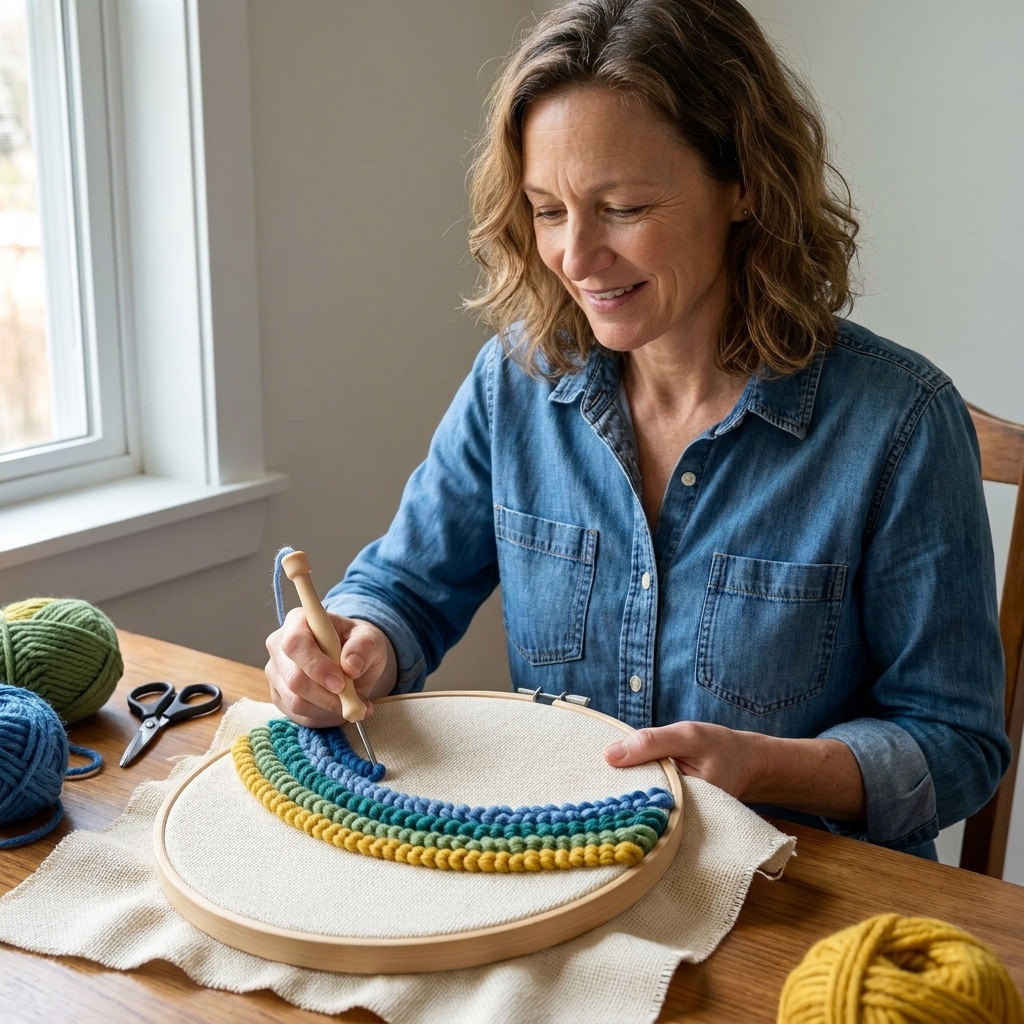
What punch needle is
Punch needle is a form of embroidery where you use a hollow needle tool to push yarn or thread through fabric. Instead of traditional stitches, you create loops on one side of the cloth while the “flat” stitched side forms on the back.
The looped side is what most people use as the front for rugs and wall hangings. The key to success is surprisingly simple: the cloth must grip the yarn, and your loops need to be made at a consistent depth.
Supplies you actually need
You can go very minimal here. The trick is choosing materials that play nicely together.
Punch needle tool
- Adjustable punch needle (best for rugs). This lets you choose loop height. Many kits include one.
- Needle size matters: thicker yarn needs a larger needle. If the yarn won’t glide through, you either need a bigger needle or a smoother yarn.
Fabric (the make-or-break supply)
- Monk’s cloth: a classic choice for rugs. Look for monk’s cloth made for punch needle with a tight, even weave (often higher quality and more consistent than general craft bolts).
- Rug warp: very sturdy and grippy, great for rugs, sometimes harder to find.
- Primary tufting cloth: can work well if it’s labeled for tufting or punch needle. Tufting cloth varies by manufacturer, so look for sturdy “primary” cloth (often with grid guidelines) and avoid anything that feels overly slick.
If the fabric is too loose, your loops will fall out when you touch them. If it’s too tight, punching feels like wrestling an alligator. We’re aiming for “firm handshake.”
Frame or hoop
- Gripper strip frame (best for rugs): holds fabric drum-tight across a larger area.
- Non-slip hoop: workable for a small first piece, but you’ll likely need to re-tighten often.
- Q-snap frame: a good middle option if you already have one from quilting.
Yarn
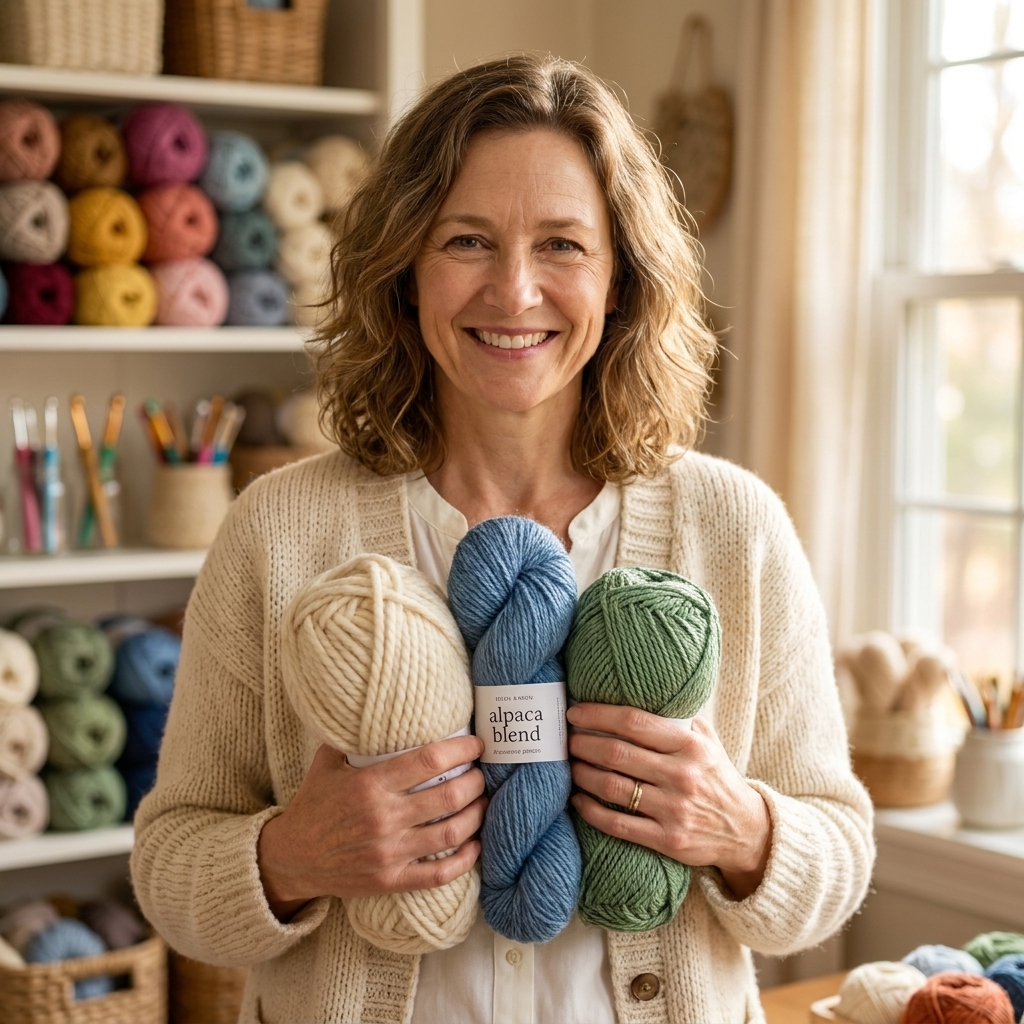
- Worsted weight wool or wool-blend is beginner-friendly and tends to “lock” into the cloth nicely.
- Acrylic yarn works too, but very smooth acrylic can slip more easily. Choose a yarn with a bit of grab or fuzz.
- For real floor rugs, wool (or hardy rug yarn) usually holds up better to foot traffic than soft acrylic.
- Avoid super chunky yarn until you know your needle can handle it.
Other helpful basics
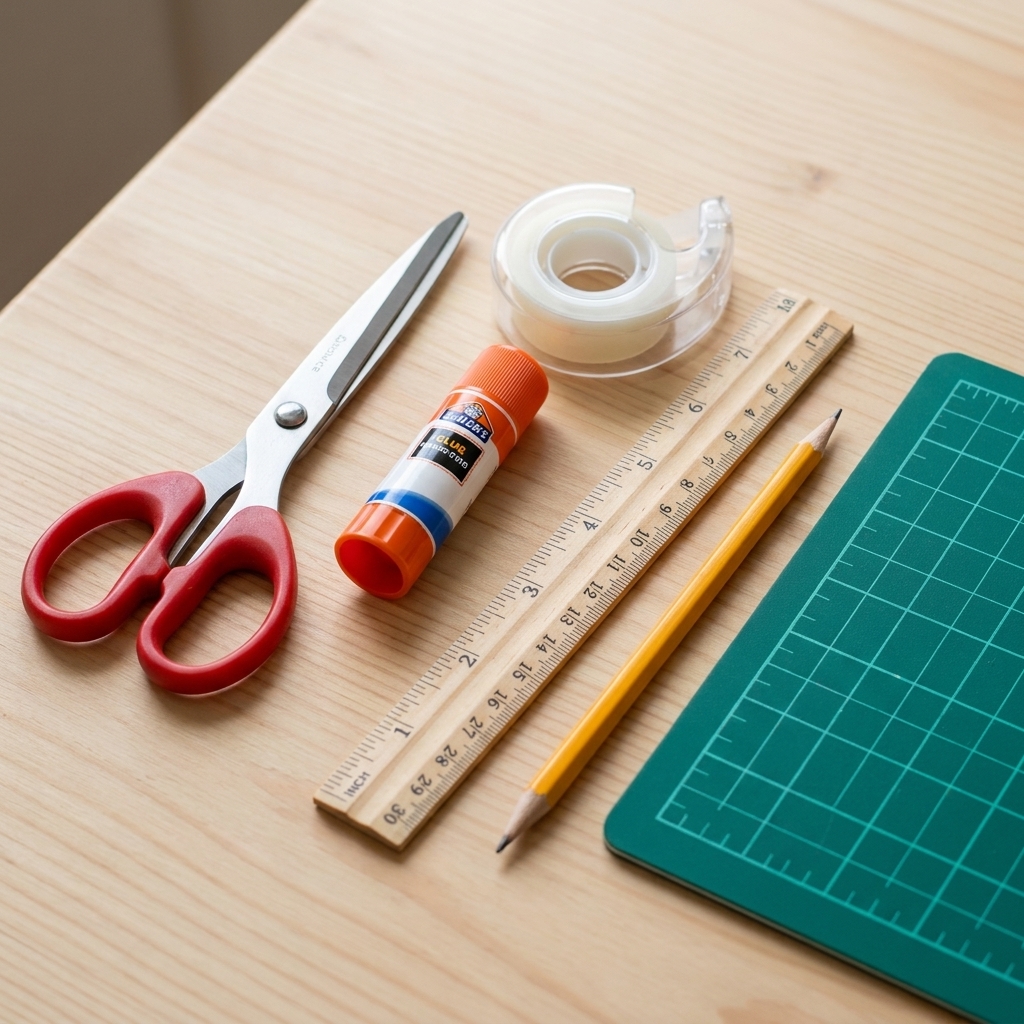
- Sharp scissors
- Marker or pencil for tracing your design
- Optional: yarn winder (nice, not necessary)
- Optional: rug backing fabric (felt is common)
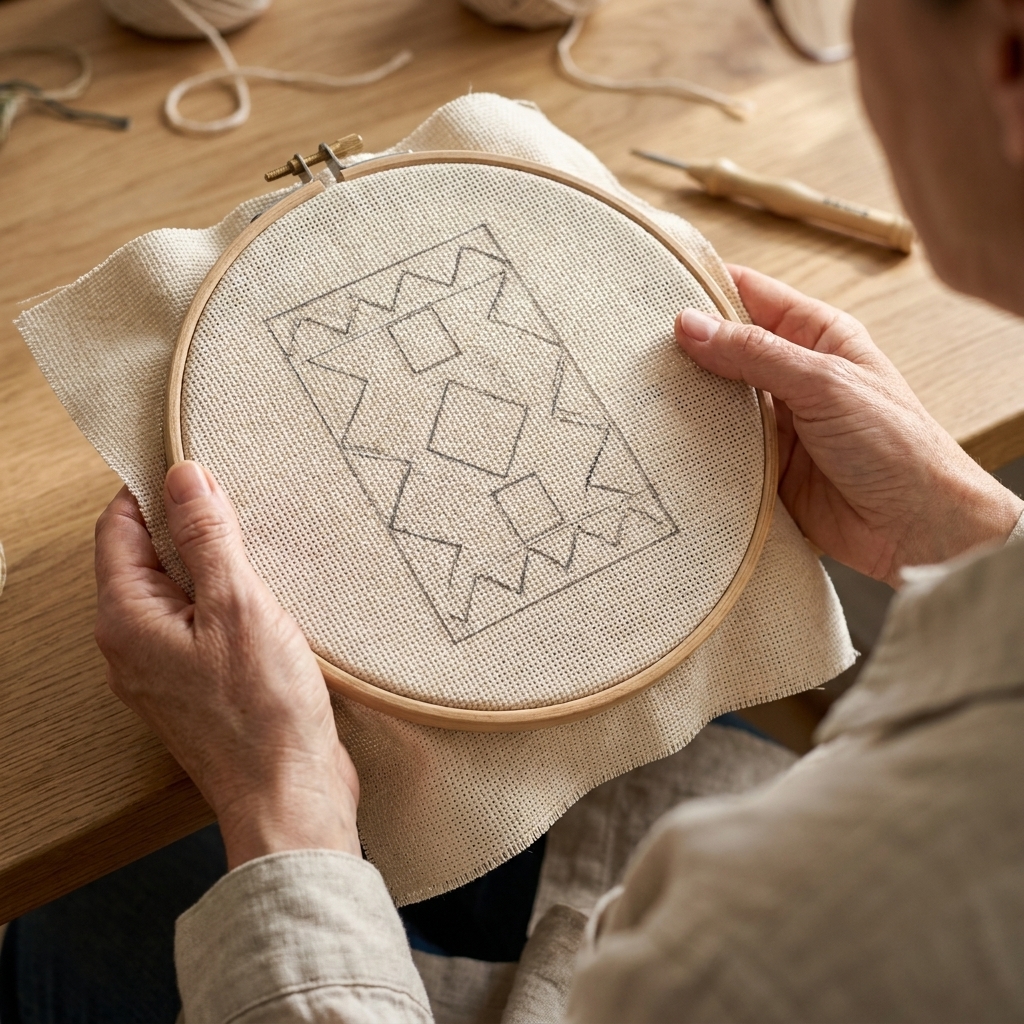
Choosing cloth
Stand in the aisle (or stare at your online cart) and ask:
- Is the weave even and consistent? You want uniform little squares, not random gaps.
- Does it feel sturdy? Tug it gently. If it distorts easily, it may not hold loops well.
- Is it labeled for punch needle or rug work? That’s a very good sign.
My tip from the “why is this falling apart?” files: If your cloth is too loose, you can sometimes stabilize it with an extra layer behind it, but for your first rug it’s kinder to yourself to start with the right fabric.
Threading your needle
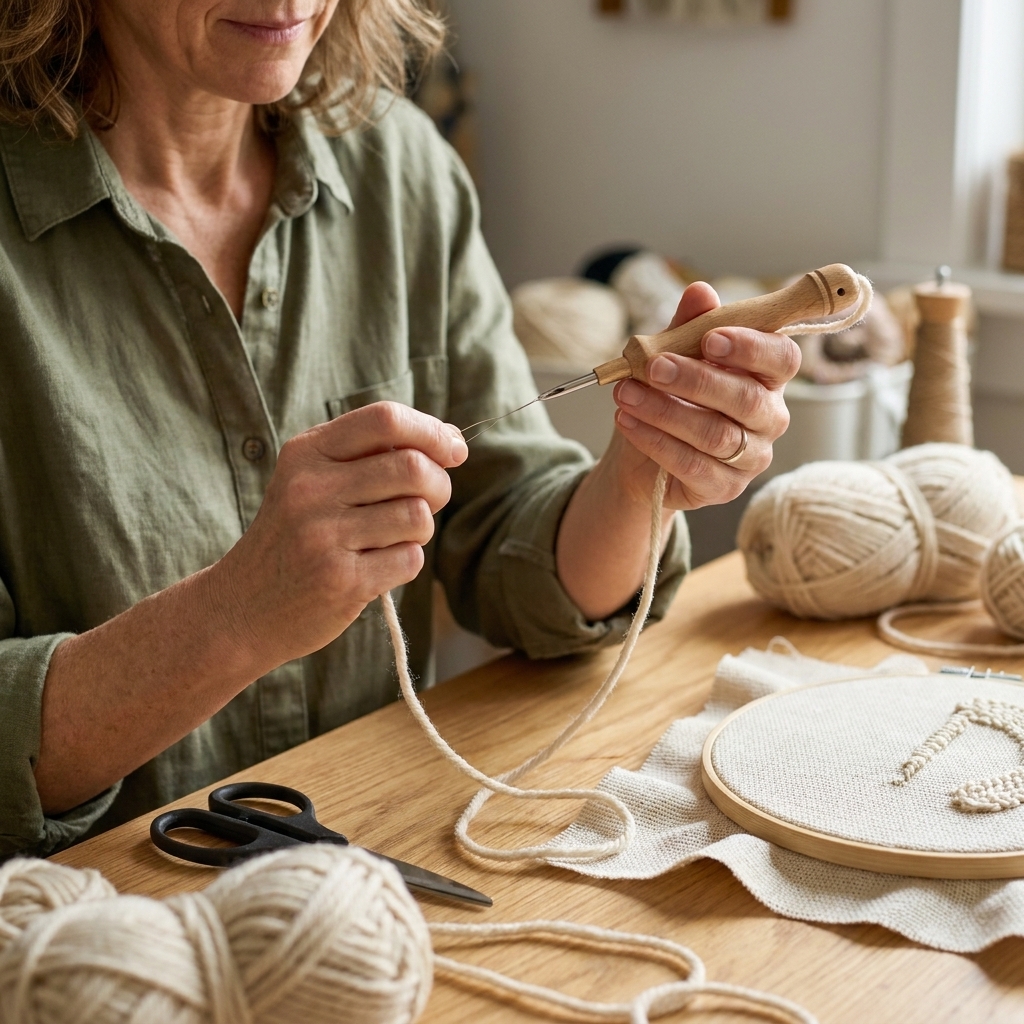
Threading looks fussy the first time, then it becomes muscle memory. Most punch needles come with a needle threader and a handle threader. Use them. This isn’t a “prove your worth” moment.
Basic threading steps
- Feed yarn through the handle using the long threader, from the bottom of the handle toward the needle tip.
- Pull the yarn through the hollow needle using the small wire threader.
- Leave a tail of about 2 to 3 inches at the needle tip to start.
Common threading issues
- Yarn keeps fraying: trim the end cleanly, and try again. Some yarns behave better if you twist the end slightly.
- Yarn won’t slide: your needle may be too small for that yarn, or the yarn is snagging inside the tool. Try a larger needle or a smoother yarn.
- Yarn slips out while punching: leave a longer tail at the start and avoid pulling the working yarn tight while you stitch.
Set up your fabric
Before you punch a single loop, get your fabric drum-tight. This one step solves about half of beginner frustration.
How tight is drum-tight?
Tap the fabric. It should sound and feel a bit like a tight drum skin. If you can easily pinch a big wrinkle, tighten again.
Trace a simple design
Keep your first rug simple and bold. Think: wavy stripes, a big smiley flower, a checkerboard, or chunky abstract shapes. Tiny details can get lost in loops.
- Trace your design onto the fabric with a pencil or washable marker.
- Remember: you’ll typically work from the back side (the side you draw on), and the loops appear on the opposite side.
The looping basics
Here’s the secret handshake of punch needle rugs. If you remember these three rules, you’re already ahead.
Rule 1: Keep depth consistent
Your needle’s setting controls loop height. Choose a setting and stick with it for the whole rug (at least for your first project). Uneven depth equals uneven texture.
Rule 2: Stay close to the fabric
As you punch, the needle’s tip should stay in contact with the cloth. Lift it too high between punches and you’ll start pulling loops right back out.
Rule 3: Punch, then glide
Think “poke and scoot,” not “poke and yank.”
- Punch straight down until your tool’s depth stop (or set collar) reaches the fabric.
- Lift the needle just enough to clear the surface (still close to the cloth).
- Move a small step (about 1 needle-width) and punch again.
One more rule that saves a lot of swearing: keep the needle’s slit or bevel oriented consistently (usually facing the direction you’re moving). If you change direction, rotate your needle or your hoop so that slit stays “leading.”
Your yarn should feed freely from the ball. If it’s tugging, pause and make sure the yarn isn’t wrapped around your chair leg like it’s trying to escape.
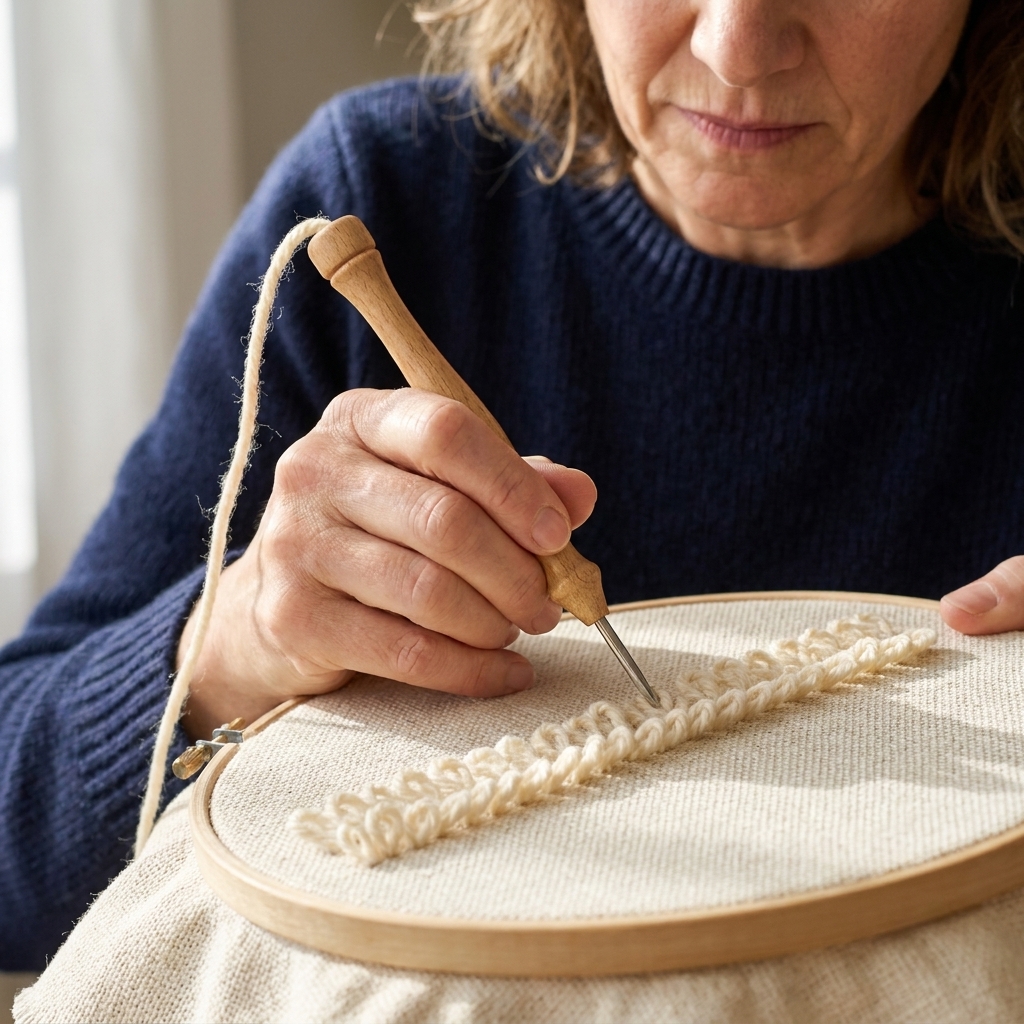
Filling shapes
Once you can make consistent loops, the next skill is filling shapes so they look full and intentional.
Outline first (usually)
For bold shapes, I like to punch the outline first, then fill it in. This helps keep edges crisp.
Fill row by row
- Work in tight rows that sit close together.
- If you see fabric showing through on the looped side, add another row between existing rows.
- If the fabric starts to look stressed or distorted, you may be punching too densely. Give it a little breathing room.
Turn corners
For curves, take smaller steps and rotate your hoop or frame as you go. Your hands will thank you, and your curves will look smoother.
Mini rug project
If a full floor rug feels like a lot, start with a mini rug the size of a trivet or coaster. Same skills, faster finish, and you still get that fluffy payoff.
Suggested size
About 6 to 8 inches square or a simple circle.
Simple steps
- Stretch monk’s cloth in a hoop or on a small frame.
- Draw a bold shape: a rainbow arch, a flower, or chunky stripes.
- Thread your needle and set a medium loop height.
- Punch outlines, then fill each section row by row.
- Check the front (looped side) occasionally to see coverage.
If you find yourself obsessing over one slightly wonky line, welcome. You’re officially crafting. Step back and remember: texture forgives almost everything.
Troubleshooting
My loops are falling out
- Fabric weave is too loose for your yarn.
- You’re lifting the needle too high between punches.
- Your stitches are too far apart.
- Your needle slit is facing the wrong way for the direction you’re moving.
Try: tighten the fabric, punch closer together, keep the needle near the surface when you move, and keep the slit facing the direction of travel.
It’s really hard to punch through
- Fabric is too tight or too dense.
- Needle is too large for the weave, or the tip is catching fibers.
Try: slightly loosen fabric tension, switch to monk’s cloth designed for punch needle, or use a smoother needle and yarn pairing.
My yarn keeps snagging or breaking
- Yarn is catching inside the tool.
- Yarn is too thick for the needle.
- Yarn ball isn’t feeding freely.
Try: re-thread, size up the needle, and place the yarn in a bowl so it can unwind smoothly.
The front looks messy, but the back looks neat
This is almost always a spacing issue. The looped side (front) needs enough density to look plush. Add more rows to fill gaps.
Finishing your rug
Finishing is where a punch needle piece becomes something you can actually use. Rugs need a secure back so loops don’t loosen over time.
Step 1: Secure the stitches
Many punch needle rug makers use a flexible fabric adhesive or rug finishing glue on the stitched side (the flat side) to lock everything in. Let it dry fully according to the product directions.
A few reality checks before you glue: work in a well-ventilated space, protect your table, and apply in thin, even layers. Too much glue can seep through and stiffen the front, which is not the cozy vibe we’re going for.
If you prefer a no-glue approach, you can absolutely make decorative pieces, but a functional floor rug usually benefits from a proper seal.
Step 2: Cut it out with margin
Leave about 1 to 3 inches of fabric around your design, depending on how you plan to finish the edges.
Step 3: Choose a backing method
- Glue + felt backing: popular for small rugs and mats, quick and tidy.
- Whip-stitch the edge + backing: a solid option if you like sewing and want extra security around the perimeter.
- Binding tape: great for a clean, “finished product” edge, especially on rectangular pieces.
Non-slip rug pad underneath helps a lot if your rug will live on tile or wood.
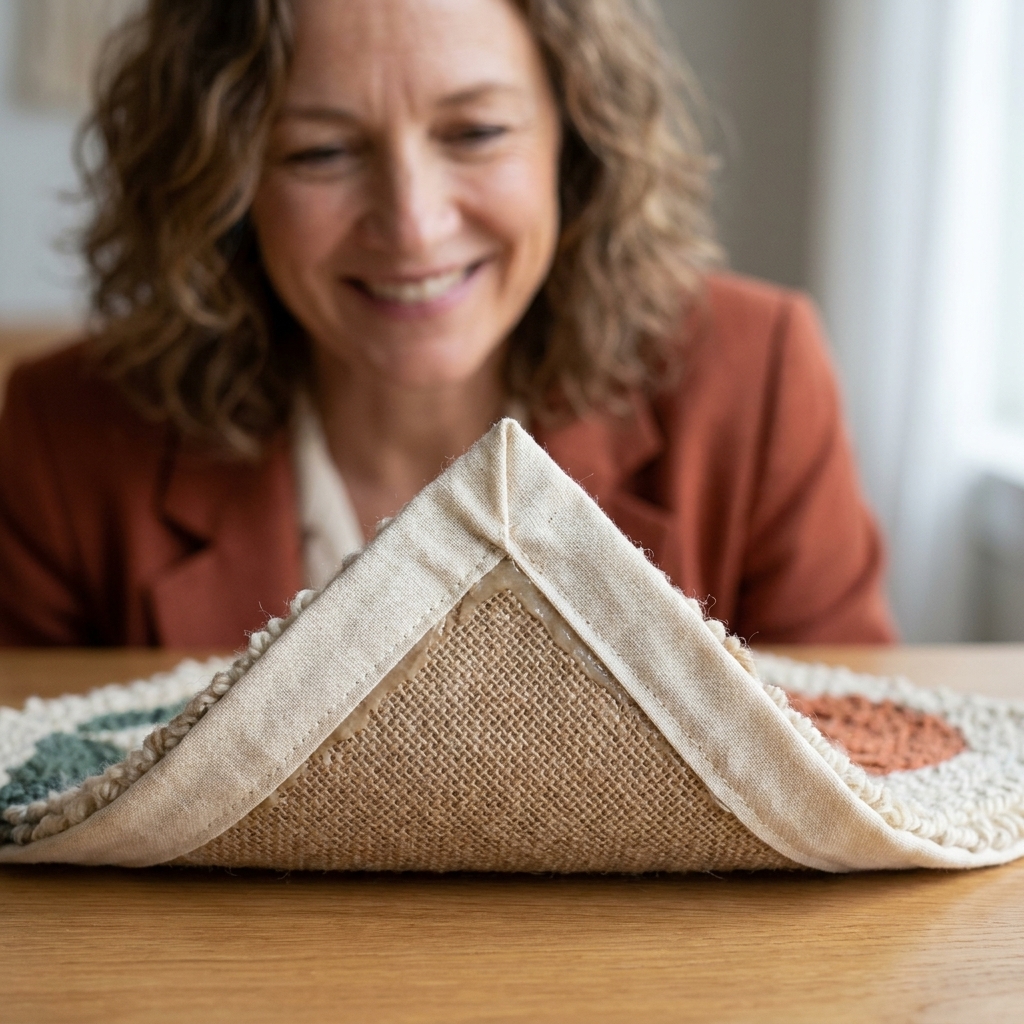
Step 4: Neaten the edges
Fold the excess cloth to the back and glue or stitch it down, then attach your backing. Take your time here. A tidy edge makes even a simple design look polished.
Care tips
- Vacuum gently using a brushless setting if possible.
- Spot clean with mild soap and water. Avoid soaking unless you know your adhesive and yarn are water-safe.
- Keep out of high-friction zones at first. A beginner rug will last longer as a bedside rug or decorative mat than as the main hallway workhorse.
FAQ
Which side is the front?
For rugs, the looped side is usually the front. You typically punch from the back (pattern side) so the loops form on the opposite side.
Do I need a special frame?
Not necessarily. A non-slip hoop can work for a small piece. If you fall in love with punch needle, a gripper strip frame is a wonderful upgrade for bigger rugs because it keeps tension consistent.
Can I use burlap?
I don’t recommend it for a first project. Burlap is scratchy, inconsistently woven, and tends to shed. Monk’s cloth made for punch needle is much more beginner-friendly.
What yarn is best for beginners?
Worsted weight wool or wool-blend yarn is a sweet spot. It punches smoothly, fills space nicely, and grips the fabric well.
How long does a first small rug take?
A coaster-sized mini rug can be a cozy afternoon. A larger rug depends on size, detail, and how often you stop to admire your loops (which is often, in my experience).
Your next step
If you’re feeling a little intimidated, make your first goal ridiculously small: stretch the cloth, thread the needle, and punch one line. That’s it. The rest tends to follow because punch needle has a way of making you think, “Okay, one more row.”
And if your first rug looks like a charming little marshmallow cloud instead of a museum piece, congratulations. You’re doing it exactly right.