Resin art is one of those hobbies that feels like magic when it works and like a personal vendetta when it does not. If your pour is full of bubbles, your clear resin turned cloudy, or the surface refuses to harden, you are not alone. Most resin problems have a very ordinary cause, and many are fixable without scrapping the whole project.
This guide walks through the most common resin art mistakes, what usually causes them, and the quickest troubleshooting steps to try before you give up on a piece. I will also share prevention tips for your next pour because future-you deserves an easier time.
First, a quick safety note
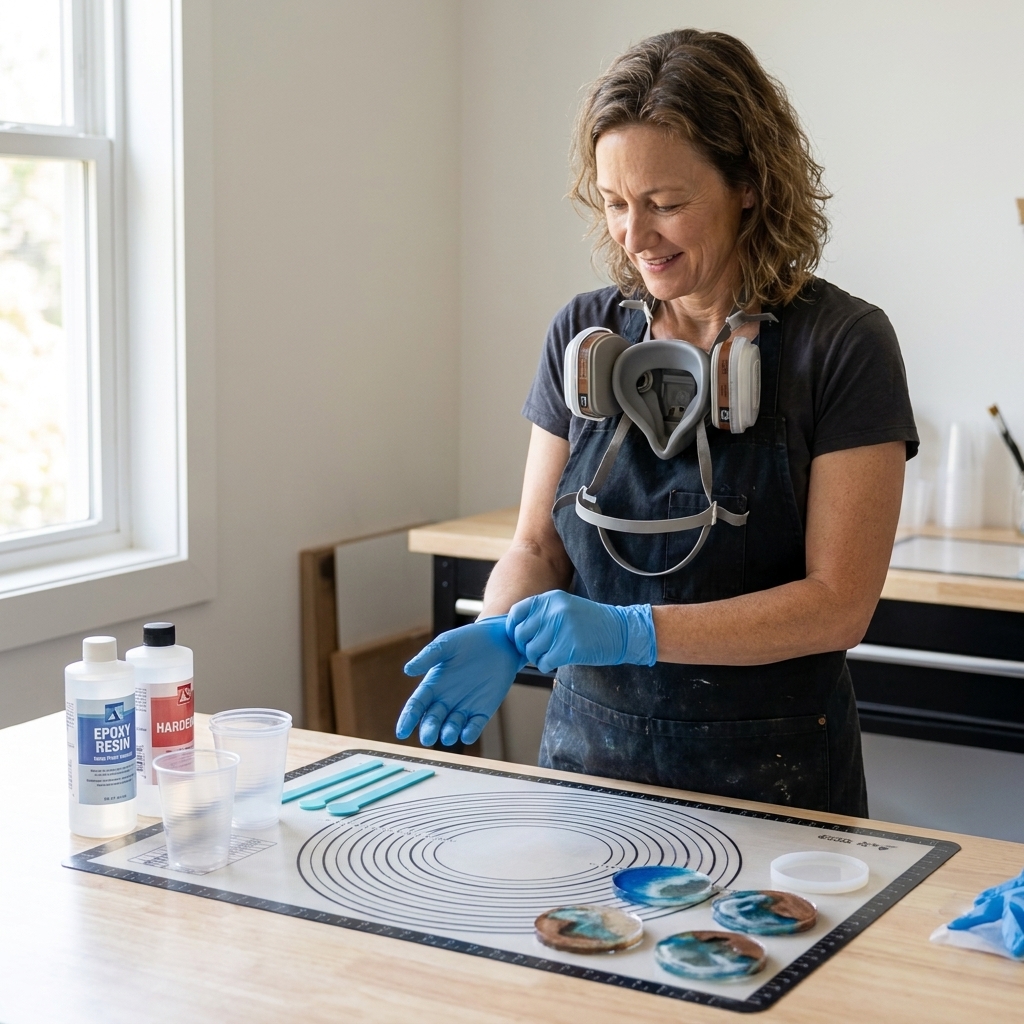
Resin is not a “push through it” craft when it comes to safety. Work in a well ventilated area, wear nitrile gloves, and avoid skin contact. Always read the label and the SDS for your specific resin, because PPE and ventilation requirements vary by product.
- For sanding cured resin: Use a particulate respirator (for example, N95 at minimum, P100 is better) and wet sand when possible to keep dust down.
- For fumes and vapors: If ventilation is not truly solid or you can smell resin, consider an organic vapor respirator with the correct cartridges per the SDS. A dust mask does not protect you from vapors.
- Sticky or uncured resin is more likely to irritate skin. Clean it up carefully and do not touch it bare-handed.
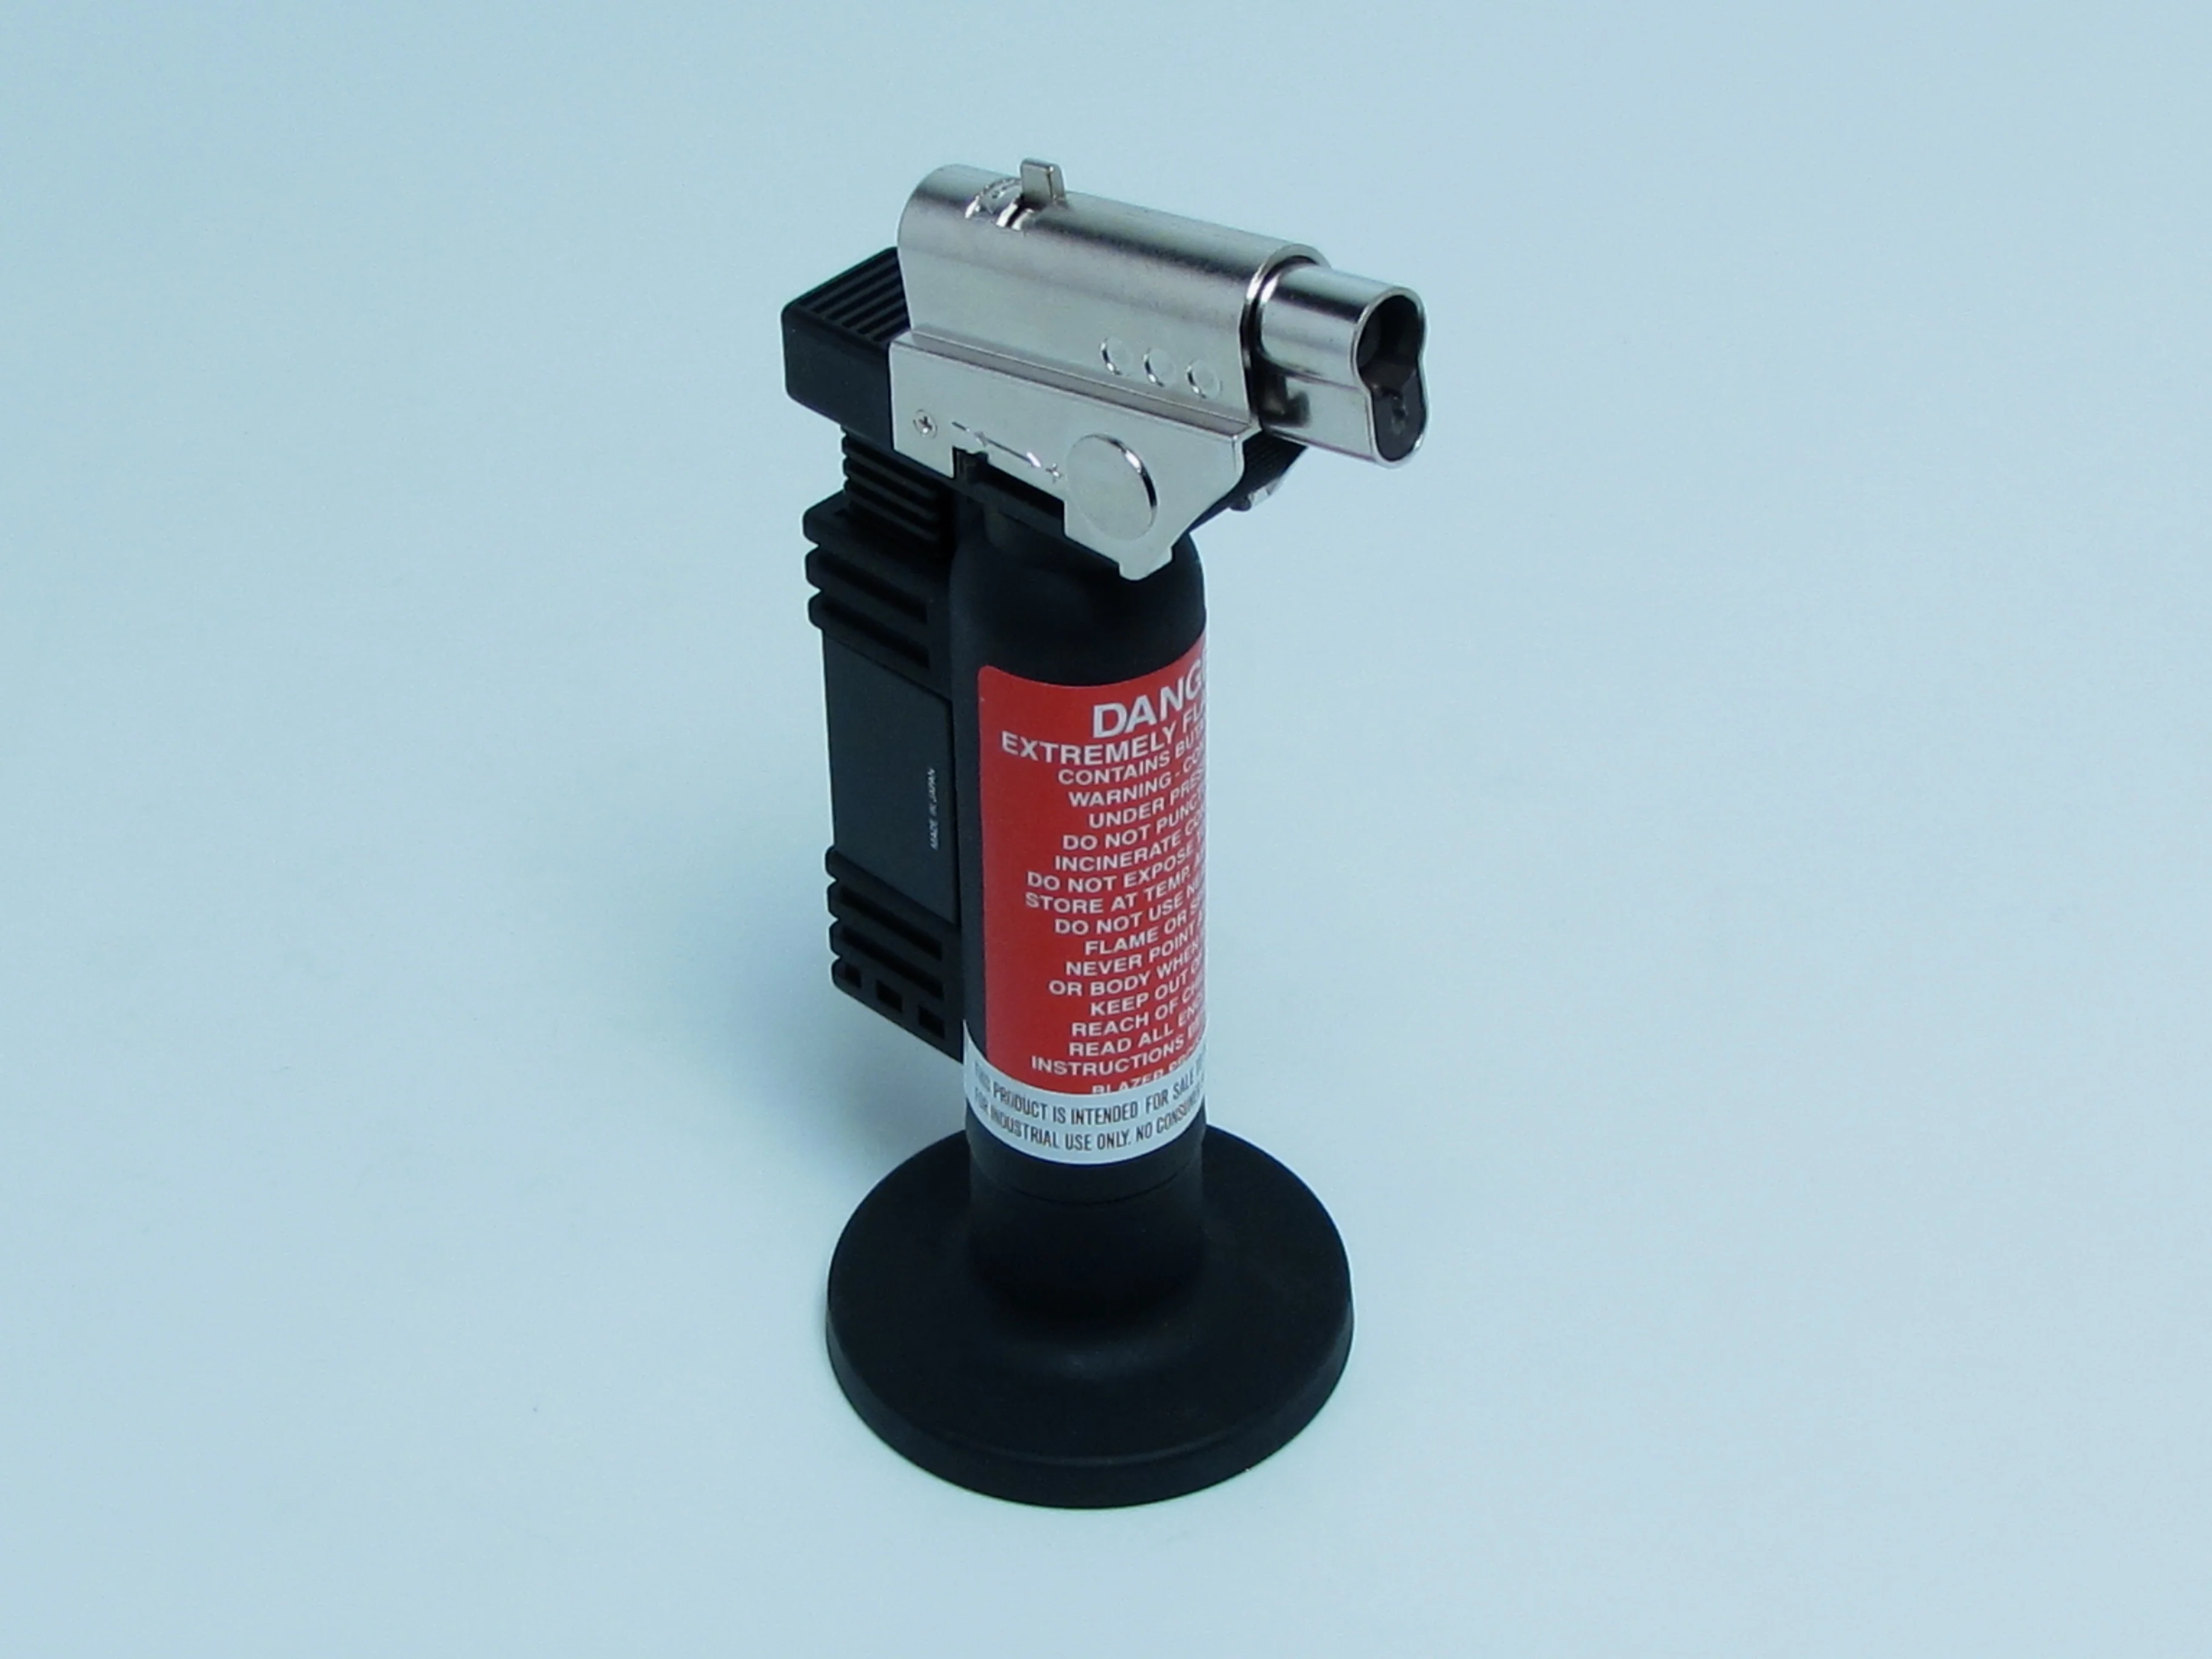
- Heat tools can scorch resin. Keep torches and heat guns moving and use short passes.
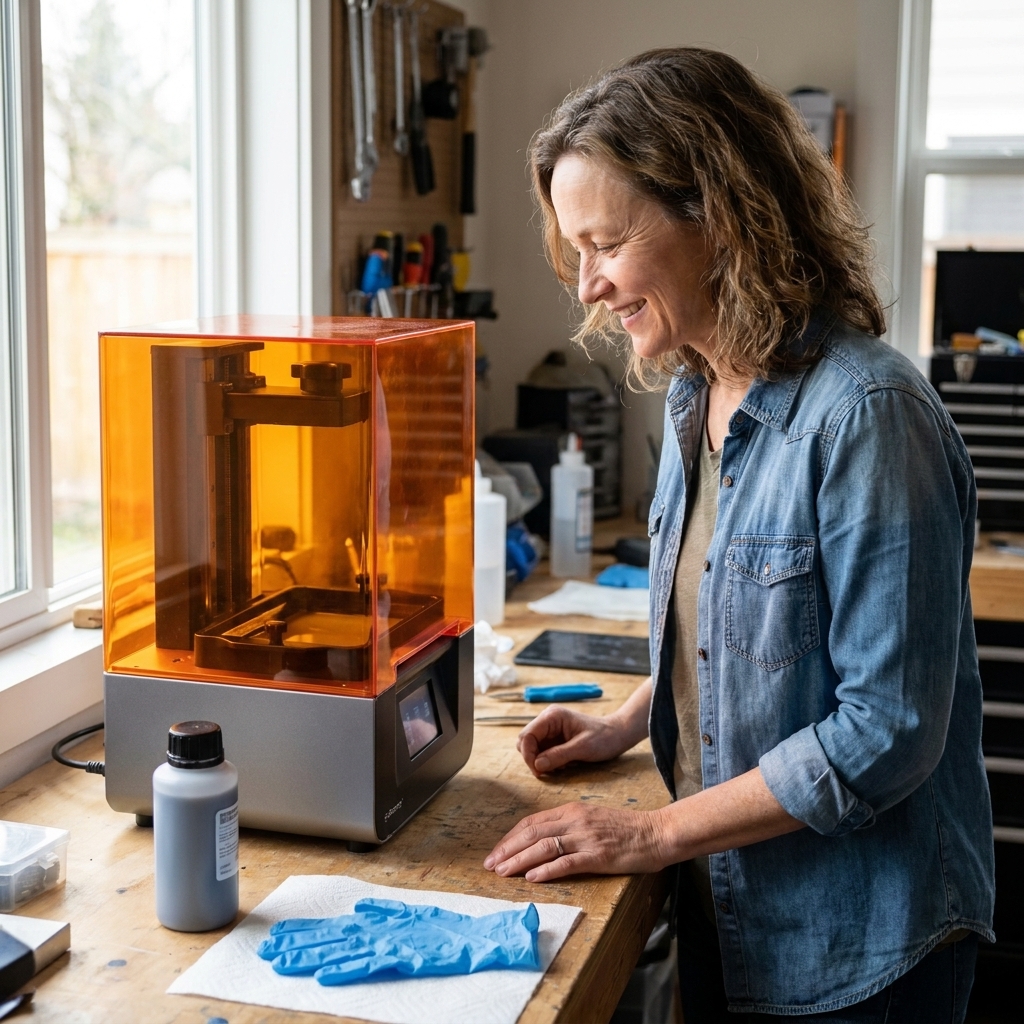
Quick reality check: Some advice shifts depending on resin type. This article is primarily about two-part epoxy resin. UV resin and polyurethane behave differently, so always follow your product instructions.
Resin bubbles
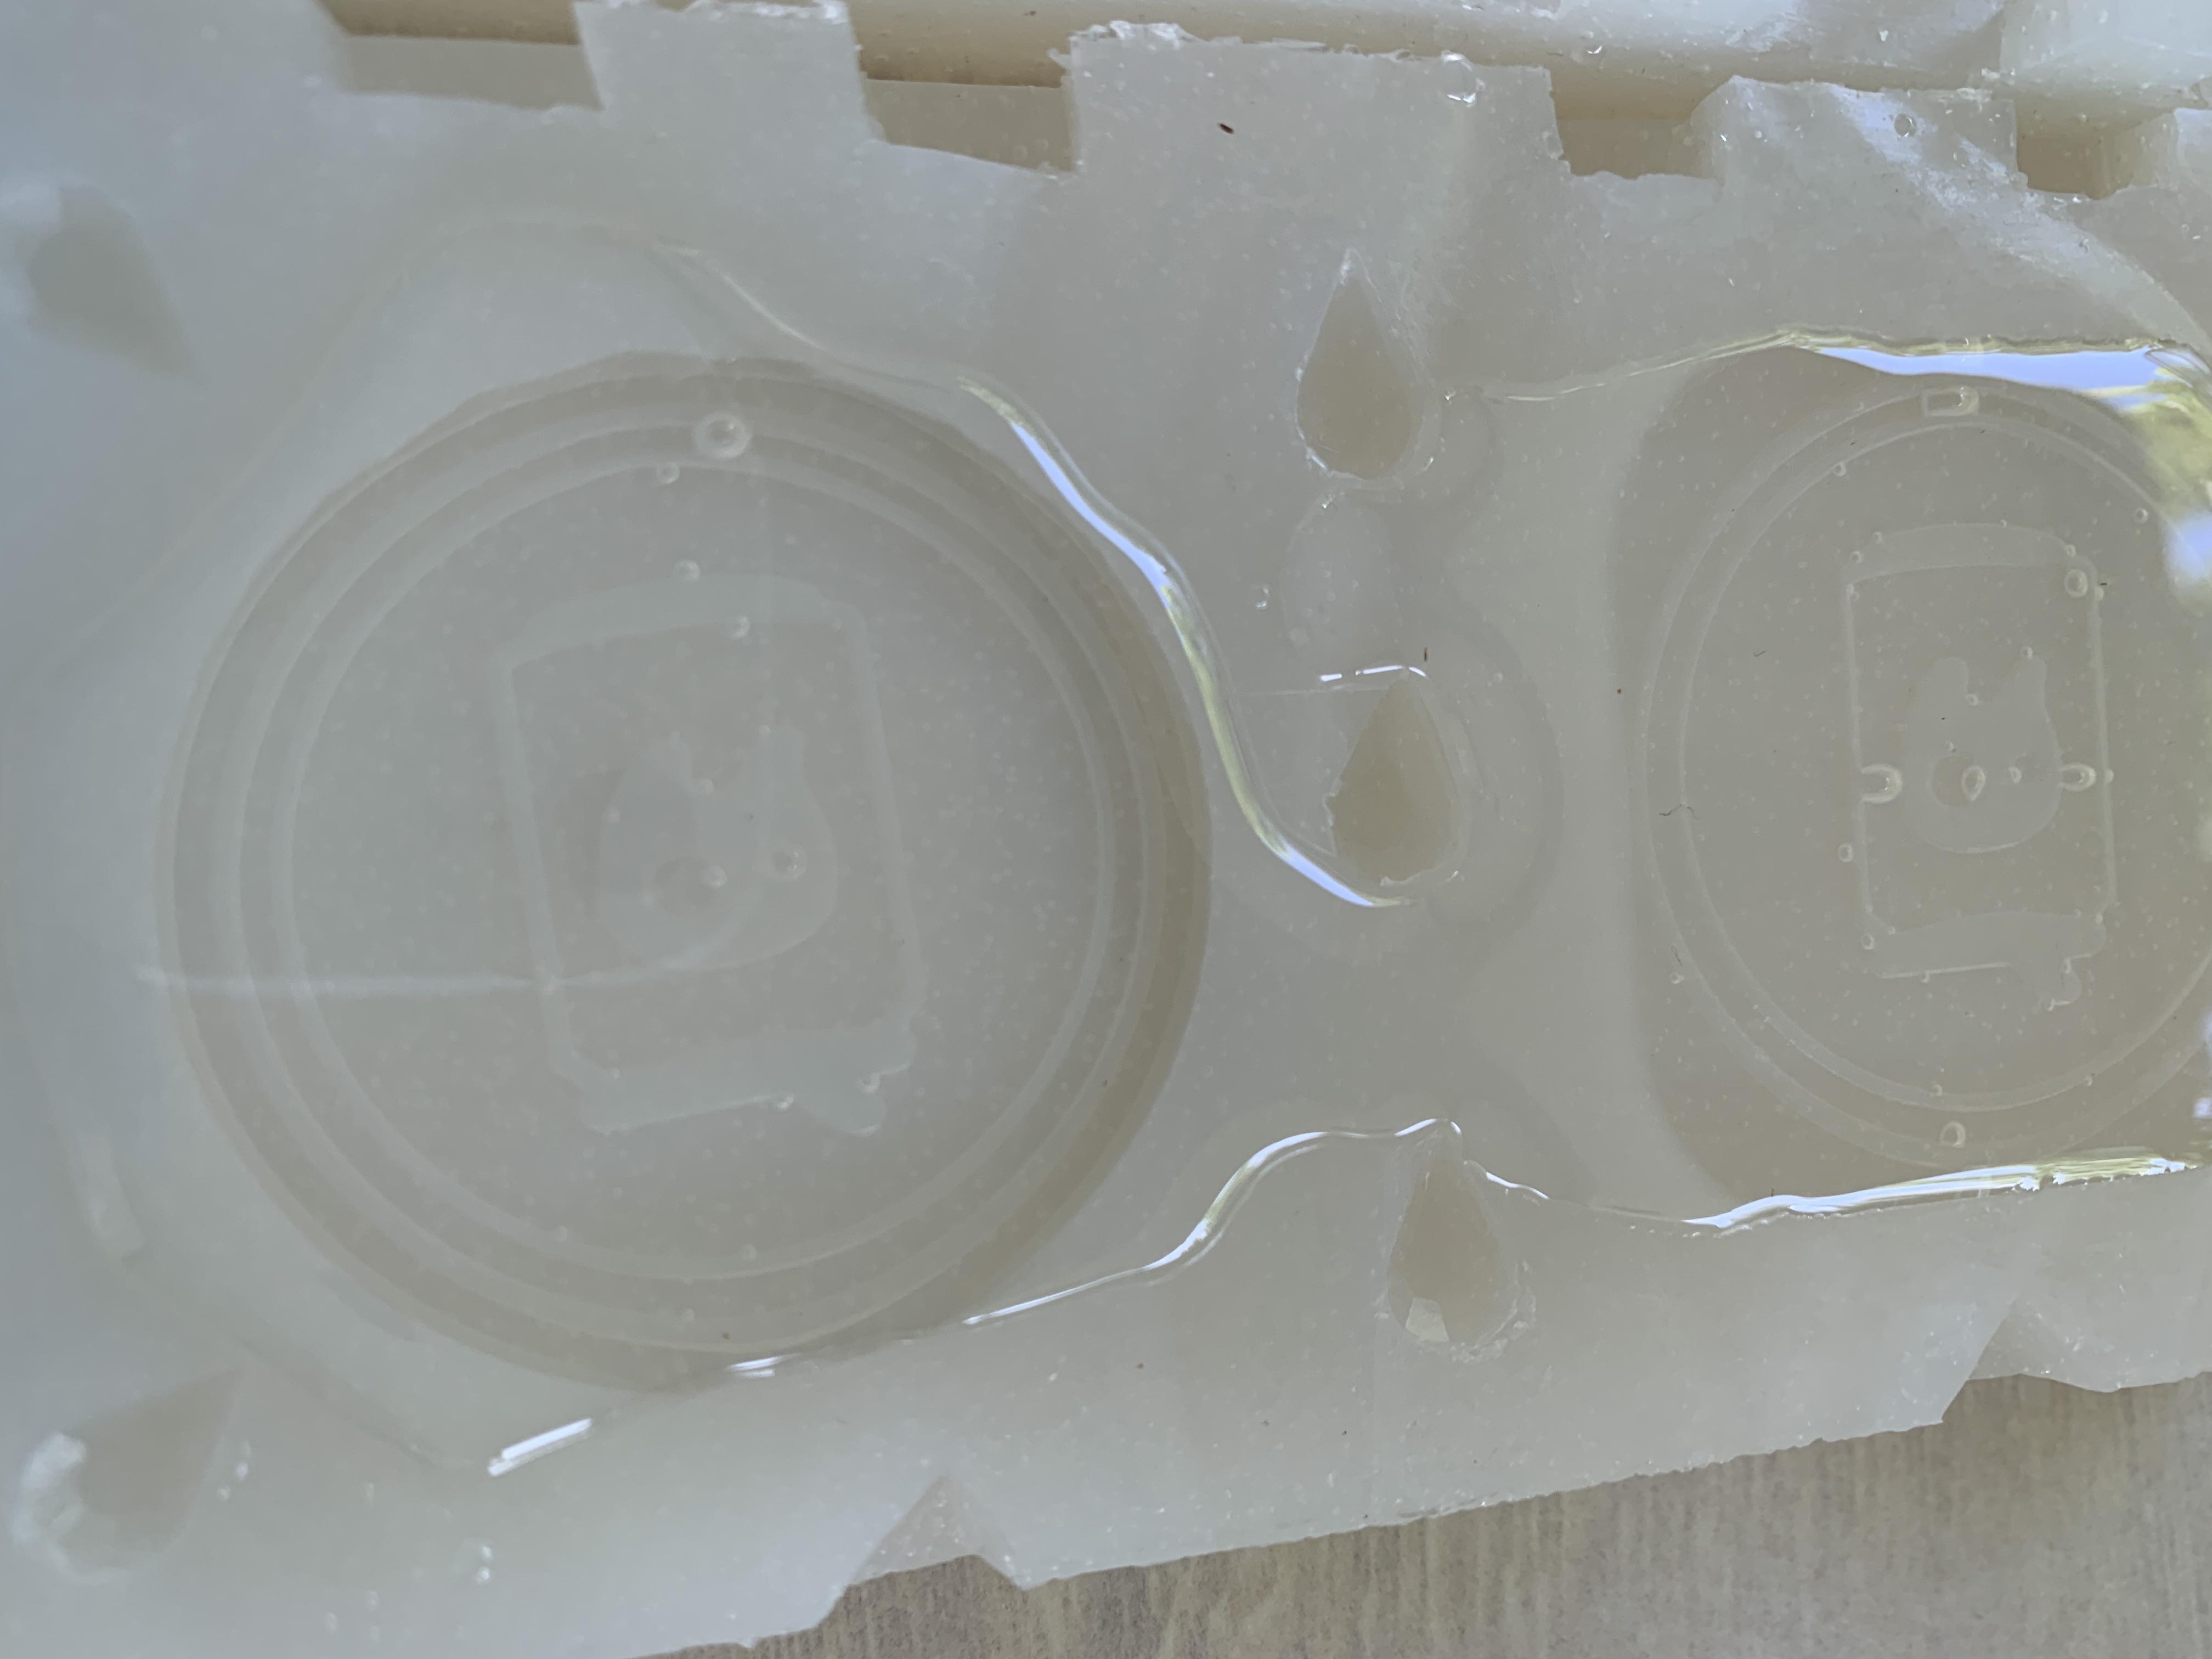
Bubbles are the number one beginner frustration, and also the most normal thing on earth. Bubbles come from air you mix in, air trapped in porous materials, and air that releases as the resin warms and thins.
Common causes
- Mixing too fast or scraping aggressively. Fast stirring whips air into the resin like you are making frosting.
- Cold resin or cold room. Thick resin holds onto bubbles longer.
- Pouring from high up. The stream folds air into the pour.
- Porous add-ins. Wood, paper, dried flowers, and unsealed plaster can release air into the resin.
- Deep pours or thick layers. More heat builds during curing, which can release bubbles from within.
Quick fixes
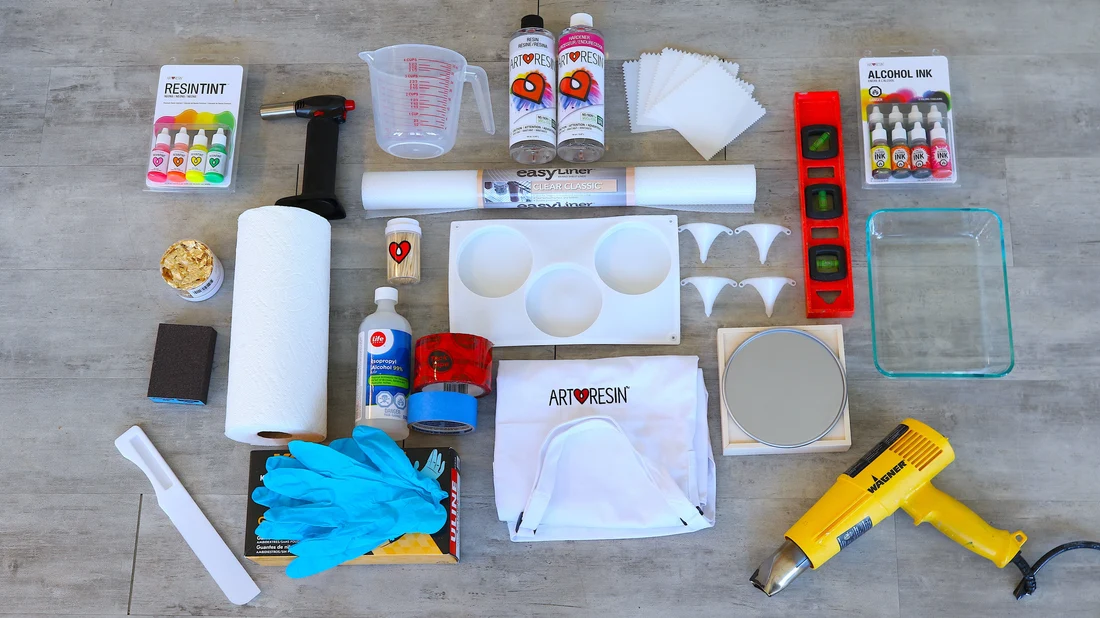
- Pop surface bubbles with gentle heat. Use a heat gun on low from farther away than you think, or a small torch in quick passes. Keep it moving. The goal is to kiss the surface, not cook it.
- Use a toothpick for corner bubbles. Drag bubbles to the top edges of molds, especially around letters and sharp corners.
- Wait 5 to 10 minutes, then heat again. Some bubbles rise slowly. A second pass often catches the “late bloomers.”
- For stubborn bubbles inside a mold, warm the mold slightly. Set the mold on a mildly warm surface, like a heating pad on low with a towel on top, for a few minutes. This lowers viscosity and helps bubbles rise.
If the resin is already gelled (thick like honey and not self-leveling), stop heating. At that stage, you are more likely to create ripples, scorch marks, or weird texture than to remove bubbles.
Optional upgrade: If bubbles are a constant battle (especially for deep molds), a pressure pot or vacuum chamber can help. Not required, just nice if you are ready to go full mad scientist.
Prevention tips
- Warm the resin bottles first. Stand the closed bottles in lukewarm water for 5 to 10 minutes, then dry them completely before opening. Keep the caps on tight so water cannot sneak in. Avoid hot water.
- Mix slowly, then let it rest. Stir gently like a stew, not like you are whisking eggs. After mixing, let the cup sit for a few minutes so bubbles can rise.
- Pour low and slow. Keep your pour stream close to the surface to reduce trapped air.
- Seal porous items. Brush on a thin coat of resin, Mod Podge, or a compatible sealer, let it dry or cure, then embed.
- Choose bubble-friendly resin when you can. Some formulas are designed to be “low bubble” or have longer working times.
Cloudy resin or haze
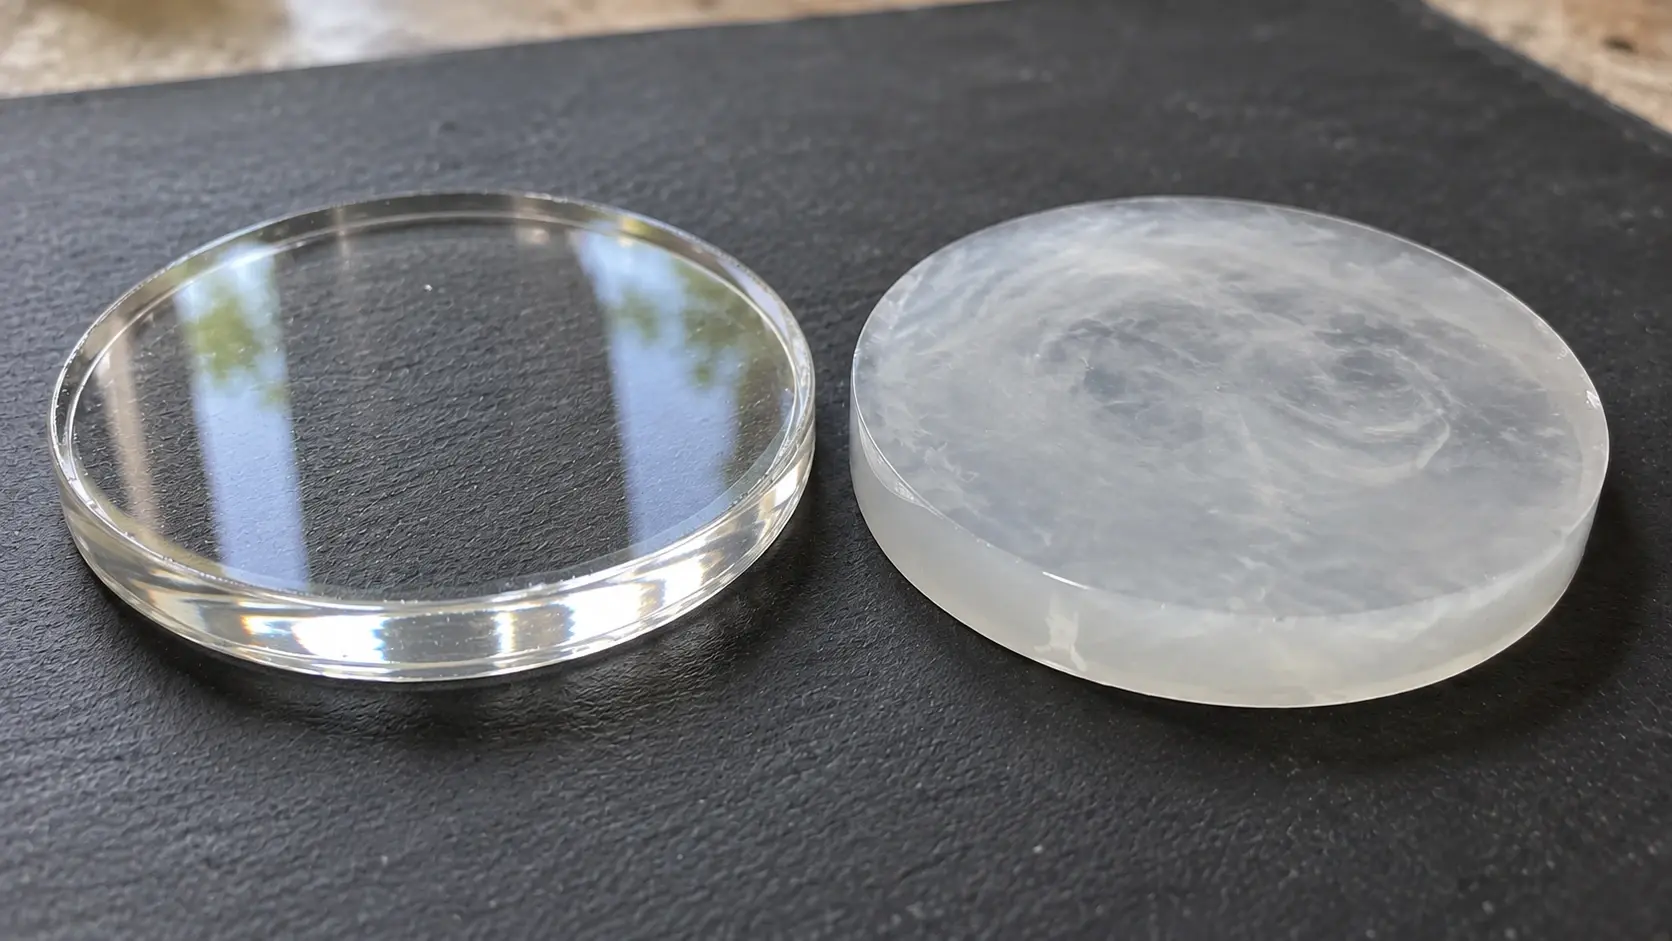
Cloudiness can look like milkiness, a soft haze, or streaky “smoke” inside what should be crystal clear resin. The culprit is usually moisture, temperature, or mixing issues. Sometimes it is also the wrong resin choice for a deep pour.
Common causes
- Moisture contamination. Moisture is a common cause of haze, blush, and weird curing behavior. Humid air, wet mixing cups, damp glitter, fresh flowers, or even condensation on cold bottles can introduce it.
- Incorrect mix ratio. Too much resin or too much hardener can cause haze and curing issues.
- Under-mixing. Streaks of unmixed resin can look cloudy or oily.
- Overheating. Too much torching or a resin that gets too hot in a thick pour can create microbubbles and haze.
- Using coating resin for a deep pour. Some surface-coat resins are not meant for thick castings and can trap bubbles or overheat.
Quick fixes
- Give it time if it is early. If you are within the first hour, some haze is actually microbubbles that may rise and clear with gentle warmth.
- Light, careful heat for microbubbles. A few quick passes with a heat gun can help tiny bubbles pop. Stop if the surface starts to ripple.
- Sand and topcoat after full cure. If the piece cures hard but looks cloudy on top, you can wet sand (progressing through grits) and add a thin clear topcoat layer to restore shine and clarity.
- For a cloudy “inside” layer, consider a second clear layer. A fresh clear flood coat can improve the overall look, especially on trays and coasters, even if it cannot fully erase internal haze.
Reality check: Moisture-caused cloudiness inside the resin usually cannot be completely reversed. The best “fix” is often to lean into it. Add pigment, mica, or a design layer and call it intentional.
Prevention tips
- Keep everything dry. Dry your mixing tools and cups, and store resin with lids tight.
- Watch humidity. If your space is very humid, run a dehumidifier or choose a drier day for clear projects.
- Measure accurately. Use marked mixing cups or a small scale if your resin allows mixing by weight. Follow the brand’s instructions, not vibes.
- Mix thoroughly, then transfer and mix again. The “double cup” method reduces unmixed streaks clinging to the sides and bottom.
- Use the right resin for the thickness. Deep pour resin is formulated to cure slower with less heat buildup.
Helpful baseline: Many epoxies cure best in a warm, steady room (often around 70 to 80 F) with moderate humidity, but your brand gets the final say. If the label gives a range, believe it.
Sticky or uncured resin
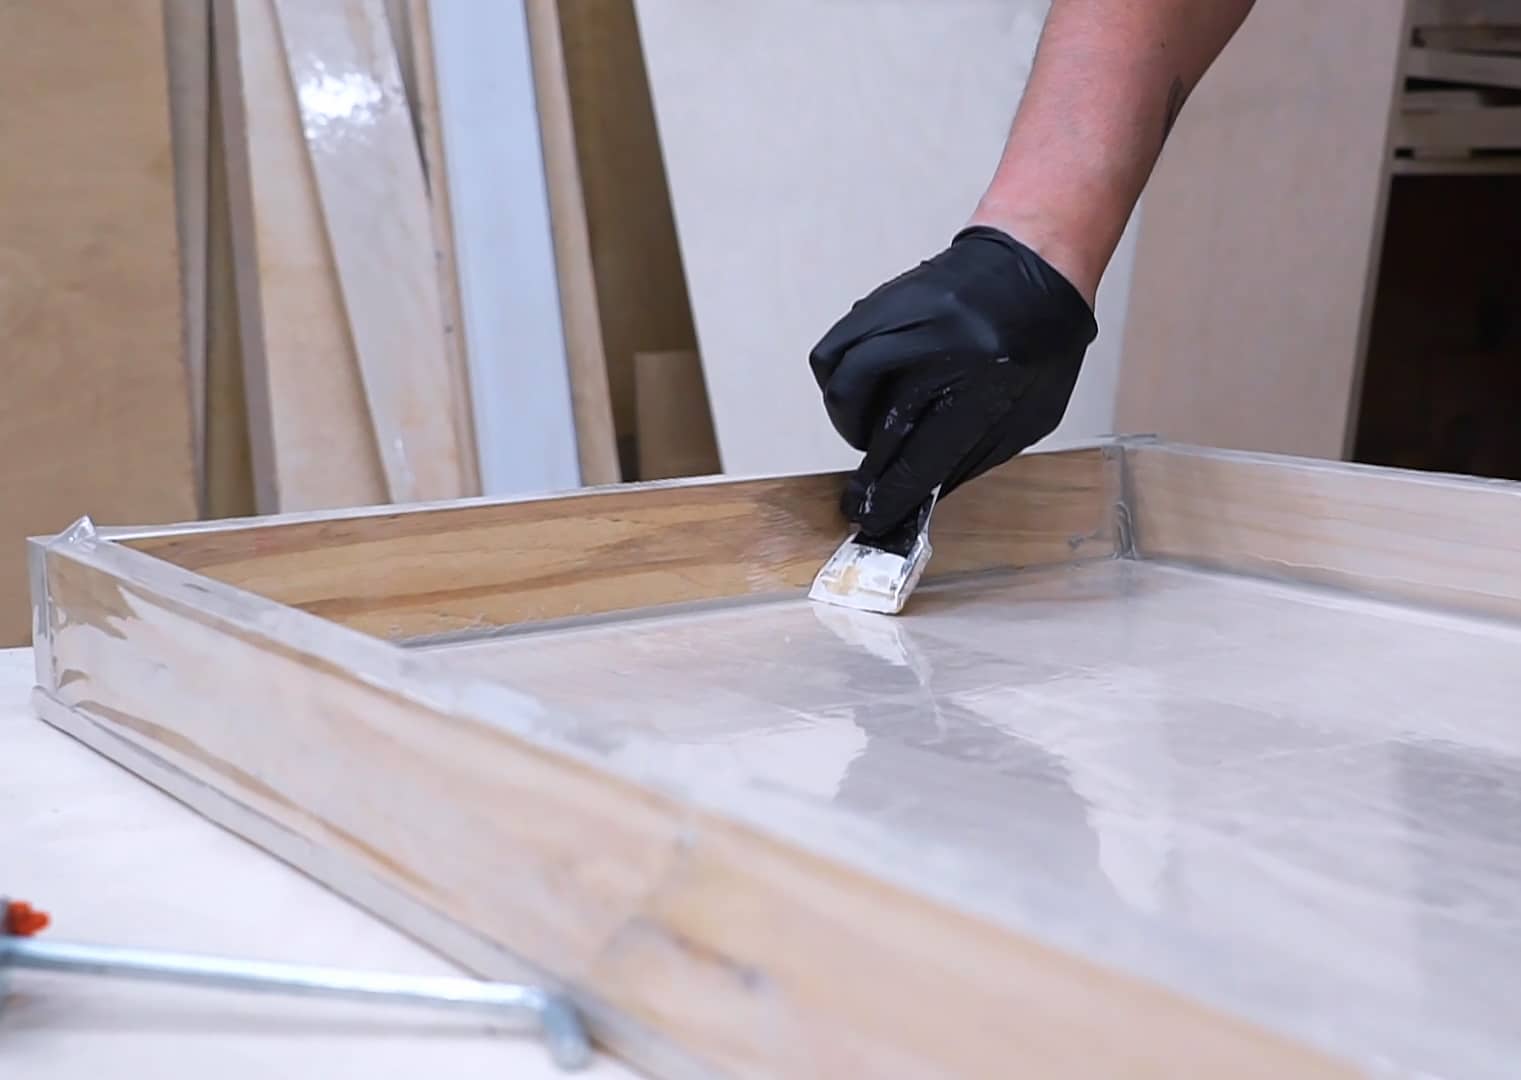
A sticky surface can range from “slightly tacky like a Post-it note” to “liquid and tragic.” The good news is that the cause is usually identifiable. The less fun news is that true under-cure sometimes cannot be saved without removing the bad resin.
Common causes
- Wrong resin-to-hardener ratio. The most common cause of sticky resin.
- Inadequate mixing. Unmixed resin stays sticky in patches or swirls.
- Temperature too low. Most epoxies specify a warm room to cure properly. A cool workspace can slow curing dramatically.
- Old or poorly stored resin. If a bottle has crystallized, separated, or is past shelf life, curing can be inconsistent.
- Too much pigment, alcohol ink, or additive. Some colorants interfere with curing if you use a heavy hand.
- Amine blush. Some epoxy resins form a waxy, greasy film on the surface, especially in cool or humid conditions. It can feel tacky even when the resin underneath is cured.
Quick fixes
1) It is only tacky on top, but feels firm underneath.
- Wash first, then decide. If you suspect amine blush, wash the surface with warm water and a little dish soap using a soft cloth, then dry thoroughly. Do not topcoat until it is fully dry.
- After washing, lightly scuff sand and topcoat. If the piece is hard and stable, a thin properly mixed topcoat often solves lingering tackiness and restores gloss.
2) It is rubbery, bendy, or dentable after the full cure time.
- Give it more warmth and time. Move it to a warmer area (often around 75 to 80 F if your brand allows) and wait another 24 to 48 hours. Some pours do cure eventually if the ratio was correct but the temperature was too low.
- If it never firms up, remove and repour. Unfortunately, soft under-cured resin usually needs to be scraped out. Then clean the surface and start fresh.
3) It is still wet or has gooey puddles.
- Stop and contain the mess. Scoop off what you can with disposable tools. Wipe with paper towels while wearing gloves.
- Clean residue carefully. Follow your brand’s cleanup guidance and SDS. Isopropyl alcohol can help on some non-porous surfaces, but it can also spread uncured resin around, so scrape first and use solvents only if your manufacturer recommends it.
- Do not pour fresh resin over uncured goo. It can trap the problem underneath and stay sticky forever.
Prevention tips
- Measure like you mean it. Use calibrated cups and pour slowly to hit the line exactly, or weigh if the manufacturer provides weight ratios.
- Mix longer than you think, then mix a little more. Scrape the sides and bottom while mixing, then pour into a second cup and mix again for 30 to 60 seconds.
- Mind the room temperature. If your craft room is chilly, warm it up before you mix, and keep the piece warm while it cures.
- Use compatible colorants and do not overload. A little pigment goes a long way. Start small and build up.
Overheating and exotherm
Epoxy can heat up as it cures. In small amounts that is normal. In thick pours or big batches, it can turn into a real problem fast.
- Warning signs: The cup gets very hot, resin suddenly thickens, you smell strong fumes, the resin smokes, cracks, or warps the mold.
- What to do: If a batch is overheating in the mixing cup, move it to a safe, non-flammable area (outside if possible) and do not hold it. Do not add more heat. Let it cool and cure out.
- Prevent it: Mix smaller batches, pour in thinner layers, and use deep pour resin for deep castings.
Other common issues
Bubbles, cloudy pours, and sticky surfaces get most of the drama, but a few other issues show up often enough to deserve a quick cheat sheet.
Fish eyes and craters
What it looks like: Resin pulls away into little circles or creates crater-like holes.
Usually caused by: Silicone residue, oil from fingers, dust, polish, or contamination on the surface. Sometimes it is also from certain spray paints that are not fully cured.
Quick fix: Let it cure, sand the surface to remove the crater edges, clean thoroughly, then apply a new flood coat.
Prevent it: Clean surfaces with soap and water or appropriate cleaner, avoid touching with bare hands, and make sure paint and sealers are fully cured before pouring.
Ripples and uneven tops
What it looks like: Resin self-levels at first, then cures with texture, waves, or a sloped surface.
Usually caused by: The piece was not level, the resin started to gel before it leveled, or you overheated the surface with a heat gun or torch.
Quick fix: After full cure, sand the high spots and add a thin level topcoat.
Prevent it: Use a small level on your work surface, mix smaller batches so you have enough working time, and use lighter heat passes.
Yellowing
What it looks like: Clear resin shifts warm or amber over time, sometimes unevenly.
Usually caused by: UV exposure and heat. Most epoxies yellow eventually, but some are far more UV-stable than others.
Quick fix: Often not truly reversible. You can sometimes disguise it with tint, mica, or an intentional warm palette.
Prevent it: Use resin with UV inhibitors, keep finished pieces out of direct sunlight, and avoid high heat display spots like sunny windowsills.
Dust and lint
What it looks like: Tiny specks or fibers suspended on the surface like resin captured your entire household in one pour.
Usually caused by: Air movement, pets, fuzzy sweaters, or working near vents.
Quick fix: After curing, sand and topcoat. For a single surface speck caught early, you can sometimes lift it gently with tweezers and then do a quick heat pass to re-level.
Prevent it: Cover your work while it cures with a clean plastic bin or cardboard box. Let dust settle in the room for a few minutes before pouring.
Sticking to molds
What it looks like: The piece will not release, edges tear, or the mold looks like it is fighting back.
Usually caused by: Demolding too early, under-cured resin, an aging mold with micro-tears, or using the wrong mold material (not all silicones play nicely with every resin system).
Quick fix: Give it more time. If you can, let it sit another 24 hours in a warm area. Flex the mold gently rather than pulling the piece by force.
Prevent it: Use molds intended for resin casting, keep them clean, and replace molds that have turned cloudy, sticky, or torn. If your brand recommends a mold release, use it.
Fast troubleshooting guide
If you just need the quickest possible next step, here is a simple triage list.
| Problem | Most likely cause | Quickest fix to try |
|---|---|---|
| Bubbles on top | Air from mixing or pouring | Quick heat pass, toothpick in corners |
| Cloudy or milky look | Moisture, microbubbles, mix issues | Gentle warmth if early, sand and topcoat if cured |
| Tacky surface only | Amine blush or slight under-mix | Wash with soap and water, dry, scuff, topcoat |
| Soft or rubbery piece | Cold cure, wrong ratio, too much additive | Warm area and wait 24 to 48 hours, then reassess |
| Wet goo that never cures | Wrong ratio or unmixed resin | Scoop out, clean per SDS, repour, do not topcoat |
| Resin overheats | Batch too large or pour too thick | Move to a safe area, do not add heat, let it cool |
Resin success habits
When I worked at the library, the most successful club projects were not the fanciest. They were the ones with a simple routine. Resin is like that too. A few consistent habits prevent most heartbreak.
- Read the label every time. Even if you have used resin before, brands vary: 1:1 by volume, 2:1 by volume, or mixed by weight only.
- Prep your space. Level table, warm room, dust cover ready, tools laid out.
- Work in smaller batches. Beginners do better with less resin at once. It reduces heat buildup and panic-stirring.
- Take notes. Resin is half chemistry, half memory. A sticky note with room temp, brand, mix ratio, and cure time turns you into your own troubleshooting wizard.
FAQ
How long should resin be tacky?
Many epoxies feel slightly tacky during the first several hours, especially in cooler rooms. Check your brand’s stated cure schedule. If it is still tacky after the full cure time plus an extra day in a warm space, suspect ratio or mixing issues.
Can I pour a new layer over sticky resin?
Only if the stickiness is from a surface film like amine blush and the resin underneath is actually cured hard. If the resin is soft, rubbery, or wet, do not cover it. Remove the uncured resin first or the new layer may stay compromised.
Why is my resin cloudy in the cup before I even pour?
Cloudiness in the cup often points to moisture, cold resin, or incomplete mixing. Warm the bottles (closed) in lukewarm water, dry them thoroughly, and mix slowly and completely using the double-cup method.
Is it normal for resin to have tiny bubbles the next day?
It can happen, especially in thicker pieces. Some bubbles rise slowly or appear as the resin warms during curing. For future projects, warm the resin, mix slowly, and seal porous items before embedding.
When to call it practice
Sometimes a project is not salvageable, and that is not a personal failure. Resin is unforgiving, and part of learning it is collecting a few “practice tiles” that teach you what not to do. If your piece is fully uncured after days, or if moisture turned your clear casting into a snow globe, consider turning it into a test surface for sanding, polishing, and topcoat practice.
Beginner joy is real joy. You are allowed to learn loudly.