There is a very specific kind of joy in turning little green coffee beans (the raw seeds) into fragrant, crackling, glossy roasted beans that make your kitchen smell like a cozy cafe. And you do not need a thousand-dollar machine to get there.
This guide is for beginners who want to roast at home with what they already have, or with one small purchase that will not haunt your credit card statement. We will cover three approachable methods: an air popcorn popper, a cast iron skillet, and a basic entry-level home roaster. I will also show you how to “read” a roast by sound, smell, and color, which is the most empowering hobby skill of all.
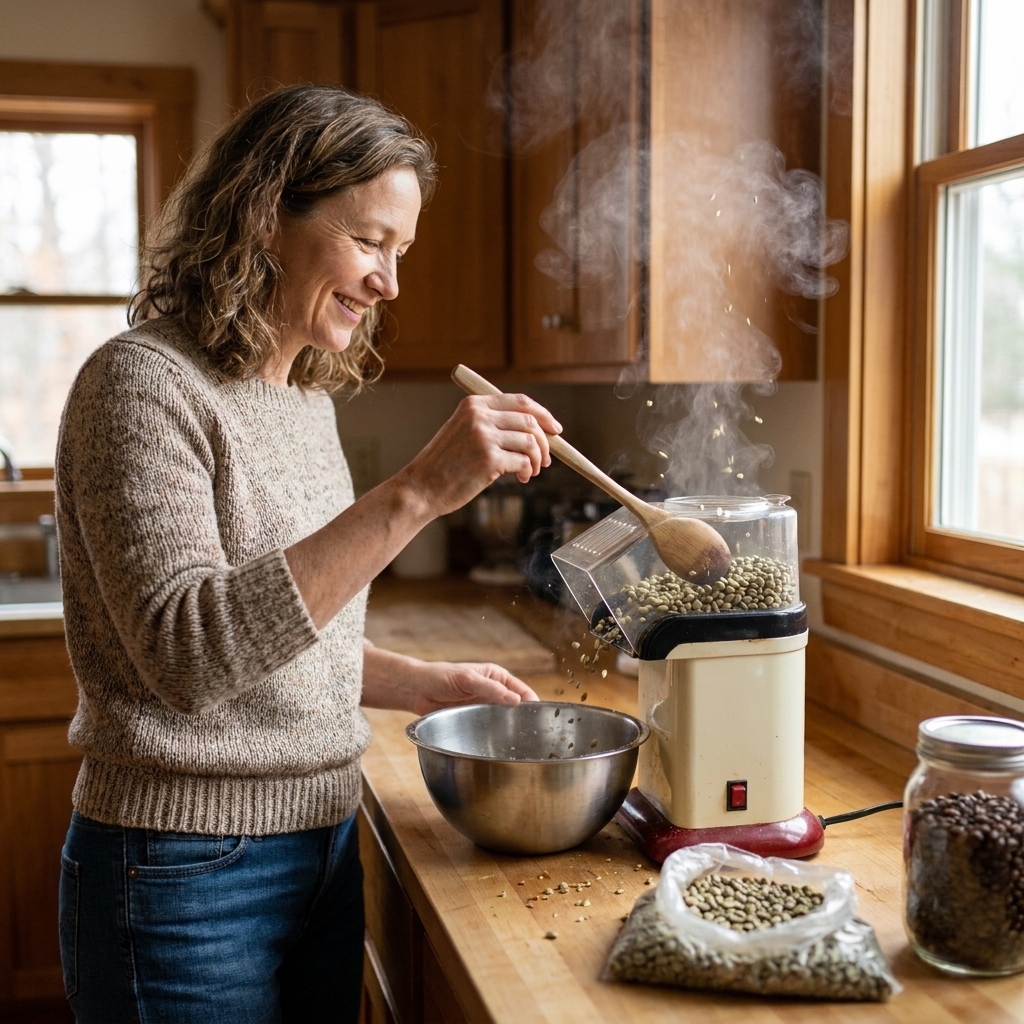
Before you start: what you need (and what you do not)
Green coffee beans
You roast green coffee beans, not the roasted ones in the grocery aisle. Green beans store well for months, and they give you control over freshness and flavor.
- How much to buy: Start with 1 pound so you can practice and still drink your “tests.”
- Good beginner origins: Brazil and Colombia tend to be forgiving and balanced.
Basic tools that make everything easier
- A metal colander or two (for cooling and shaking off chaff)
- A large metal bowl (to catch beans and chaff)
- An oven mitt (things get hot fast)
- A timer (your phone works)
- A wooden spoon or silicone spatula (skillet method)
- A kitchen scale (helpful, not required)
Ventilation and smell reality check
Roasting coffee creates smoke, especially as you approach darker roasts. Plan for a range hood, open windows, or roast outside or in a garage with the door open. Also, the smell is wonderful but persistent. It can cling to curtains and dish towels like it is paying rent. Your future self will thank you, and your smoke detector will stay calmer.
Safety notes I say with librarian sincerity
- Never leave roasting unattended. Beans can go from “toasty” to “charcoal” quickly.
- Chaff is papery and can be messy. Keep it away from open flames.
- Let equipment cool fully before cleaning or storing.
Roast levels without the overwhelm
Roasting is part chemistry, part listening game. You will use three main clues: sound (cracks), smell (grassy to bready to caramel), and color (green to yellow to brown). The best news: you do not have to memorize fancy terms to make delicious coffee.
The quick roast timeline
- Drying phase: Green to yellow, smells like hay or toast
- Browning phase: Tan to light brown, smells bready and sweet
- First crack: A series of popcorn-like snaps, beans expand
- Development: Time after first crack where sweetness and body build
- Second crack: Finer, faster crackling, oils begin to show, darker flavors
A beginner-friendly target
If you want a sweet, flexible “everyday” roast, aim for City to City+. Instead of treating it like a stopwatch moment, use it as a sensory neighborhood: light to medium-brown beans, a sweeter aroma that leans caramel, and first crack mostly finished. Many roasts land here with a short development period after first crack, but the exact timing varies a lot by coffee, batch size, and method.
Tip: The first time you roast, do not chase perfection. Chase noting what happened. Write down when first crack started, about when it tapered off, your stopping point, and how it tasted. That is how you level up quickly.
Method 1: Hot air popcorn popper
This is the scrappy, beloved beginner method for a reason. A hot air popper moves the beans for you, gets hot enough to roast, and makes it easy to hear first crack. Use a popper that blows hot air from side vents at the bottom of the chamber, not the ones with a mesh screen in the base that can clog.
Two popper realities: first, poppers vary a lot by model, voltage, and even outdoor temperature, so timing will not be identical from kitchen to kitchen. Second, coffee is oily and aromatic. If you use a popper for coffee, it may smell like coffee forever, which is charming until you want popcorn. Many people dedicate a popper to coffee for this reason.
Safety note: Some poppers can overheat during back-to-back batches, and some have plastic parts that can soften with the sustained heat of roasting. If your popper smells like hot plastic, looks stressed, or has a flimsy plastic chute right over the roast chamber, do not force it. Let it cool between batches, and consider a sturdier model.
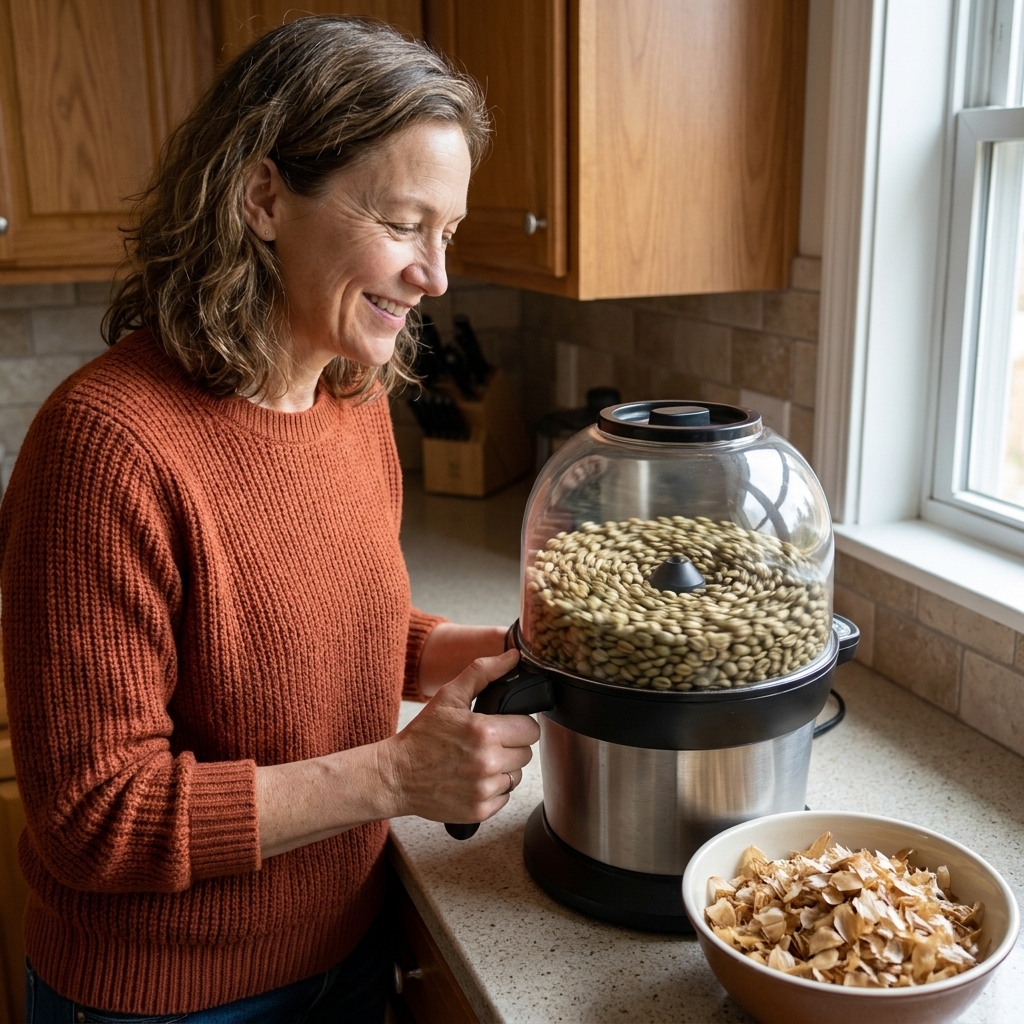
What you need
- Hot air popcorn popper
- Green coffee beans (start with 60 to 90 grams, depending on popper size)
- Two metal colanders or one colander and a large metal bowl
- Optional: a thermometer, helpful but not required
Step-by-step
- Preheat (optional but helpful): Run the popper empty for 30 seconds.
- Add beans: Pour in your measured green beans. They should move freely. If they just sit there, reduce the batch size.
- Watch and listen: You will see beans go from green to yellow. Expect a grassy smell at first, then a warm, bready aroma.
- First crack: Often shows up around 3 to 6 minutes, but it can be earlier or later depending on your popper, batch size, and ambient conditions. It sounds like popcorn popping.
- Choose your stop: For a light-medium roast, stop shortly after first crack slows and the beans look light to medium brown.
- Dump and cool fast: Pour beans into a metal colander and toss. If you have two colanders, pour back and forth to cool faster and shed chaff.
Timing guidelines (helpful, not rigid)
- Light roast: stop during first crack or right as it ends
- Medium roast: a short development after first crack, with a fuller caramel smell and medium-brown color
- Medium-dark: nearing second crack, more smoke, darker brown and heavier roast notes
Pros and cons
- Pros: inexpensive, quick, easy to hear cracks
- Cons: small batches, chaff mess, can roast unevenly if beans are not moving well
Method 2: Cast iron skillet
If you already own a heavy skillet, you already own a coffee roaster. Skillet roasting is hands-on and a little dramatic, in a good way. It also teaches you a lot because you are constantly stirring and watching color changes.
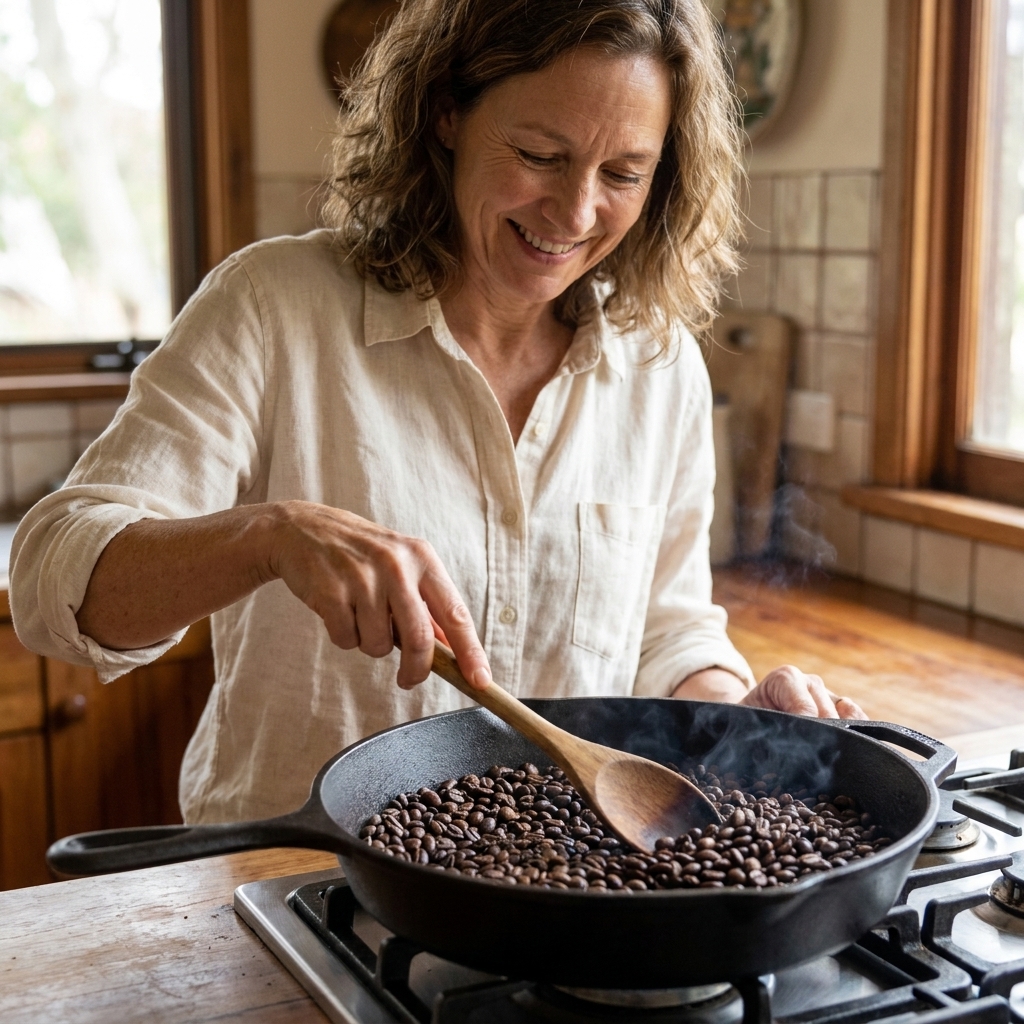
What you need
- Cast iron skillet or other heavy pan
- Wooden spoon or heat-safe spatula
- Timer
- Metal colander and bowl for cooling
- Ventilation, because skillet roasting can get smoky
Batch size and time (so you are not guessing)
- Batch size: 100 to 200 grams is a friendly range for most home skillets. Aim for a single layer, or close to it.
- Total time: Often 8 to 15 minutes depending on burner strength, pan size, and batch size.
Step-by-step
- Preheat the pan: Set the burner to medium and warm the skillet for 2 to 3 minutes. You want it hot, but not scorching.
- Add beans: Start with a single layer if possible. Overcrowding makes uneven roasting more likely.
- Stir constantly: Not “occasionally.” Constantly. This prevents scorching and helps even the roast.
- Track color and smell: Green to yellow to tan to brown. You will smell toast, then something like warm cereal, then caramel.
- Listen for first crack: It may be quieter than in a popper, but it is there. Keep stirring.
- Stop at your target: For a beginner-friendly medium roast, pull the beans shortly after first crack calms down and the beans look evenly medium brown.
- Cool immediately: Dump into a metal colander and toss until they are no longer hot to the touch.
How to avoid the two classic skillet problems
- Problem: scorched spots. Fix: lower heat slightly and stir faster, especially as beans brown.
- Problem: uneven color. Fix: roast smaller batches and keep beans moving edge-to-center.
Pros and cons
- Pros: no new gadget required, very hands-on, easy to stop exactly when you want
- Cons: more uneven than air roasting, more smoke, requires constant attention
Method 3: Basic home roaster
If you love the idea of roasting regularly and want a little more consistency, a small entry-level countertop roaster can be a nice middle step. Many models automate airflow and agitation, which makes results easier to repeat. They vary widely, so always follow your model’s instructions, especially around batch size and ventilation.
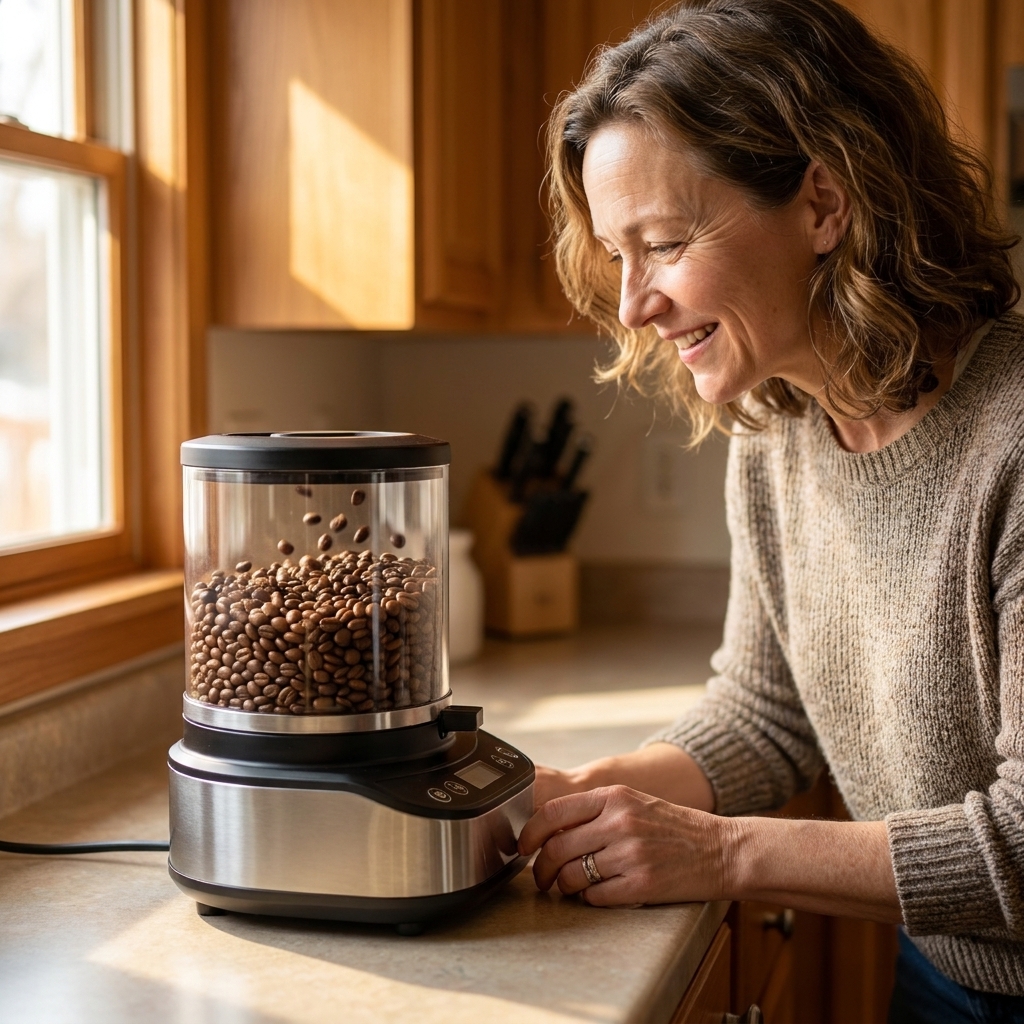
What you can expect from a simple roaster
- More even roasting than a skillet
- Batch sizes often in the 100 to 250 gram range
- Built-in cooling cycle on some models
- Less chaff mess, though you still need to empty a chaff collector
Beginner approach for your first run
- Start with the manufacturer’s recommended batch size. Too many beans makes roasting unpredictable.
- Pick a medium setting or a medium roast program.
- Take notes: time to first crack, total roast time, and final color.
- Cool thoroughly even if the machine cools, because beans can “carry over” and keep darkening.
Consistency comes from repeating the same variables: bean weight, roast program or heat setting, and cooling method. Try not to change three things at once, unless your hobby goal is chaos, which I respect.
Cooling, resting, and storing
Cool fast
Cooling is part of roasting. If you let hot beans sit, they keep cooking and can drift darker than you intended. Cool as fast as practical, ideally within a few minutes, by tossing in a metal colander, pouring between two colanders, or spreading on a sheet pan.
Rest before brewing
Fresh-roasted coffee releases carbon dioxide. Brewing too soon can taste sharp or underdeveloped. Use these as starting points, then taste across a few days and see what you like:
- Filter methods: start around 12 to 24 hours
- Espresso: often 2 to 5 days, and sometimes longer (3 to 10+ days) depending on the coffee and roast
Store like this
- Keep beans in an airtight container, away from light and heat.
- For the first day, use a one-way valve bag or a container that can vent. If you seal very fresh beans in a truly rigid airtight container, pressure can build.
- Avoid the fridge. Freezer storage can work for longer-term keeping, but only if you portion and seal well to prevent moisture.
Expect some weight loss
Beans lose water and shed chaff during roasting, so your final weight will be lower than what you started with. Many home roasts lose roughly 12 to 18% by weight, depending on how light or dark you go. This is normal, not a personal failure.
Dial in flavor (no homework required)
Your roast level shapes flavor more than almost anything else. If your cup is not quite right, you do not need to spiral. Make one small adjustment next time.
If it tastes sour or grassy
- Roast a bit longer after first crack starts, or increase heat slightly early on.
- Make sure you are cooling quickly, not letting the roast stall at the end.
If it tastes bitter or ashy
- Stop earlier, especially before second crack.
- Reduce how far you push the roast once smoke rises fast.
If it tastes flat
- Try a slightly lighter roast to preserve brighter notes, or switch to fresher green beans.
- Check your brewing grind size and ratio, because flatness can be a brew issue too.
Beginner rule I live by: Change one thing at a time. Your notes will start looking like a tiny detective story, and suddenly you will know exactly what you like.
Beginner troubleshooting
Why are my beans uneven in color?
Uneven roasting is usually from uneven heat or movement. In a skillet, stir faster and roast smaller batches. In a popper, reduce batch size so beans circulate properly.
Why is there so much chaff everywhere?
Chaff is the papery skin that comes off during roasting. Roast in an easy-to-clean area, and cool beans in a bowl or outdoors. A popper tends to launch chaff like it is auditioning for a confetti cannon.
My roast went from perfect to too dark in 30 seconds. What happened?
The roast accelerates after first crack, and even more as you approach second crack. This is normal. Next time, lower heat slightly as first crack begins, or plan to stop earlier than your instincts suggest.
How do I know if I hit second crack?
Second crack is a finer, more rapid crackling sound, like tiny twigs snapping. Beans may start to look slightly oily, and smoke increases. If you are unsure, stop the roast and taste it. Your palate will teach you quickly.
A simple first roast plan
If you want a low-stress first attempt, do this:
- Pick one method (popper is easiest for most beginners).
- Roast a small batch.
- Stop the roast shortly after first crack slows, when the beans look light to medium brown and smell sweet.
- Cool fast.
- Rest overnight.
- Brew the next day and jot down three notes: sweetness, bitterness, and “would I roast it darker or lighter next time?”
That is it. That is the whole hobby. Little experiments, cozy smells, and a cup that tastes like you made it happen.
Quick FAQ
Is roasting coffee at home cheaper?
Often, yes, especially if you roast regularly. Green beans are typically less expensive than roasted specialty beans, and you also gain freshness. The biggest “cost” is time and a bit of experimentation.
Do I need a thermometer?
No. Thermometers are useful for repeatability, but beginners can learn a lot by listening for cracks and watching color. If you love the process, you can add tools later.
How long do home-roasted beans stay fresh?
Many people find they are at their best from about day 2 through day 14 after roasting, depending on storage, roast level, and preference. Darker roasts often peak earlier. Some lighter roasts can stay enjoyable beyond two weeks. Taste is the final boss here.
Can I roast decaf green beans?
Yes. Decaf green beans often look darker and can roast a little differently, sometimes reaching cracks earlier. Start with smaller batches and pay close attention to sound and smell cues.
If you try roasting this week, I dare you to do one delightfully nerdy thing: save a tablespoon of beans from each roast in a little jar labeled with the date. Watching your color progression over a month is both satisfying and surprisingly informative, like a tiny coffee scrapbook you can drink.