Homebrewing is one of those hobbies that looks mysterious until you try it. Then you realize it is mostly: warm sugar water, very clean equipment, a patient yeast colony, and you doing your best not to overthink it. If you can follow a recipe and keep things sanitary, you can make a genuinely tasty first beer.
This guide walks you through an easy first batch using malt extract, which is the friendliest on-ramp for beginners. You will learn what to buy, what matters most (spoiler: sanitation), and what to do when your fermenter makes weird noises at 2 a.m.
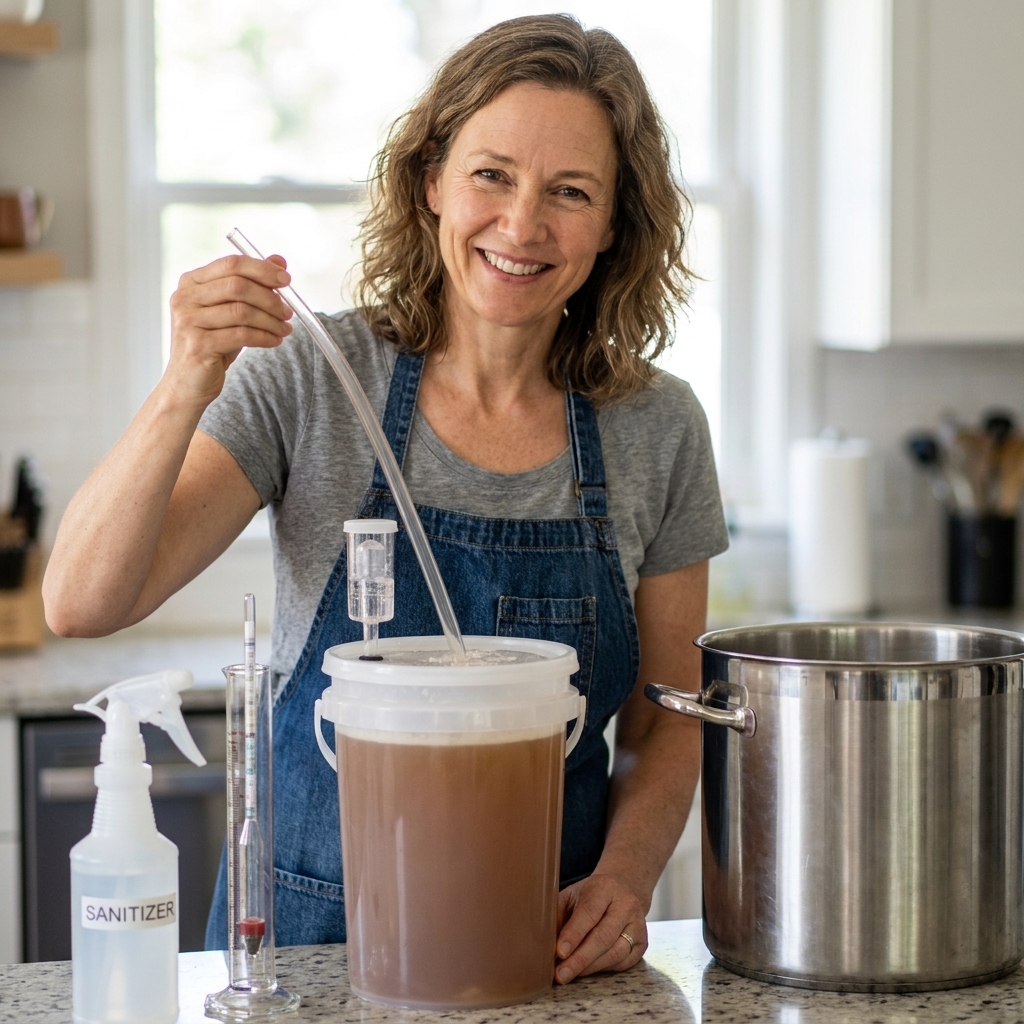
Start with the right expectations
Your first brew does not need to be complicated to be delicious. For batch one, your goal is to:
- Make clean beer. No sourness, no band-aid flavors, no weird funk.
- Learn the rhythm. Boil, cool, pitch yeast, wait, bottle, wait again.
- Take notes. A few small improvements will come naturally in batch two.
Also, gentle reminder from your hobby-librarian friend: you do not have to monetize this. You can just make beer because it is fun and your kitchen smells like toasted bread for an hour.
Equipment you actually need (and what can wait)
The essentials for a 1 gallon or 5 gallon extract batch
- Brew pot: For 1 gallon, a 2 to 3 gallon pot. For 5 gallons, it depends on your boil size: a 5 to 6 gallon pot works for a partial boil (then you top up with water in the fermenter), while an 8 to 10 gallon kettle is ideal for a full-volume boil (less mess, fewer boilovers, better results).
- Fermenter: Food-grade plastic bucket or glass carboy. Many beginners start with a bucket because it is forgiving and easy to clean.
- Airlock and stopper/grommet: Lets CO2 escape while keeping outside air out.
- Sanitizer: No-rinse sanitizer is the easiest. This is not optional.
- Thermometer: Helps you cool to yeast-friendly temperatures and check pitching and fermentation temps.
- Hydrometer + test jar (recommended): Measures gravity so you know when fermentation is done and can estimate alcohol.
- Siphon and tubing: An auto-siphon makes transferring much less stressful.
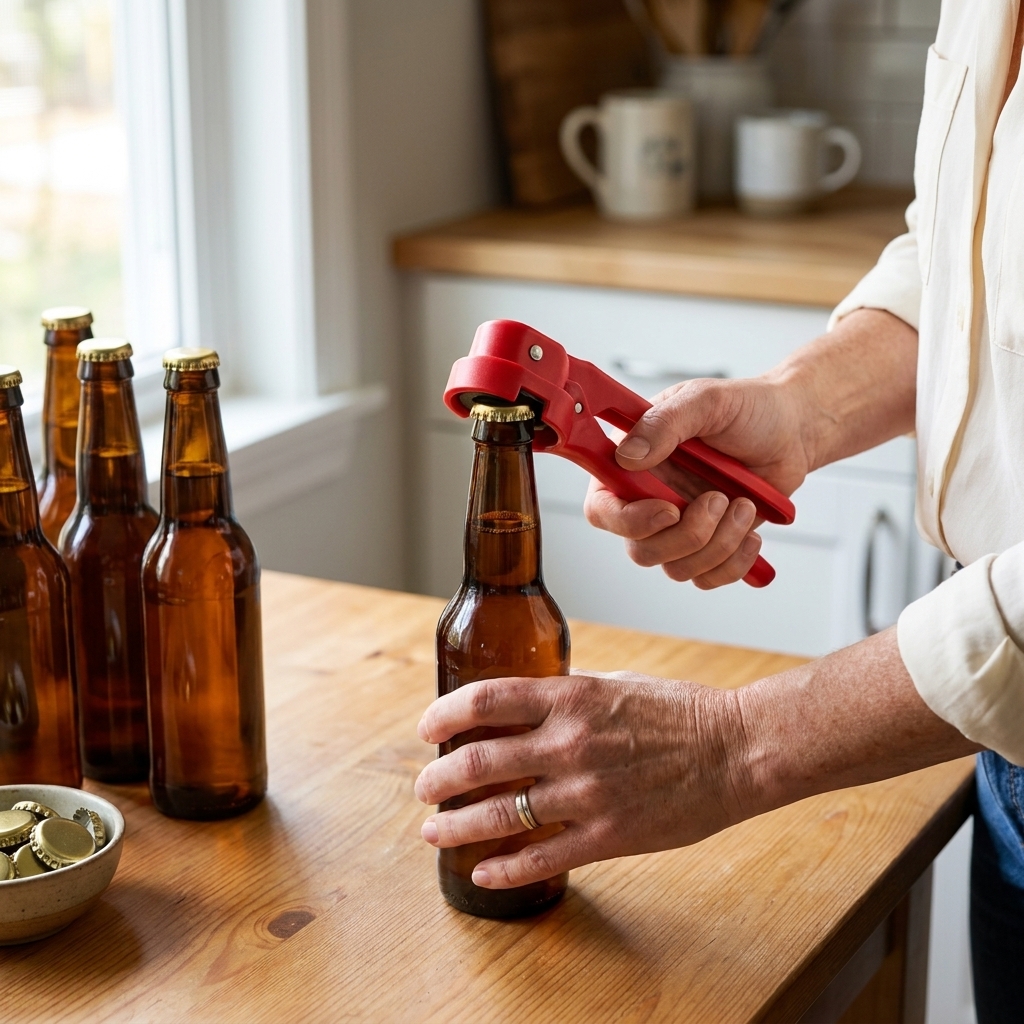
- Bottling gear: Bottling bucket (nice but not required), bottle filler wand, caps, and a capper. Or use swing-top bottles.
- Bottles: Beer bottles only. Do not use thin glass not made for pressure.
Nice-to-have upgrades for later
- Wort chiller (speeds cooling)
- Temperature control (a cool closet works at first)
- Refractometer, fancy valves, kegs, and other shiny objects that will call to you at midnight
One plastic bucket PSA: Avoid abrasive scrubbers. Scratches in plastic can hide microbes and make cleaning harder forever.
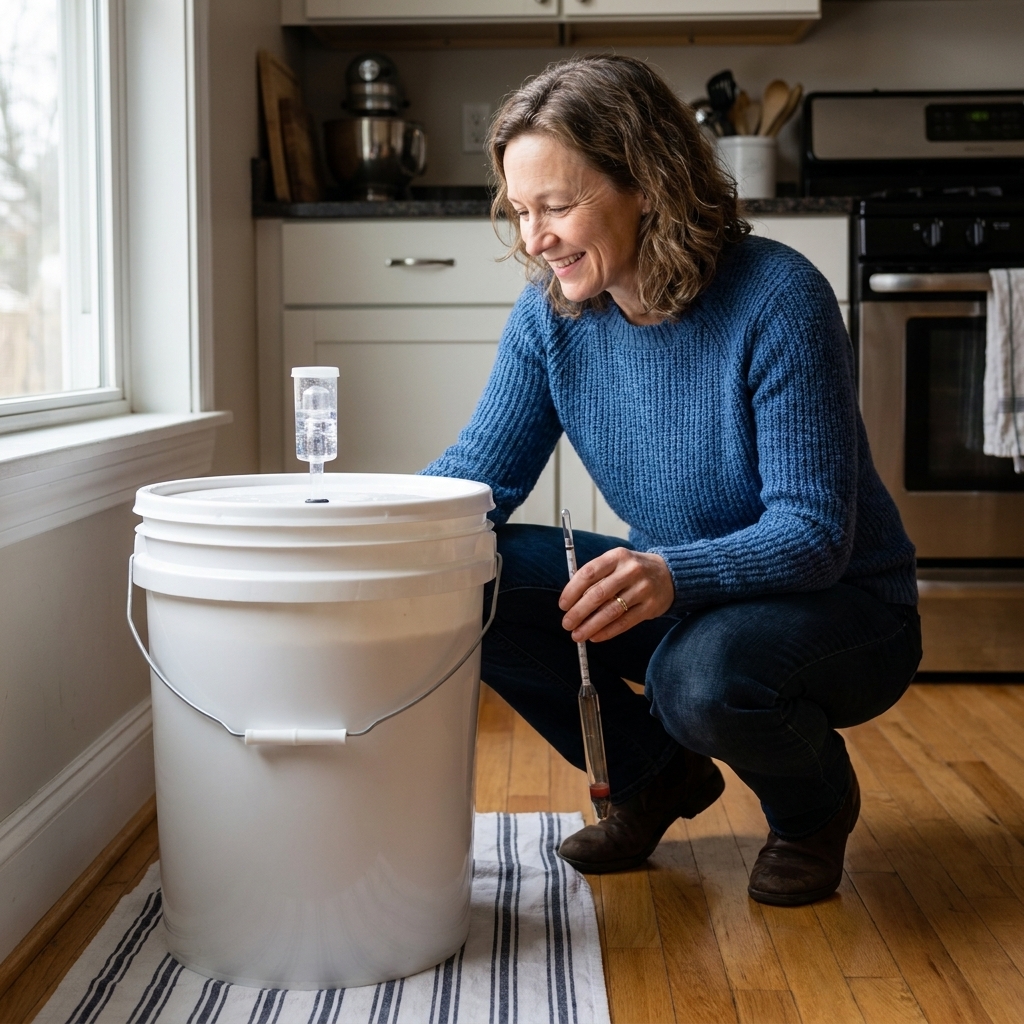
Ingredients: the basic beer building blocks
Beer is simple at its core, and that is part of the magic.
- Malt: The fermentable sugar source. For beginners, this is usually liquid malt extract (LME) or dry malt extract (DME).
- Hops: Add bitterness, flavor, and aroma. They also help keep beer stable.
- Yeast: The tiny hero that turns sugar into alcohol and carbonation. Dry yeast is very beginner-friendly.
- Water: If your tap water tastes good, it usually works. If it tastes chlorinated or funky, use filtered water.
Quick note: Many extract kits also include a small bag of specialty grains for color and flavor. If your kit has one, you will steep it before the boil (I will show you exactly where in the steps).
Your easiest first style
If you want the smoothest first batch, pick something forgiving:
- American pale ale (balanced, hop-friendly, easy to enjoy)
- Blonde ale (simple and clean, shows off good process)
- Brown ale (a little extra malt covers small mistakes kindly)
For batch one, I strongly recommend using a reputable beginner kit recipe. It removes a lot of guesswork while you learn the process.
Sanitation: the part that makes or breaks your beer
Let me be lovingly bossy for a moment: clean is not the same as sanitized. You clean off visible grime first, then you sanitize to knock down microbes that can spoil beer.
My beginner sanitation routine
- Clean first: Warm water and a brewery-safe cleaner if needed. Avoid anything that leaves fragrance behind.
- Mix sanitizer: Follow the label exactly. Too strong is not better.
- Sanitize anything that touches cooled wort: Fermenter, lid, airlock, siphon, spoon, thermometer tip, funnel, scissors for yeast packet, and your hands.
- Let it drain: No-rinse sanitizer is fine if a little foam remains. Foam is not the enemy.
Boiling wort is effectively sanitized. Once it drops below about 140°F/60°C, sanitation becomes critical for anything that touches it.
Brew day step-by-step (extract method)
The outline below fits most 1 gallon or 5 gallon extract recipes. Always follow your specific recipe if it differs, especially for hop timing.
1) Prep your space
- Read the recipe all the way through.
- Set out hops in labeled little bowls so you do not miss an addition.
- Sanitize your fermenter and anything that will touch cooled wort.
2) Optional: steep grains (if your kit includes them)
If your kit came with a small grain bag, this is where it goes. You are making grain tea, not doing a full mash.
- Heat water to about 150 to 170°F (65 to 77°C).
- Steep the grain bag for 20 to 30 minutes, keeping the temp in that range.
- Lift the bag out and let it drain into the pot. Do not squeeze aggressively (a gentle drip is fine).
Now you are ready to move into the extract boil.
3) Dissolve the malt extract
- Bring your brewing water (and steeping liquid, if used) up toward a simmer.
- Turn off the heat and stir in malt extract slowly to avoid scorching.
- Return to heat and bring to a gentle boil.
Boilover warning: When the boil first starts, it can foam up fast. Stay close, lower the heat, and stir if needed. This is homebrewing’s little rite of passage.
4) Boil and add hops on schedule
Most recipes boil for 60 minutes. Hops added earlier add bitterness. Hops added later add more flavor and aroma.
- 60 minutes: Usually bittering hops
- 15 to 5 minutes: Often flavor hops and optional clarifiers
- 0 minutes (flameout): Aroma hops
5) Cool the wort quickly
Cooling quickly helps reduce risk of infection and can improve clarity. You can:
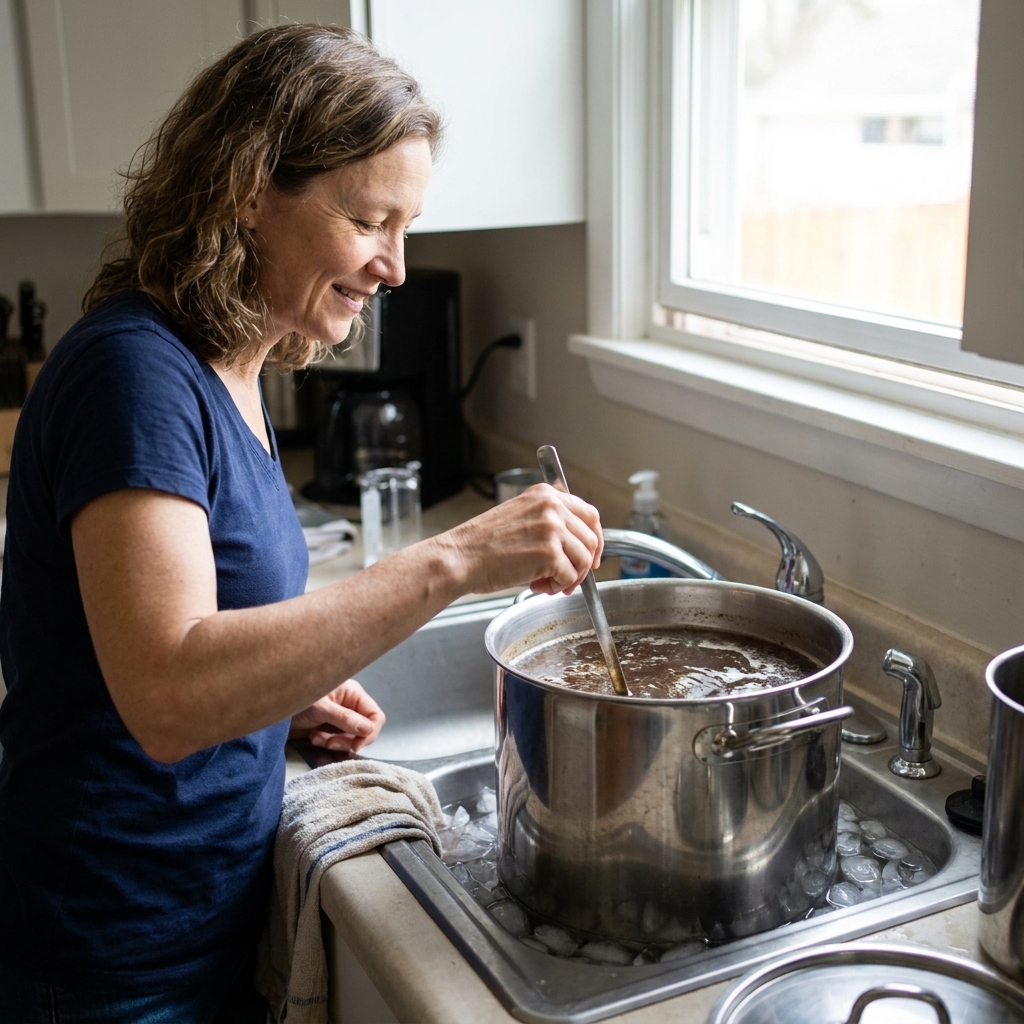
- Use an ice bath in your sink (most beginner-friendly)
- Use a wort chiller (faster, more consistent)
Aim to cool to about 65 to 72°F (18 to 22°C) for many ale yeasts. Check your yeast packet for its preferred range.
6) Transfer to fermenter and aerate (after cooling)
Pour or siphon the cooled wort into your sanitized fermenter, then add additional water if your recipe calls for topping up.
Before yeast goes in, the wort likes oxygen. After yeast goes in, oxygen becomes the unwanted guest. Aerate only once the wort is cool and in the fermenter. You can gently shake the sealed fermenter for a minute or stir vigorously with a sanitized spoon.
7) Pitch the yeast
Sprinkle dry yeast on top or follow the packet instructions. Seal the fermenter and add your airlock.
Fermentation: what to watch and what not to panic about
Fermentation is the waiting part, but it is not passive. You are keeping your yeast comfortable and giving it time.
Where to ferment
Find a spot with a steady temperature in your yeast’s range. For many ales, a closet or basement corner works well. Avoid direct sunlight.
Small but important detail: Fermentation creates heat. Your beer can run 2 to 5°F (1 to 3°C) warmer than the room during peak activity, so a “fine” room temp can become a “why does this taste like bananas” beer temp.
What you will likely see
- Within 12 to 48 hours: Bubbling in the airlock, foam on top (krausen), and a yeasty smell
- Days 3 to 7: Activity slows
- After 1 to 2 weeks: Beer starts clearing and settling
Important: Airlock bubbles are not a perfect fermentation meter. A small leak in the lid can stop bubbling even if fermentation is fine.
When is it done?
The best way is to take hydrometer readings. When the gravity is stable for 2 to 3 days in a row, fermentation is typically complete.
If you do not have a hydrometer yet, give your first batch time. Many beginner ales do well with about 2 weeks in primary fermentation before bottling.
Hydrometer example numbers
Here is what a typical beginner pale ale might look like:
- OG (original gravity): 1.045 to 1.055
- FG (final gravity): 1.008 to 1.014
- ABV: roughly 4.5% to 6.0%
Your recipe may differ, but having a rough mental picture makes the readings feel less like wizard math.
Bottling day: turning flat beer into fizzy beer
Bottling is where sanitation comes back to center stage. It is also where you create carbonation by adding a measured amount of sugar.
1) Sanitize everything
- Bottles, caps, bottling bucket (if using), siphon, tubing, filler wand, and your hands
2) Make priming sugar solution
Most 5 gallon beginner recipes land around 4 to 5 oz (113 to 142 g) of corn sugar for a typical ale carbonation level (roughly 2.2 to 2.5 volumes of CO2), but do not guess. Use your recipe’s amount or a trusted priming calculator based on beer style, batch size, and the warmest temperature the beer reached after fermentation (warmer beer already holds less CO2 and typically needs a bit less sugar).
Boil the sugar in a small amount of water for a few minutes, cool slightly, then add it to your sanitized bottling bucket.
3) Transfer beer gently
Siphon the beer onto the priming solution. Try not to splash. You are aiming to mix evenly while minimizing oxygen pickup.
4) Fill and cap
Fill bottles leaving about 1 inch of headspace. Cap securely.
Conditioning: the hardest part is waiting
Now your bottles need time at room temperature for the yeast to carbonate the beer.
- Typical timeline: 2 weeks to carbonate, plus another 1 to 2 weeks to taste smoother
- Storage: Keep bottles around 68 to 72°F (20 to 22°C) if possible (cooler temps can carbonate more slowly)
- Chill before drinking: Refrigerate 24 to 48 hours to help CO2 absorb and to settle sediment
When you pour, pour gently and leave the last little bit in the bottle. That is yeast sediment, and it is normal for bottle-conditioned homebrew.
Your first batch shopping list
Beginner-friendly checklist
- Malt extract recipe kit (1 gallon or 5 gallon)
- Fermenter with lid and airlock
- Sanitizer (no-rinse)
- Large pot (size depends on partial vs full boil)
- Thermometer
- Siphon and tubing
- Hydrometer and test jar (recommended)
- Bottles, caps, capper
- Priming sugar (if not included in kit)
If you are on the fence about gear, a reputable starter kit is genuinely worth it. It is the difference between “I tried homebrewing once” and “Okay, I might be a beer wizard now.”
Common beginner problems (and easy fixes)
No bubbles in the airlock
- Check the fermenter lid seal and grommet.
- Give it time. Some yeasts start slower.
- Confirm temperature is in range.
Strange smell during fermentation
Some sulfur or yeasty aromas can be normal early on. If the beer smells sharply like vinegar or nail polish remover, that can signal contamination or excessive oxygen exposure. When in doubt, wait until fermentation finishes and taste a small sample before deciding to dump.
Beer is cloudy
Cloudy beer is very common for beginners. Time, cold storage, and careful pouring help a lot. Many delicious beers are hazy on purpose, anyway.
Bottle bombs (overcarbonation)
This is the one we take seriously. Causes include bottling too early or using too much priming sugar.
- Always confirm fermentation is complete (hydrometer helps).
- Measure priming sugar carefully.
- Store bottles in a box or plastic bin during conditioning, just in case.
Safety notes
- Use proper beer bottles rated for carbonation. Avoid random decorative bottles.
- Do not bottle until fermentation is done. Stable gravity is your best friend.
- Handle hot wort carefully. Boiling sugar liquid sticks and burns. Long sleeves are not a bad idea.
- Clean spills promptly. Sticky wort is basically an ant invitation.
FAQ
Is homebrewing legal?
In many places, yes, for personal use, but laws vary by country and sometimes by region. Check your local regulations for household production limits and age requirements.
How long does it take to make beer at home?
Plan for 3 to 5 hours on brew day, 1 to 2 weeks to ferment (typical for ales), then 2+ weeks to carbonate and condition in bottles. You can often drink a first batch in about 4 to 6 weeks total, and it usually improves with a little more time.
Can I brew without a hydrometer?
You can, but it is one of the best beginner tools for avoiding bottling too early. If you skip it, extend fermentation time and be extra careful with priming sugar.
What is the easiest first beer to brew?
A simple blonde ale or pale ale using malt extract and a single dry yeast strain is a great first win.
Do I need fancy water chemistry?
No. If your water tastes clean, you can usually brew a good first batch. Avoid strongly chlorinated water if possible, since it can create off-flavors.
My best beginner tip
Write down what you did, even if it feels silly. “Cooled to 74°F because I got impatient” is not a confession, it is a clue for future-you. Homebrewing gets delightful when you realize you are not chasing perfection. You are simply collecting small, satisfying improvements with every batch.
When you crack open that first bottle and hear the little hiss, I hope you take a moment to grin like a kid who just built something that works. Because you did.