If you have ever watched a jar of sweet tea quietly transform into something tangy, fizzy, and alive, welcome. Kombucha is basically a tiny fermentation pet project that rewards patience with a very satisfying clink of bottles in your fridge.
In this guide, we will cover the “why” behind the process (so it feels less like kitchen wizardry), then walk step-by-step through brewing, flavoring, and storing kombucha safely. No perfection required. Just clean tools, a little attention, and the willingness to be a beginner.
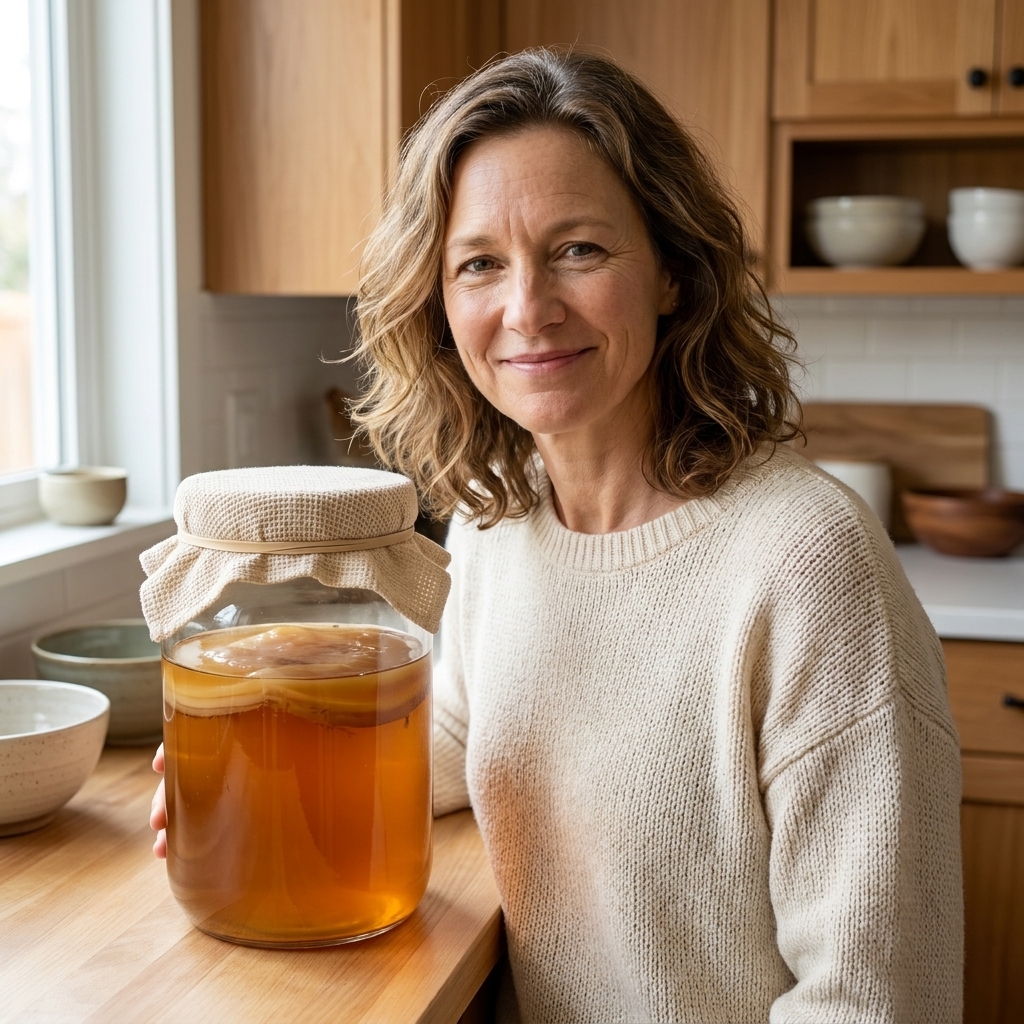
How fermentation works
Kombucha starts as sweetened tea. You add a SCOBY and some starter liquid, and then the microbes get to work. Here is the simple version:
- Yeast eats sugar and produces carbon dioxide (bubbles) and alcohol.
- Bacteria converts some of those fermentation byproducts into organic acids, which create the tangy flavor and help lower the pH.
That lowering pH is a big part of safety. Acidic conditions make it difficult for many unwanted microbes to thrive. Your job is to give the “good” culture a clean environment, proper food (sweet tea), and enough time and warmth to acidify the brew.
Quick vocabulary
- SCOBY: Symbiotic Culture Of Bacteria and Yeast. The rubbery disk that forms on top.
- Starter tea: Already-fermented kombucha used to kickstart acidity in a new batch.
- F1 (primary fermentation): The jar stage where kombucha becomes kombucha.
- F2 (secondary fermentation): The sealed-bottle stage for flavor and fizz.
Safety first
I am going to be cheerfully strict here. Most kombucha problems come from “close enough” cleaning or guessing at ratios.
Non-negotiables
- Use glass for fermentation when you can. Some people do use food-grade plastic, but glass is easy to clean, resists scratches, and keeps flavors crisp.
- Clean, then rinse well. Hot soapy water is great. Residual soap can stress your culture, so rinse thoroughly.
- Use tightly woven cloth and a rubber band. You want airflow but no fruit flies.
- Always include enough starter tea to acidify quickly. That early drop in pH is what protects your batch while it gets going.
- Trust your senses: kombucha should smell pleasantly tart, like vinegar-y apples or citrus. If it smells rotten, cheesy, or putrid, discard.
About mold
Mold is dry and fuzzy, often blue, green, black, or white, and it sits on top of the SCOBY like a little felt island. If you see mold, discard the entire batch and the SCOBY. Do not scrape it off. Do not “save the liquid underneath.” Also, do not taste it or sniff deeply. Clean everything thoroughly before starting again.
One reason mold is confusing is that there are harmless look-alikes. Kahm yeast is usually flat, dull, and wrinkly (not fuzzy). When in doubt, toss it. Kombucha ingredients are inexpensive. Your peace of mind is priceless.
What you need
Equipment
- 1-gallon (or 2 to 4 liter) glass jar
- Tightly woven cloth (or coffee filter) and rubber band
- Wood, silicone, or stainless-steel spoon (brief stainless contact is fine)
- Plastic or stainless-steel fine mesh strainer (optional)
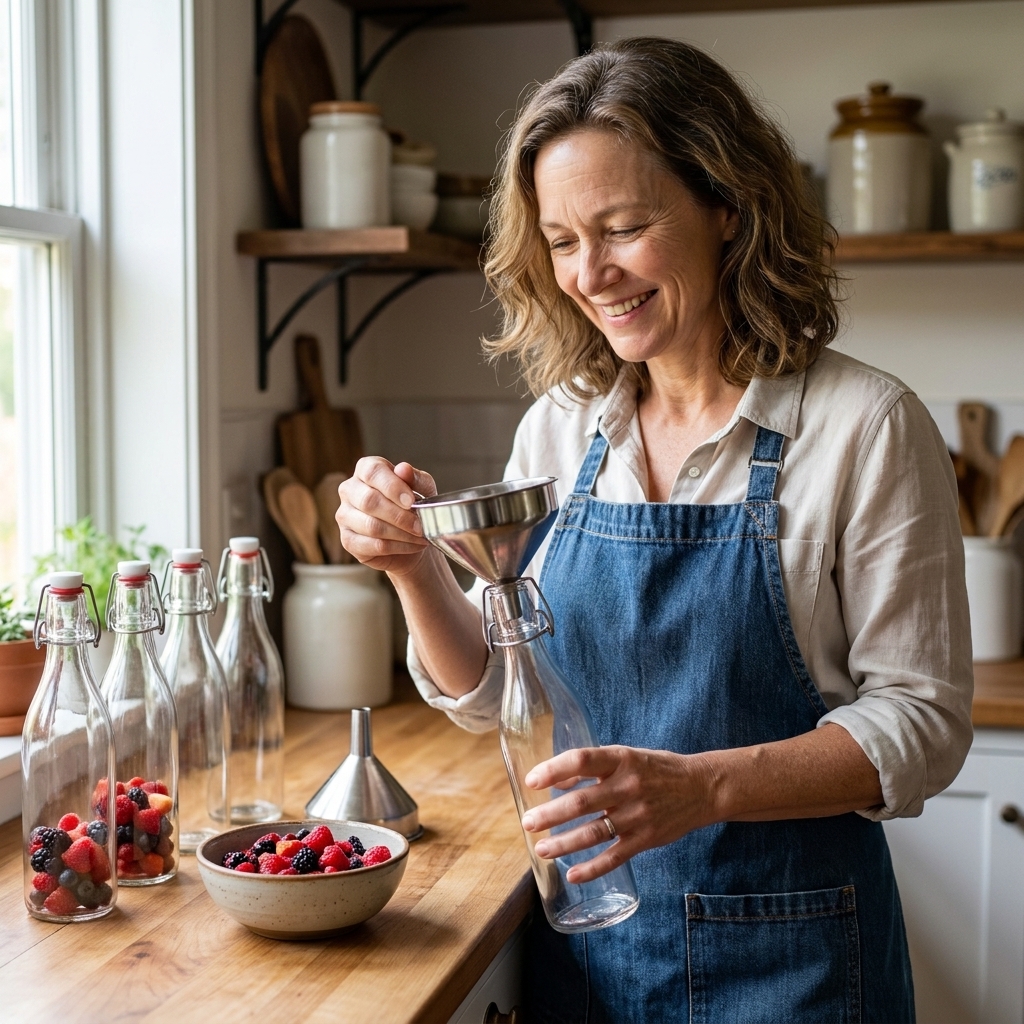
- Funnel (helpful for bottling)
- Flip-top bottles or other pressure-rated bottles for F2
- Thermometer strip or kitchen thermometer (optional but useful)
Ingredients (for about 1 gallon)
- Water: 14 cups (3.3 liters), filtered if your tap water is heavily chlorinated
- Sugar: 1 cup (200 g) plain white sugar
- Tea: 8 bags black tea or 2 tablespoons loose-leaf (black or a black-green blend is most reliable)
- Starter tea: 2 cups (480 ml) unflavored kombucha from a previous batch or a trusted source
- 1 SCOBY: store-bought, gifted, or grown at home
Why white sugar? It is easy for the culture to digest. Once you are comfortable, you can experiment with part raw sugar, honey (only with a culture adapted for it), or other teas. But for learning, plain is your friend.
Quick ratio check
For a 1-gallon batch: 14 cups water + 1 cup sugar + 8 tea bags + 2 cups starter tea + 1 SCOBY.
How to get a SCOBY
Option 1: Get one from a trusted source
This is the easiest. A friend who brews, a reputable kombucha supplier, or a well-reviewed starter kit usually includes a SCOBY plus strong starter tea. Strong starter tea is the unsung hero here.
Option 2: Grow one from plain kombucha
Yes, you can grow one. It takes longer, but it is a fun science project.
- Buy raw, unflavored kombucha (look for “raw” or “live cultures”). Avoid flavored bottles.
- Make sweet tea: 2 cups water + 2 to 4 tablespoons sugar + 1 black tea bag. (More sugar, closer to 4 tablespoons, can help the SCOBY form faster.) Cool completely.
- Combine: In a clean quart jar, add the sweet tea plus 1 cup raw kombucha.
- Cover with cloth and ferment at 75 to 82°F (24 to 28°C).
- Wait: 1 to 4 weeks. A thin, cloudy film forms, then thickens into a SCOBY.
Once it smells pleasantly tart and a SCOBY has formed, you can use that liquid as starter tea for a full batch.
Primary fermentation (F1)
Step 1: Brew sweet tea
- Bring 4 cups of water to a boil.
- Stir in 1 cup sugar until dissolved.
- Add tea bags and steep 10 to 15 minutes.
- Remove tea bags and add enough cool water to reach 14 cups total liquid (including the boiled water).
- Cool to room temperature. This matters. Hot tea can damage your SCOBY.
Step 2: Add starter and SCOBY
- Pour cooled sweet tea into your clean glass jar.
- Add 2 cups starter tea. Gently stir (stainless is fine for quick stirring).
- With clean hands, place the SCOBY on top. If it sinks, floats sideways, or does a slow somersault, that is all normal. A new SCOBY layer (pellicle) will usually form on the surface anyway.
Step 3: Cover and ferment
- Cover the jar with a cloth and rubber band.
- Set it somewhere out of direct sunlight. “Good airflow” mostly means not sealed in a stuffy cabinet and not parked next to a fruit bowl or trash can that attracts fruit flies.
- Ideal temperature: 75 to 82°F (24 to 28°C). Cooler temps slow fermentation.
Typical F1 time is 7 to 14 days. Your kitchen will decide.
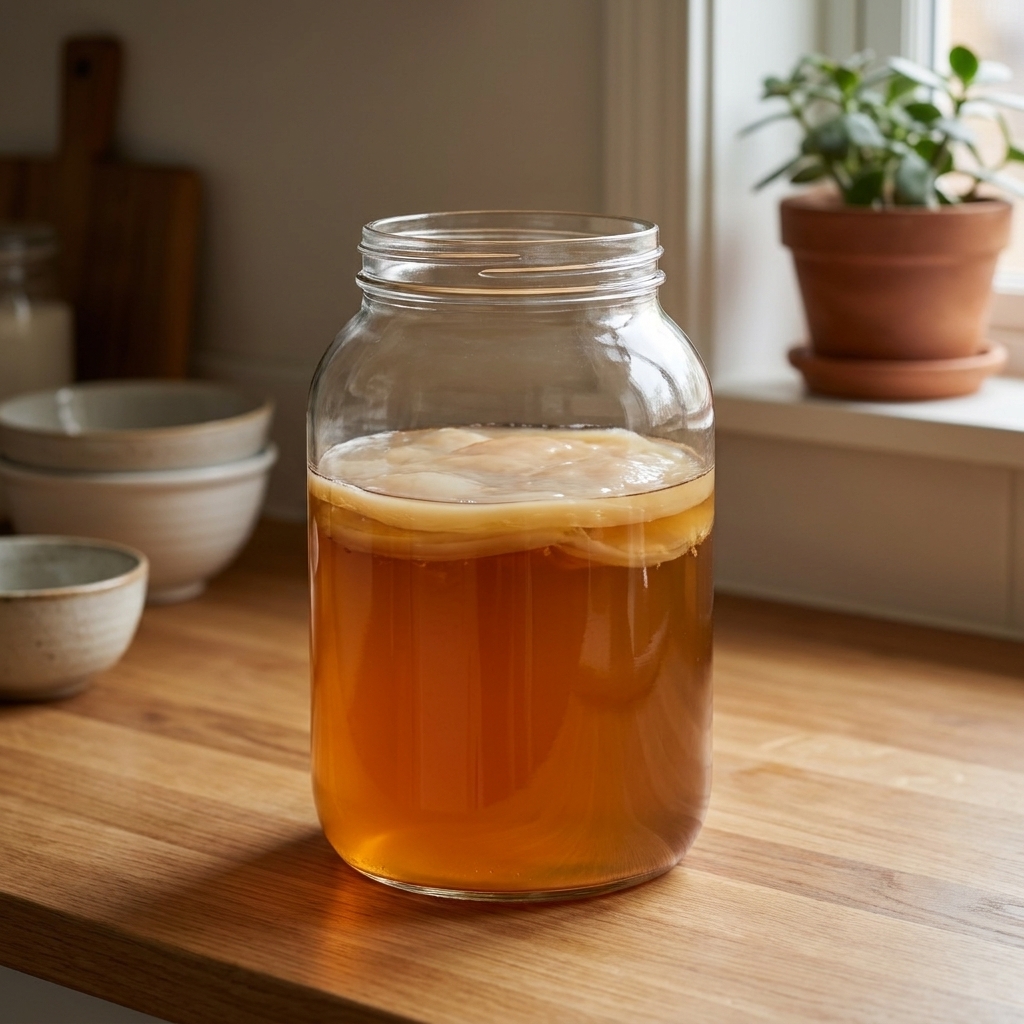
How to tell when F1 is ready
Start tasting around day 7 by sliding a straw under the SCOBY and taking a small sip.
- Too sweet: keep fermenting.
- Balanced: lightly sweet, pleasantly tart, a little zingy.
- Very sour: you made strong kombucha. It is still usable, often great for mixing or as starter for your next batch.
If you like numbers, many brewers see finished kombucha land around about pH 2.7 to 3.5, depending on taste and fermentation time. More important for safety is starting with enough starter tea so the batch acidifies quickly (many people aim to begin below about pH 4.2, often below 4.0). You do not have to chase pH readings to brew successfully, but pH strips can reassure anxious beginners.
Secondary fermentation (F2)
F2 is where kombucha turns into the bubbly drink people brag about. You bottle kombucha with a little sugar source (usually fruit or juice). The yeast produces CO2 in the sealed bottle, and the bubbles dissolve into the drink.
Before you bottle
- Reserve 2 cups of plain finished kombucha as starter for your next batch.
- Remove the SCOBY (and any SCOBY babies). Place in a clean bowl with some kombucha so it does not dry out.
Flavoring ratios
For a 16 oz (475 ml) bottle:
- Fruit juice: 2 to 4 tablespoons
- Chopped fruit: 2 to 3 tablespoons
- Ginger: 1 to 2 teaspoons grated or thinly sliced
- Herbs: 1 small sprig (mint, basil, rosemary)
Then top with kombucha, leaving about 1 inch (2 to 3 cm) of headspace.
Bottling step-by-step
- Wash bottles with hot soapy water, rinse well.
- Add flavorings to each bottle.
- Pour kombucha into bottles using a funnel.
- Seal tightly.
- Ferment at room temp for 1 to 4 days, then refrigerate.
Note: fruit pieces are normal, and they can make pouring a little messy. Straining into a glass before drinking is completely fine.
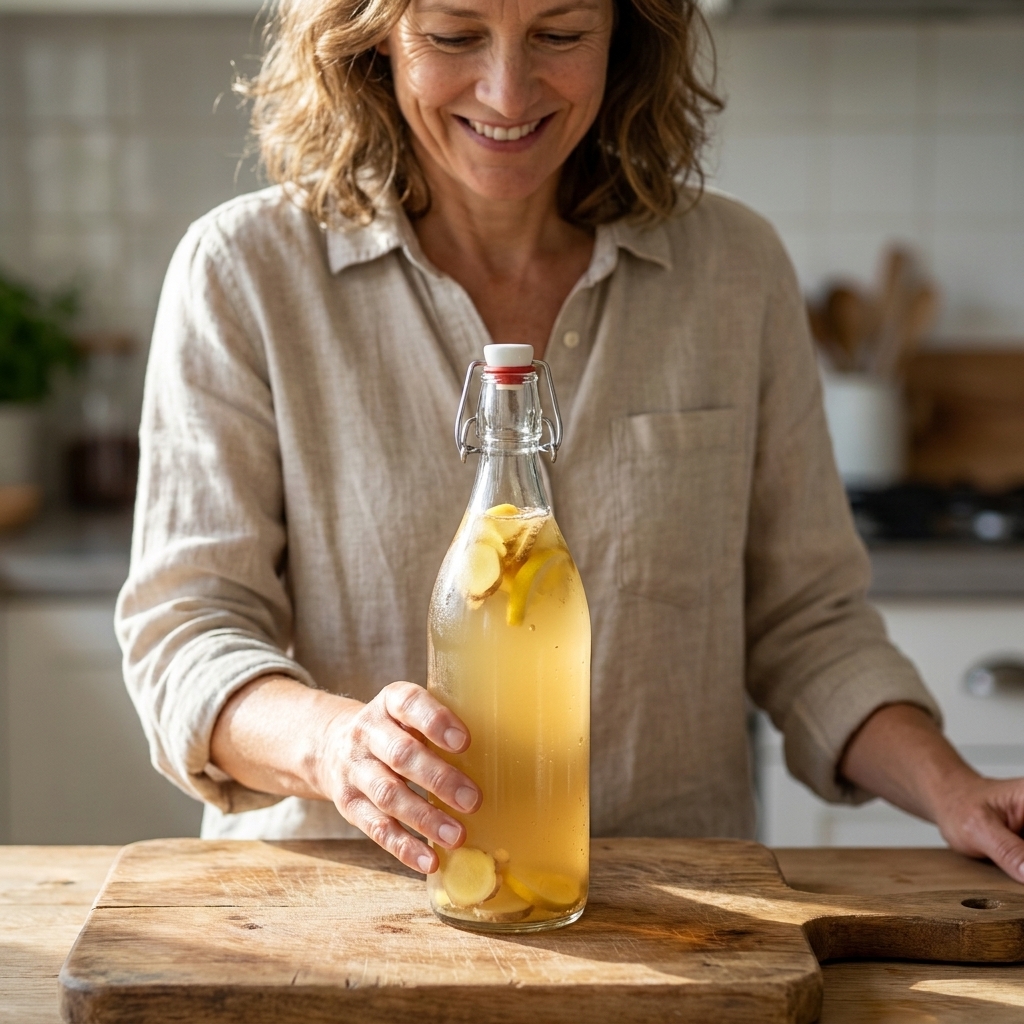
How to avoid bottle explosions
I love fizz. I love ceilings even more. Use these safety habits:
- Use pressure-rated bottles (swing-top bottles designed for carbonation, or reused commercial kombucha bottles).
- Do not overfill.
- Burp bottles carefully once daily if your home is warm or you added lots of fruit. Hold the cap down and open slightly over a sink.
- Refrigerate as soon as it is fizzy enough. Cold slows fermentation dramatically.
Extra tip from my “learned the hard way” files: if you use pureed fruit, carbonation can ramp up fast. Start with small amounts.
Flavor combos
When I worked at the library, our hobby clubs traded flavor ideas the way some people trade cookie recipes. These are beginner-friendly and forgiving.
- Ginger-Lemon: grated ginger + lemon juice
- Blueberry-Mint: a small handful of blueberries + a mint sprig
- Strawberry-Basil: chopped strawberries + basil leaf
- Mango-Lime: mango juice + squeeze of lime
- Apple-Cinnamon: apple juice + tiny pinch of cinnamon (go light, it blooms)
Keep notes. Not fancy notes. “Too gingery” and “wow yes more basil” counts as science.
SCOBY care
Starting your next batch
After bottling, you can begin again immediately:
- Put the SCOBY and 2 cups starter tea into a clean jar.
- Add fresh cooled sweet tea.
- Cover and ferment.
What to do with extras
- Gift them to a friend who wants to join the kombucha club.
- Store in a “SCOBY hotel” (a jar with SCOBYs submerged in mature kombucha).
- Compost them if you have too many. Your garden will not mind.
Can I rinse my SCOBY?
Usually, no. Rinsing with tap water can introduce chlorine or unwanted microbes, and it is not necessary. If you have lots of brown yeast strands, you can gently remove some with clean hands. They look odd, but they are normal.
Troubleshooting
It is not fizzy
- F1 might be too long and low in residual sugar. Next time bottle a bit earlier.
- F2 needs warmth and time. Try 2 to 4 days at room temp.
- Not enough sugar in F2 flavoring. Add a splash of juice or a few fruit pieces.
- Loose seals. Check bottle gaskets and caps.
It tastes like vinegar
- It over-fermented. Use it as starter tea, or mix with juice and plenty of ice.
- Shorten F1 next batch, or ferment in a slightly cooler spot.
White floaties and stringy bits
Usually yeast and new SCOBY formation. If it is not fuzzy and smells normal, it is typically fine.
Fruit flies showed up
They are persistent little opportunists. Switch to a tighter weave cloth, double-layer it, and make sure the rubber band is snug. Keep ferments away from ripe fruit bowls if possible.
Storage and health notes
How long does kombucha last?
Refrigerated kombucha can stay enjoyable for weeks, often a month or more. Flavor will continue to develop slowly in the fridge. Open bottles carefully, especially if they are young and fizzy.
How much should I drink?
If you are new, start small, like 4 to 8 ounces, and see how you feel. Kombucha is acidic and can be bubbly enough to surprise your stomach.
Who should be cautious?
If you are pregnant, immunocompromised, have a medical condition affected by acidity, or need to avoid alcohol entirely, talk with a healthcare professional before drinking homebrew. Home kombucha can contain small amounts of alcohol and, depending on time, temperature, and sugar, can sometimes creep above 0.5% ABV.
My no-stress checklist
- Clean jar, clean hands, clean cloth cover
- Correct ratio: sweet tea + enough starter + SCOBY
- Warm spot, out of sunlight
- Taste starting day 7
- Reserve starter for next batch
- Pressure-safe bottles for F2
- When in doubt, toss it out
Once you have a couple batches under your belt, kombucha becomes wonderfully routine. It is the kind of hobby that quietly builds confidence because you can literally taste your progress. And if a batch goes sideways, you did not fail. You did science. In your kitchen. Like a very cool grown-up.
FAQ
Can I use green tea only?
You can, but many beginners find black tea or a black-green blend more reliable. Once your culture is strong, green tea batches often do great.
Do I need a pH meter?
No. It can be helpful for peace of mind, but good starter tea, clean equipment, and proper fermentation time are more important for most home brewers.
Is metal always forbidden?
Brief contact with stainless steel is generally fine, like a stainless-steel spoon or strainer. Avoid long contact and reactive metals like aluminum, copper, and cast iron.
Why did my SCOBY turn dark?
It can stain from tea and yeast. New layers are usually lighter. Darkening alone is not a problem if it smells normal and there is no fuzz.
Can I flavor in the main jar instead of bottling?
You can, but you will usually get less fizz and it is harder to keep a consistent “plain starter” for the next batch. Bottling is the simplest path to predictable bubbles.