Rockhounding is basically a grown-up treasure hunt where the prize is a sparkly little piece of Earth history you can hold in your hand. You do not need a geology degree, fancy gear, or a “serious collector” vibe. You just need curiosity, a little patience, and the willingness to be delighted by a rock that is, objectively, just a rock and also somehow the coolest thing you have found all week.
This beginner guide will walk you through where to look, what to bring, and how to identify common minerals and gemstones without getting overwhelmed.
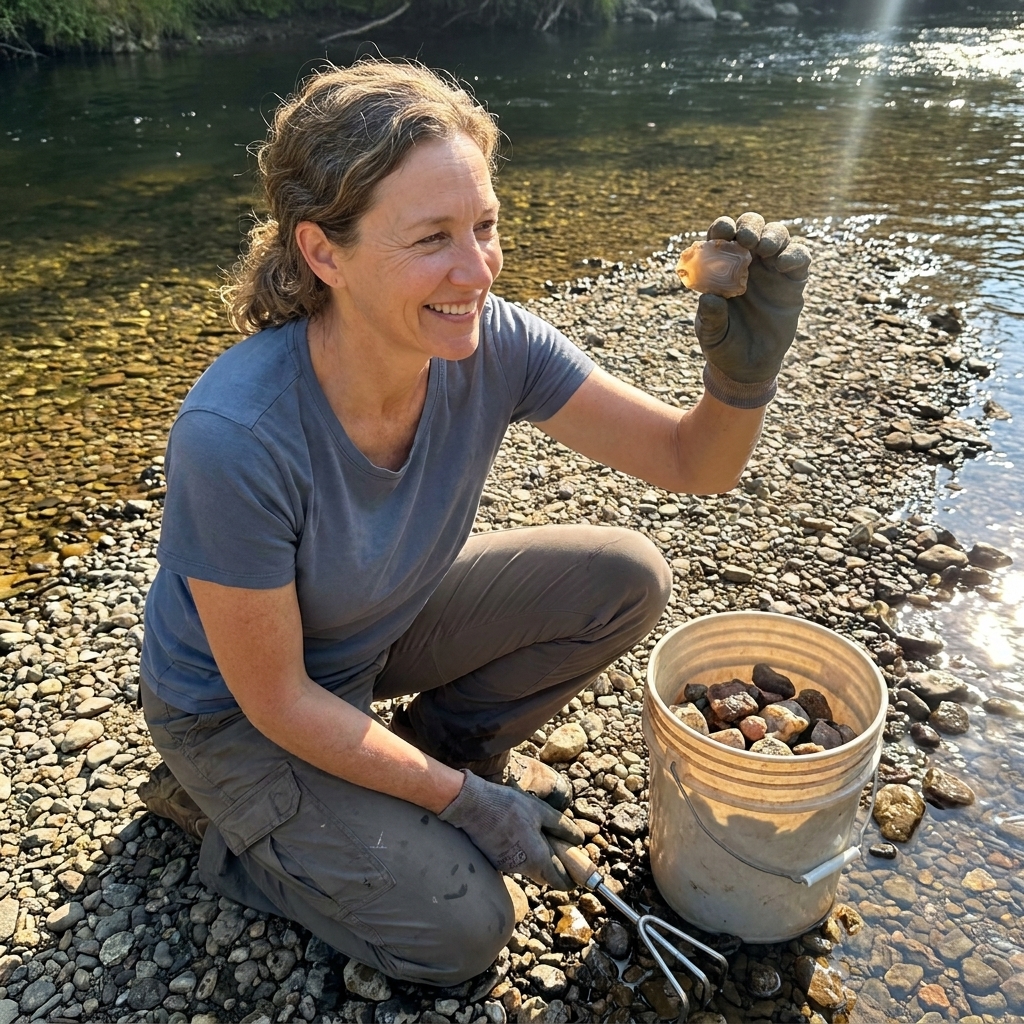
Rockhounding basics
What you are actually looking for
Most rockhounding finds fall into a few friendly categories:
- Minerals: naturally occurring crystals and compounds like quartz, calcite, garnet, and fluorite.
- Rocks: mixtures of minerals like granite, basalt, and sandstone.
- Gem materials: durable or attractive minerals used in jewelry, often found as rough pieces rather than faceted “gemstones.” Think agate, jasper, and sometimes sapphire or garnet.
- Fossils: not minerals, but often collected alongside them where legal.
Set expectations, then lower them a tiny bit
Some days you will find a dazzling agate. Other days you will find twelve nice pieces of quartz and one rock that looks like a potato. Both days still count. Rockhounding rewards repetition more than perfection.
Where to look (and why these places work)
Rocks are everywhere, but certain spots do a better job of concentrating interesting material. Your best friend is natural sorting, the way water, gravity, and erosion gather stones in predictable places.
1) Creek beds and gravel bars
Moving water is a natural tumbler. Look along inside bends, gravel bars, and where water slows down after a riffle. After storms, fresh material often shows up.
- What you may find: agate, jasper, quartz, chalcedony, petrified wood, fossils depending on your region.
- Tip: search in bright daylight and wet a stone to see color and banding pop.
2) Lake shores and ocean beaches
Wave action sorts stones by size and shape, and sometimes by density or composition too. Check the wrack line, the band of debris left by waves, and areas where pebbles accumulate.
- What you may find: quartz, agate, jasper, basalt, sea-worn fossils, occasionally glassy slag or sea glass depending on location.
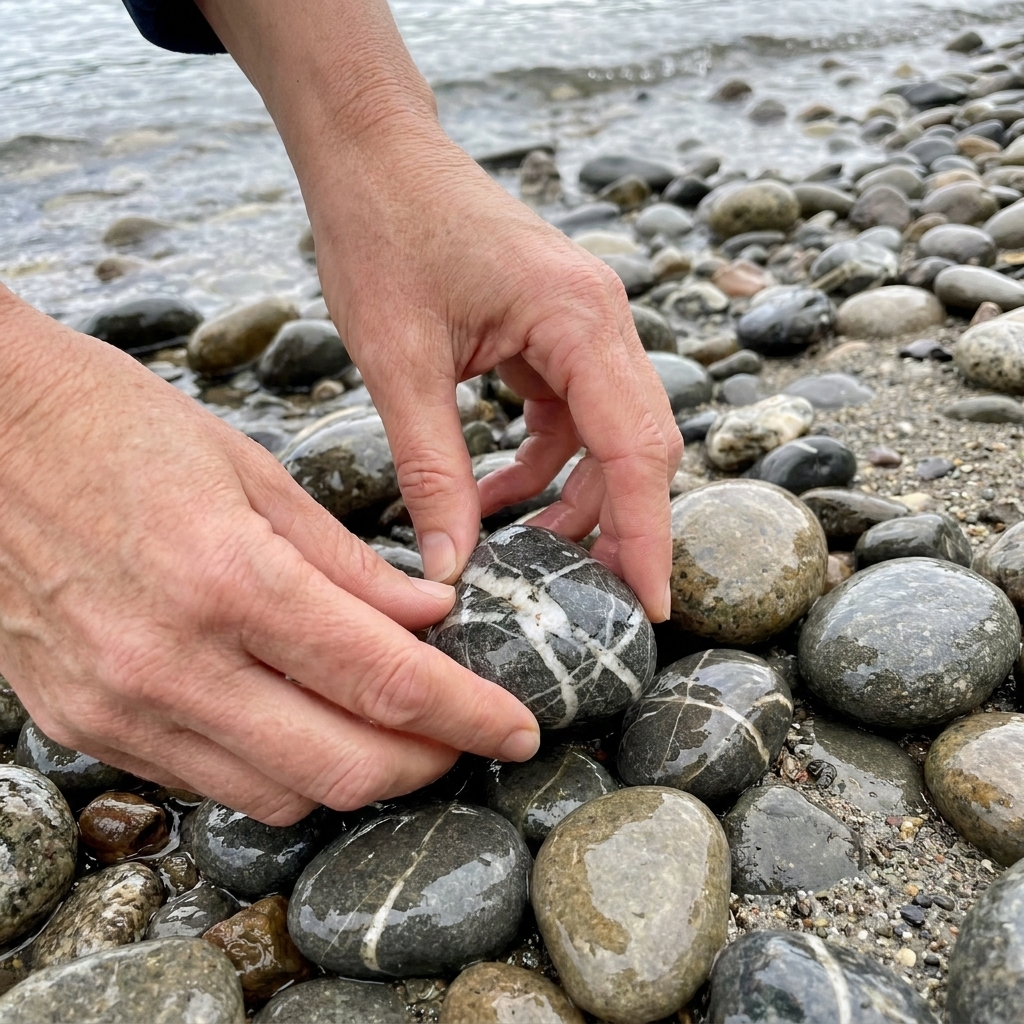
3) Road cuts and exposed hillsides
Exposed rock can reveal veins and layers. Many road cuts are off-limits for safety reasons, so only collect where it is explicitly permitted and safe to pull fully off the road.
- What you may find: quartz veins, iron-stained minerals, occasional crystals in pockets, sedimentary layers with fossils in some areas.
4) Old quarries and mine tailings (with permission)
These spots can be incredibly productive, but rules matter. Many are private property and some can be hazardous.
- What you may find: crystals, mineral specimens, ore minerals, sometimes fluorescent minerals depending on the site.
- Safer option: public fee dig sites run specifically for rockhounds.
5) Public lands that allow collecting
In the US, some public lands permit limited casual collecting, but rules vary by agency and location. Always check current regulations for the exact site. A simple rule of thumb: places like BLM and many National Forest areas often allow small amounts for personal use, while many parks do not.
- What you may find: region-dependent, often quartz varieties, agate and jasper, small fossils, and common minerals.
Legality and ethics
I know, I know. “Ethics” sounds like the part where the fun stops. It is actually the part where the hobby stays fun.
- Get permission on private land, even if it looks abandoned.
- Know the rules for parks, beaches, and public lands. Many parks prohibit removing natural materials.
- Respect boundaries: avoid tribal lands unless you have clear permission, and do not take artifacts or culturally significant items. If you see claim markers or “no collecting” signs at old mines, take them seriously.
- Leave no trace : fill small holes, pack out trash, and avoid damaging outcrops.
- Take only what you will use: a pocketful of favorites beats a bucket of “maybe later.”
Beginner tools that make a big difference
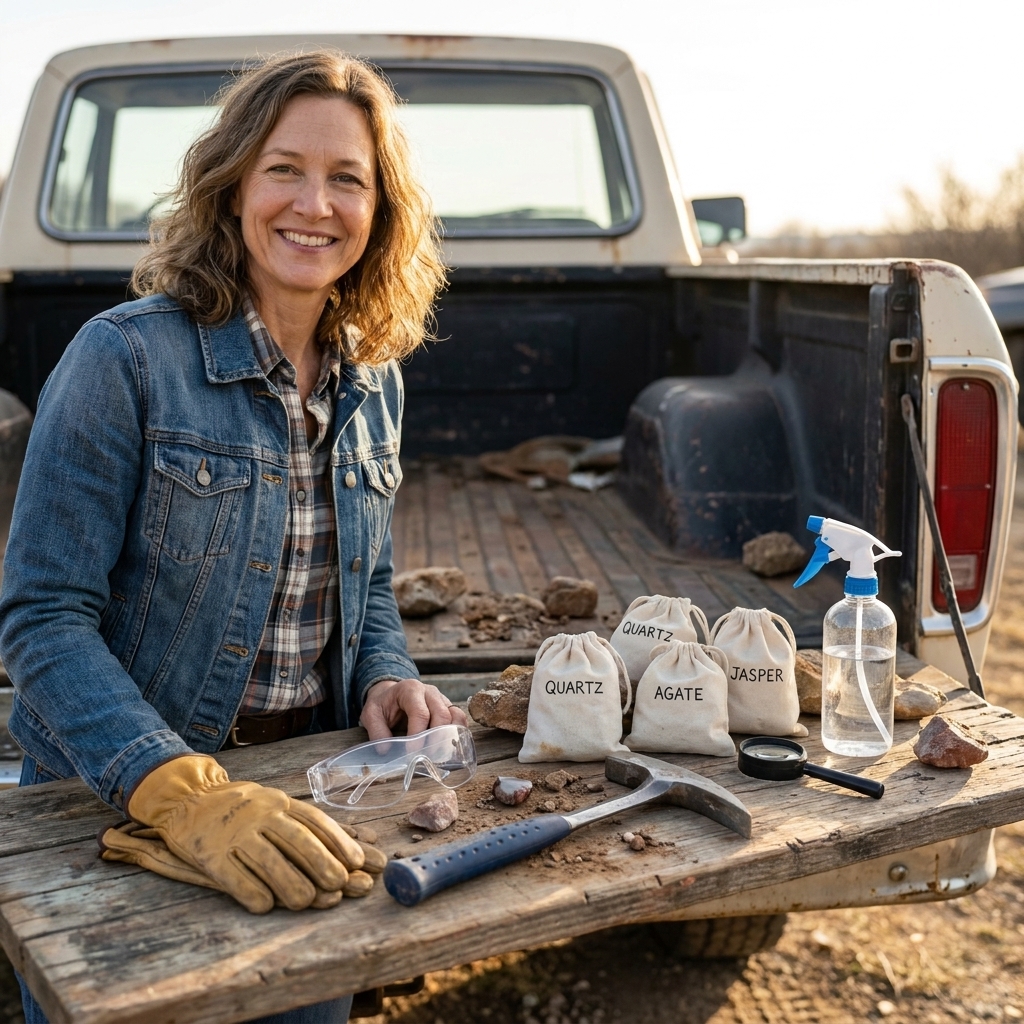
You can start with almost nothing, but a few basics make rockhounding easier and safer.
Must-haves
- Sturdy shoes with grip. Wet rocks are auditioning to become banana peels.
- Gloves to protect from sharp edges.
- Eye protection if you are cracking rocks or working around chips.
- Water bottle and sun protection.
- Small container: a bucket, canvas bag, or plastic tub.
- Paper towels or newspaper to wrap fragile finds.
Nice-to-have field kit
- Spray bottle of water for the quick “wet test.” It reveals color and patterns instantly.
- Hand lens (10x) for crystal faces and tiny details.
- Magnet for quick checks of magnetic minerals.
- Streak plate (unglazed porcelain tile) to test streak color.
- Hardness picks or a simple substitute set: fingernail, a copper coin or copper strip (around 3, note that modern pennies vary), a steel nail, and a piece of glass.
- Rock hammer and cold chisel if you are allowed to collect from rock, not just loose material.
- Field notebook to record where you found something. Future-you will be grateful.
What to skip at first
You can absolutely nerd out later (I support this), but beginners do not need a tumbler, lapidary saw, or a shelf of specialty books. Start with finding and identifying. Upgrade once you know what you love collecting.
How to spot promising rocks
When everything looks like “just rocks,” use these quick cues to narrow the field.
Look for:
- Translucence: hold it to the light. Many agates and chalcedonies glow at the edges.
- Waxy or glassy luster: chalcedony often looks slightly waxy, quartz more glassy.
- Banding: curved or layered bands can mean agate.
- Conchoidal fracture: smooth, curved breaks like broken glass can indicate quartz varieties and chert.
- Unusual weight: heavier-than-expected rocks may contain iron minerals or dense ore minerals.
- Crystal shapes: even tiny points or flat faces are clues.
- Color patterns: spots, swirls, and brecciated (broken and re-cemented) textures often mean something interesting.
Do the wet test
A quick spritz of water mimics what a rock will look like polished. Many good finds go from “meh” to “oh hello” in two seconds. If you already packed a spray bottle, congratulations, you are ahead of the game.
Identifying minerals: a simple checklist
Mineral ID can feel like a party trick until you try it in real life and realize you forgot every trick. This simple order of operations keeps things manageable.
Step 1: Observe color and luster
Color can help, but it is not always reliable. Focus on luster too:
- Metallic: looks like metal (pyrite, magnetite).
- Glassy: like broken glass (quartz).
- Waxy: like a candle (chalcedony, chert).
- Pearly: like a pearl button (some calcite, mica).
Step 2: Check hardness (Mohs)
Hardness is one of the fastest ways to narrow down possibilities.
- Fingernail (about 2.5): if it scratches easily, it is very soft.
- Copper coin or copper strip (about 3): can scratch calcite and other soft minerals, but results vary with the item and the sample.
- Steel nail (about 5 to 5.5): scratches softer minerals.
- Glass (about 5.5): quartz (7) will scratch glass.
Safety note : scratch tests can leave marks. Use them on an inconspicuous spot and avoid doing this to anything you plan to display as a perfect specimen.
Step 3: Look at streak (if it is not too hard)
Rub the mineral on an unglazed porcelain tile to see the powder color. Streak is especially useful for metallic-looking minerals.
Step 4: Consider cleavage and fracture
- Cleavage: breaks along flat planes (calcite, feldspar, mica).
- Fracture: breaks irregularly or in curves (quartz, chert).
Step 5: Extra clues
- Magnetism: magnetite is strongly magnetic.
- Reaction to vinegar: calcite can fizz with weak acid. Household vinegar is mild, so the reaction may be subtle unless the surface is fresh. (The standard test is dilute HCl, but that is not a beginner tool. Stick with vinegar and caution.) Use sparingly and rinse.
- UV light: some minerals fluoresce (common at certain sites, not everywhere).
Common beginner finds
Below are the “greatest hits” you are likely to meet early on.
Quartz (clear, white, smoky, rose)
- Clues: glassy luster, scratches glass, often translucent.
- Where: nearly everywhere, especially veins and gravel.
Chalcedony, agate, and jasper
These are all forms of microcrystalline quartz, which is a fancy way of saying “quartz, but tiny crystals.”
- Agate: usually translucent with banding. Often shows curved layers.
- Chalcedony: translucent, smooth, waxy. Can be blue-gray or milky.
- Jasper: opaque, often red, yellow, green, or patterned. Can look like painted stone.
- Clue: all are generally hard (about 7) and take a nice polish.
Chert and flint
- Clues: waxy to dull luster, opaque, conchoidal fracture, can be gray, tan, black.
- Note: can resemble jasper. Jasper is usually more colorful and “decorative,” but there is overlap.
Calcite
- Clues: softer (3), often shows cleavage with flat faces, can fizz with weak acid, can be clear, white, or honey-colored.
- Common confusion: mistaken for quartz. If it scratches easily with a copper coin or copper strip, it is not quartz.
Feldspar
- Clues: often pink, white, or gray, shows cleavage planes, hardness around 6.
- Where: common in granite and many igneous rocks.
Mica (muscovite and biotite)
- Clues: flaky sheets, pearly shine, very easy to split into layers.
- Where: granites and metamorphic rocks.
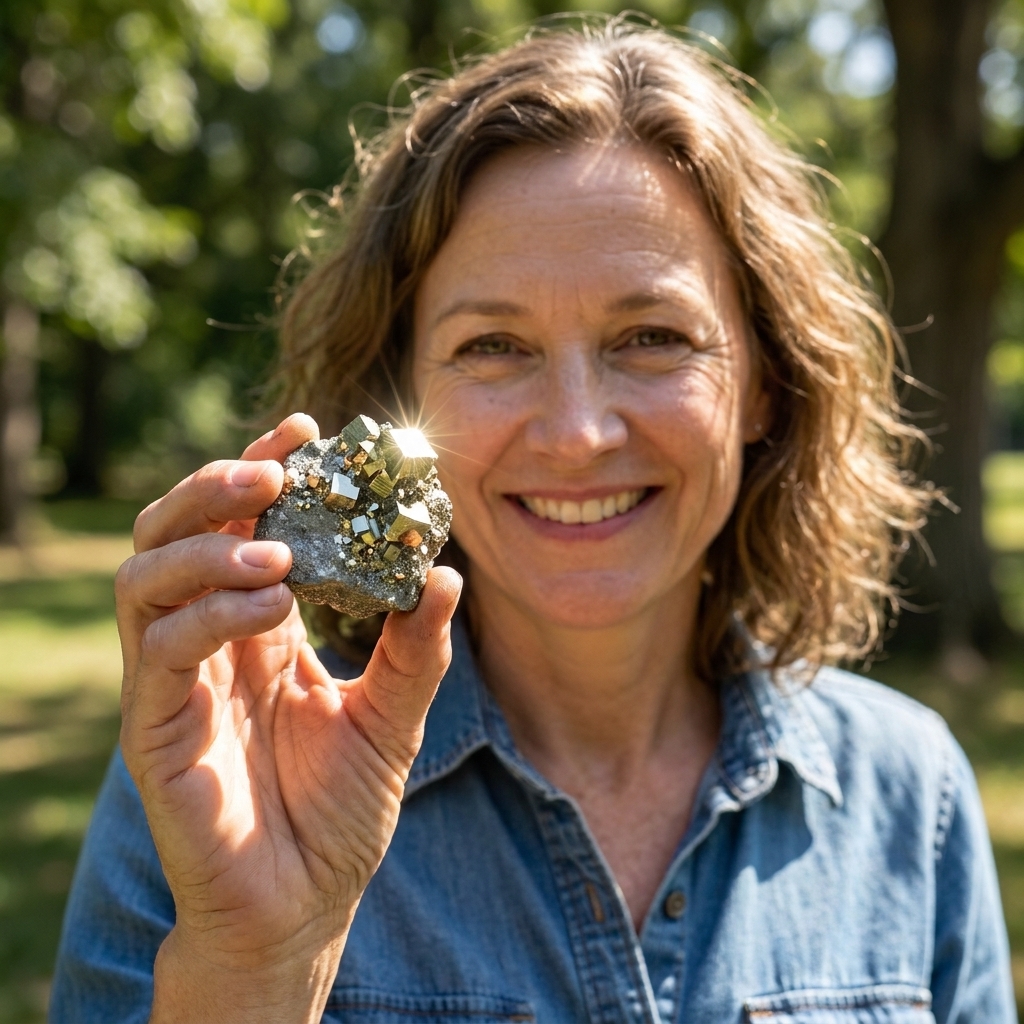
Pyrite (fool’s gold)
- Clues: metallic luster, brassy color, often cubic crystals, typically leaves a dark or greenish-black streak, does not bend like real gold.
Garnet (common in metamorphic areas)
- Clues: deep red-brown crystals, often dodecahedron shapes, hardness 6.5 to 7.5.
- Where: schist, gneiss, some stream gravels downstream of metamorphic rock.
Obsidian and other volcanic glass (region-specific)
- Clues: shiny black or dark glass, very sharp edges when broken, conchoidal fracture.
- Note: handle with care and wrap pieces well.
Common ID mix-ups
Because sometimes the hardest part of rockhounding is accepting that two different things can look weirdly identical in the wild.
- Quartz vs glass: both can look glassy. Quartz is usually harder and will scratch glass. Glass often has bubbles and sharper, more uniform edges.
- Obsidian vs slag: slag (industrial byproduct) can be glassy and colorful with bubbles or swirly flow textures. Obsidian is usually more uniform and naturally occurs in volcanic areas.
- Calcite vs quartz: calcite is softer and has obvious cleavage. Quartz is harder and fractures in curves.
- Jasper vs chert: both are microcrystalline quartz. Jasper tends to be more boldly colored and “decorative,” but there is overlap.
Cleaning your finds
I love a good “after photo,” but cleaning needs a light touch. Some minerals are tough, others are surprisingly delicate.
Gentle default method
- Rinse with water.
- Soak in warm water with a little dish soap.
- Scrub with an old toothbrush.
- Rinse again and air dry.
If they are still dirty
- Iron staining: some collectors use specialty products for iron removal. Follow instructions carefully and test on a small area first.
- Clay packed into cracks: soak longer and use a soft brush or wooden toothpick.
What to avoid
- Bleach on unknown minerals. It can damage or discolor some specimens.
- Harsh acids unless you know exactly what you are doing. Safety gear is non-negotiable.
- Hot water on heat-sensitive stones. Sudden temperature changes can cause cracking.
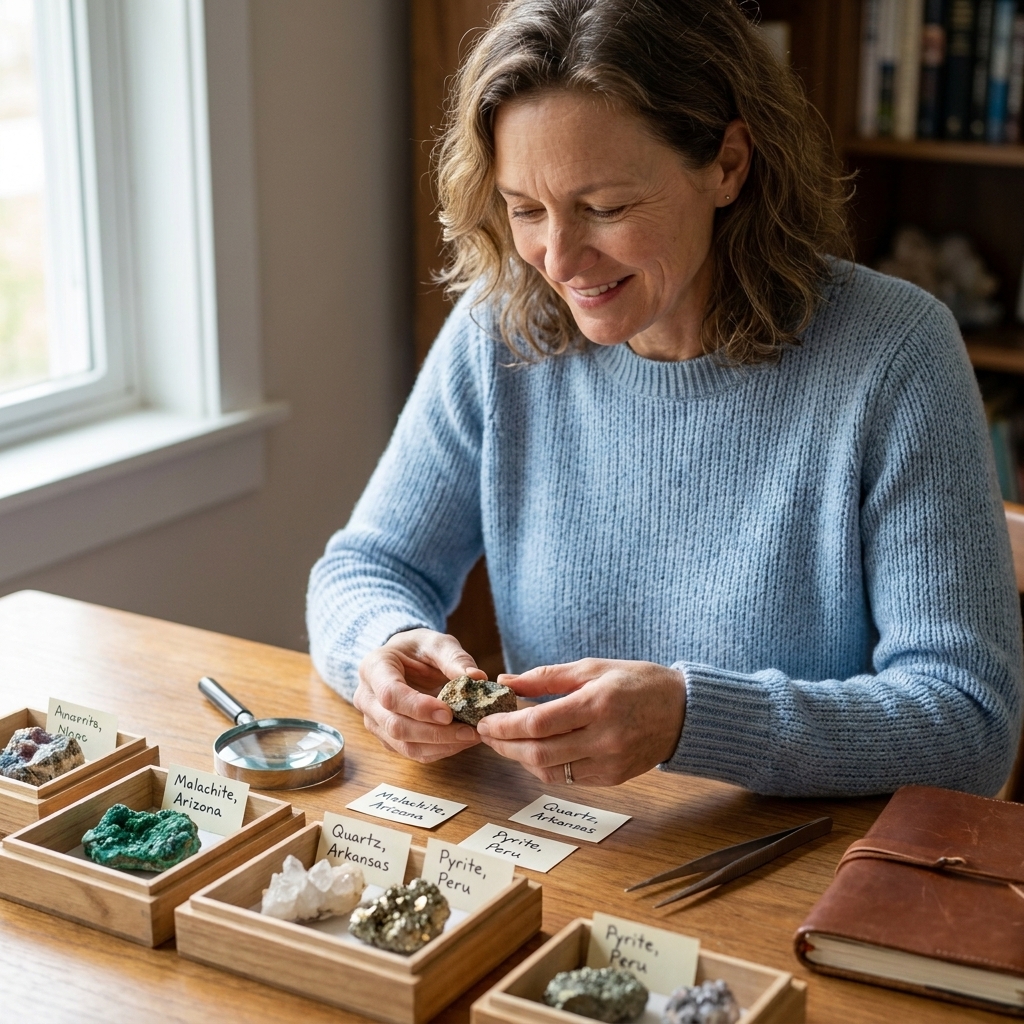
Storing and labeling
The fastest way to level up is to keep track of where things came from. A rock with a location story is ten times more interesting.
Easy storage ideas
- Egg cartons for small specimens.
- Small boxes with padding (tissue paper, foam).
- Zip-top bags with a paper label inside.
- Display tray if you love seeing your favorites daily.
Label what matters
- Location (as specific as you can be)
- Date
- Any notes like “found in creek gravel bar after rain”
Safety tips
- Tell someone where you are going , especially near water or remote areas.
- Watch the weather. Flash floods can happen fast in drainages and canyons.
- Do not climb unstable slopes or dig under overhangs.
- Wear eye protection when striking rock.
- Check for ticks and be mindful of snakes in rocky areas.
- Mind tides on ocean beaches.
A simple first outing plan
If you are itching to get started, here is a low-pressure plan that works in most places:
- Pick a public spot where collecting is allowed, like a river gravel bar outside protected park boundaries.
- Go in the morning for better light.
- Bring: water, snack, gloves, a small bucket, spray bottle, and a few paper towels.
- Spend 20 minutes just scanning for color, translucence, and odd patterns.
- Collect only your top 10 favorites.
- At home, wash them, line them up, and try to identify just three.
That is it. That is a successful first day.
FAQ
How can I tell if I found a gemstone?
In rockhounding, “gemstone” usually means a material that is attractive and durable enough to cut or polish. Look for hardness (often 6 or higher), interesting color or pattern, and a lack of crumbly layers. Agate, jasper, and many forms of quartz are classic beginner “gem” materials.
Do I need a rock tumbler?
No. Tumblers are fun, but you can enjoy collecting and learning without polishing anything. If you do get one later, start with harder materials like agate and jasper.
Why do my rocks look boring when they dry?
Many stones look best when wet because water reduces surface scattering and deepens color. If you love the wet look, consider polishing later, or just keep a little spray bottle handy for display moments.
What is the easiest mineral to identify?
Quartz is a great first win because it is common and reliably hard (it scratches glass). After that, calcite is another good learner mineral because it is much softer and often shows clear cleavage.
Can I take rocks from national parks?
In many places, removing rocks or minerals from national parks is prohibited. Rules vary by location and managing agency, so always check the specific site’s regulations before collecting anywhere.
One last beginner pep talk
If you take nothing else from this guide, take this: you are allowed to be new at this. You are allowed to pick up a rock because it is pretty, even if you cannot name it yet. Identification comes with time, and joy comes immediately.
When you are ready for your next step, pick one local spot to revisit a few times across seasons. You will start noticing patterns in what turns up and that is when the hobby really clicks.