If you have ever wanted to bake that crackly, tangy loaf that makes your kitchen smell like a tiny artisan bakery, a sourdough starter is your golden ticket. And yes, you can make one from scratch with two ingredients and a little patience. The trick is not perfection, it is consistency. Think of it like a low-stakes pet rock that eats flour.
Below is a daily, actionable guide to get your starter going, plus the routines that keep it happy long term and the fixes for the most common starter drama.
What a starter is
A sourdough starter is a living culture of wild yeast and friendly bacteria. When you mix flour and water and keep feeding it, the microbes mostly come from the flour (and, to a smaller extent, your environment) and begin to multiply. The yeast makes carbon dioxide bubbles that lift bread. The bacteria create acids that add flavor and help with structure and keeping quality.
Your job is simple: provide fresh food (flour), the right hydration (water), and a comfortable temperature so the good microbes outcompete the not-so-helpful ones.
What you need
- A jar or container: A 16 to 32 oz glass jar works well. Choose one with enough headspace that your starter can rise 2 to 3 times without overflowing.
- A scale (highly recommended): Starters behave better by weight than by cups. A cheap kitchen scale is a sourdough superpower.
- Flour: Unbleached all-purpose or bread flour is great. Whole wheat or rye can speed things up, especially in the first few days.
- Water: Room temperature. If your tap water smells strongly of chlorine, use filtered water or let a pitcher sit out for a few hours (this helps with chlorine, not chloramine). If your city uses chloramine, resting the water will not do much, so use bottled water or a filter rated to reduce chloramine.
- A spoon or spatula and a rubber band or marker to track the level.
Cover note: You do not need meaningful airflow. You just want a loose cover so gas can escape. Avoid sealing it airtight during active fermentation.
Starter size note: This guide keeps a small starter to reduce waste. Once it is strong, you can scale up when you want to bake.
Texture check
Your starter should look like a thick batter or soft paste when freshly mixed, not soupy and not kneadable. Different flours absorb water differently, so trust the look.
- If it is too thick and dry (hard to stir), add water 5 g at a time.
- If it is too runny (pours like a drink), add flour 5 g at a time.
Day-by-day starter
This schedule assumes a room temperature of about 70 to 75°F. If your kitchen runs cool, it may take a few extra days. If it runs warm, things may move faster.
Day 1: Mix
- In your jar, mix 25 g flour (all-purpose, or half whole wheat) with 25 g water.
- Stir until no dry bits remain. Scrape down the sides.
- Cover loosely and leave at room temperature.
What to look for: Not much. You are planting the flag.
Day 2: Stir
- Give it a stir. That is it.
What to look for: A few bubbles or a slightly tangy smell is a nice bonus, but not required yet.
Day 3: First feed
Today is often when beginners panic. Many starters smell cheesy, funky, or like gym socks around days 3 to 5. This is normal. It is the microbial neighborhood changing.
- Discard all but 25 g starter. (Weighing is best because spoon measures vary a lot.)
- Add 25 g water and stir.
- Add 25 g flour and stir until smooth.
- Cover loosely and mark the level.
What to look for: Bubbles, maybe a rise, then a fall. Any activity counts.
Day 4: Feed again
- Discard down to 25 g starter.
- Feed 25 g water + 25 g flour.
What to look for: More bubbles. The smell may still be odd. Keep going.
Day 5: Decide on once or twice daily
If your starter is bubbling and showing some rise and fall, start feeding twice a day. If it is completely flat and quiet, stay at once a day for another day or two.
Twice daily feeding template (morning and evening)
- Keep 20 g starter.
- Feed 40 g water + 40 g flour (this is a 1:2:2 feeding).
Why the larger feed: As the starter strengthens, it can eat through food faster. A bigger meal helps keep it balanced and less sluggish.
Days 6 to 8: Build strength
Continue the twice daily template if it rises predictably. If it rises a little and then stalls, keep the same schedule and be patient. Consistency is your best ingredient.
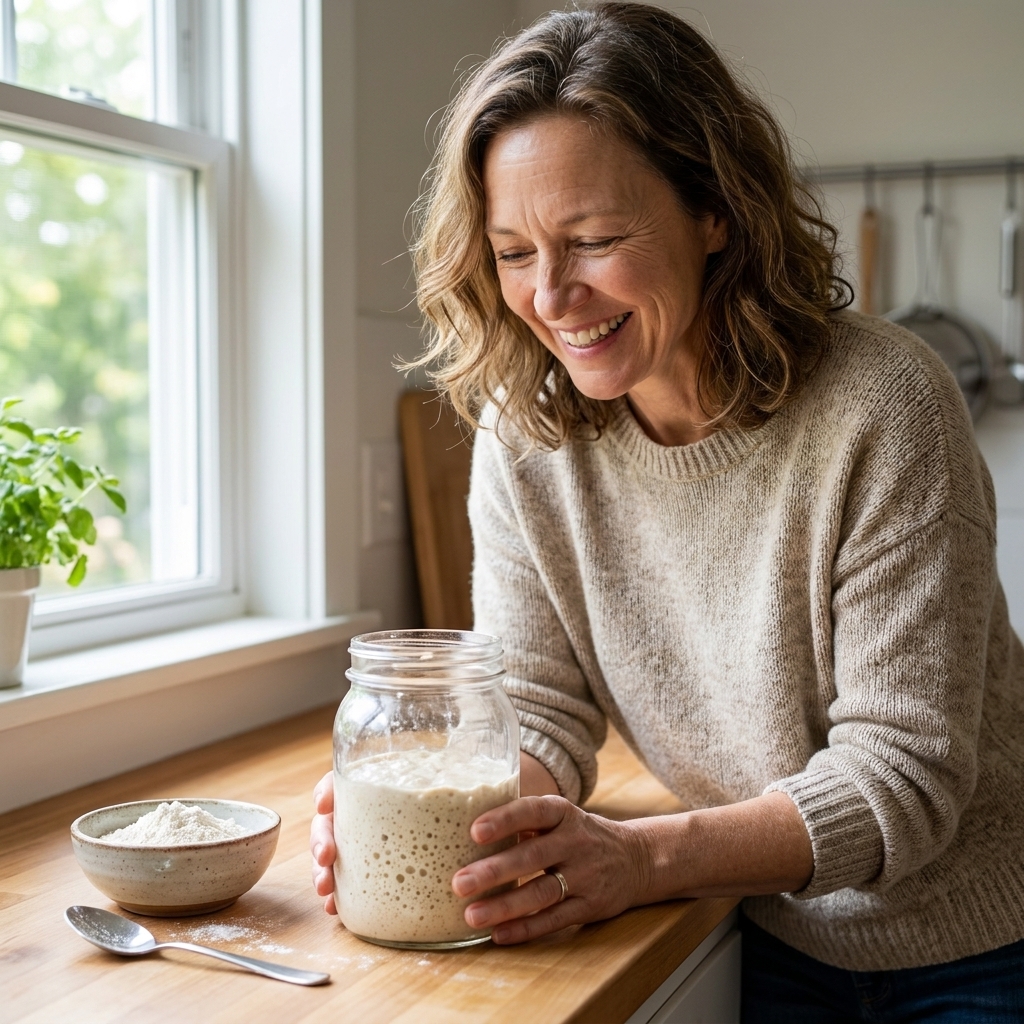
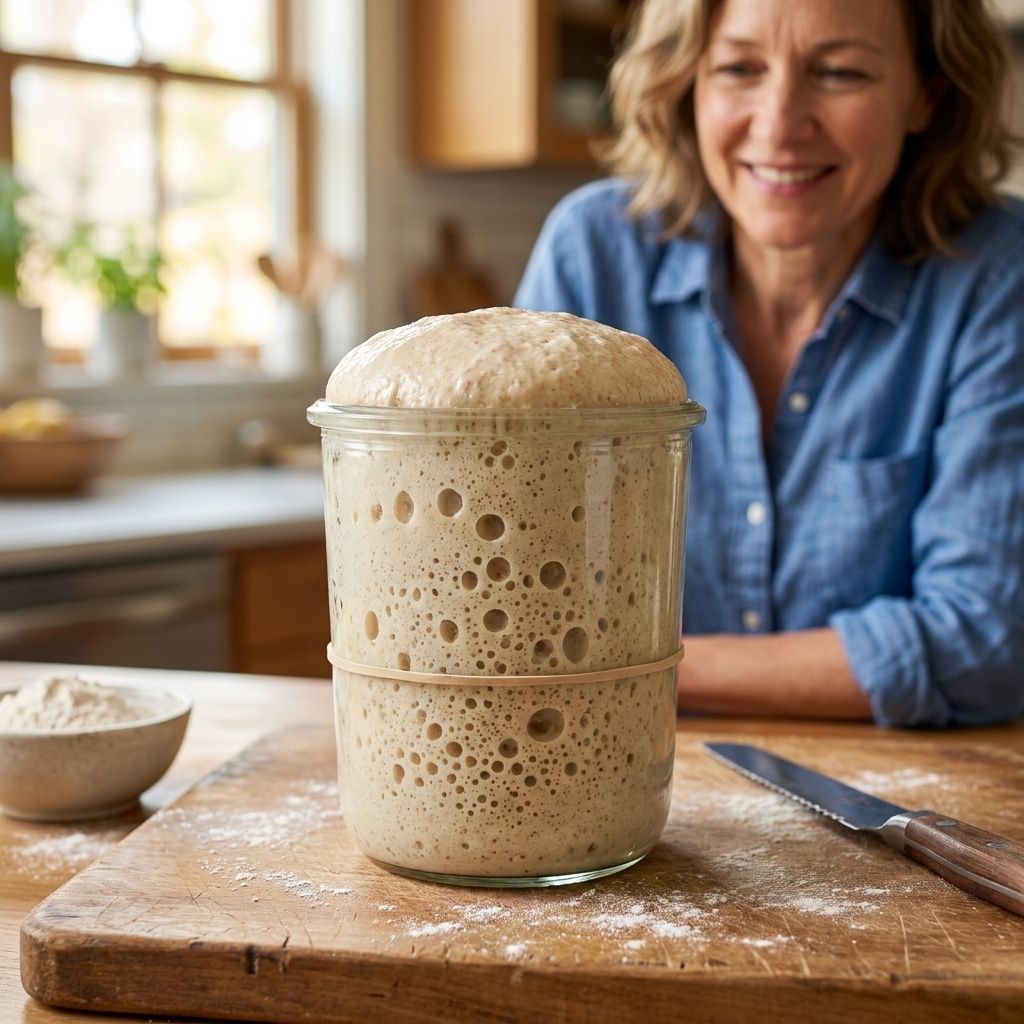
What to look for: A domed top at peak, lots of bubbles along the sides, and a clean sour or yogurt-like smell.
Days 9 to 14: Ready for baking
Many starters are ready around day 10 to 14, though some need longer. You are aiming for reliability, not a single lucky bubble party.
Your starter is ready when:
- It doubles in volume within about 4 to 8 hours after a feeding at room temperature.
- It shows a rise and fall pattern (it climbs, peaks, then begins to recede).
- It smells pleasantly tangy, not rotten or sharply putrid.
Beginner permission slip: If it takes you 18 days, you did not fail. You just have a starter with a slow, thoughtful personality.
Daily maintenance
If you bake often and keep your starter on the counter, aim for a predictable feeding ratio and schedule.
My go-to: 1:2:2 every 12 hours
This means 1 part starter, 2 parts water, 2 parts flour by weight.
- Keep 20 g starter
- Add 40 g water
- Add 40 g flour
Stir well, scrape down sides, cover loosely, and mark the level.
Adjust if needed: If your starter peaks too fast (like 2 to 3 hours), feed it a bigger meal such as 1:3:3. If it struggles to rise, try a warmer spot or add a bit of whole wheat or rye to the flour mix for a few days.
Fridge storage
If you bake once a week or less, your starter will be happier taking a nap in the refrigerator.
Weekly routine
- Feed it (for example, 20 g starter + 40 g water + 40 g flour).
- Let it sit at room temperature for 1 to 2 hours to start fermenting.
- Cover and place it in the fridge.
- Once a week, take it out, discard down to 20 g, feed again, let it start at room temp, then return to the fridge.
When you want to bake
- Take the starter out of the fridge.
- Discard and feed it.
- Give it 1 to 3 room-temperature feedings until it is doubling reliably again.
Tip: A cold starter can look sleepy and unimpressive. That is normal. Warmth and a couple of meals bring it right back.
Troubleshooting
It bubbled on day 3, then went quiet
This is extremely common. Early activity is often a burst from different bacteria before the yeast population stabilizes. Keep feeding on schedule. Quiet does not mean dead.
It smells awful
Some funk is normal in the first week. What you do not want is a truly putrid, rotten-meat smell or visible mold. If it is just unpleasant, keep going and make sure you are discarding and feeding regularly.
Try: switching to 1:2:2 feeds, using slightly warmer water, and keeping it warmer.
There is liquid on top (hooch)
That grayish or brownish liquid usually means your starter is hungry or sitting too long between feeds. It can also show up when a mature starter is cold or has been in the fridge for a while. You can pour it off or stir it in. Then feed it.
Try: feeding more often, increasing the feeding ratio (1:3:3), or keeping it a bit warmer.
There is mold or pink/orange streaking
If you see fuzzy mold, pink, or orange coloring, discard the starter and start over with a clean jar. It is not worth the risk.
My starter is not doubling
Usually this is temperature, flour choice, or feeding timing.
- Warmth: Aim for about 75 to 80°F if possible. A turned-off oven with the light on can help, but some ovens get surprisingly warm, so check with a thermometer and make sure it stays in range.
- Flour: Add 10 to 30% whole wheat or rye for a few days.
- Water: If you suspect chlorine or chloramine, use filtered (rated appropriately) or bottled water.
- Feeding ratio: If it is too acidic and sluggish, use a higher ratio like 1:3:3.
My starter rises, but collapses quickly
That often means it is peaking before you check it. Mark the jar and watch the timing once. When it hits peak, that is your ideal window for using it in dough or building a levain.
Using starter
Once your starter is strong, you have two good paths:
Option 1: Keep it small
Maintain a small amount (like 60 to 100 g total). Before baking, build it up with a bigger feeding so you have enough for your recipe.
Option 2: Build a levain
Many recipes use a levain, which is just a small offshoot built from your starter.
Example levain build: 10 g starter + 50 g water + 50 g flour. Let it peak, then use it in your dough.
A note on discard
In the early days, I recommend tossing the discard. Once your starter is reliably active (often after day 7 and definitely once it smells clean and pleasantly sour), you can save discard in the fridge for pancakes, crackers, or waffles.
Quick FAQ
Do I have to use rye or whole wheat?
No, but a little whole grain can speed early development. You can make a starter with all-purpose flour only. It might just take a bit longer.
Do I need the float test?
The float test is optional and not always reliable. A better indicator is whether your starter consistently doubles after feeding and has a clear rise and fall rhythm.
Can I use tap water?
Often yes. If your water is heavily chlorinated, use filtered water or let a pitcher sit out uncovered for a few hours. If your city uses chloramine, use bottled water or a filter rated to reduce chloramine.
How often should I clean the jar?
If your jar gets crusty or sticky up the sides, move your starter to a clean jar every few days. It helps prevent mold and keeps measurements easier.
What should it smell like?
Early on: funky, cheesy, sharp. Later: tangy, fruity, yogurt-like, or pleasantly sour. If it smells rotten or you see mold or pink tones, start over.
Is sourdough starter safe?
A clean, active starter that smells pleasantly sour and shows no mold or odd coloring is generally safe to bake with. If you are ever unsure, trust your senses and start fresh.
Next step
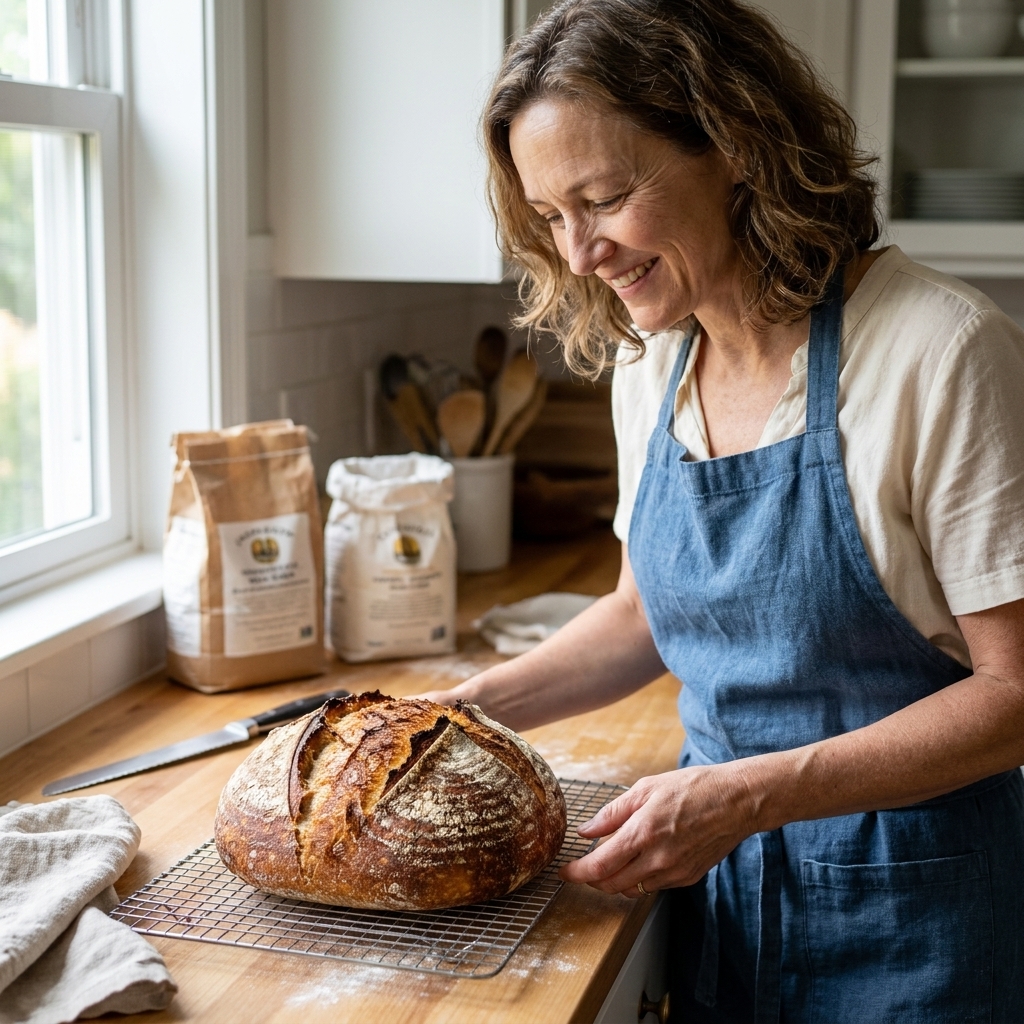
Once your starter is reliably doubling, pick a simple sourdough recipe and go for it. Your first loaf does not have to be pretty to be deeply satisfying. If it tastes good and you learned something, that counts as a win in my book.
If you want, keep a tiny notebook by the jar and jot down two things each day: feeding ratio and how long it took to peak. That little habit turns sourdough from mysterious to wonderfully predictable.