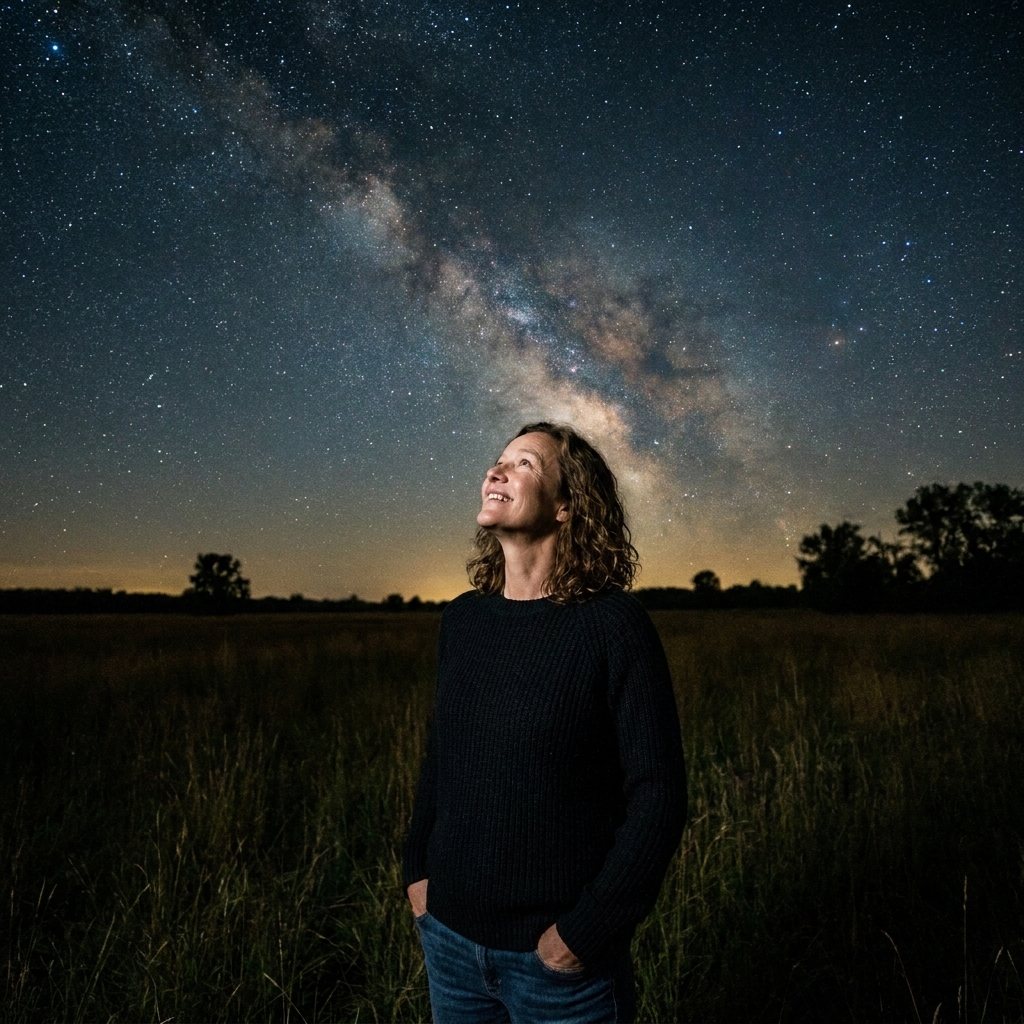
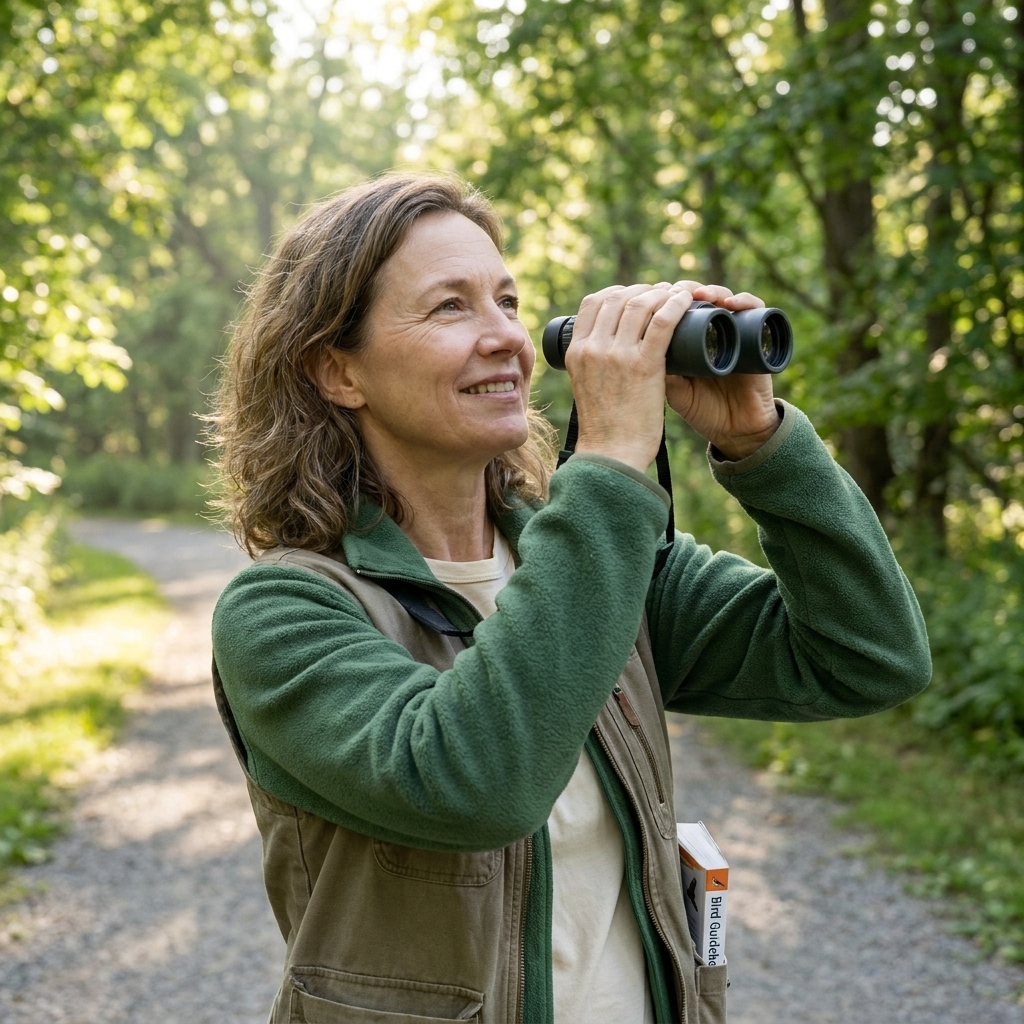
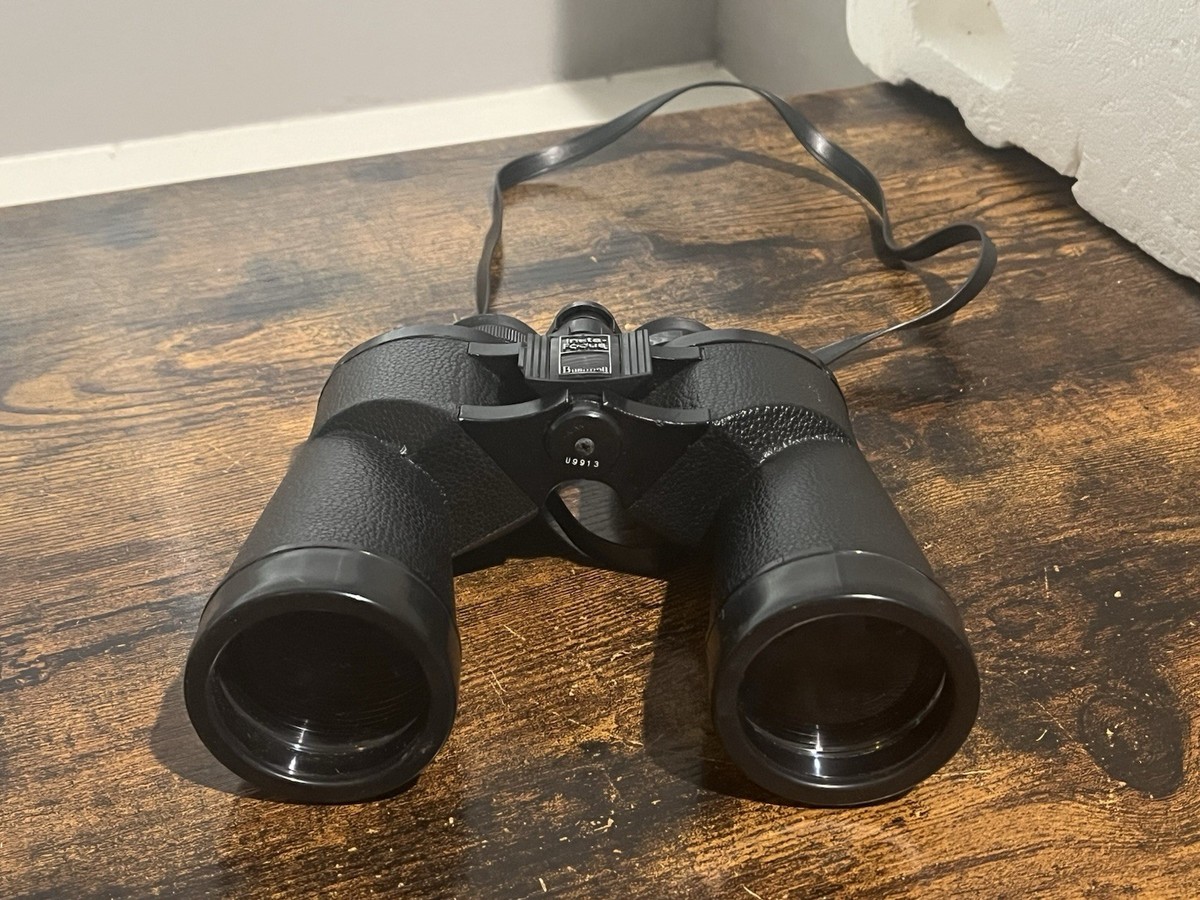
If you have a pair of binoculars and a patch of sky, you have enough to start stargazing. Truly. You do not need a telescope, you do not need to memorize constellations , and you definitely do not need to know what you are doing on night one.
Binocular stargazing is one of my favorite “permission to be a beginner” hobbies because the learning curve feels gentle. You can see real, jaw-dropping things right away, then build your skills one small win at a time.
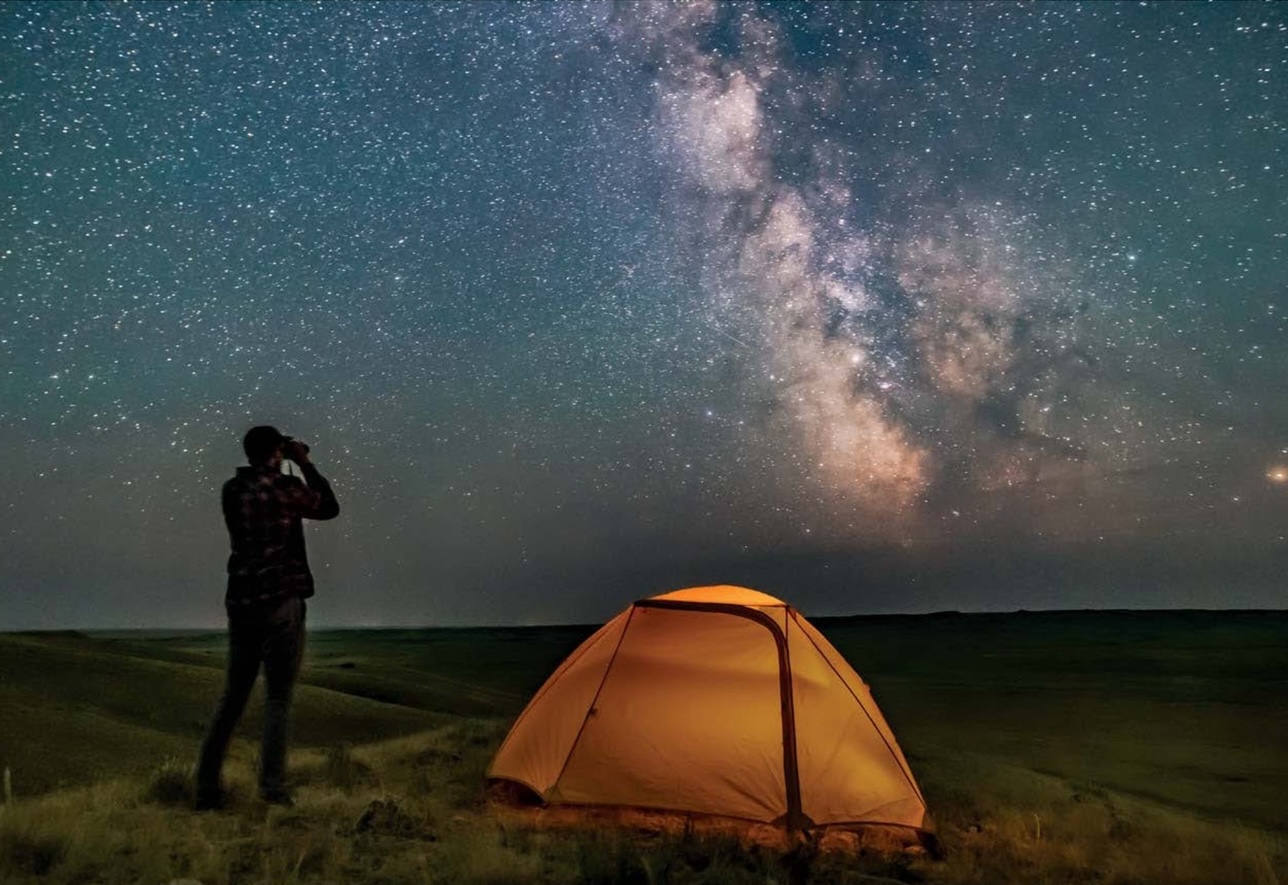
Why binoculars are a perfect first step
Binoculars hit the sweet spot between “I can actually see something” and “this is not a complicated setup.” Compared to a beginner telescope, binoculars are:
- Faster to use: pick them up, focus, look.
- Wider view: easier to find targets because you see more sky at once.
- More forgiving: no alignment or complicated mounts required.
- Useful in daytime too: birds , hiking, sports, the neighbor’s ridiculously tall sunflowers.
And the best part: binoculars shine on the kinds of targets that are most satisfying for beginners, like the Moon, star clusters, and bright “landmark” stars.
What binoculars to use (without getting overwhelmed)
If you already own binoculars, start there. The best binoculars are the ones you will actually take outside tonight.
Understanding the numbers (quick and painless)
Binoculars are usually labeled like 8x42 or 10x50.
- The first number (8x, 10x): magnification. Higher is not always better because it gets shakier in your hands.
- The second number (42, 50): objective lens diameter in millimeters. Bigger generally gathers more light, which is great for stars, but it also makes binoculars heavier.
Great “first night” choices
- 8x42: steady, bright, comfortable. A favorite for beginners.
- 10x50: a classic for stargazing. Bright views, still affordable, a little shakier handheld.
- 7x35: often found in closets and thrift stores. Totally usable for the Moon, star fields, and bright clusters.
If you are shopping specifically for stargazing and want one simple guideline: 8x42 or 10x50 is the happy place for many people.
A few features that actually matter
- Center focus that turns smoothly: stars should snap into a crisp point.
- Comfortable eye relief: especially if you wear glasses. Look for “long eye relief” in product descriptions.
- A tripod adapter socket: many binoculars have a small threaded socket under a cap at the front hinge. This lets you mount them later if you want steadier views.
One gentle warning: very high magnification (like 20x) sounds exciting, but it is usually frustrating without a tripod. Hand shake turns stars into jittery fireflies.
Before you step outside: a simple setup checklist
This is the part where past librarian Clara would hand you a calm little list and a gold star sticker.
- Dress warmer than you think: you will stand still more than you expect.
- Use a red flashlight: it helps preserve night vision. In a pinch, put red cellophane or a red sock over a small flashlight.
- Bring a chair or recliner: neck comfort is underrated. A lawn chair works great.
- Have a sky app ready: something like Stellarium, Sky Guide, or SkySafari can help you confirm what you are seeing. Use the dimmest screen setting you can tolerate.
- Give your eyes 10 to 20 minutes: you will notice a real improvement quickly, and longer is even better. Full dark adaptation can take 30 to 45 minutes, so be patient with yourself.
Optional but magical: a notebook. Jotting down “what I saw” turns a one-off experiment into a hobby you can grow.
Quick safety note: never look at or near the Sun with binoculars (even at sunrise or sunset) unless you have proper solar filters designed for optics. It can cause permanent eye damage in an instant.
Quick fog and dew tip: let your binoculars acclimate outdoors for a few minutes, and keep the caps on until you are outside. If lenses fog, give them time to clear naturally. Wipe only if you have to, and use a clean microfiber cloth.
How to hold and focus binoculars for stars
The trick with binoculars at night is not power. It is steadiness.
Steadying tips that make a big difference
- Brace your elbows: tuck them into your ribs.
- Lean on something: a fence post, a car roof, the side of your house.
- Sit down: sitting instantly improves steadiness.
- Exhale slowly: it sounds silly, but your view steadies when your body relaxes.
Set the barrel spacing first
This one small adjustment saves a lot of frustration. Before you focus on anything, adjust the barrels (the hinge in the middle) until you see one clean circular view, not two overlapping circles.
Focusing on stars (the “pinpoint” goal)
Stars should look like tiny, sharp points. If they look like fuzzy blobs or little comets:
- Turn the center focus slowly until the star becomes as small and crisp as possible.
- If your binoculars have a diopter adjustment (often a ring with markings on the right eyepiece, sometimes with a lock), set it once so both eyes reach focus together. A quick method: close your right eye and focus with the center wheel, then close your left eye and adjust the diopter until the star is sharp. After that, use the center wheel only.
If you cannot get stars sharp no matter what, check for fogged lenses, smudges, or simply that the binoculars need more focus travel than you are giving them.
What to look for on your first night
Your first night is about easy wins. Here are targets that are bright, unmistakable, and satisfying in binoculars.
The Moon (if it is up)
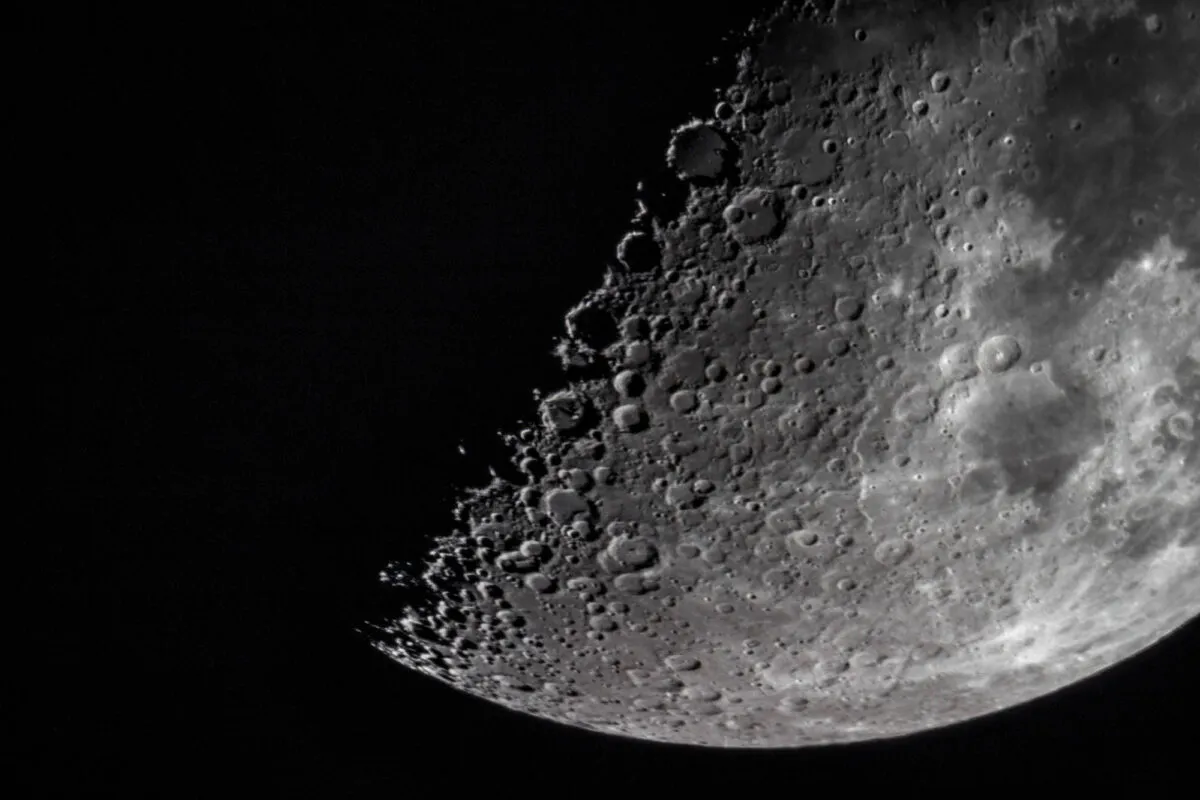
The Moon is the ultimate beginner object. Binoculars reveal craters along the terminator, which is the line between light and dark. That edge is where the shadows make the surface look three-dimensional.
Best time to look: not necessarily the full Moon. A half Moon often shows more dramatic shadows and detail.
Bright planets (when they are visible)
Planets usually look like bright, steadier points of light than stars to the naked eye. (When they are low on the horizon or the air is turbulent, they can still shimmer.) In binoculars:
- Jupiter: you may see tiny dots nearby, which are the Galilean moons. Even spotting one or two feels like wizardry.
- Venus: extremely bright, and it can show a phase like a tiny Moon, especially when you steady your binoculars (sitting helps a lot). It can be dazzling, so a steadier hold helps.
- Saturn: usually remains a bright point in most handheld binoculars, but it is still fun to identify. The “rings” typically need a telescope to truly resolve.
Your sky app can tell you what is up tonight. If you can only choose one planet target, choose Jupiter when it is available.
The Pleiades (M45)
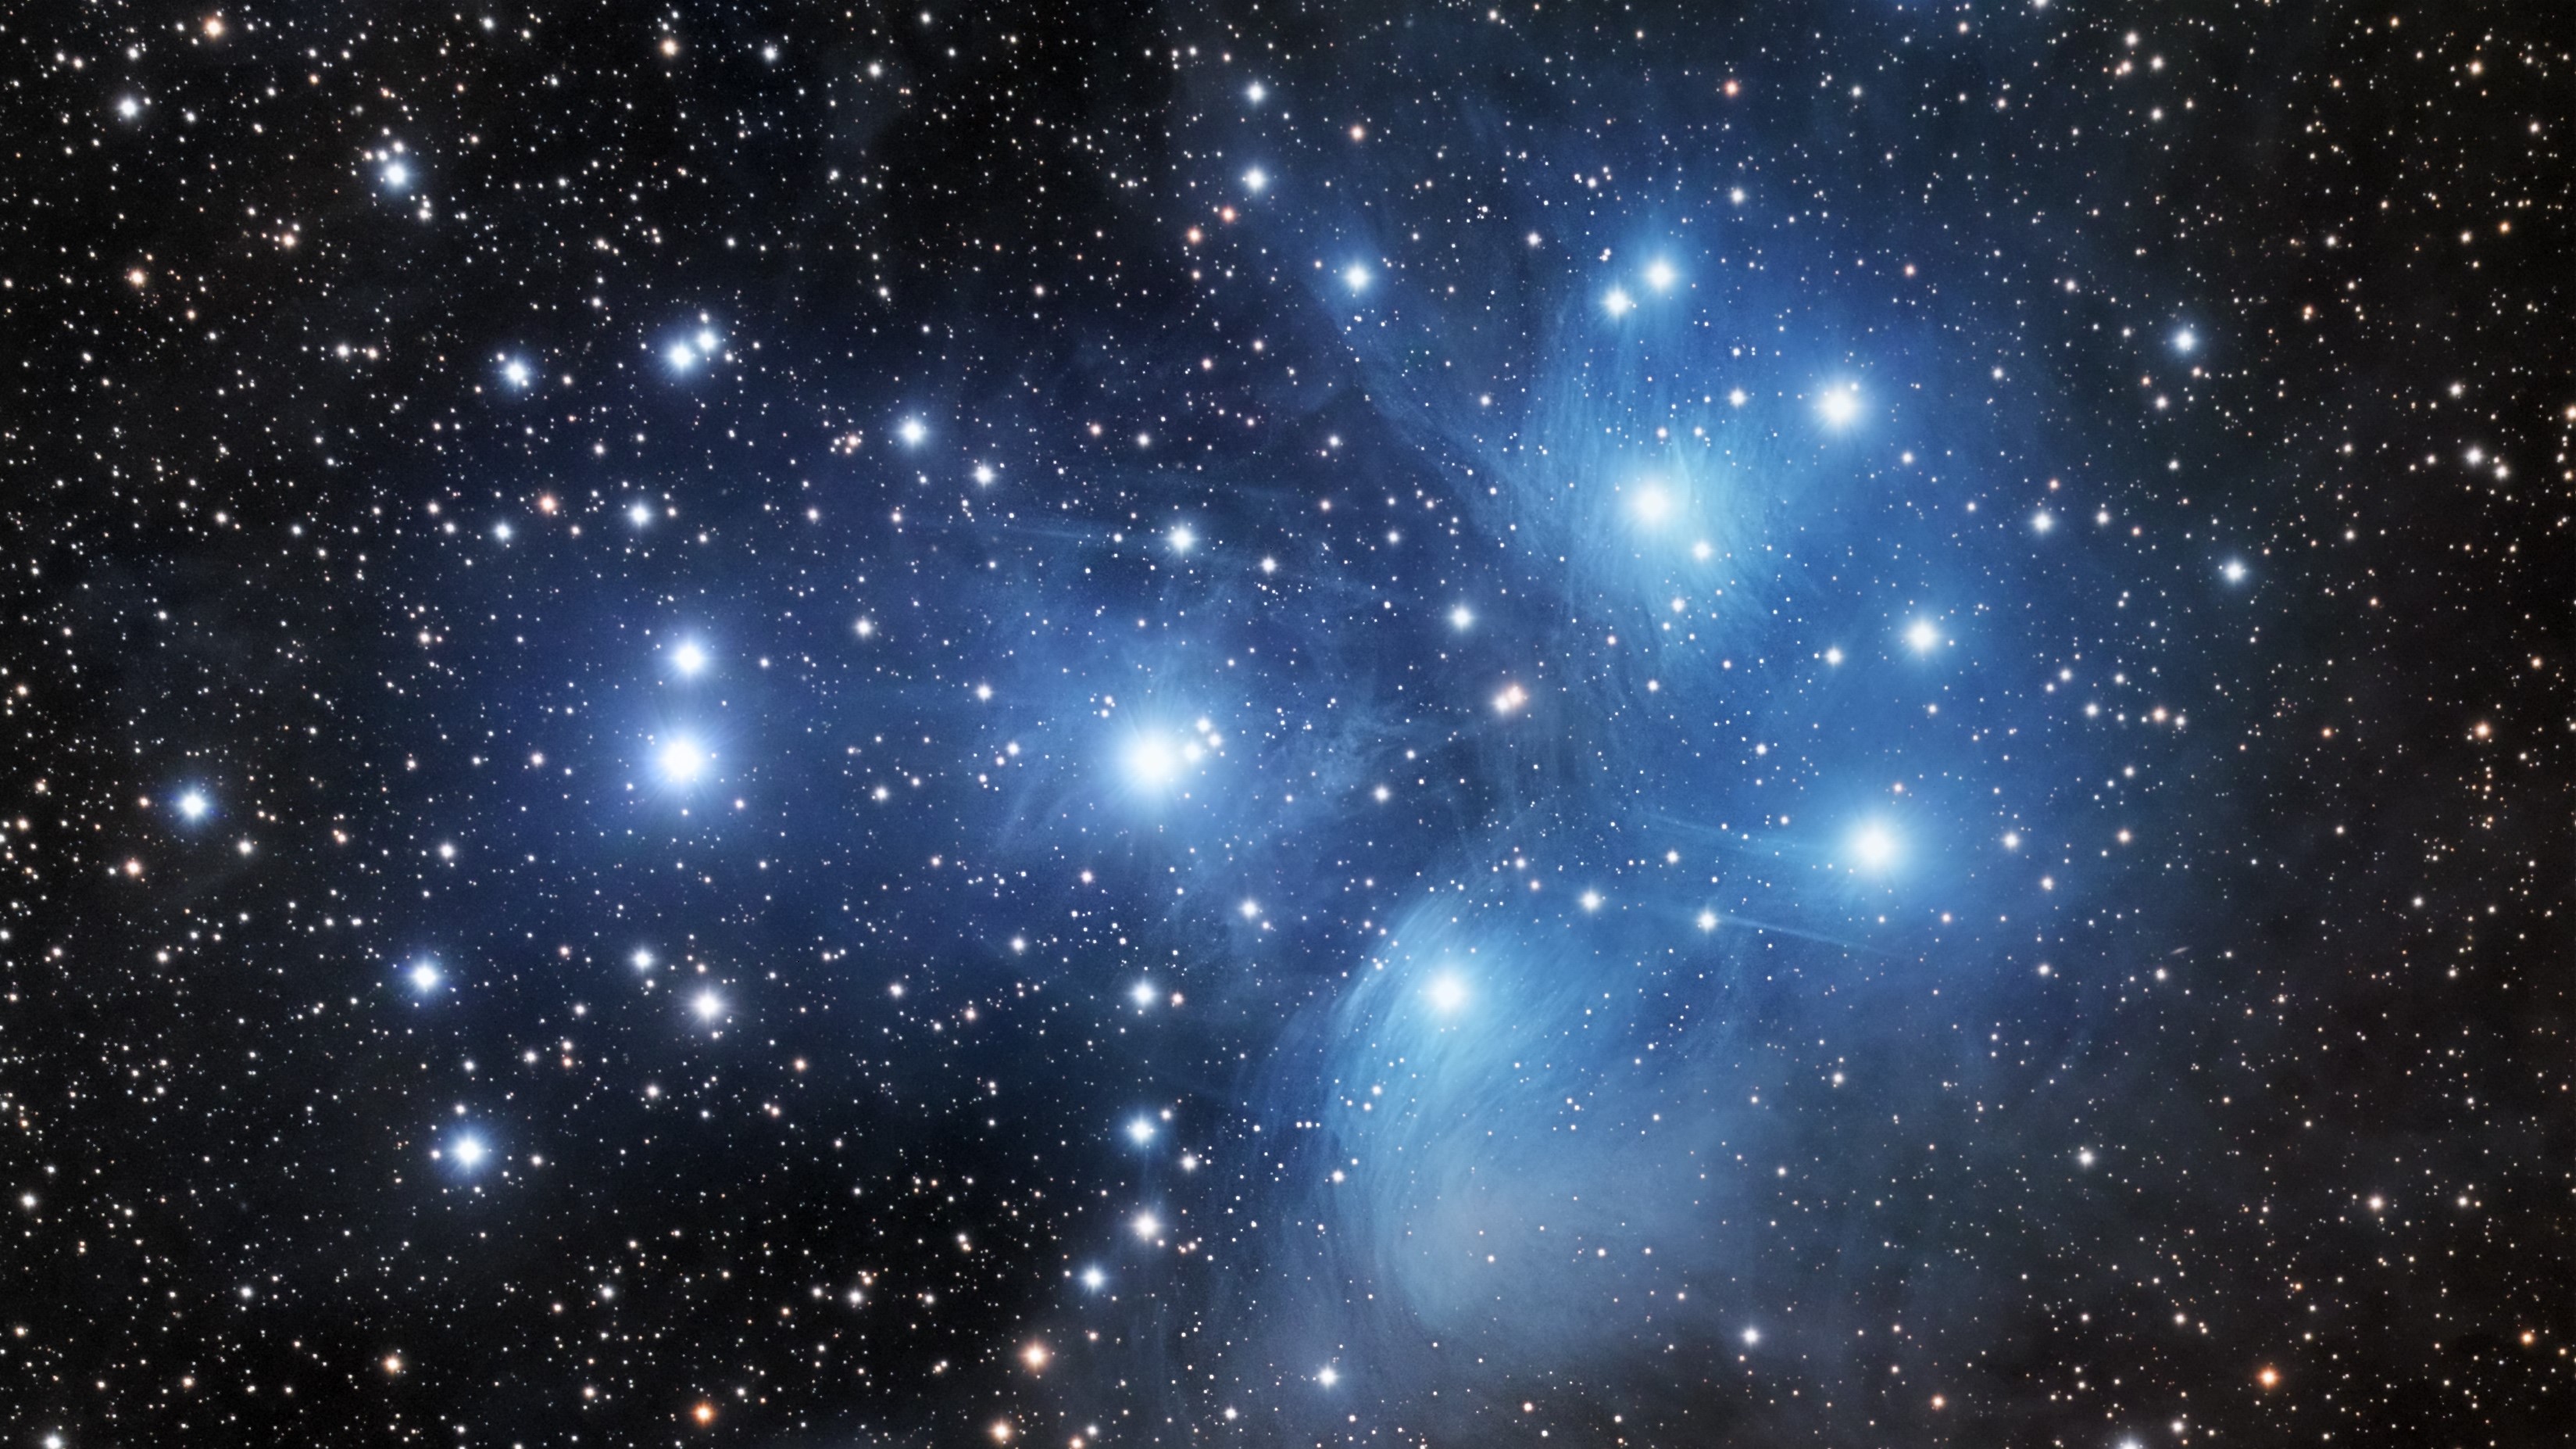
If you want a binocular object that makes people say, “Wait, THAT was hiding up there?”, this is it. The Pleiades is a compact star cluster that looks like a tiny dipper to the naked eye under decent skies. In binoculars it turns into a sparkling handful of diamonds.
Tip: If you see a fuzzy little cluster and think “is that it?”, it probably is.
Orion’s Sword (the Orion Nebula area)
When Orion is in the sky, look for the three bright stars of Orion’s Belt. Hanging below them is a short line, the Sword. In binoculars, the middle of the Sword often looks like a soft glowing patch. That is the Orion Nebula region, a real stellar nursery.
This is one of those moments where the universe stops feeling like a ceiling and starts feeling like a place.
The Andromeda Galaxy (a “smudge” worth celebrating)
Andromeda is famous for being visible to the naked eye under dark skies. In binoculars, it often looks like a faint oval glow. Beginners sometimes feel disappointed because it is not a crisp spiral like astrophotos. That is normal.
My favorite reframe: you are looking at the light of another galaxy with your own eyes. A gentle smudge is an achievement.
City note: in heavy light pollution, galaxies and nebulae can be tough. Star clusters are usually the most satisfying payoff from town.
A few more easy wins (season-friendly)
- Beehive Cluster (M44): a lovely spray of stars, best in spring skies.
- Double Cluster (NGC 869 and 884): two star clusters side-by-side, great in fall and winter.
- Hyades (in Taurus): a big, bright V-shaped star cluster near Aldebaran (which is not actually part of the cluster).
If you are under darker skies, scanning the Milky Way with binoculars can feel like turning the star density slider up. Just drift slowly and let the sky surprise you.
A simple first-night observing plan (about 45 minutes)
This is a low-pressure “starter itinerary.” Swap targets depending on season and what is above your roofline.
Step 1: Spend 5 minutes just orienting
- Turn off outdoor lights if you can.
- Let your eyes begin adjusting.
- Find the brightest object in the sky and use your app to identify it.
Step 2: Start with the Moon or the brightest easy target (10 to 15 minutes)
- If the Moon is up, begin there. Practice focusing until the edge looks crisp.
- If the Moon is not up, pick a bright planet or a bright star and practice steady holding and focusing.
Step 3: Find one star cluster (10 to 15 minutes)
- Look for the Pleiades if it is visible.
- If not, try a seasonal favorite like the Beehive Cluster or the Double Cluster.
- Or scan the Milky Way band if you have it in your sky, it looks like richer, grainier star fields in binoculars.
Step 4: Try one “faint fuzzy” (10 minutes)
- Try Andromeda if it is up.
- Or look for Orion’s Sword if Orion is in season.
Step 5: End with a quick “what surprised me” note (2 minutes)
Write down three things: what you saw, what was tricky, and what you want to look for next time. This is how you turn a single night into a hobby you can return to.
If you only accomplish one thing: learn how to get stars to focus into crisp pinpoints. That one skill makes everything else easier.
Beginner mistakes that are totally normal
- Expecting color like photos: most nebulae and galaxies look grayish to our eyes. Cameras collect more light than we can.
- Chasing too many targets: better to really look at three things than rush through fifteen.
- Observing from a glaring porch light: darkness matters. Even stepping into a shadow helps.
- Using maximum magnification thinking it equals better views: steadiness and light gathering usually matter more.
- Giving up too fast on a “smudge” object: faint targets often pop more with patient looking and averted vision, which means looking slightly to the side of the object rather than directly at it.
FAQ
Can I stargaze with cheap binoculars?
Yes. Even budget binoculars can show the Moon’s craters, the Pleiades, and rich star fields. The main limitations tend to be edge sharpness and glare around bright objects, but you can still have a wonderful first night.
Do I need a tripod for binocular stargazing?
Not to start. A tripod often helps at 10x and higher, and it becomes especially helpful at 12x or more. You can get steadier handheld views by sitting, bracing your elbows, and leaning against something solid.
Where should I observe from if I live in a city?
Start from wherever is easiest, like a balcony, backyard, or a local park. Face away from direct lights and stand in shadow. In heavy light pollution, focus on the Moon, bright planets, and star clusters. Those still look great, and they are usually much easier than galaxies and faint nebulae from town.
What is the best time of night to stargaze?
When the sky is darkest and you are comfortable. For many people, that means a couple hours after sunset once the sky fully darkens. If you can, pick a night with clearer air and fewer clouds, and avoid glaring moonlight when hunting faint objects.
Your only goal: look up twice
If you are reading this and thinking, “I will probably mess it up,” welcome to the club. The win is not expertise. The win is stepping outside, letting your eyes adjust, and seeing something real and distant with your own two eyes and a simple tool.
Go meet the Moon, or Jupiter, or a sparkly cluster of stars. Then come back tomorrow and do it again, just a little more relaxed.