My favorite thing about custom mechanical keyboards is that you are allowed to be delightfully picky. You can make a board that feels quiet and cushy, loud and clicky, crisp and speedy, or anything in between. And yes, your first build can be simple. We are going for “works beautifully” over “wins the internet.”
This guide walks you through picking a barebones kit, choosing switches and keycaps, and assembling everything step by step. No perfection required.
Before you buy anything
Decide your layout
Layout is the biggest quality-of-life decision. It controls how many keys you get and how compact the board feels.
- Full-size (100%): has number pad. Great for spreadsheets, bigger on your desk.
- TKL (80%): no number pad, keeps function row and arrows. Very popular “first custom” size.
- 75%: compact TKL vibe, tighter spacing, still has arrows and function row.
- 65%: keeps arrows, loses function row. Small, practical.
- 60%: smallest common layout, no arrows or function row by default. Fun, but can feel steep for a first build.
Choose wired, wireless, or both
Wireless is cozy for couch typing or a tidy desk, but it adds batteries and a little complexity. Wired is simplest and usually cheaper. Many modern kits do both.
If you go wireless, check what kind:
- Bluetooth: easy device switching, great for laptops and tablets. Latency is usually fine for typing.
- 2.4GHz dongle: typically lower latency and more “wired-like.” Nice for gaming and desktop use.
Also confirm how you access the battery or charging port so you are not doing a full disassembly for a simple recharge.
Pick your sound vibe
Don’t worry, you do not need a sound booth or golden ears. Just pick a direction:
- Quiet and soft: “silent” switches (linear or tactile), good stabilizers, foam-friendly case.
- Clean and crisp: tactile switches, solid case, minimal rattle.
- Loud and clicky: clicky switches, embrace the chaos.
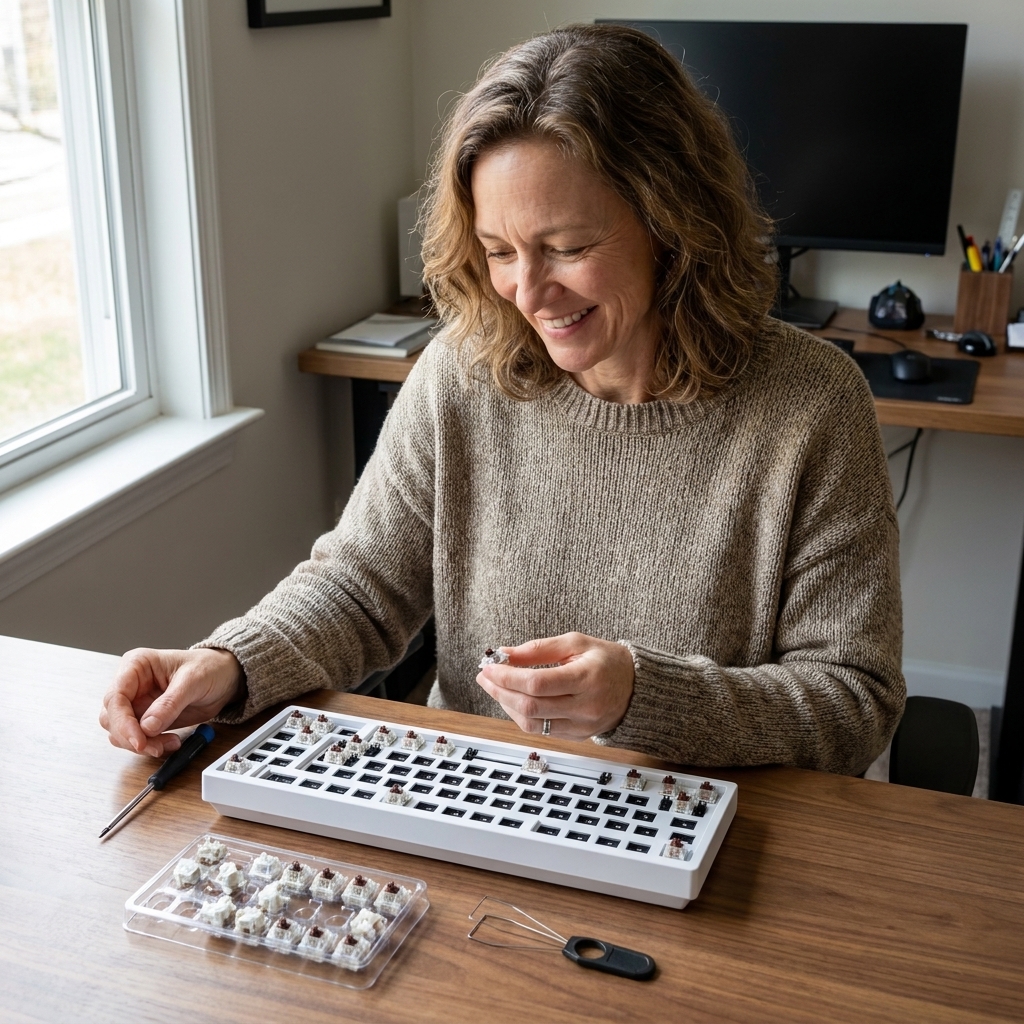
The parts you need
Barebones kit
A barebones kit usually includes the case, PCB (the board), plate, stabilizers (sometimes), and basic foam (sometimes). You add switches and keycaps.
For a first build, prioritize:
- Hot-swappable PCB so you can install switches without soldering.
- QMK/VIA compatibility (or an easy remap tool) so you can customize your keys later.
- A well-reviewed kit with a mounting style you like (gasket, tray, top mount, and others). “Common” is less important than “implemented well,” because any mount can feel amazing or annoying depending on the design.
Switches
There are lots of switch families out there (optical, Hall effect, low-profile, Alps-inspired, and more). For most beginner customs, you will be shopping in the world of MX-style switches. Within that category, the three most common feels are:
- Linear: smooth top-to-bottom. Often quieter than clickies, and great for gaming and long typing sessions. “Silent” linear versions exist if you want to keep things extra calm.
- Tactile: a noticeable bump during the press. Many typists love the feedback. Depending on the switch, actuation can happen around the bump, not always exactly at it.
- Clicky: a tactile bump plus an audible click. Fun, but not always roommate-friendly.
How many switches do you need? One per key. Your kit listing should say how many keys the layout has. Buy a few extras in case of a bent pin or a switch you want to swap later.
Compatibility notes: make sure your switches match your PCB type (most hot-swap customs are MX-style) and check whether your PCB is 3-pin, 5-pin, or supports both (more on that below).
Keycaps
Keycaps affect sound and comfort more than people expect. Two beginner-friendly choices:
- PBT: textured, durable, resists shine. Often a great first set.
- ABS: smooth, can get shiny over time, but many premium sets are ABS and sound lovely.
Also check:
- Profile (shape): Cherry, OEM, SA, DSA, XDA, and more. If you are unsure, Cherry or OEM is a safe first pick.
- Layout compatibility: make sure the set includes keys for your layout (especially 75% and 65%, which can need uncommon key sizes).
- Stem compatibility: most sets are made for MX stems (the little plus shape). If your board uses something else, confirm before you buy.
- North-facing LED note: some boards with north-facing LEDs can cause interference with certain Cherry-profile keycaps on some rows. It is not guaranteed to happen, but if you see complaints about “Cherry interference” on your kit, consider OEM profile or a switch designed to avoid it.
Stabilizers
Stabilizers (stabs) go under long keys like the spacebar, Enter, Shift, and Backspace. When they are not tuned, they rattle and feel mushy. When they are tuned, your keyboard suddenly feels “expensive.”
Your barebones kit may include stabilizers. If not, get stabilizers that match your kit’s mounting support:
- PCB-mount screw-in (Cherry-style): a favorite on many modern customs when the PCB supports it.
- Plate-mount (Cherry-style): common on some kits, especially budget builds.
Most kits use standard Cherry-style stabilizers, but always confirm sizes for your layout (spacebar length and right Shift are the usual “gotchas”).
Tools and supplies
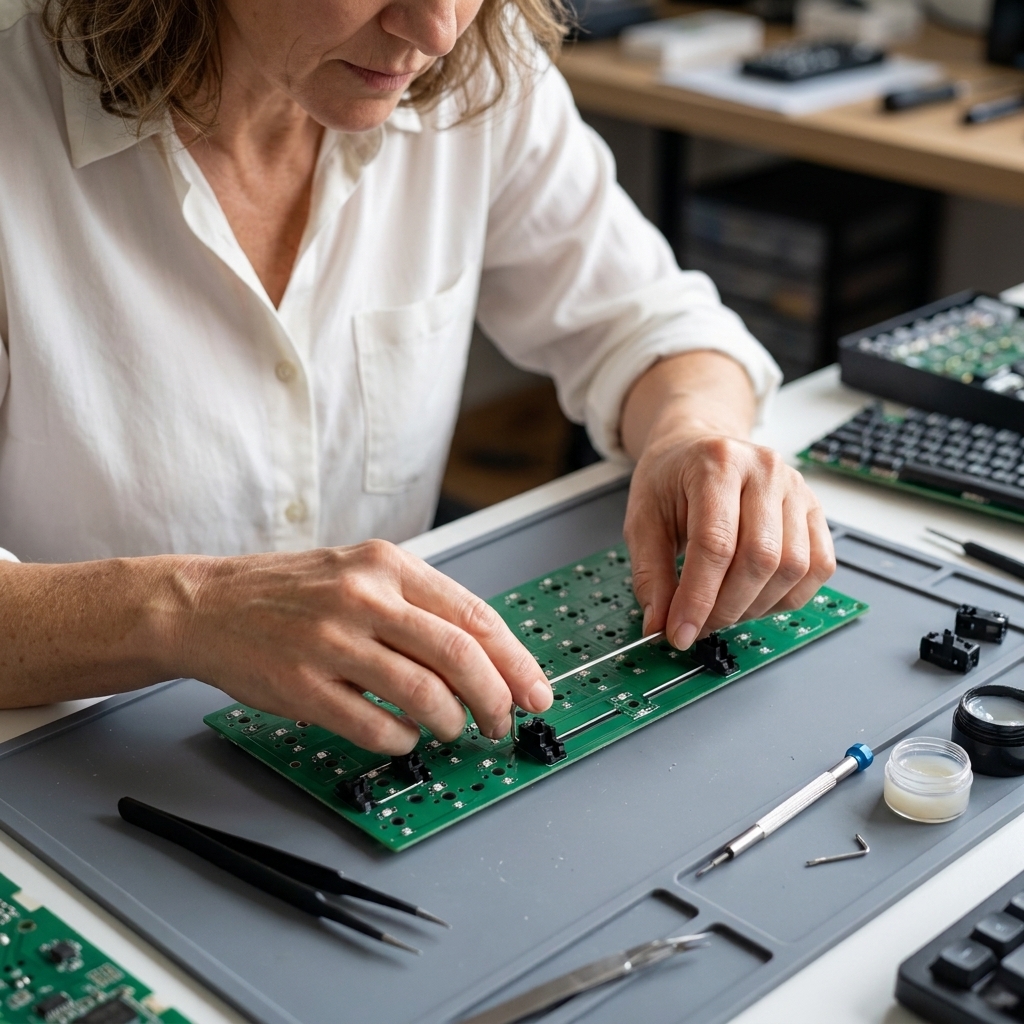
- Keycap puller and switch puller (often included with kits)
- Small screwdriver set
- Tweezers (helpful for stabilizer clips and foam)
- Optional but nice: switch opener, switch lubricant, stabilizer grease, bandages or cloth tape for stabilizer mods
If the word “lube” makes your eyes glaze over, you can absolutely skip lubing switches on build one. Focus on getting it assembled, tested, and rattle-free.
Common-sense handling: unplug the keyboard while you are working inside the case, be gentle with USB ports and ribbon/JST cables, and do not overtighten screws into plastic.
Build steps
1) Unbox and sanity-check
Lay everything out like you are about to cook from a new recipe. Confirm you have:
- Case (top and bottom pieces if applicable)
- PCB
- Plate
- Stabilizers and screws
- Foam or gaskets (if included)
- Cable and any daughterboard/JST cable (for some designs)
Pro tip: keep small screws in a dish so they do not migrate into the carpet dimension.
2) Test the PCB first
This is the five-minute habit that saves hours of confusion later. Plug the PCB into your computer and confirm it is detected (for example: it shows up in VIA, the manufacturer’s software, or at least responds in a basic keyboard tester if it ships with a default layout).
You will test each switch socket again later, but this quick check helps you catch obvious issues early.
3) Install and tune stabilizers
Stabilizers first, always. They sit under the plate and switches, so they are annoying to fix later.
- Assemble stabilizers (housing, stem, wire) per the kit instructions.
- Mount them to the PCB (or plate, depending on your kit).
- Basic tuning: apply a small amount of stabilizer-safe grease to the wire where it contacts the housing. You are aiming for “no rattle,” not “submerged.”
If you want one beginner mod with a big payoff, focus on stabilizers. A well-tuned spacebar makes the whole board feel calmer.
4) Add foam or gaskets (if included)
Many kits include case foam, plate foam, or a thin PCB foam layer. Follow the manufacturer’s order. If something does not fit easily, stop and double-check. Foam should sit flat without buckling the PCB.
5) Join the plate and PCB
Align the plate over the PCB. On hot-swap builds, the plate keeps switches straight and helps them seat properly. Make sure the plate matches your layout and stabilizer positions.
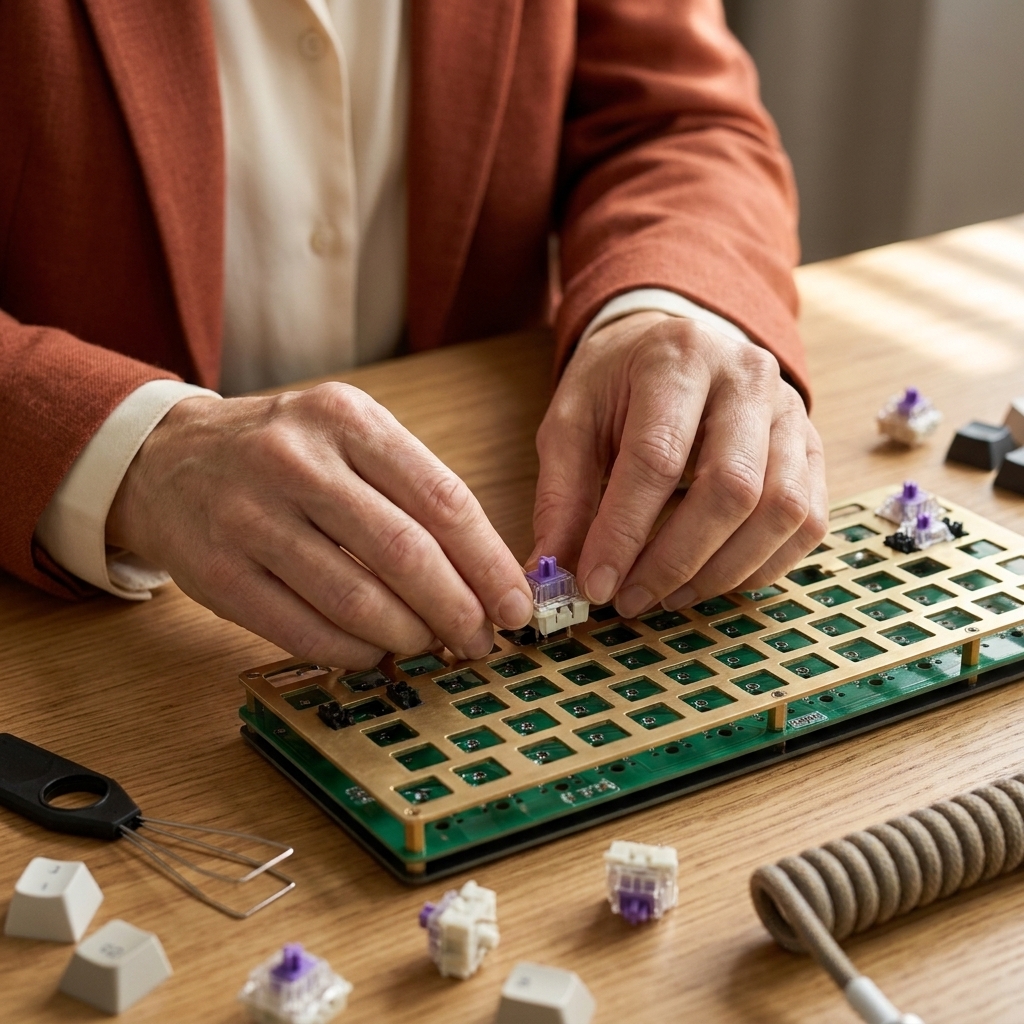
6) Install a few anchor switches
This is my favorite beginner trick. Start with 4 to 6 switches near the corners and around the middle.
- Make sure the switch pins are straight.
- Press the switch through the plate into the hot-swap socket.
- Use firm, even pressure. If it will not seat, do not force it. Pull it out and check for a bent pin.
Once anchors are in, the plate and PCB behave nicely while you fill the rest.
Finish the build
7) Install the rest of the switches
Work in rows. Every so often, flip the board over and visually check that switches are fully seated and aligned. Bent pins are common on first builds, and fixing them early is much easier than diagnosing a dead key later.
8) Test every key before closing the case
Plug the PCB in and use a keyboard tester again. Press each switch stem (no keycaps yet) and confirm it registers.
If a key does not work:
- Pull that switch and inspect the pins. Straighten gently and reinstall.
- Try a different switch in that socket to rule out a bad switch.
- If multiple keys in one area fail, re-check any internal cables (on boards with a daughterboard).
9) Assemble the case
Once everything tests correctly, mount the PCB and plate into the case following your kit’s instructions. Tighten screws until snug, not “I am preparing this for a hurricane.” Over-tightening can change sound and flex, and occasionally cause issues.
10) Put on keycaps
Start with the stabilized keys (spacebar, Enter, Shift). Press straight down. If a stabilized key feels sticky or crooked, pop it off and re-seat. Then finish the rest.
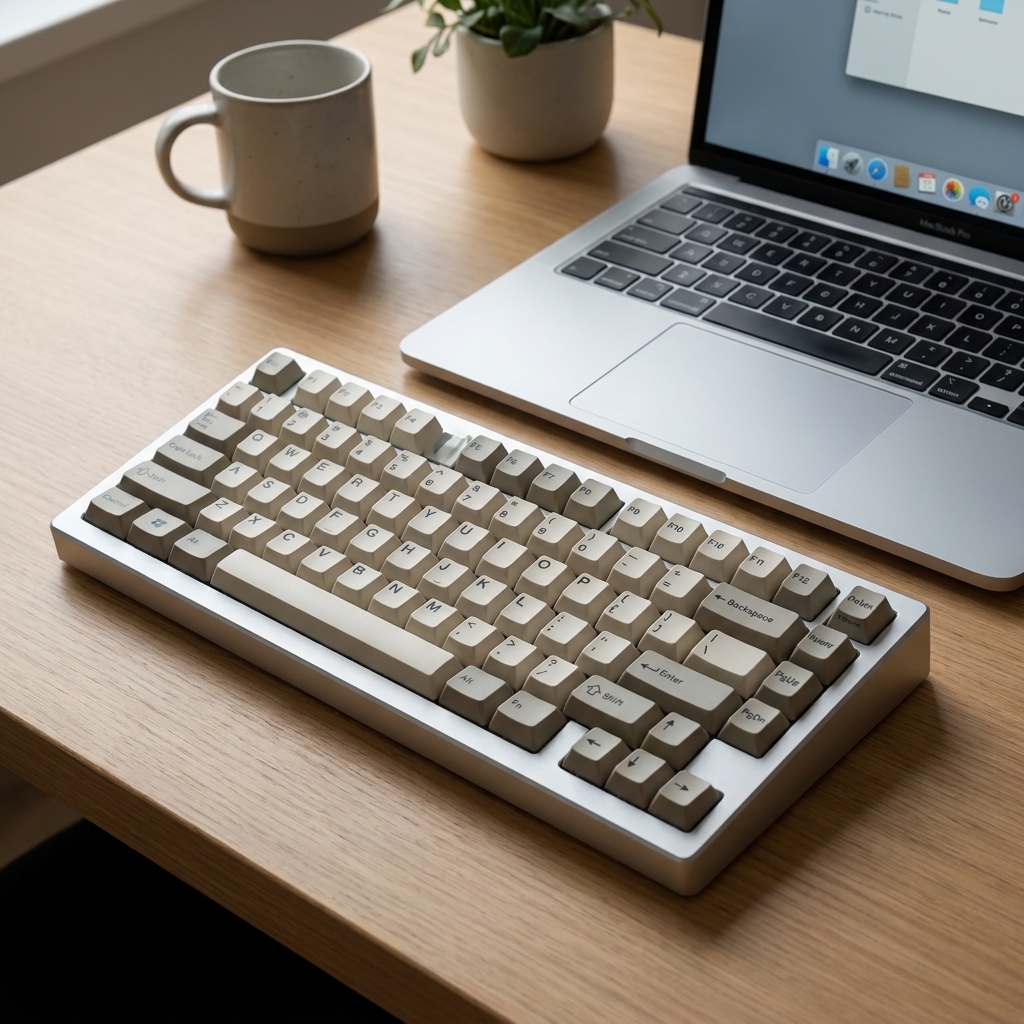
When you are done, take a second to admire it. You built a real object with your hands that you will use every day. That is magic.
Beginner picks
Low-stress first build
- Hot-swap barebones kit in a layout you already like (TKL, 75%, or 65% are sweet spots)
- Linear or gentle tactile switches (skip ultra-heavy springs at first)
- PBT keycap set in Cherry or OEM profile
- Spend effort on stabilizers for the biggest feel upgrade
3-pin vs 5-pin switches
Many hot-swap PCBs accept both. If your PCB only supports 3-pin and you bought 5-pin switches, you can often clip the two extra plastic legs. It is doable, but for build one, it is nicer to buy switches that match your PCB so you can stay in the “fun zone.”
Simple tuning
Swap switches without guilt
Hot-swap means you can experiment. If a few keys feel weird, try a different switch there. Many people put a slightly heavier switch on the spacebar or Enter key for a sturdier feel.
Stabilizer touch-ups
If you hear rattle on the spacebar, remove the keycap and press the ends. If it clacks, a tiny bit more grease on the stabilizer wire contact points can help. Go slowly.
Remap one helpful key
Even if you never customize again, one remap can make your keyboard feel tailored. Common beginner wins:
- Map Caps Lock to Control or Escape
- Add a Fn layer for media keys
- Move Delete somewhere convenient on smaller layouts
Common mistakes
- Buying keycaps without checking layout support: 65% and 75% kits often need specific sizes. Check before you fall in love.
- Forcing a switch: if it does not seat, a pin is probably bent. Forcing can damage hot-swap sockets.
- Skipping PCB testing: test before and after switch install to avoid mystery troubleshooting.
- Ignoring stabilizers: rattly big keys can make a great keyboard feel cheap. Tune them early.
- Over-tightening screws: snug is enough.
FAQ
Do I need to solder?
No, not if you choose a hot-swappable barebones kit. Soldering is optional in the hobby, not a requirement.
How much does a first build cost?
It varies a lot, but a solid beginner build is often in the $100 to $250+ range for a barebones kit, switches, and keycaps. The biggest price swings are the kit materials and keycap sets. If you are trying to stay budget-friendly, prioritize a good kit and decent stabilizers, then choose simpler keycaps.
What is the easiest switch type?
Linears are often easiest because they feel smooth and predictable. That said, if you crave feedback while typing, a mild tactile can be very beginner-friendly too.
A key does not work. What now?
Pull the switch, check for bent pins, straighten gently, and reinstall. Try a different switch in the same socket to rule out a faulty switch. If the socket still fails, check your kit documentation and consider contacting the vendor.
Keep it simple
If you take one thing from this, let it be this: you are not building a museum piece. You are building a tool that makes your everyday life a little nicer. Start with a hot-swap kit, choose switches that sound pleasant to you, give your stabilizers a little love, and call it a win.
And if you catch yourself already planning “Keyboard #2,” welcome. There is room by the craft table.