There is something deeply comforting about a console that does exactly one purpose: boots up fast, shows you a tidy menu of classics, and lets you play for 20 minutes without falling into a 47-tab internet spiral. A Raspberry Pi retro console delivers that feeling in a little plastic case.
In this guide, I will walk you through building a dedicated retro gaming machine that can handle arcade favorites and 16-bit era consoles. We will keep it beginner-friendly, budget-aware, and focused on playing classic games safely and responsibly.
Quick expectations: Plan on 30 to 60 minutes for the basic build and setup, plus however long you spend transferring games and making it look pretty. Difficulty is beginner-friendly if you can follow steps and plug in cables. Cost is usually budget to midrange depending on the Pi and accessories.
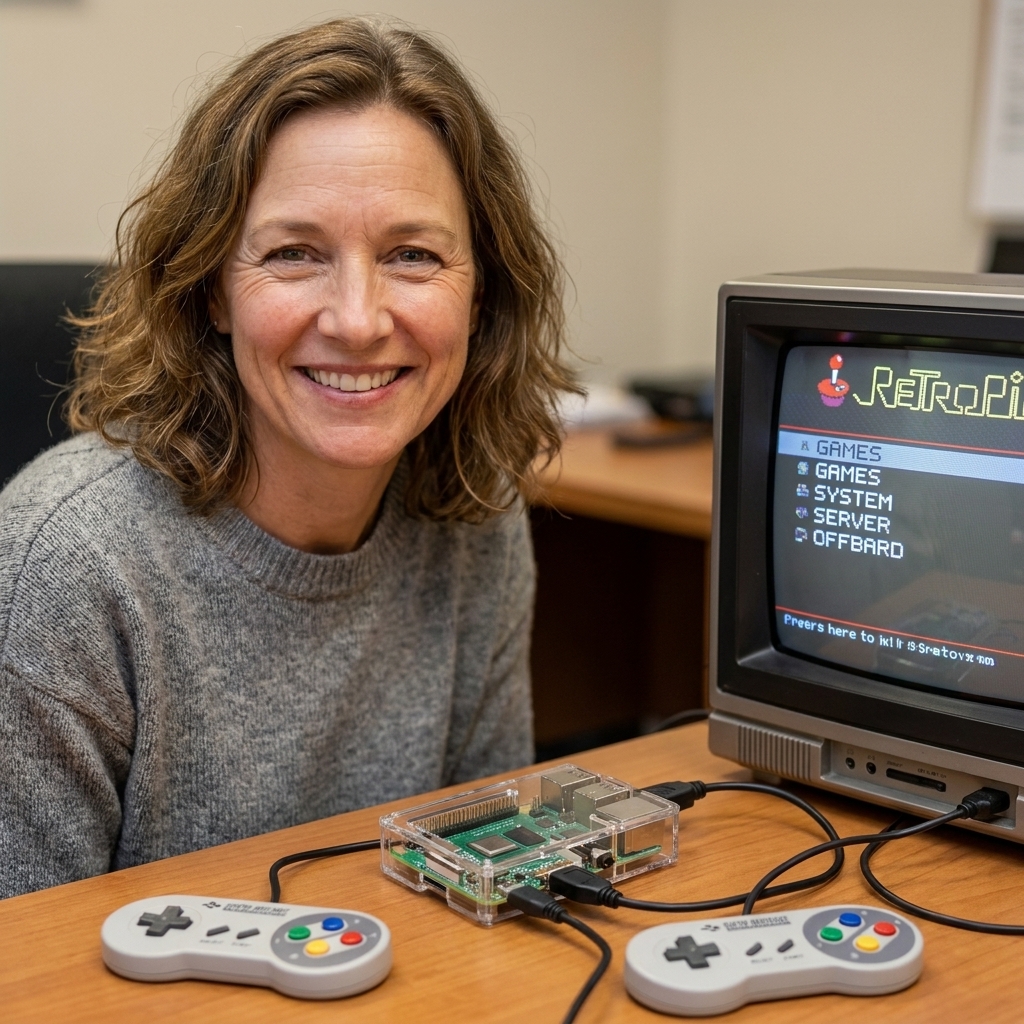
What you are building
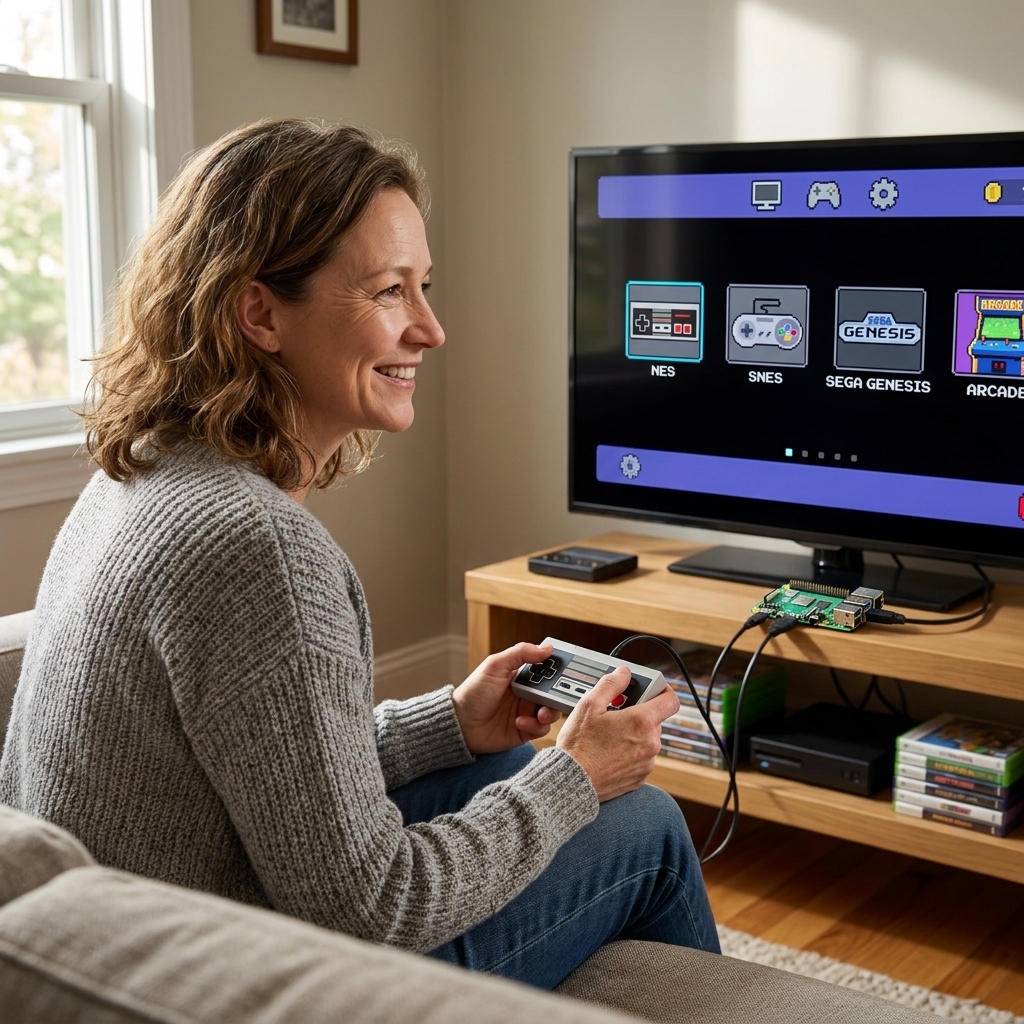
A Raspberry Pi retro console is a small computer running a retro gaming front end and emulators. You plug it into a TV or monitor via HDMI, connect controllers, and launch games from a clean, console-like interface.
Realistic performance
These tiers assume a Raspberry Pi 4 or 5. Earlier models can be more limited and may struggle with the “pretty good” category.
- Excellent: Atari, NES, SNES, Genesis/Mega Drive, Game Boy family, most classic arcade (MAME or FinalBurn Neo depending on the game)
- Pretty good (depending on the Pi and settings): PlayStation 1, some N64 (very variable), some PSP (often needs lower resolution or frameskip on Pi 4)
- Hit or miss: Dreamcast (many titles can be playable on Pi 4 or 5, but not universal), GameCube and PlayStation 2 (generally not realistic on a Pi as a main target)
If your heart lives in the arcade, SNES, and Genesis era, you are in the perfect place.
Parts list
You can absolutely overbuild this project. You can also keep it simple and still end up with a delightful little “plug in and play” box.
Core parts
- Raspberry Pi: Pi 4 (2GB or 4GB) is the common value pick. Pi 5 is faster and snappier for tougher systems, but costs more and runs warmer.
- MicroSD card: 32GB minimum, 64GB or 128GB is more comfortable. Choose a reputable brand. If you plan to add disc-based systems like PS1 or PSP, storage fills fast and 128GB to 256GB can be a happier place to land.
- Power supply: Use the official Raspberry Pi power supply for your model whenever possible.
- HDMI cable: Pi 4 uses micro HDMI, Pi 5 uses micro HDMI. Make sure you buy the correct type.
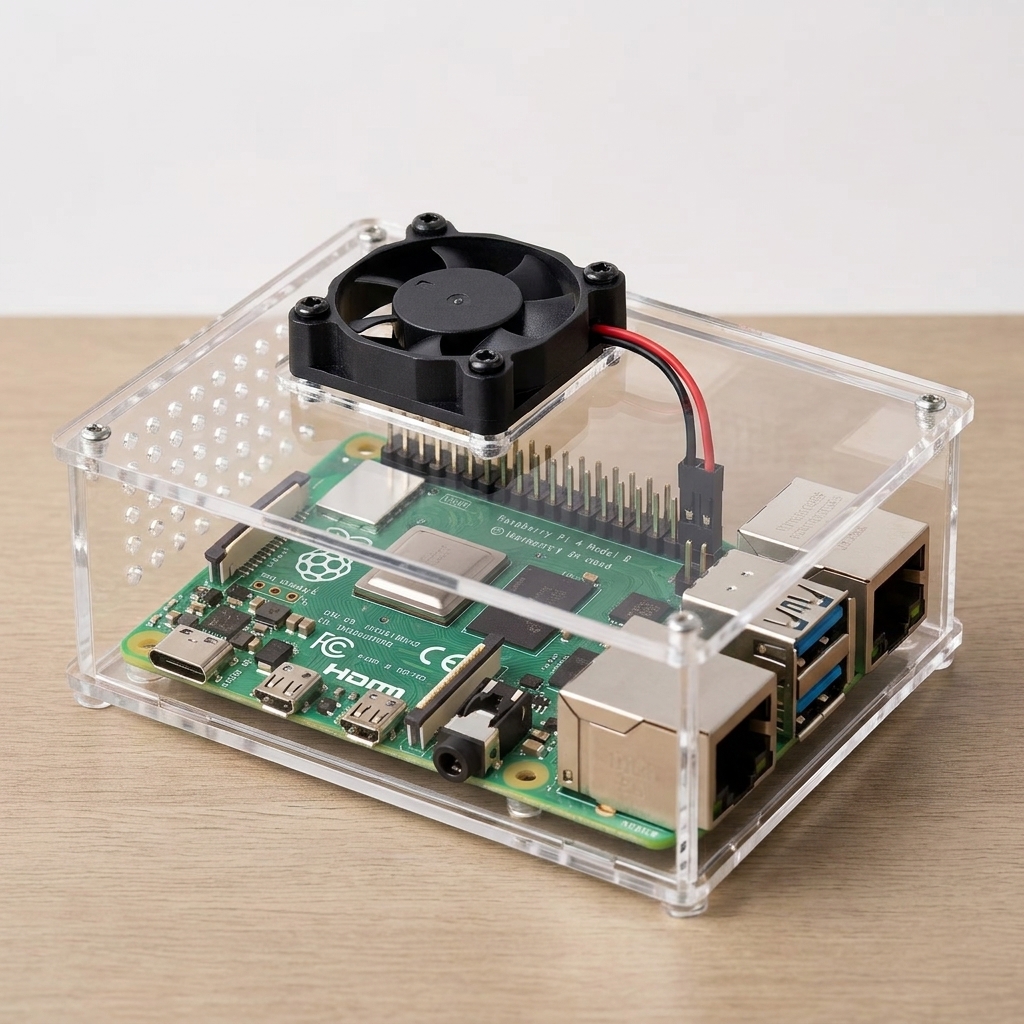
- Case: Any decent case works. Look for one with ventilation.
- Controllers: USB controllers are simplest. Bluetooth controllers are great once you are comfortable with pairing.
Nice-to-have upgrades
- Heatsinks and or fan: Helpful for Pi 4, strongly recommended for Pi 5.
- USB keyboard: Makes setup and troubleshooting easier. You can unplug it later.
- Ethernet cable: The easiest way to do updates and transfer files reliably.
- USB storage: Optional for ROM storage, especially if you do not want to rely only on the microSD.
Before you begin
Quick but important note, because I used to run community clubs and I have librarian instincts that flare up around copyright.
- Emulators are generally legal in many places, but laws vary.
- Game files (ROMs and disc images) are typically copyrighted. The safest route is to use games you legally own and create your own backups where your local laws allow it.
- Look for legal options too, like homebrew games, public domain titles, and open-source releases.
This guide will focus on the hardware and software setup, plus general file transfer steps, without pointing you toward shady downloads.
Pick your software
Think of these as “console operating systems” built for retro gaming. Any of them can be a great choice.
RetroPie
- Best for: Tinkerers who like control and lots of guides
- Why people love it: Huge community, flexible configuration, built as packages and scripts that run on top of Raspberry Pi OS (many people also use the classic prebuilt image on supported models)
- Tradeoff: Can feel more hands-on at first. Also, support for the newest Pi hardware can lag behind, so Pi 5 users should check current official or community support before committing.
Recalbox
- Best for: A smooth, console-like experience with minimal fuss
- Why people love it: Polished, straightforward setup
- Tradeoff: Less “build-your-own” flexibility than RetroPie
Batocera
- Best for: A fast, appliance-style experience and simple management
- Why people love it: Clean interface, good controller support
- Tradeoff: Different file structure and settings approach than RetroPie
If you are brand new, Recalbox or Batocera can feel like training wheels in the best way. If you like to tweak, RetroPie is a satisfying rabbit hole.
Assemble the hardware
1) Prep your Pi
- Attach heatsinks if your kit includes them.
- Install the Pi into the case.
- If your case has a fan, connect it to the correct GPIO pins per the case instructions.
2) Connect to your display
- Plug in HDMI from the Pi to your TV or monitor.
- If possible, start on a 1080p display for easy compatibility.
3) Plug in essentials
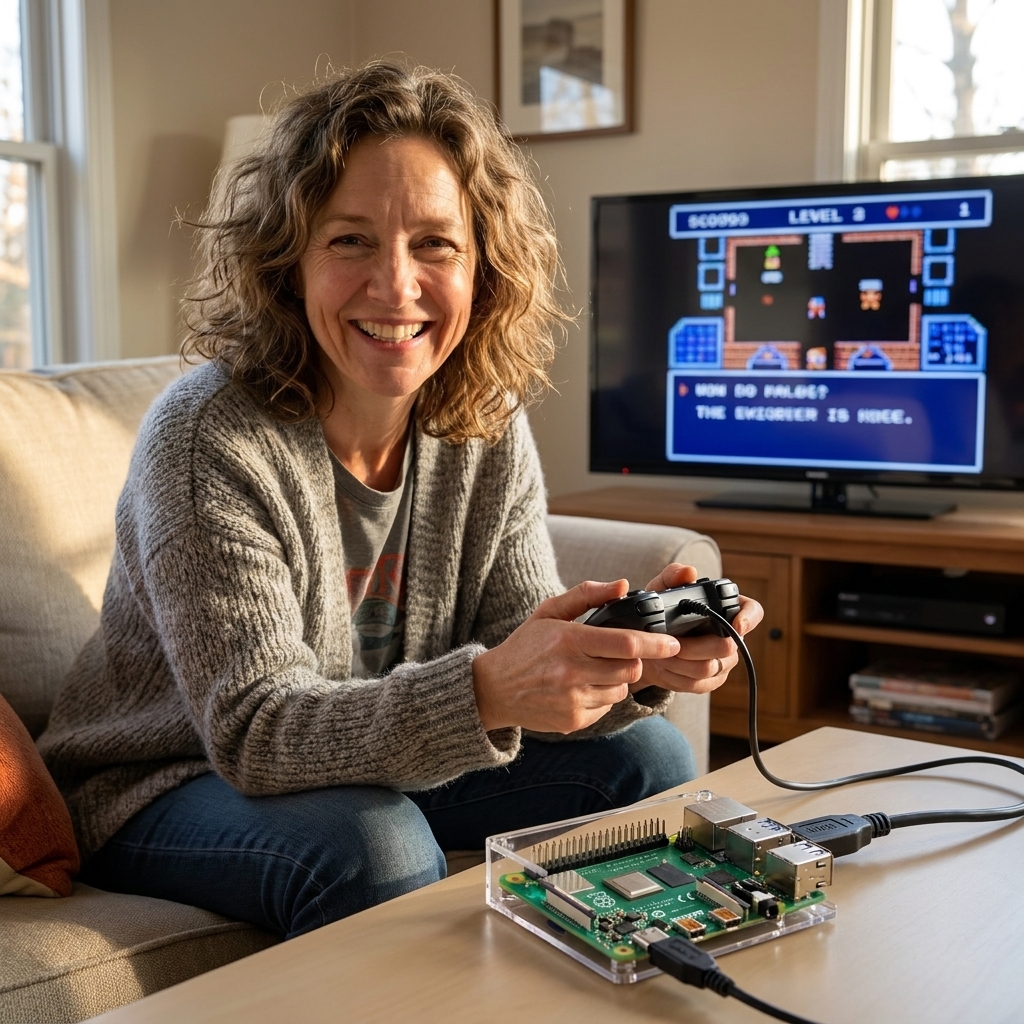
- Connect a controller via USB (for initial setup).
- Connect a USB keyboard (optional but recommended).
- Connect Ethernet (optional but recommended).
- Plug in power last.
Install the retro OS
The basic idea is the same no matter what you pick: download the image, flash it to a microSD card, boot, and run first-time setup.
1) Download the image
- Get the official image for your Pi model from the project’s official site.
- Double-check you are not grabbing an old build that does not support your hardware.
2) Flash the microSD card
- Use a trusted flashing tool such as Raspberry Pi Imager or Balena Etcher.
- Select the downloaded image and your microSD card.
- Flash, then safely eject the card.
3) First boot setup
- Insert microSD into the Pi.
- Power on.
- Follow prompts to set language, time zone, Wi-Fi (if needed), and basic preferences.
Clara tip: If your screen goes black or looks scrambled on first boot, do not panic. Try a different HDMI port, a different cable, or set your TV to the correct input. Retro boxes are very powerful at making us think we broke something when we just chose the wrong input.
Controllers
A retro console lives or dies by how quickly you can get a controller working. Start wired, then graduate to Bluetooth if you want the cleaner living room look.
Wired USB controllers
- Plug in the controller.
- Most systems will prompt you to map buttons on first launch.
- Map carefully, especially the D-pad and shoulder buttons.
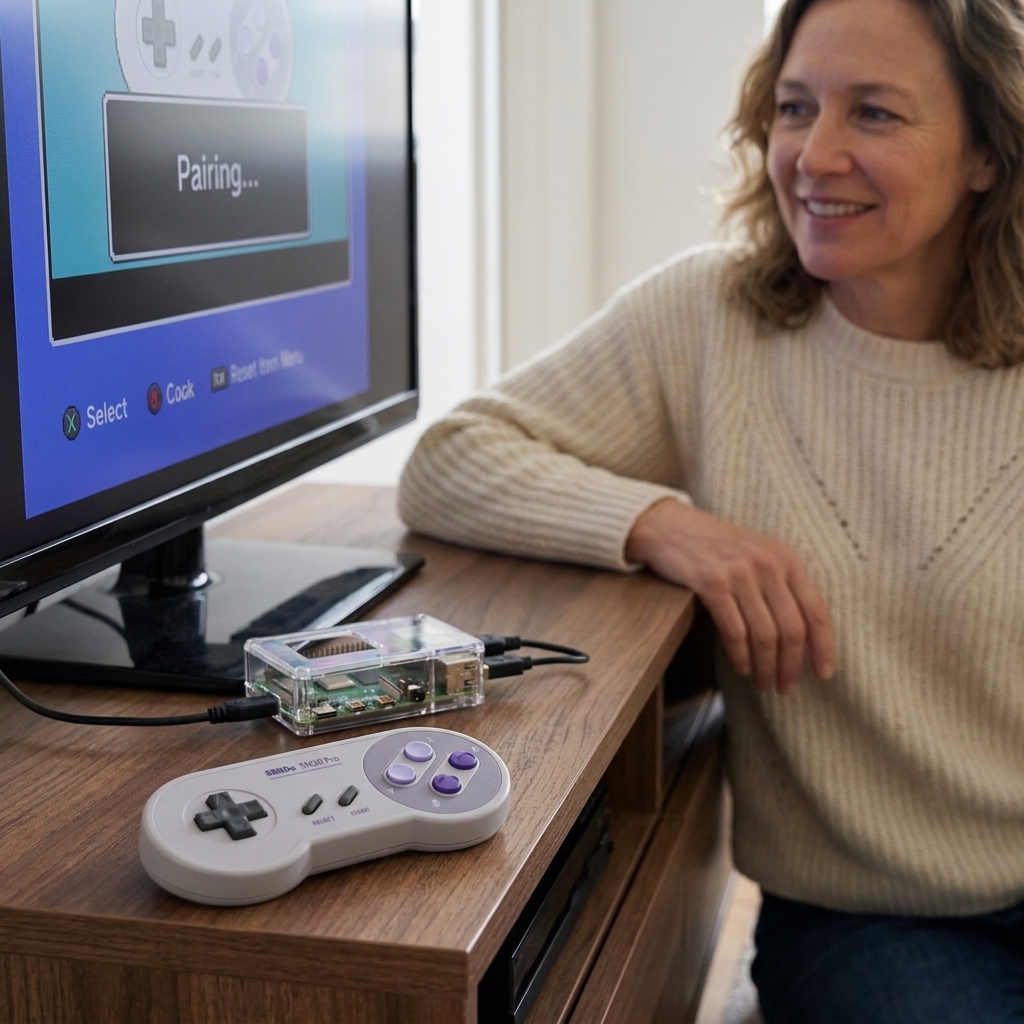
Bluetooth controllers
- Put the controller in pairing mode.
- Open the Bluetooth menu in your retro OS settings.
- Pair and test in a menu before starting a game.
Clara tip: If Bluetooth feels finicky or laggy, update your retro OS first, then try again. If your controller has a 2.4GHz USB dongle option, that can be a sweet spot for low-latency couch play.
Recommended controller styles
- SNES-style USB controllers: Perfect for 16-bit nostalgia, inexpensive, simple.
- 8BitDo controllers: Great feel, reliable Bluetooth, works across devices.
- PlayStation-style controllers: Comfortable for PS1 and arcade fighters.
Adding games safely
Your retro OS will have specific folders for each system. The exact folder names differ, but the rhythm is similar.
Common transfer methods
- Network transfer: Easiest once the Pi is on your home network. Many setups allow you to access shared folders from your computer.
- USB transfer: Copy files onto a USB drive, then import on the Pi.
- Direct microSD access: Works, but can be fiddly depending on partitions and your computer’s operating system.
BIOS and firmware files
Some systems and emulator cores work best, or only work at all, when you provide the correct BIOS or firmware files. PS1 is a common example, and some arcade setups also expect specific files. The responsible approach is the same as ROMs: use BIOS files you are legally allowed to use, typically from hardware you own, and place them in the BIOS folder your retro OS specifies.
File organization
- Keep system folders tidy and do not mix regions or hacks unless you label them clearly.
- Use consistent naming so your game list is easy to browse.
- Back up your microSD once everything feels perfect. Future you will be so grateful.
Make it feel like a console
This is the fun part, the part where your Pi stops looking like a project and starts looking like a cozy little appliance.
Quick boot and safe shutdown
- Turn on auto-boot to the front end (most systems do this by default).
- Always use the on-screen shutdown option to protect your microSD card. Sudden power loss can corrupt the card because it may be writing data in the background even when you are “just gaming.”
Tidy up the interface
- Pick a theme with good readability from couch distance.
- Hide systems you do not use, so your menu feels intentional.
- Add box art and metadata if your platform supports scraping, but do it after everything else works.
Clara tip: Scraping can be slow, rate-limited, or require an account depending on the service. Do a small batch first, confirm it looks right, then let the bigger library run.
Audio and display tweaks
- Set resolution to match your TV (often 1080p is a safe start).
- Adjust aspect ratio per system if circles look like eggs.
- Explore shaders and scanlines gently. A little goes a long way.
Performance tuning
If a game stutters, the goal is not to wrestle the Pi into submission. The goal is to make smart, small adjustments until it feels right.
Start with these fixes
- Use the correct emulator core for the system and game. Some cores run certain titles better.
- Lower enhancements like high internal resolution or heavy shaders.
- Disable runahead if enabled and performance is borderline.
- Confirm your power supply is adequate. Underpowering can cause instability.
Heat matters
If your Pi is running hot, it may throttle and slow down. Better cooling can make the whole experience feel more consistent, especially on longer sessions.
Troubleshooting
Black screen on boot
- Check the TV input.
- Try a different HDMI cable or port.
- Confirm you flashed the correct image for your Pi model.
Controller not detected
- Try a different USB port.
- Swap to a wired controller for setup, then revisit Bluetooth.
- Remap inputs in the controller configuration menu.
Games list is empty
- Confirm files are in the correct system folder.
- Restart the front end after adding games.
- Check file extensions supported by the emulator core.
Stuttering audio or slow gameplay
- Reduce shaders and enhancement settings.
- Try a different core.
- Add cooling or improve airflow.
Beginner truth: 90 percent of retro console troubleshooting is “check the cable, check the folder, restart the thing.” The other 10 percent is you becoming powerful.
Optional upgrades
Make it portable
- Use a compact case.
- Pack a small HDMI cable and two controllers.
- Keep a keyboard in the bag for emergencies.
Add a safe power button
Some cases include a power button that triggers a safe shutdown. This is a lovely quality-of-life upgrade, especially if other people in the house will use it and might be tempted to just yank the plug.
Use a USB SSD (advanced)
If you want quicker loading and sturdier storage than microSD, you can run some setups from USB storage. On Pi 5 this is often straightforward. On Pi 4 it is common too, but may require bootloader and EEPROM settings. Check the official documentation for your Pi model and chosen retro OS before you commit.
Mini checklist
- Choose Pi 4 or Pi 5 based on budget and performance needs
- Get a good microSD card and official power supply
- Pick RetroPie, Recalbox, or Batocera
- Flash the image and complete first boot setup
- Map a wired controller first
- Transfer legally owned game backups (and any required BIOS files), then restart the front end
- Adjust themes, aspect ratio, and light visual filters
- Back up your finished microSD card
FAQ
Which Raspberry Pi is best?
For most classic arcade and 16-bit games, a Raspberry Pi 4 (2GB or 4GB) is a sweet spot. If you want better performance for tougher systems and a snappier interface, a Pi 5 is great, just plan for better cooling and double-check retro OS support before you start.
Do I need internet?
Not strictly. You can set it up offline and transfer files via USB. Internet helps for updates, wireless controllers, and metadata scraping.
Is RetroPie still a good choice?
Yes, especially if you enjoy tweaking and want a huge library of community guides. Just keep in mind that support for the newest Pi hardware can lag, so check current compatibility if you are buying a Pi 5.
Can I use original controllers?
Often yes, with USB adapters. It depends on the controller and system. Many people start with modern USB or Bluetooth controllers for simplicity.
How do I avoid corrupting my microSD?
Use the on-screen shutdown option instead of unplugging power, use a quality power supply, and keep a backup image of your finished setup.