I have a soft spot for hobbies that feel a little like building a clubhouse. Home Assistant is exactly that, except the clubhouse is your house and the secret handshake is a motion sensor that turns on a lamp at the right time.
If you have ever felt weird about smart home gadgets that require yet another cloud account, or you just want a project that rewards curiosity, locally hosted automation is a delightful rabbit hole. In this guide, we will set up a secure Home Assistant server on a microcomputer so your automations can keep working even if the internet takes a nap.
What you are building (and why local matters)
Home Assistant is free, open-source software that connects your smart devices and lets you build automations. The local part means your Home Assistant “brain” lives on hardware in your home, not on a remote company server.
- Reliability: Automations keep running when the internet is down.
- Privacy: Many actions can stay inside your home network.
- Control: You choose what updates happen and when.
- Hobby satisfaction: You are not just buying gadgets. You are building a system.
Important reality check from your friendly former librarian: not every device is truly local. Some brands still require cloud access for setup or features. The goal is “more local and more in your control,” not instant perfection.
Pick your microcomputer
Home Assistant can run on many things, but for a hobby setup, a small dedicated box is a sweet spot. Here are common choices:
Option A: Home Assistant Green (easiest)
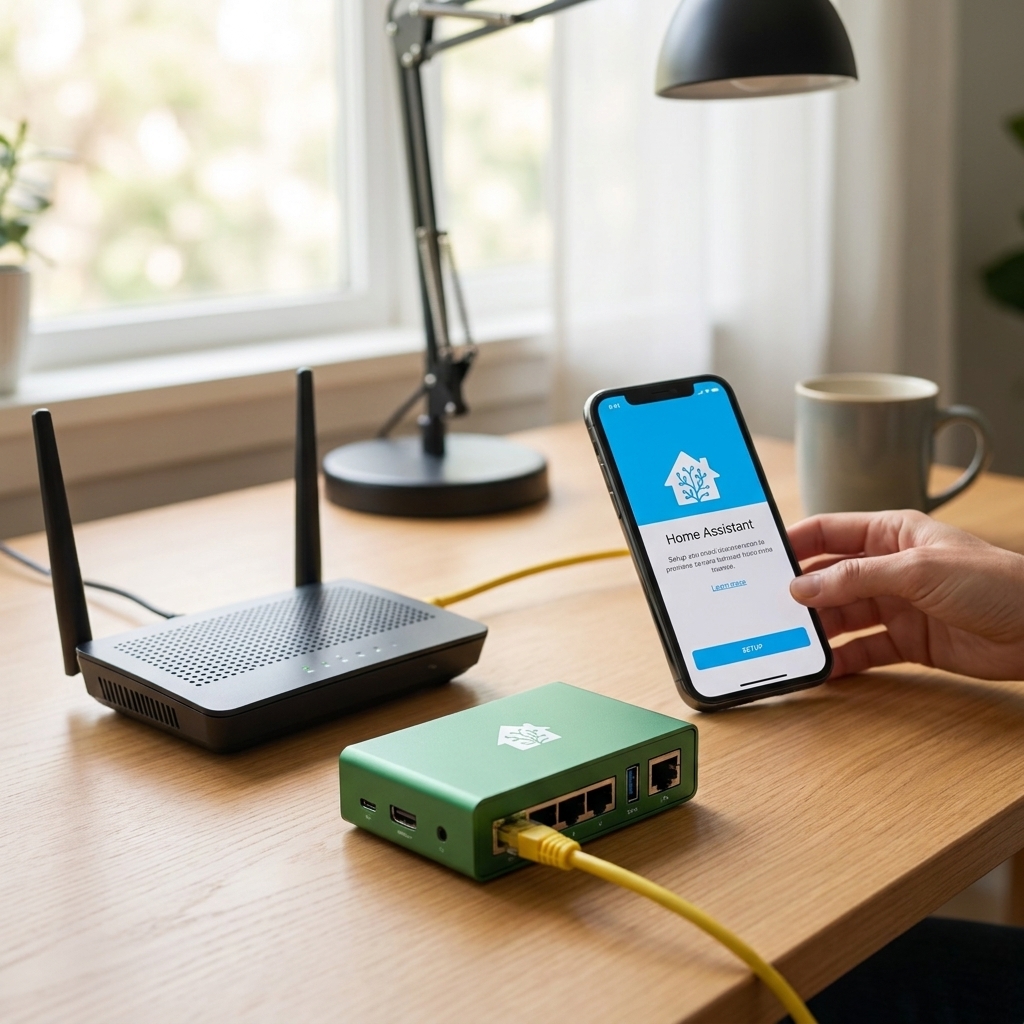
If you want the least fiddling, this is designed for Home Assistant. Setup is typically plug it in, connect Ethernet (simplest), and finish provisioning in the web UI. Great for beginners who want to focus on automations instead of operating systems.
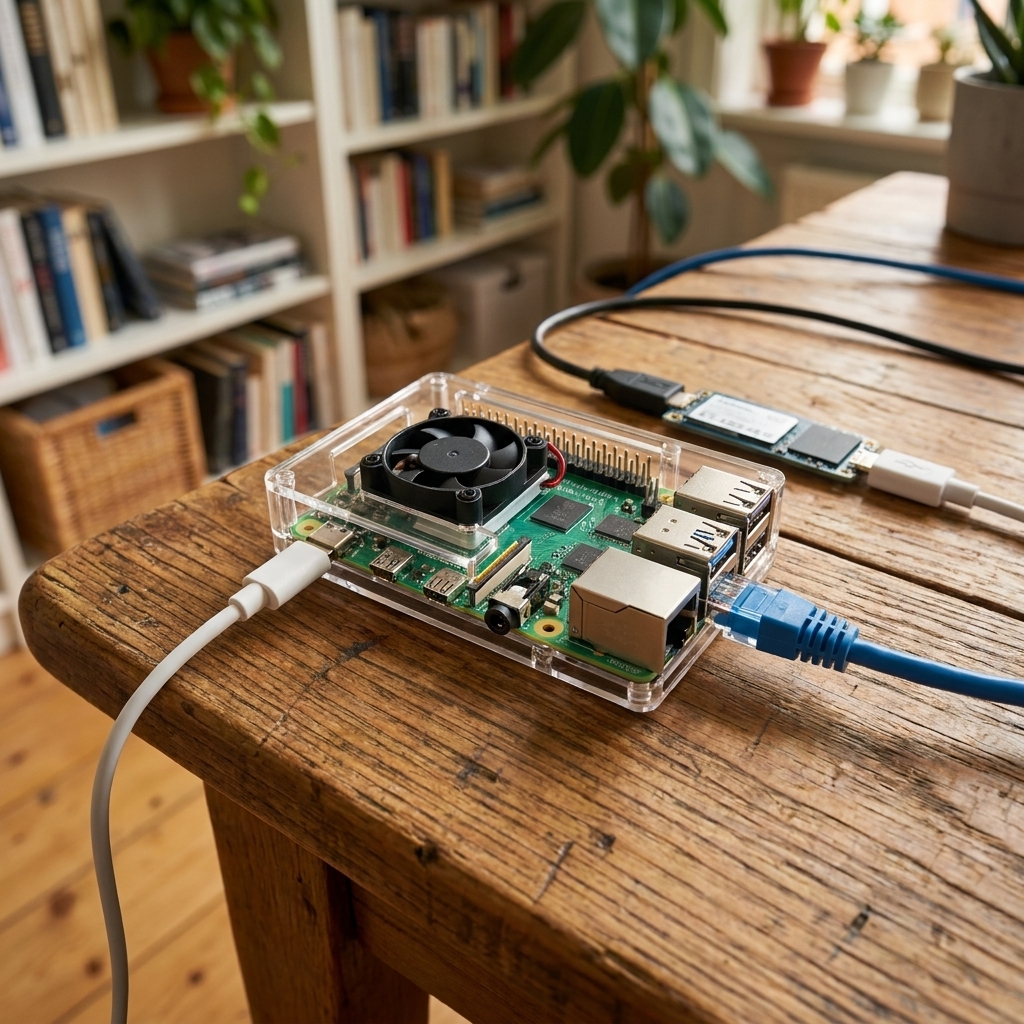
Option B: Raspberry Pi 4 or 5 (classic tinkerer route)
Still popular, especially if you already have one. Use a good power supply and consider an SSD for reliability. MicroSD cards work, but they are more fragile long term.
Small Raspberry Pi note: SSD boot is usually straightforward these days, but USB enclosure compatibility can be finicky, and occasionally a powered USB hub helps if the drive is power-hungry.
Option C: Mini PC (often best performance per dollar)
A small Intel or AMD mini PC can be fantastic, especially if you think you will add cameras, lots of add-ons, or heavier integrations. Used or refurbished x86 mini PCs can be a sweet deal, and the easy RAM and SSD upgrades are a real quality-of-life improvement.
My practical recommendation: If you are brand new, choose Home Assistant Green or a mini PC. If you love tinkering and already own a Raspberry Pi, that is also totally fine. The best choice is the one that gets you building.
Shopping list
Must-haves
- Microcomputer: Home Assistant Green, Raspberry Pi, or mini PC.
- Ethernet connection: Strongly recommended for stability.
- Storage: SSD preferred. If using microSD, buy a high-quality one.
- Power: Use the recommended power supply for your hardware.
Nice-to-haves (add later)
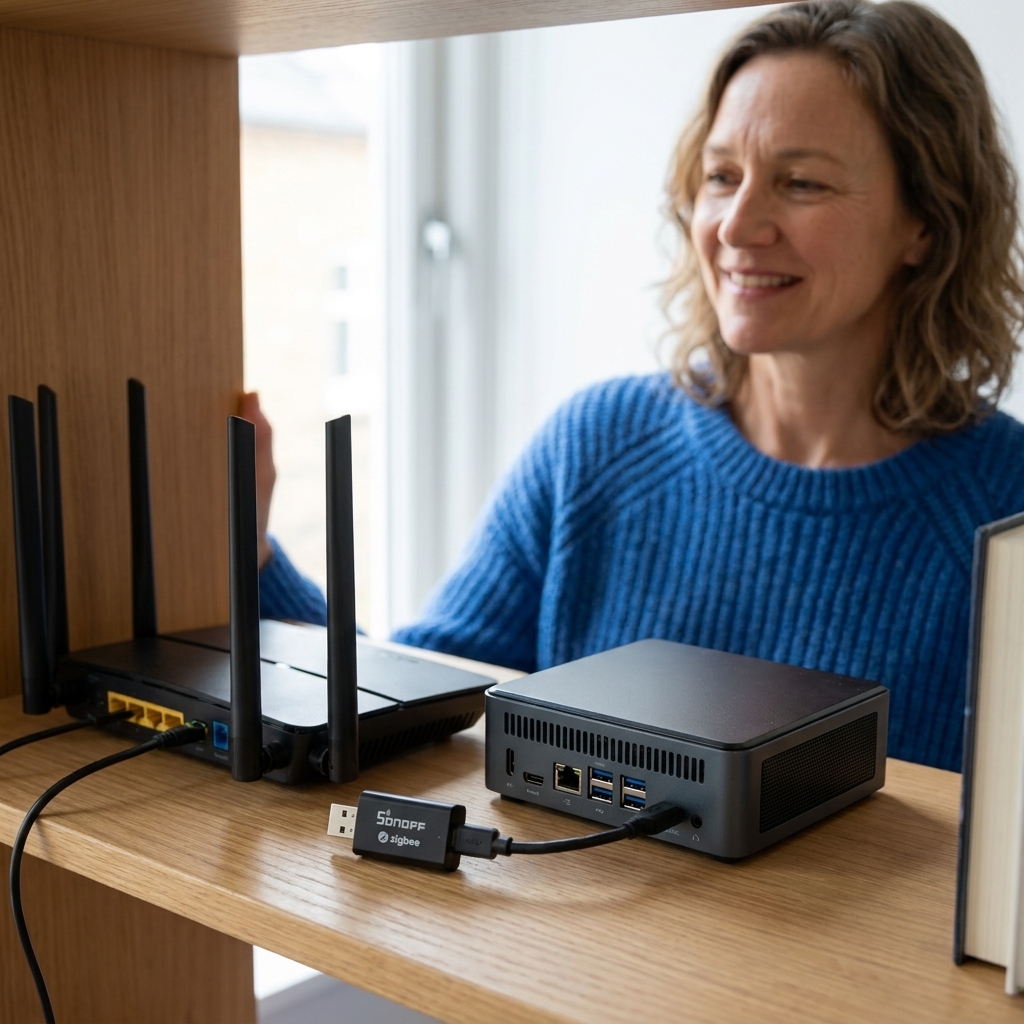
- Zigbee or Thread radio dongle: Useful for local sensors and lights. Zigbee is widely supported. Thread becomes relevant if you are using Matter over Thread devices.
- UPS (battery backup): Helps your smart home stay smart during brief power flickers.
- USB extension cable: For your Zigbee dongle so it sits away from interference.
Small hobby wisdom: buy the minimum to get started, then let your actual needs guide upgrades. Future-you will thank you for not panic-buying six sensors “just in case.”
Install Home Assistant OS
Skill level: beginner. Expected time: about 30 to 60 minutes (mostly waiting).
For a dedicated Home Assistant box, the simplest approach is Home Assistant OS. It is an appliance-style system that includes the Supervisor (for add-ons, backups, and updates, even if the names and menu labels evolve over time).
Step 1: Download the right image
Go to the official Home Assistant installation docs and choose the image that matches your hardware (Green, Raspberry Pi, x86-64 for mini PCs, and so on).
Step 2: Flash the image to storage
- Use a flashing tool like Raspberry Pi Imager or balenaEtcher.
- Select the downloaded Home Assistant OS image.
- Flash it to your SSD or microSD.
Step 3: Boot and connect via Ethernet
Plug your device into your router with Ethernet, then power it on. First boot can take a while. This is normal. Go make tea. Or reorganize your cable drawer for five minutes and immediately regret it.
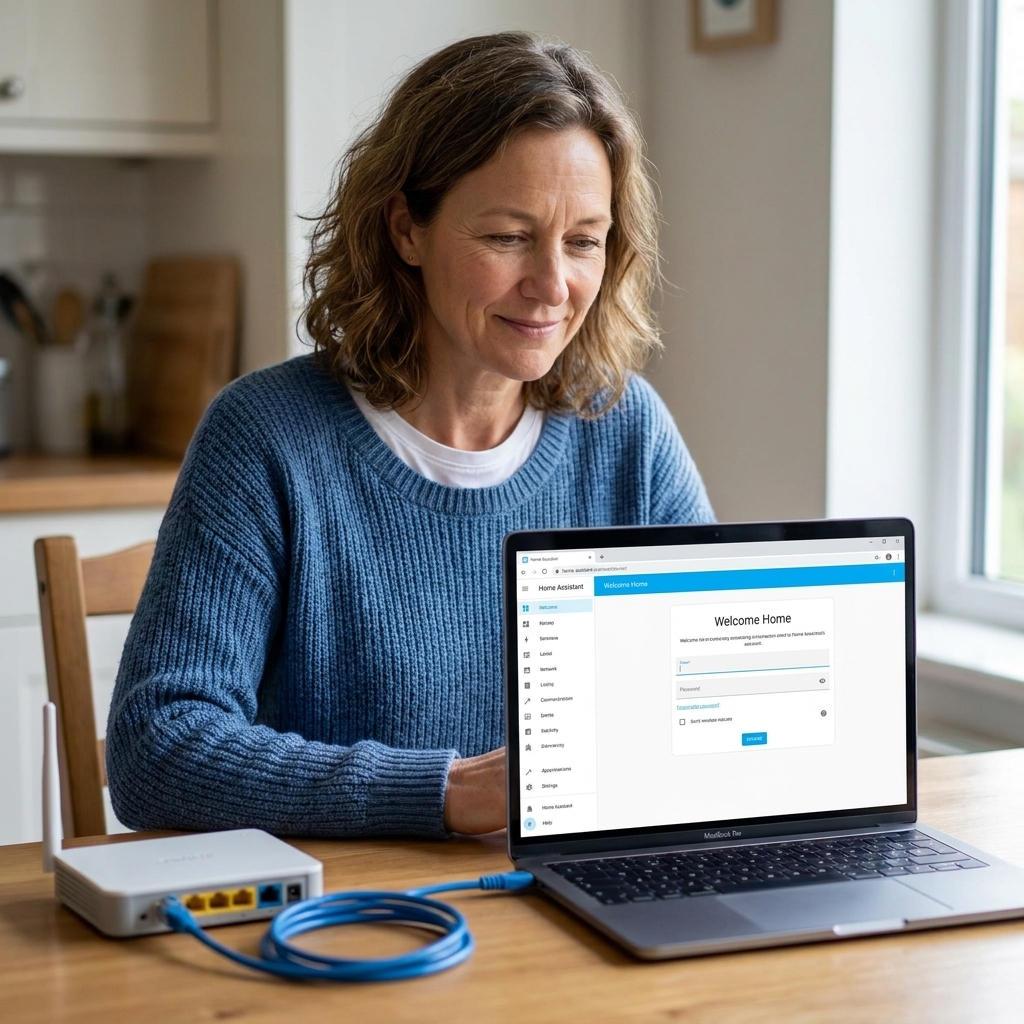
Step 4: Access the web interface
On a computer or phone on the same network, try:
http://homeassistant.local:8123- Or find the device IP in your router and go to
http://IP_ADDRESS:8123
Create your account. This is your admin login, so use a strong password.
Security basics first
I know, I know. Security is not as fun as making your lights do a little dance. But a few basics now will save you stress later.
Keep it local by default
- Do not expose port 8123 to the internet through your router.
- If you want remote access later, use a safer method like a VPN (Tailscale is popular) or the Home Assistant Cloud service.
If you ever feel tempted to “just set up a reverse proxy,” pause and read the official guidance first. Doing that safely means TLS, strong authentication, and careful upkeep. Improvised internet exposure is how clubhouse projects turn into headaches.
Turn on multi-factor authentication
Enable MFA in your Home Assistant profile settings. This is one of those “easy win” steps.
Set up backups
- Use Home Assistant Backups (previously often called snapshots).
- Store a copy off the device, like on a NAS or a synced folder on another computer.
Assign a static IP (or DHCP reservation)
Make your Home Assistant IP stable so integrations and add-ons do not get confused after a reboot. The easiest way is usually a DHCP reservation in your router settings.
Remote access options
You do not need remote access on day one, but you will probably want it eventually. Two beginner-friendly paths are:
- Tailscale (VPN): Installs as an add-on, then you sign in and approve your devices. After that, you can reach Home Assistant securely as if you were at home, without opening ports on your router. Great if you mainly want access for yourself.
- Home Assistant Cloud (Nabu Casa): A paid service that sets up remote access with very little fuss, and it also helps with voice assistant integrations. Great if you want convenience and a supported path.
Whichever you choose, the guiding principle stays the same: no raw port forwarding, and no mystery internet holes you will forget about later.
Connect devices (local-first)
Once Home Assistant is running, the next joy is watching it detect things on your network. Some devices are discovered automatically. Others need a little nudge.
Wi-Fi devices (mixed local and cloud)
Many Wi-Fi plugs and bulbs work, but the quality varies by brand. If local control is important to you, check whether the integration supports local API control. When in doubt, choose devices known for local support.
Zigbee devices (my favorite for hobby sanity)
Zigbee sensors are often inexpensive, battery-friendly, and can run locally. To use Zigbee, you need a Zigbee coordinator dongle.
Quick compatibility note: check the coordinator chipset recommendations for whatever Zigbee setup you choose, and use a USB extension cable. Avoid plugging Zigbee dongles directly into USB 3 ports, since interference is real and extremely annoying.
Two common Zigbee approaches inside Home Assistant are:
- ZHA (Zigbee Home Automation): Built-in and straightforward.
- Zigbee2MQTT: Very flexible, often supports a wide range of devices, but it is a bit more “tinker mode.”
If you are brand new, start with ZHA. You can switch later if you outgrow it.
Matter and Thread (worth knowing)
Matter is a smart home standard that aims to improve compatibility. Some Matter devices work over Wi-Fi, others over Thread. Thread usually requires a Thread border router. You might already have one via devices in the Apple, Google, or Amazon ecosystems, and in some setups Home Assistant can also act as a Matter controller once configured.
If this sounds like alphabet soup, it is okay. You can build a very happy Home Assistant setup without touching Matter on day one.
Add-ons (with restraint)
Add-ons are optional services that run alongside Home Assistant. Think of them like little helper apps. My advice: add one at a time and only when you have a reason.
Useful early add-ons
- File editor or Studio Code Server: Helpful if you want to edit YAML or configuration files, though many tasks can now be done entirely in the UI.
- Terminal and SSH: For troubleshooting and advanced tasks. Enable carefully.
- MQTT broker: Needed if you plan to use Zigbee2MQTT or other MQTT-based tools.
If you are using Home Assistant OS, you can manage add-ons via the Supervisor panel.
Your first automations
The trick to enjoying Home Assistant as a hobby is to start with automations that make your day calmer, not more complicated.
Automation 1: Motion light (not annoying)
Goal: Turn on a hallway light when motion is detected, but only after sunset (or during a specific overnight window), and turn it off after a few minutes.
- Add a motion sensor and a light entity.
- Create a new automation.
- Trigger: motion sensor changes to “detected”.
- Conditions: sun is below the horizon, or time is within a window (for example, 10:00 PM to 6:00 AM).
- Actions: turn on the light, wait 2 to 5 minutes, then turn it off.
This is the automation that converts skeptics. It is also the one that teaches you about conditions and timeouts very quickly.
Automation 2: Goodnight scene
Goal: One button turns off common lights, locks a smart lock, and sets a thermostat target.
- Create a scene or script called “Goodnight.”
- Add actions for lights, locks, thermostat, and maybe a sound machine plug.
- Pin it to your dashboard and try it for a week.
If something fails, that is not a defeat. That is data. Adjust and try again. Beginner joy, remember?
Automation 3: Leak sensor alert
Goal: Get a phone notification if a leak sensor detects water near a sink or water heater.
This one pays for itself the first time it matters. Even if that time is never, it still feels good to know you have a little guardian sensor on duty.
Dashboard basics
Dashboards can become an endless design project. If that is your idea of a good time, enjoy. If not, keep it simple:
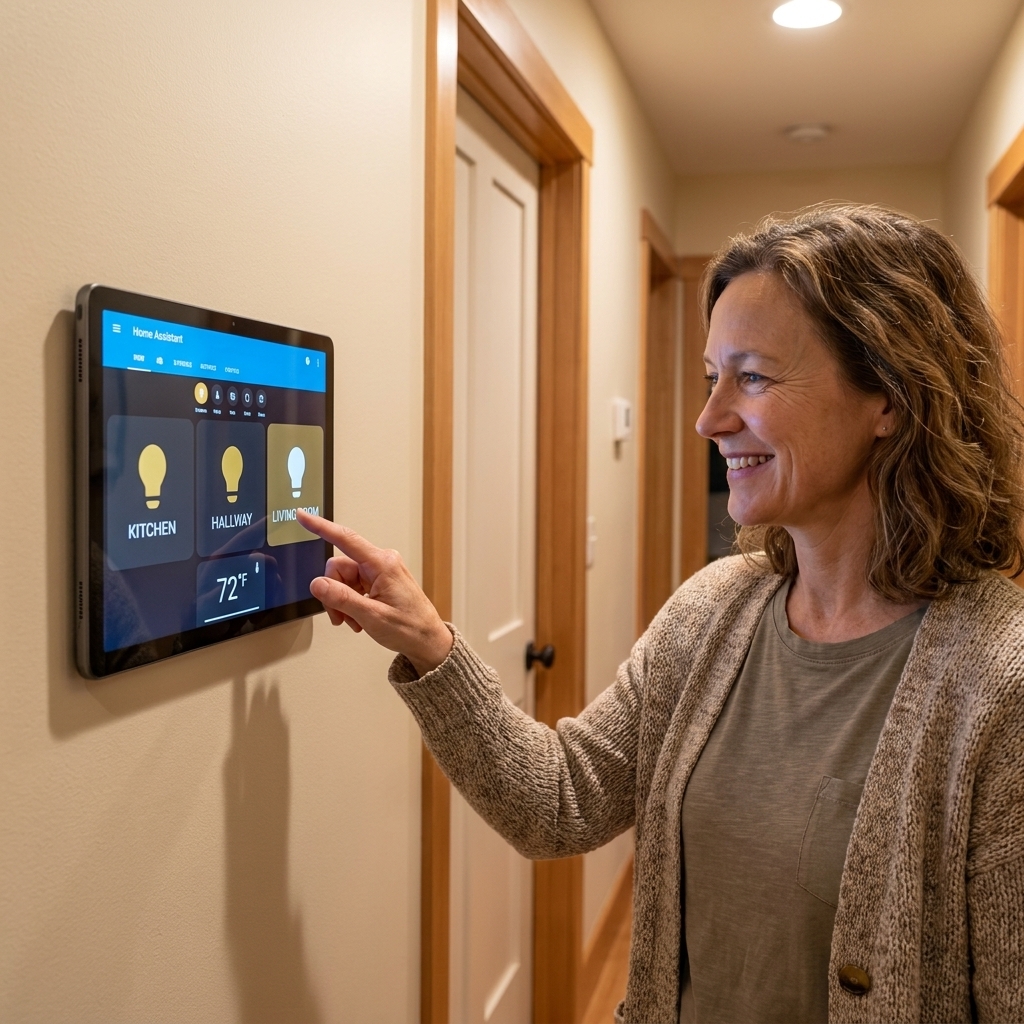
- One “Home” view: lights, climate, locks, and any important sensors.
- One “Systems” view: server health, backup status, network devices.
- One “Fun” view: seasonal scenes, routines, and experiments.
Pro tip: put your most-used actions near the top. Your future self should not have to scroll past 18 graphs to turn off the kitchen lights.
Troubleshooting
Smart homes can be fiddly. That does not mean you are doing it wrong. A few steady habits help:
Check the basics first
- Is Home Assistant updated?
- Did your device get a new IP address?
- Are batteries low in sensors?
- Is the integration reporting errors in logs?
Change one thing at a time
If you change five settings at once, you will have no idea which one fixed it. Or broke it.
Use the built-in tools
- Logs: where clues usually live.
- Automation traces: shows what ran and what did not.
- Developer Tools: test services and states without guessing.
Next steps
Once your base setup is steady, you can branch out in whichever direction sparks joy:
- Energy monitoring: track usage and set automation goals.
- Presence detection: more accurate home and away routines.
- Local voice control: a bigger project, but very rewarding.
- Camera integrations: keep privacy in mind and segment your network if possible.
- Network hardening: VLANs, guest Wi-Fi, and device isolation if you want to go full hobby goblin.
My favorite part is that Home Assistant rewards gentle persistence. You do not need to build a spaceship on day one. You just need one small automation that makes your home feel like it is on your team.
FAQ
Do I need a subscription to use Home Assistant?
No. Home Assistant is free and open source. There is an optional subscription called Home Assistant Cloud (Nabu Casa) that can simplify remote access and voice assistant integration, but it is not required.
Can I run Home Assistant without the internet?
Yes, many features can run locally, especially Zigbee-based devices and local integrations. Some devices and services still rely on cloud access for setup or control.
Is a Raspberry Pi strong enough?
For many homes, yes. A Pi with an SSD and wired Ethernet can be very stable. If you plan lots of add-ons, heavy logging, cameras, or complex automations, a mini PC gives you more headroom.
What is the most beginner-friendly sensor type?
Zigbee sensors are a great starting point because they are typically local, inexpensive, and widely supported. You will need a Zigbee coordinator dongle.
What is the safest way to access Home Assistant remotely?
A VPN (like Tailscale) is a common secure approach. Home Assistant Cloud is another popular option. Avoid exposing Home Assistant directly to the internet via simple port forwarding.