Starting a Twitch stream can feel like you need a studio, a sponsorship, and a second monitor the size of a dining table. You do not. You need a clear goal, a few reliable basics, and a setup that will not fight you while you are trying to have fun.
This guide is for the first-time streamer who wants a clean, watchable stream on a sensible budget. We will focus on the stuff that actually moves the needle: audio, video, lighting, internet stability, and a simple OBS setup you can trust.
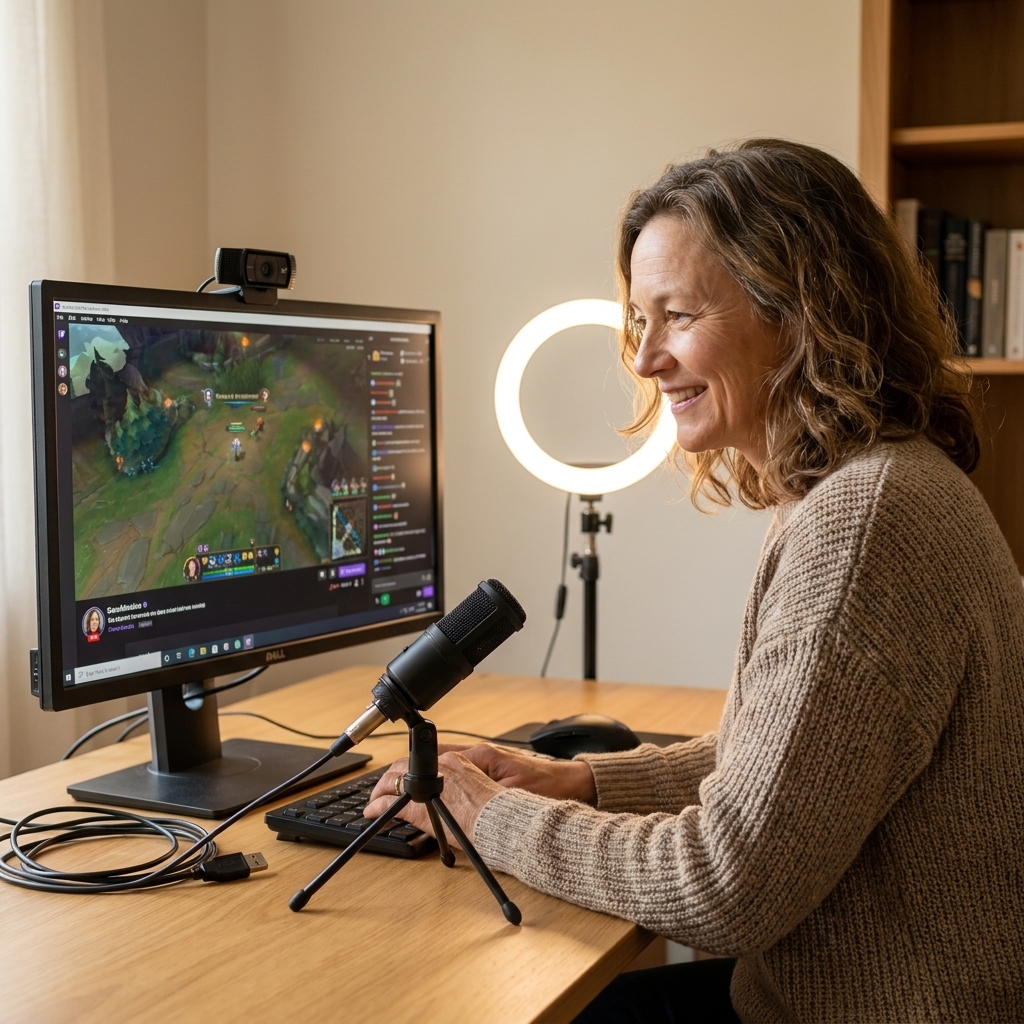
Before you buy anything: pick your streaming style
Two quick questions make every gear decision easier:
- What are you streaming? PC games, console games, art, chatting, music, or a mix.
- Do you want to be on camera? Face cam is optional. If you do use one, lighting matters more than camera price.
If you are streaming gameplay from a PC, your setup is mostly software. If you are streaming from a console and want OBS features like overlays, alerts, and better audio control, you will likely want a capture card.
The essential gear (in the order I would buy it)
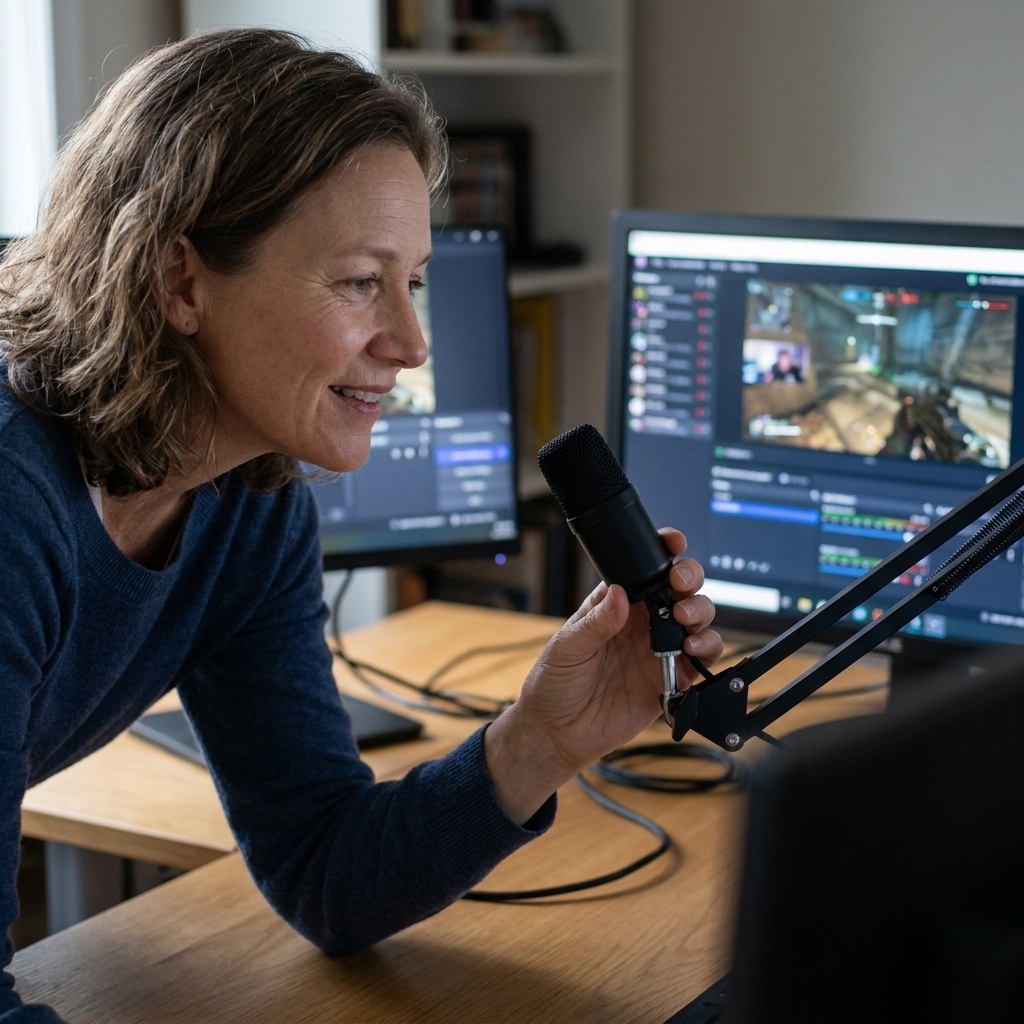
1) A good microphone (your #1 upgrade)
If viewers can forgive grainy video, they will still leave a stream with echoey, fuzzy audio. The built-in mic on a headset or laptop is usually the fastest way to sound like you are calling from inside a sock drawer.
Budget-friendly USB microphones I recommend for beginners:
- FIFINE K669B: A very popular starter USB mic. Clear voice for the price. Great if you want simple and sturdy.
- FIFINE AM8: A step up with a more “broadcast” feel. Nice if you want room to grow.
- HyperX SoloCast: Easy plug-and-play with solid vocal clarity. A dependable choice if you catch it on sale.
- Blue Yeti: Classic, widely available, and versatile. It can pick up more room noise, so it benefits from good placement and filters.
Simple mic setup tips that beat buying a pricier mic:
- Get the mic 6 to 10 inches from your mouth.
- Speak past the mic, not directly into it, to reduce harsh “p” sounds.
- Add a cheap pop filter or foam windscreen.
- Turn down the mic gain and move the mic closer rather than cranking volume and capturing the whole room.
2) A webcam (or your phone)
You can stream without a camera. But if you want one, you do not need a cinematic lens. You need decent focus, stable exposure, and good lighting.
Solid beginner webcams:
- Logitech C920/C922: The go-to recommendation for a reason. Reliable 1080p, consistent performance, easy setup.
- Razer Kiyo: Convenient if you need an integrated light, though a separate light is usually more flattering.
Budget hack: If you have a newer smartphone, it often makes a better camera than an entry webcam. Apps like Camo or DroidCam can turn your phone into a webcam. If you go this route, put the phone on a small tripod and aim a light at your face.
Lighting: the secret sauce
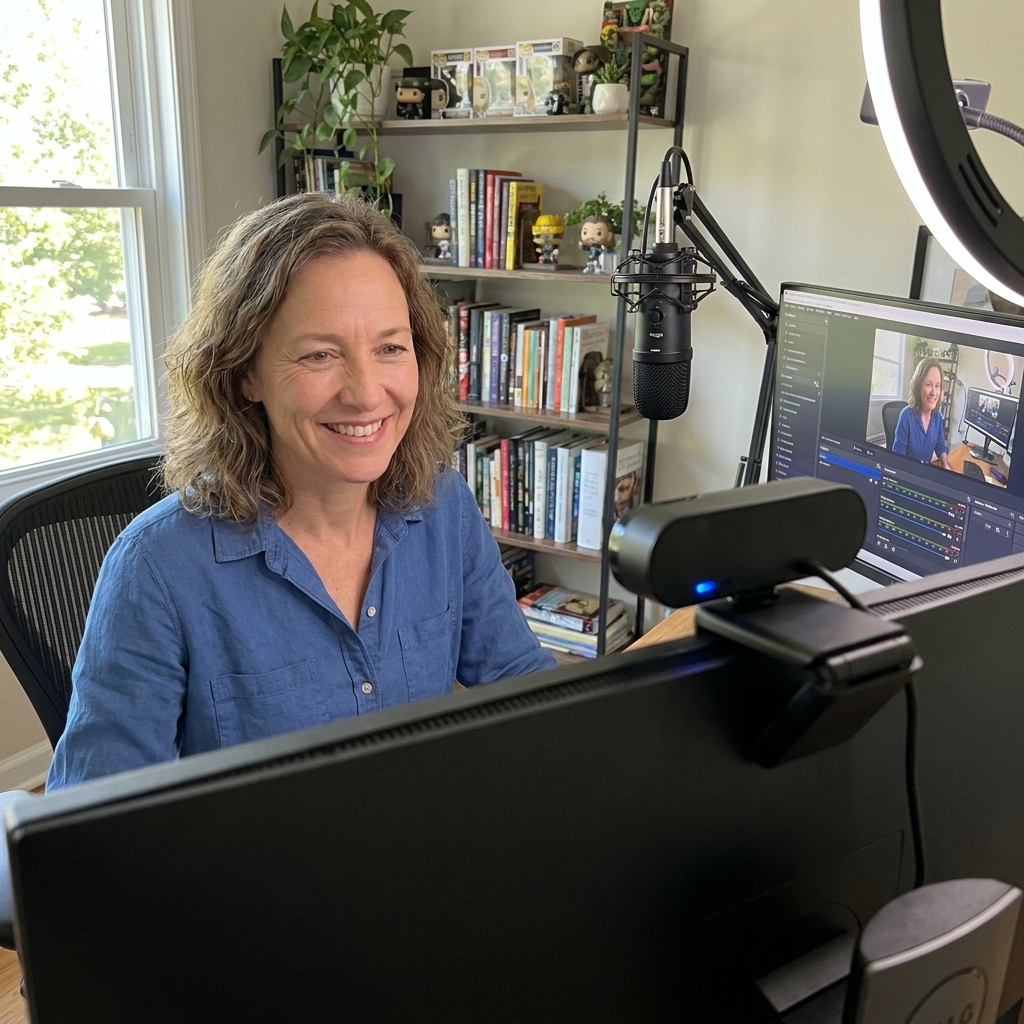
Lighting is the most underrated upgrade. A modest webcam with good light looks better than an expensive camera in a dim room.
Easy lighting options:
- Ring light: Simple, flattering, and beginner-friendly. Put it slightly above eye level.
- Small LED panel: More adjustable. Great if you want to avoid ring-shaped reflections in glasses.
- Window light: Free and lovely. Face the window, do not sit with the window behind you.
Quick placement rule: Put the light behind your camera, aiming toward your face. If your background is brighter than you, your camera will often darken your face.
Internet and stability
A clean stream is not just gear. It is also a stable connection.
- Use ethernet if you can. Wi‑Fi works, but wired is usually more stable and less spiky.
- Give yourself upload headroom. A good rule of thumb is a stable upload speed 1.5 to 2× your bitrate. If you stream at 4500 kbps, you ideally want well above that available consistently.
- Pause background uploads. Cloud backups, game downloads, and someone else’s 4K video can bully your bitrate.
If your stream looks fine locally but stutters on Twitch, your connection is often the culprit, not your camera.
If you stream from a console: capture card basics
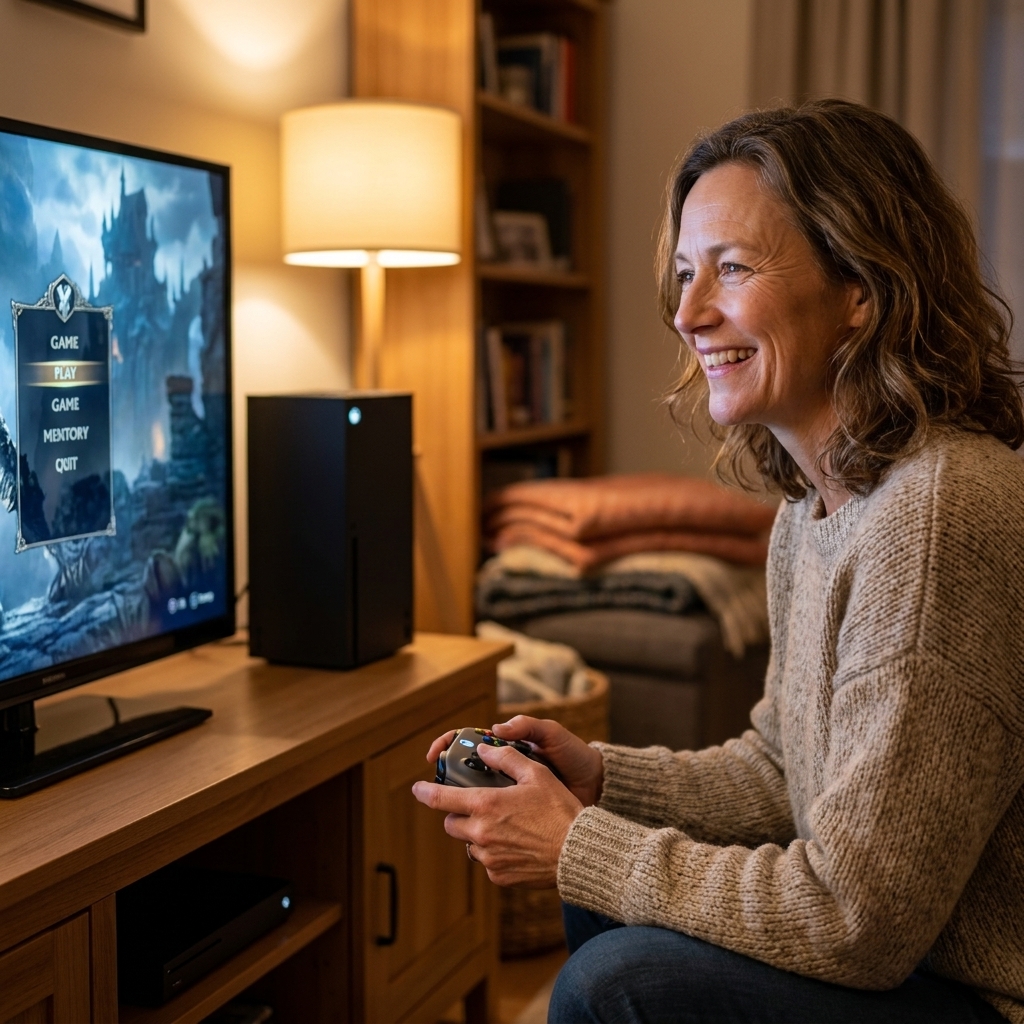
For PlayStation, Xbox, or Switch streaming through OBS, a capture card pulls your console video into your PC.
- 1080p 60fps is plenty for most beginners.
- Make sure your PC has an open USB port that matches the capture card’s requirements.
- Look for low-latency preview if you plan to play while watching the OBS window.
If you are brand new and want the simplest path, you can also stream directly from a console to Twitch. You will have fewer customization options, but you can get practice being live.
Software you need (and what each one does)
- OBS Studio: Free, the standard for streaming. You build scenes, add sources, and stream to Twitch.
- Twitch account + stream key: Connects OBS to your channel.
- Optional alert/overlay tools: StreamElements or Streamlabs for alerts, chat widgets, and overlays. Nice, not required.
- Optional audio tools: NVIDIA Broadcast (best on RTX, and some supported GTX setups) for noise removal. Otherwise, OBS filters can do a lot.
OBS setup: a beginner-proof starting point
OBS can look like the cockpit of a spaceship. We are going to set it up like a reliable bicycle.
Step 1: Run OBS Auto-Configuration Wizard
In OBS: Tools → Auto-Configuration Wizard. Choose “Optimize for streaming.” This gives you a sane baseline based on your hardware and internet.
Step 2: Set your video resolution and FPS
In OBS: Settings → Video
- Base (Canvas) Resolution: Match your monitor or game capture, commonly 1920×1080.
- Output (Scaled) Resolution: Start at 1280×720 if you want a stable first stream. Move to 1920×1080 once everything is smooth.
- Common FPS Values: 60 for fast games, 30 for cozy or art streams, or if your PC struggles.
Step 3: Choose encoder settings that do not melt your computer
In OBS: Settings → Output (switch Output Mode to Advanced if you want more control)
- If you have an NVIDIA GPU: Use NVENC. It is efficient and great for streaming.
- If you do not: Use x264 (CPU), but start modest so your game and stream stay smooth.
Starter streaming settings (a safe baseline):
- Rate Control: CBR
- Keyframe Interval: 2
- Preset: Quality (NVENC) or Veryfast (x264)
- Bitrate: A common Twitch range is 4500 to 6000 kbps for 1080p, or 2500 to 4500 kbps for 720p
Two real-world notes that save headaches:
- If you do not reliably get transcoding (quality options like 720p, 480p), streaming at 720p60 around 4500 to 6000 kbps can be more accessible for viewers on mobile or slower connections.
- If your stream stutters, lower bitrate first, then reduce resolution or FPS.
Step 4: Set up audio that sounds human
In OBS: Settings → Audio
- Set your Mic/Auxiliary Audio to your microphone.
- Set Desktop Audio to the device playing your game sound.
Important: Decide whether you are using global audio devices (via Settings → Audio) or adding audio sources per scene (like Audio Input Capture). Do not do both for the same device, or you can get double audio and echo.
Then, in the Audio Mixer, click the gear icon for your mic and add filters (right-click the mic source → Filters).
Beginner mic filter stack (in this order):
- Noise Suppression: RNNoise if available. Otherwise Speex with moderate suppression.
- Noise Gate: Gently closes the mic when you are not speaking. Do not set it too aggressive or you will clip words.
- Compressor: Smooths volume so whispers and laughter are not wildly different. Ratio around 3:1 is a friendly start.
- Limiter: A safety net to prevent sudden peaking.
Target levels: Aim for your voice to sit around -10 to -6 dB when speaking normally. Let game audio sit lower so viewers can hear you without strain.
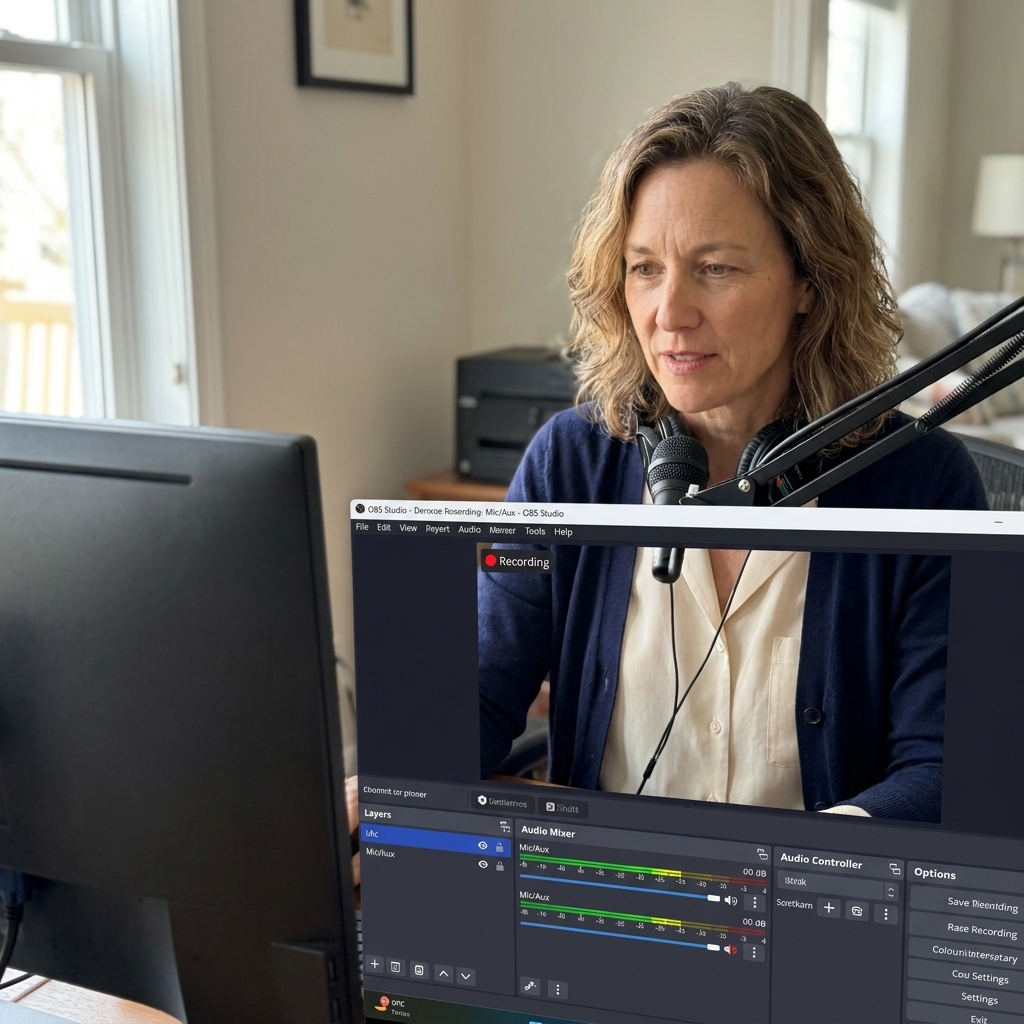
Scenes and sources: keep it simple
You only need a few scenes to start. You can always get fancy later, once you know what you actually enjoy streaming.
Starter scenes
- Starting Soon: A simple screen while you get settled.
- Live: Gameplay or main content plus your mic audio, optional webcam.
- Be Right Back: For water breaks and doorbells.
- Ending: A quick sign-off screen.
Core sources
- Game Capture (PC games) or Video Capture Device (capture card)
- Audio Input Capture (your mic, only if you are not already using it as a global device)
- Video Capture Device (your webcam, optional)
- Browser Source (alerts, optional)
Sanity tip: Name your sources clearly. “Mic,” “Game,” “Cam,” “Alerts.” Future-you will be grateful.
Test before you go live
Do a private test recording first. In OBS, hit Start Recording, talk for a minute, open your game, and make sure:
- Your voice is clear and louder than the game.
- Your camera is not a grainy silhouette.
- Your gameplay is smooth with no constant stuttering.
- No accidental open tabs, private notifications, or surprise audio.
If you want to test your Twitch connection, do a short test stream at an off time with a clear title like “TEST, PLEASE IGNORE,” and avoid announcing it anywhere. For a cleaner option, use Twitch Inspector to check stability, bitrate, and dropped frames on Twitch’s side.
Common first-stream problems (and quick fixes)
My stream is laggy or dropping frames
- Lower your Output (Scaled) Resolution to 1280×720.
- Drop FPS from 60 to 30.
- Reduce bitrate by 500 to 1000 kbps.
- If using x264, switch preset to Veryfast (or faster). If you have NVENC, use it.
My mic sounds echoey
- Use headphones so desktop audio is not bleeding into the mic.
- Move the mic closer and lower gain.
- Add light sound dampening: a rug, curtains, or even repositioning away from bare walls.
My webcam looks terrible
- Add a light facing you, even a small lamp with a shade.
- Turn off bright backlighting behind you.
- Clean the lens. Truly. It helps more often than we want to admit.
I can’t hear game audio on stream
- Check Settings → Audio and confirm Desktop Audio is the correct device (headphones vs speakers, and the right output if you have multiple).
- On Windows or macOS, confirm your system audio output matches what OBS is listening to. Audio routing apps can also change this.
- If using a capture card, it may appear as its own audio device. Add it as an audio source or set it to “Monitor and Output” in Advanced Audio Properties, depending on your setup.
A starter shopping list for three budgets
Ultra-budget (use what you have)
- Headphones you already own
- Phone as webcam (optional)
- Desk lamp or window light
- OBS Studio
Budget but solid
- USB mic: FIFINE K669B or HyperX SoloCast
- Webcam: Logitech C920
- Ring light or small LED panel
- Basic boom arm (optional but very nice)
Comfortable beginner-plus
- USB mic: FIFINE AM8 (or similar upgrade)
- LED panel lighting with adjustable brightness
- Capture card (if on console)
- Second monitor (optional, for chat and OBS)
Twitch basics you should not skip
- Turn on 2FA. Twitch requires it for streaming, and it protects your account.
- Set up VODs if you want past broadcasts saved (Creator Dashboard settings).
- Use tags and the right category. It helps the right people find you.
- Audio and music: If you play music, use DMCA-safe sources and avoid leaving copyrighted music in the background. Even if you are just “vibing,” it can get your VOD muted or worse.
- Basic moderation: Turn on AutoMod at a comfortable level. If you have a friend you trust, ask them to mod while you learn the ropes.
First stream checklist
- Mic positioned close, filters on, levels checked
- Lighting on, camera framed, background tidy enough
- OBS scenes set: Starting Soon, Live, BRB, Ending
- Game capture working
- Notifications silenced (phone and desktop)
- Water nearby
- A small plan: what you are playing, what you will talk about when it gets quiet
If you feel awkward at first, congratulations. You are a beginner doing beginner things. Give yourself permission to be a little clunky while you learn.
FAQ
Do I need a capture card to stream on Twitch?
Only if you want to stream from a console through your PC with OBS features. For PC games, you typically do not need one. For consoles, you can stream directly from the console, but a capture card gives you better control and customization.
Is OBS Studio free?
Yes. OBS Studio is free and widely used by beginners and pros.
Should I stream at 720p or 1080p?
Start at 720p if you want stability and fewer performance headaches. Move to 1080p once your stream is consistently smooth and your internet upload can handle it. If you do not reliably get transcoding, 720p can also be easier for viewers to watch.
What matters more: webcam or microphone?
Microphone. Clear audio builds trust fast. A camera is optional, and lighting can make a modest webcam look great.
Go live, keep it simple, and iterate
Your first Twitch stream is not an audition for a perfect streamer life. It is a first draft. Set up the basics, press “Start Streaming,” and treat the next few sessions like playful experiments: tweak one thing at a time, listen back, and keep what makes streaming feel fun.
And if your first stream is a little scuffed? Welcome to the club. The club has snacks and a very patient “BRB” screen.