Eyepieces are the part of astronomy that can feel weirdly like shopping for jeans. The numbers look important, everyone has strong opinions, and somehow the thing you thought would be perfect behaves completely differently once you get outside under the stars.
The good news: you do not need a suitcase full of eyepieces to have a great time. If you understand a few basics, you can pick one or two that match your telescope and the kinds of targets you actually want to look at.
The numbers that matter
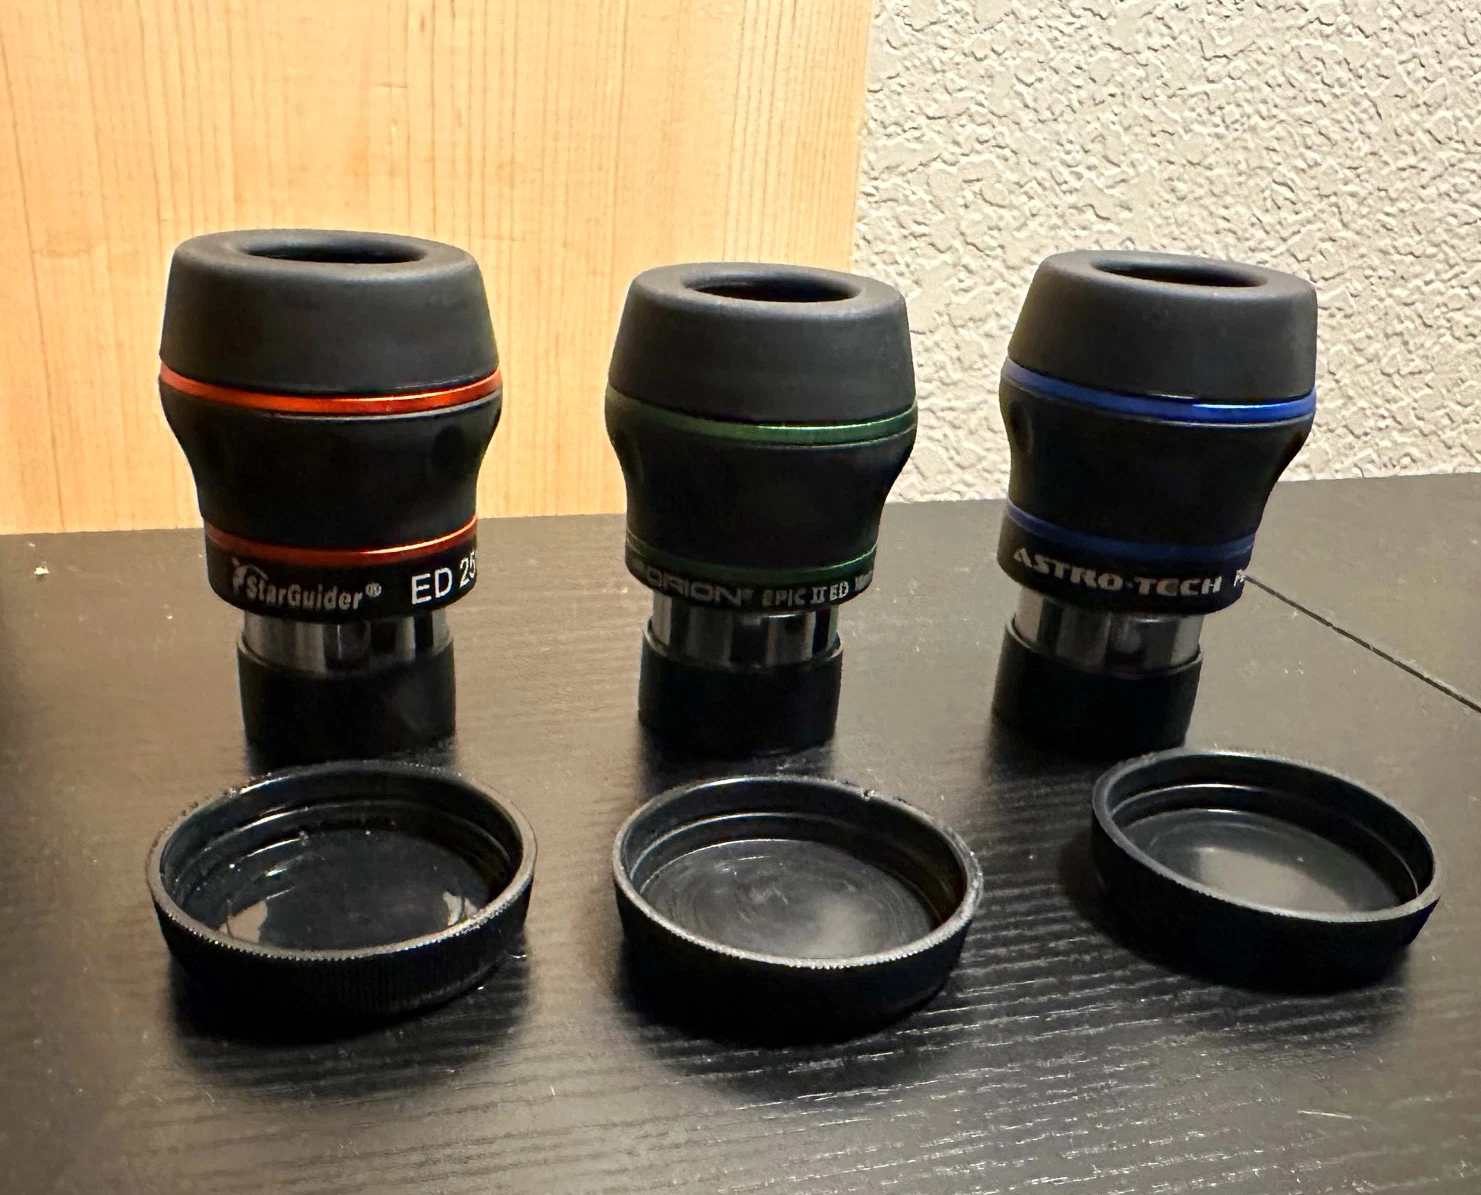
If you remember nothing else, remember this: eyepiece choice is mostly about magnification and how much sky you can see. Everything else is comfort, convenience, and preference, and yes, comfort can be a deal-breaker.
Focal length (mm)
Eyepiece focal length is measured in millimeters, like 25mm, 10mm, or 6mm. Longer focal length means lower magnification and usually a wider, easier view. Shorter focal length means higher magnification and a narrower, fussier view.
Magnification (power)
Magnification comes from pairing your telescope with an eyepiece:
Magnification = Telescope focal length ÷ Eyepiece focal length
Example: if your telescope focal length is 1200mm and you use a 25mm eyepiece:
1200 ÷ 25 = 48x
Swap to a 10mm eyepiece:
1200 ÷ 10 = 120x
Beginner tip: A lot of frustration comes from jumping to high power too fast. Start low, center the target, focus carefully, then increase magnification.
Field of view
There are two “fields of view” you will see:
- Apparent field of view (AFOV): how wide the view looks through that eyepiece by itself (often 40° to 82°+). Bigger AFOV can feel more immersive.
- True field of view (TFOV): how much actual sky you see with your telescope and that eyepiece together.
A handy approximation is:
TFOV ≈ AFOV ÷ Magnification
This is a useful quick estimate, but it is still an estimate. If an eyepiece lists a field stop diameter, the more accurate method is:
TFOV ≈ (Field stop ÷ Telescope focal length) × 57.3°
So if your eyepiece has a 60° AFOV and you are at 60x, you see roughly 1° of sky. That is about two Full Moons side-by-side.
Why TFOV matters
- Finding objects is easier at wider TFOV.
- Manual tracking is easier because objects stay in view longer before drifting out.
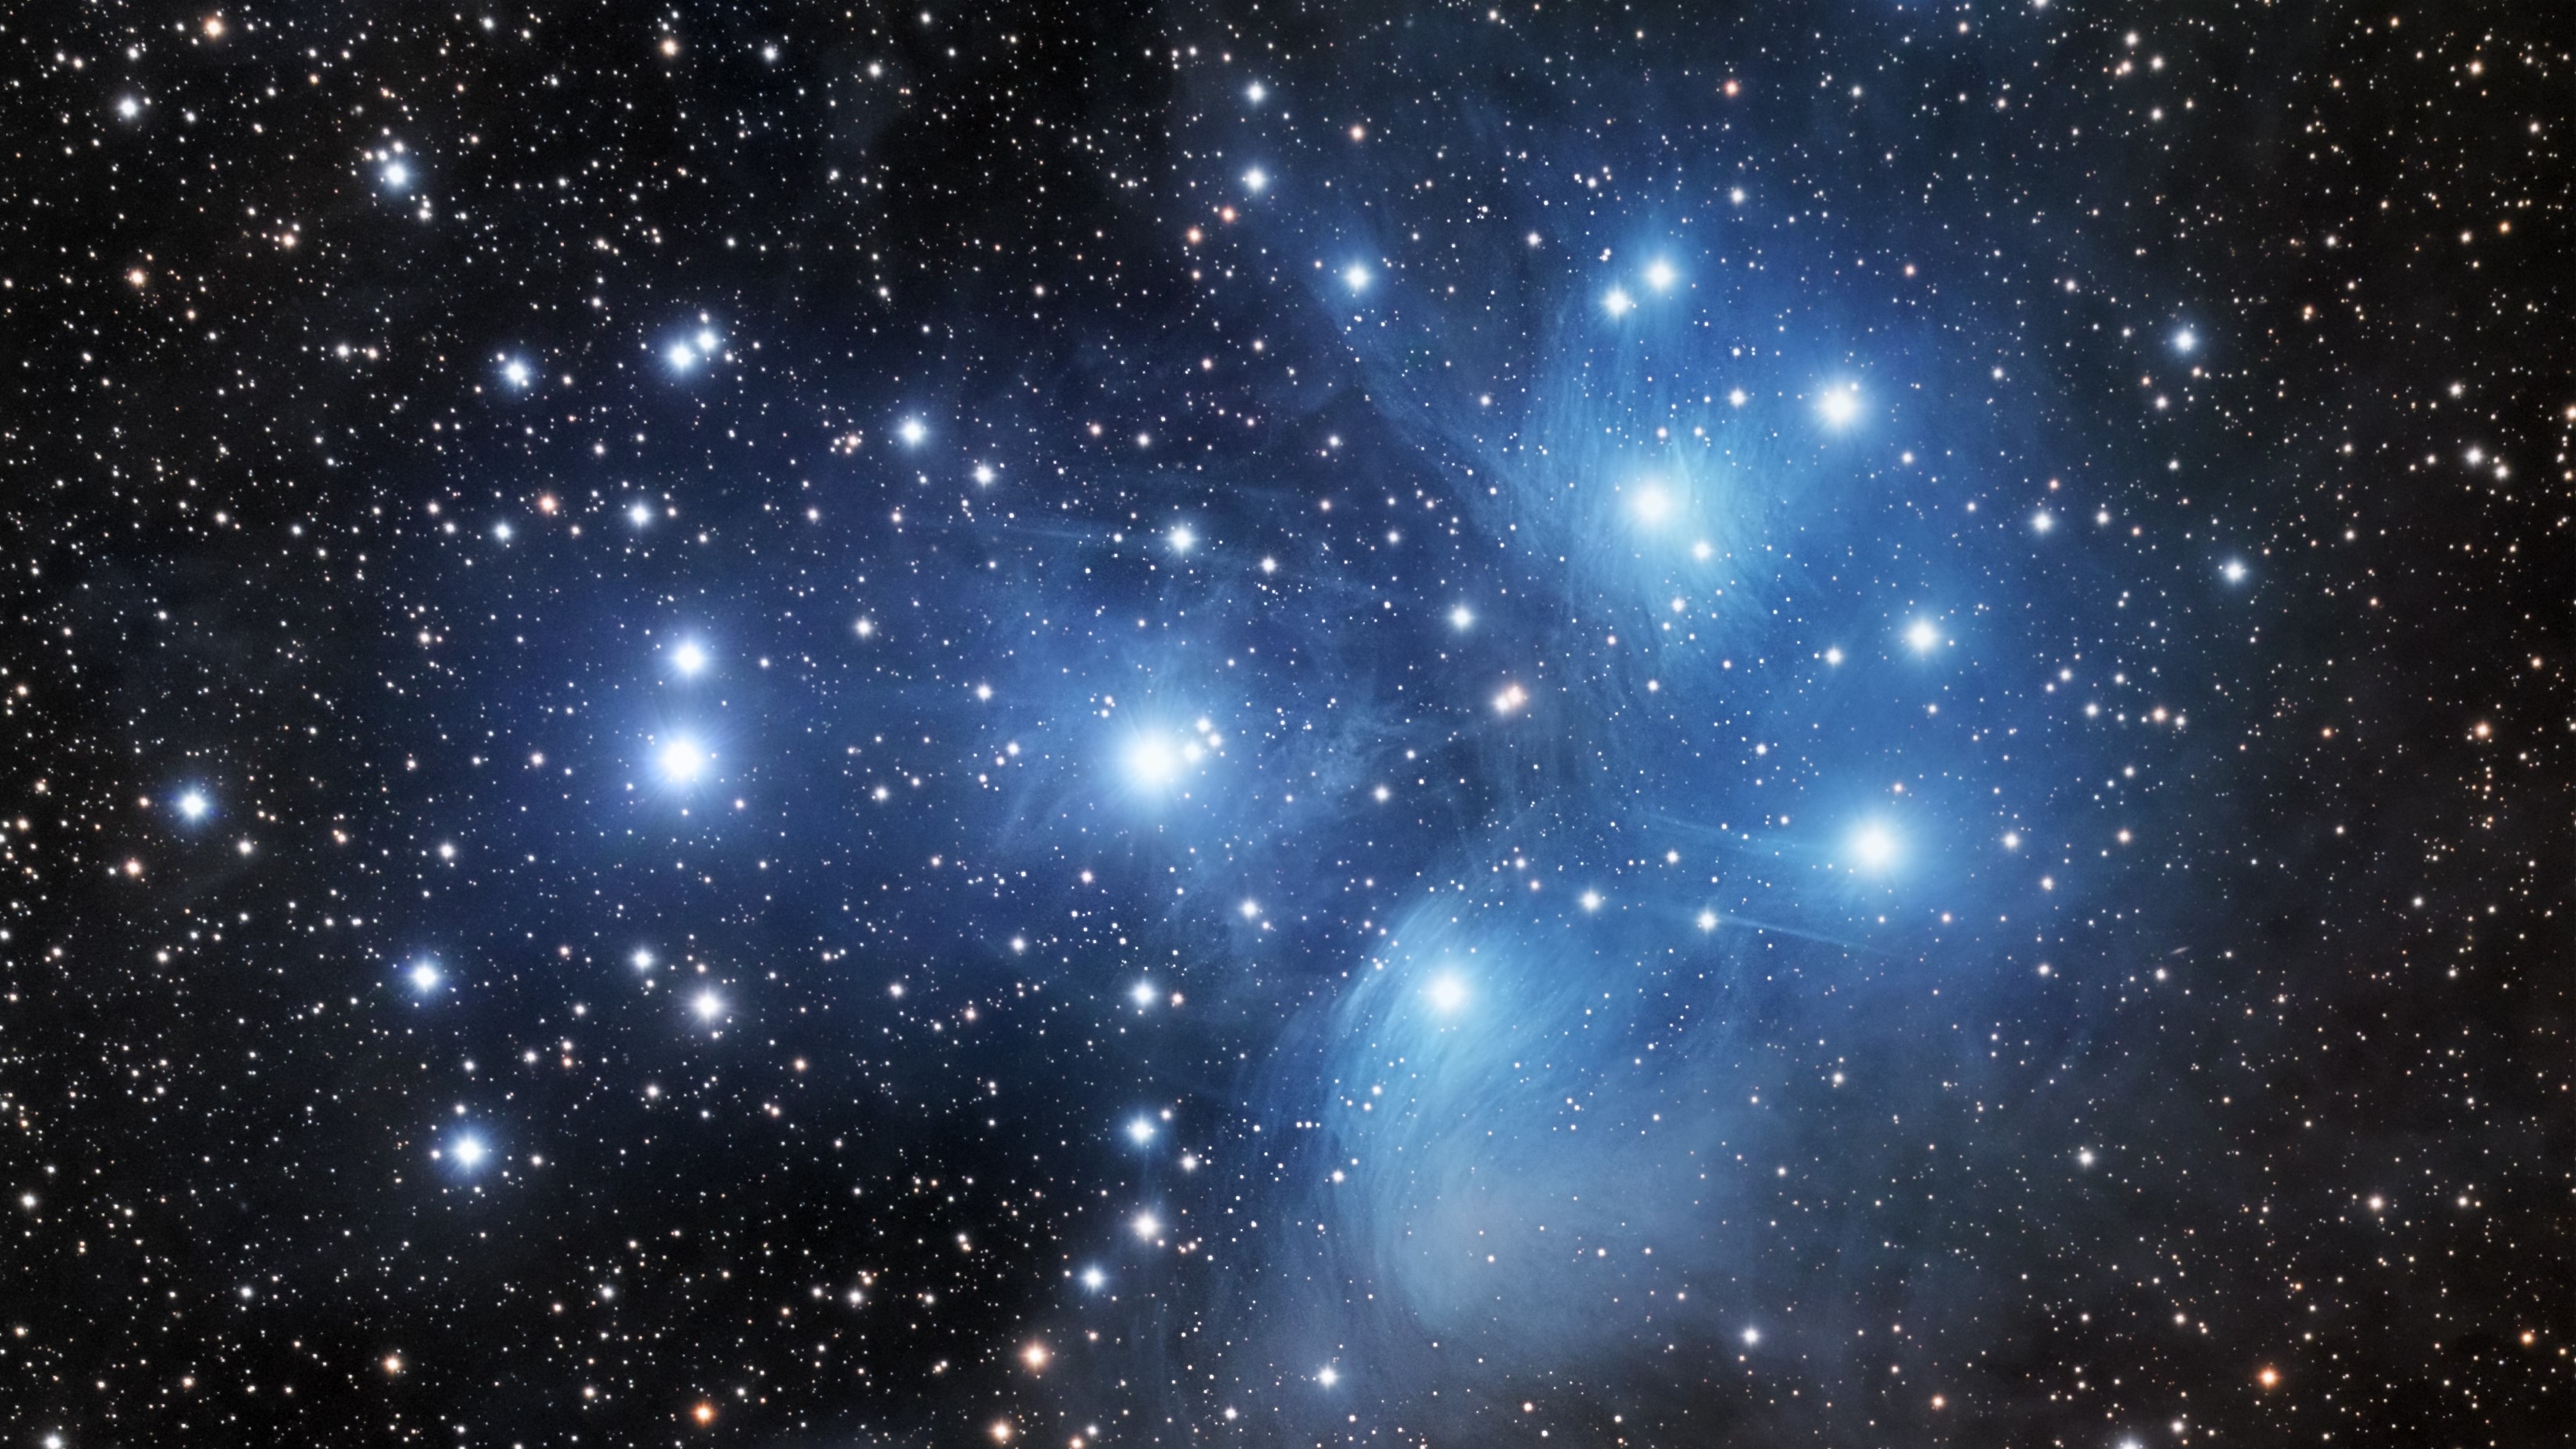
- Big deep-sky targets like the Pleiades benefit from wider TFOV.
Exit pupil
Exit pupil is the size of the beam of light leaving the eyepiece. It helps explain why some views feel bright and easy, while others feel dim and picky.
A simple way to estimate it is:
Exit pupil (mm) ≈ Eyepiece focal length ÷ Telescope f-ratio
- Bigger exit pupil (low power) usually means a brighter view and easier eye placement.
- Smaller exit pupil (high power) usually means a dimmer view, and floaters in your eye can become more noticeable.
Two practical notes:
- If the exit pupil is larger than your dark-adapted pupil (often roughly 5mm to 7mm for many adults), you can start “wasting” some light. It is not dangerous, it just means you are not using the full aperture.
- Under light pollution, going to moderate magnification can sometimes improve the view by darkening the sky background, even though the object also spreads out. This is why experimenting is not optional in astronomy. It is the hobby.
Eye relief and comfort
Eye relief is the distance your eye can be from the eyepiece and still see the full view. If you wear glasses for astigmatism, eye relief becomes a big deal because you often need to keep your glasses on.
- About 15mm to 20mm eye relief is a comfy range for many glasses wearers.
- Short eye relief can feel like you have to press your eyeball into the eyepiece, which is as fun as it sounds.
Also look for a soft rubber eyecup and a design that blocks stray light. Those two features can make a budget eyepiece feel much more pleasant.
Barlow lenses
A Barlow is an accessory that multiplies your telescope’s effective focal length, and thus increases magnification with any given eyepiece. Most are 2x.
- A 25mm eyepiece becomes “like” a 12.5mm in a 2x Barlow.
- A 10mm becomes “like” a 5mm.
Barlows are popular for building a flexible kit on a budget, but the quality matters. A good 2x Barlow can be genuinely useful. A cheap one can soften the view and make focusing harder.
If you are choosing between one excellent eyepiece and an eyepiece plus a questionable Barlow, I would pick the excellent eyepiece first. You can always add a Barlow later.
1.25 inch vs 2 inch
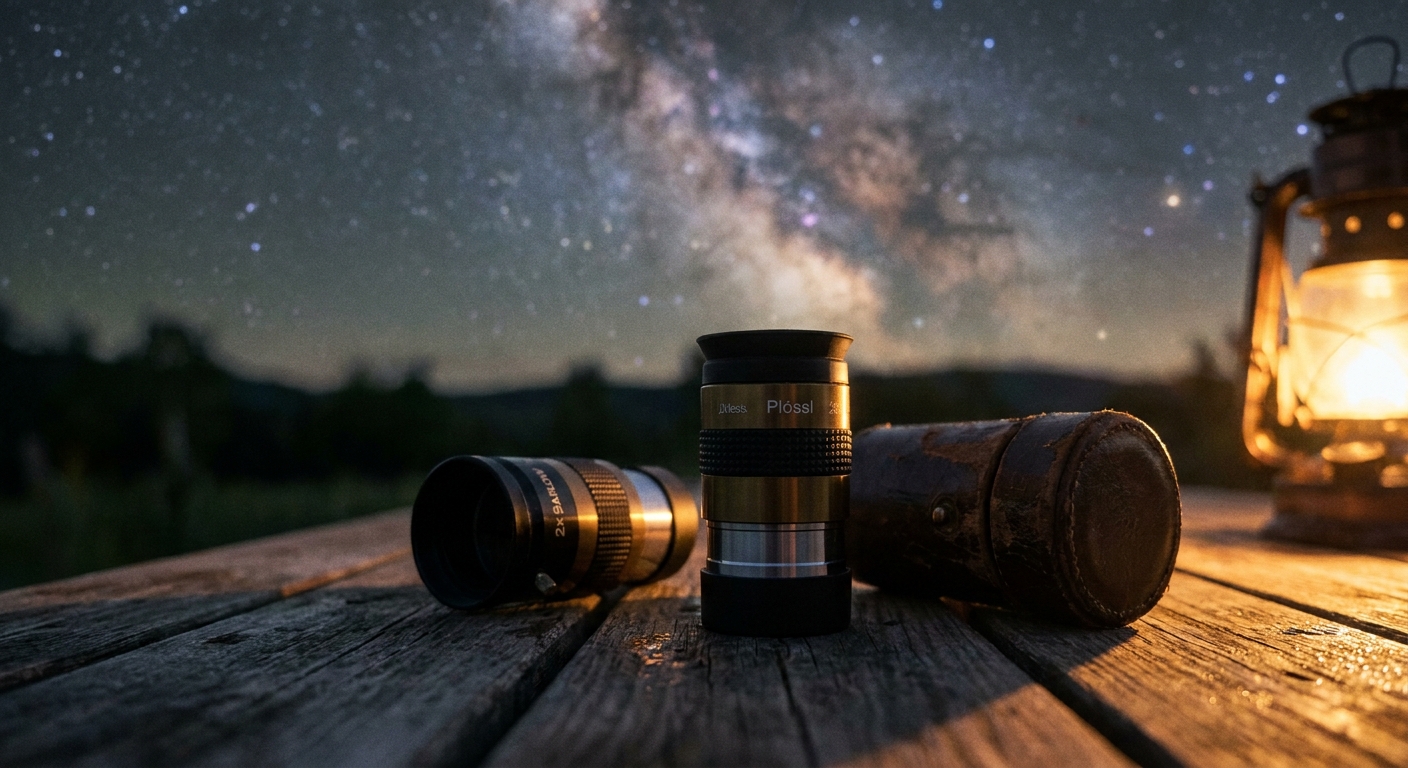
Most beginner telescopes accept 1.25-inch eyepieces, and that format can cover a lot of ground.
- 1.25-inch: common, affordable, great for planets and many deep-sky views.
- 2-inch: often used for wider, low-power views (big sweeping star fields). They cost more and require a 2-inch focuser or visual back.
If your telescope has a 2-inch focuser, you can usually use an adapter to accept 1.25-inch eyepieces. The other direction, using a 2-inch eyepiece in a 1.25-inch focuser, generally is not a thing.
If your telescope only takes 1.25-inch eyepieces, you can still have a wonderful wide-field experience. Do not let anyone convince you the hobby starts at 2 inches.
How much magnification
This is where astronomy gets delightfully humble. The atmosphere, your telescope’s size, collimation, cooling, and the object itself all decide what magnification looks good on a given night. Also, eyepieces do not change your telescope’s fundamental resolution. They just change how you sample what the telescope and the sky are already delivering.
A practical starting range
- Low power (wide view): about 25x to 60x for finding targets and enjoying large objects.
- Medium power: about 60x to 120x for many galaxies, clusters, and lunar detail.
- High power: about 120x to 200x for planets, double stars, and tight lunar features when the air is steady.
Yes, you will see eyepieces marketed for extreme magnification. In real life, more power often looks worse because the image gets dimmer and the atmosphere makes everything wobble.
A realistic upper limit
A common rule of thumb is that the maximum useful magnification is about 2x per millimeter of your telescope’s aperture (or about 50x per inch). Treat that as an upper bound under excellent optics and excellent seeing. Many nights, many locations, and many beginner setups are happier closer to 1x per millimeter (around 25x to 35x per inch). That is not failure. That is Tuesday.
Pick by target
The Moon
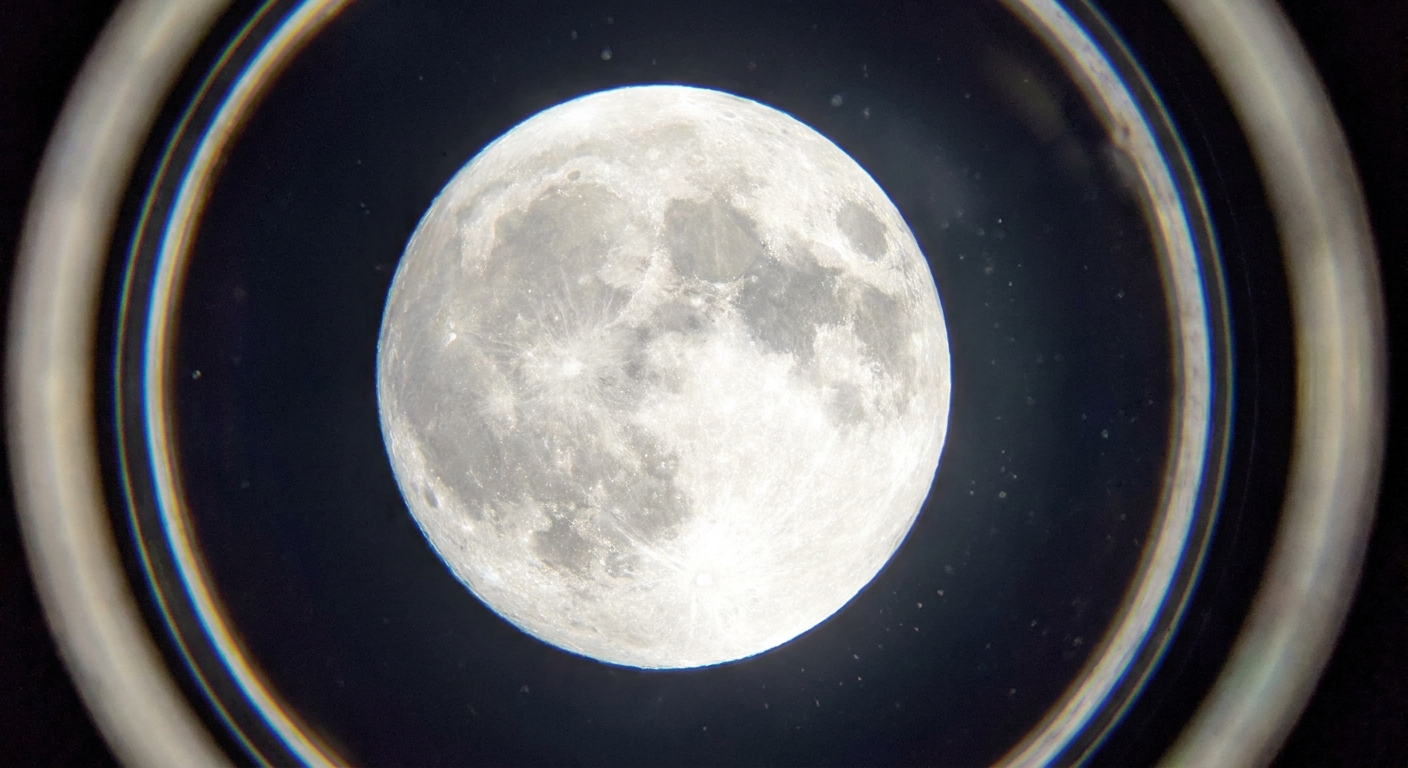
The Moon is bright, forgiving, and endlessly interesting. You can enjoy it at almost any magnification, but these choices tend to feel satisfying:
- Low to medium power to fit more of the Moon in the view (great for first-timers).
- Medium to high power for crater rims, mountain shadows, and rilles along the terminator.
Moon-friendly starter idea: something like 25mm for context and 10mm to 12mm for detail.
Planets
Planets are where eyepiece expectations go to be gently reeducated. You want higher magnification, yes, but you also need a steady atmosphere and good focus. Planet views improve when your telescope is cooled to outdoor temperature and well collimated.
- Planets usually like medium to high power.
- Comfort matters because you will stare for long stretches, waiting for brief moments of sharpness.
Planet-friendly starter idea: a 6mm to 10mm eyepiece (depending on your telescope focal length) plus a medium-power option for nights when the air will not cooperate.
Deep-sky objects
For deep sky, the surprise is that lower magnification often wins, especially for finding and framing. But this is also where light pollution and exit pupil make the rules feel slippery. Sometimes a bit more magnification improves contrast by darkening the sky background, even though the object gets dimmer too. The best approach is to try two magnifications and let your eyes vote.
- Open clusters often look best at low power with a wide field.
- Globular clusters can handle medium power to start teasing out stars.
- Nebulae frequently benefit from low to medium power, and a nebula filter can help later.
- Galaxies vary wildly, but medium power is often a sweet spot once you have found them.
Deep-sky starter idea: a 25mm to 32mm eyepiece for finding and framing, plus a 12mm to 15mm for closer looks.
A simple starter set
If you are building from scratch, this kind of trio covers a lot of observing without turning your accessory case into a part-time job.
- Low power: 25mm to 32mm for wide views and target finding.
- Medium power: 12mm to 15mm as your “most nights” eyepiece.
- High power: 6mm to 9mm for planets, double stars, and lunar close-ups.
If you already own a decent 25mm and 10mm that came with your telescope, you might only need to add one piece: a 12mm to 15mm for comfort and a nicer field, or a 6mm to 8mm if you want more planetary reach.
My librarian brain loves a tidy collection. But my hobby brain loves this even more: an eyepiece set small enough that you can stop fiddling and start looking.
Real telescope examples
Eyepiece advice gets easier when it has a telescope attached to it. Here are two common beginner scopes, with sensible places to start.
6-inch f/8 Dob (1200mm focal length)
- Low power: 25mm (48x, exit pupil about 3.1mm)
- Medium power: 12mm to 15mm (80x to 100x, exit pupil about 1.5mm to 1.9mm)
- High power: 6mm to 8mm (150x to 200x, exit pupil about 0.75mm to 1.0mm)
80mm f/7 refractor (560mm focal length)
- Low power: 24mm to 32mm (18x to 23x, exit pupil about 3.4mm to 4.6mm)
- Medium power: 10mm to 14mm (40x to 56x, exit pupil about 1.4mm to 2.0mm)
- High power: 5mm to 7mm (80x to 112x, exit pupil about 0.7mm to 1.0mm)
Notice how the “high power” eyepiece focal length depends on the telescope. The goal is the magnification and exit pupil you want, not collecting random millimeter numbers like trading cards.
Designs in plain English
You will run into design names. Here is what they usually mean for a beginner.
- Plossl: classic, affordable, often sharp. Short focal lengths can have tight eye relief.
- Wide-angle (varies by brand): more immersive view, often nicer for manual tracking.
- Zoom eyepiece: adjustable focal length (like 8 to 24mm). Convenient for learning, sometimes narrower field at the long end. A good zoom can be a wonderful beginner tool.
- Long eye relief planetary styles: designed for comfort at higher power, great if you wear glasses.
There is no “best” design, only the one that fits your observing style and your face. Yes, your face gets an opinion here.
Common pitfalls
- Chasing maximum magnification: If the view is mushy, back off. Try again on a steadier night.
- Ignoring eye relief: Discomfort will cut your observing session short every time.
- Buying too many focal lengths: Three well-chosen eyepieces beat seven that overlap.
- Forgetting the telescope matters: Fast telescopes (low f-number) can be pickier about eyepiece quality at the edges of the field.
- Not checking your focuser size: Make sure you are buying 1.25-inch or 2-inch eyepieces that actually fit your scope.
Quick worksheet
- Find your telescope focal length (printed on the tube or in the manual).
- Pick a target category: Moon, planets, or deep sky.
- Choose a magnification range from the guide above.
- Compute eyepiece focal length:
Eyepiece focal length = Telescope focal length ÷ Desired magnification. - Sanity-check comfort: look for workable eye relief and an AFOV that sounds pleasant.
Example: You have a 1000mm telescope and want around 100x for Jupiter.
1000 ÷ 100 = 10mm
That makes a 10mm a very reasonable place to start.
FAQ
Do expensive eyepieces make a huge difference?
Sometimes. The biggest differences beginners notice are comfort (eye relief, easy viewing), wider apparent field, and cleaner edges of the view. Sharpness in the center is often surprisingly good even on modest eyepieces, especially at longer focal lengths.
Should I buy a zoom eyepiece as my first upgrade?
If you like the idea of learning what magnifications you enjoy without swapping eyepieces constantly, a zoom can be a great choice. It is also very friendly for outreach and family stargazing. Just remember that many zooms show a narrower field at the lowest power setting.
Why does my high-power eyepiece look dim?
Higher magnification spreads the same light over a larger area, so the image gets dimmer. That is normal. Atmospheric turbulence can also blur the view, which makes it feel less bright and less crisp.
What eyepiece should I use to find things?
Use your lowest-power, widest-field eyepiece first. Get the object centered, then move up in magnification.
Is a 4mm eyepiece too much?
It depends on your telescope focal length and aperture, but for many beginner setups it is often more magnification than the atmosphere will support on typical nights. If you are craving planetary detail, a comfortable 6mm to 9mm is frequently a happier purchase.
A gentle nudge
If choosing an eyepiece feels intimidating, you are doing astronomy correctly. There is a lot to learn, and the sky is an honest teacher.
Start with one eyepiece that fills a real gap in your kit. Take it outside for a few sessions. Notice what feels easier, what looks better, and what you want more of. That is how you build an eyepiece collection you actually love using, not just owning.