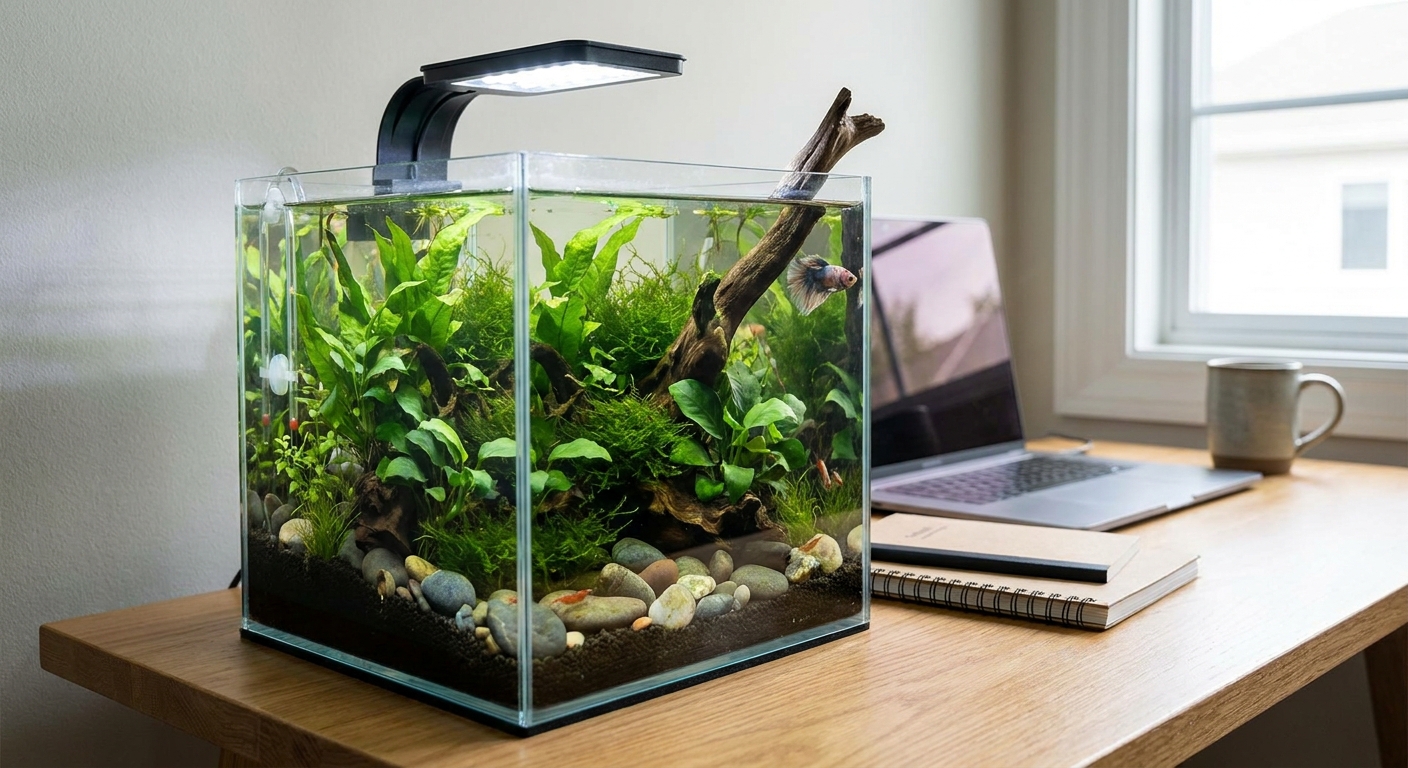
If you have ever wanted a tiny underwater garden on your desk, aquascaping is a delightfully soothing hobby to try. It is part houseplant therapy, part design project, and part slow science experiment. The best news for beginners is that you do not need a huge tank or fancy gadgets to get something beautiful growing.
This guide walks you through a simple, low-stress desktop aquascape: what to buy, how to set it up, which plants behave themselves, and what to do during that crucial first week.
Choose a beginner-friendly tank size
For a first aquascape, small is charming, but too small can be fiddly. Here is the sweet spot:
- Best starting size: 5 to 10 gallons. More stable water, still desktop-friendly.
- Smallest I recommend for a true beginner: 3 gallons, if you keep it planted and do not overstock.
- Why not 1 gallon? Tiny volumes swing fast in temperature and water quality. They are harder, not easier.
Tank shape tip: A standard rectangular tank is the easiest to light evenly and scape with rocks and wood. Bowfronts and tall cubes can be gorgeous later, but rectangles are very forgiving while you learn.
Basic equipment (budget-first, beginner-proof)
You can absolutely go down a rabbit hole with aquascaping gear. For your first build, focus on the items that keep plants healthy and water stable.
What you need
- Tank (3 to 10 gallons)
- Filter to keep water moving and biologically stable
- Heater if your room runs cool or you plan to add tropical livestock
- Light that is appropriate for plant growth
- Substrate (soil-based or inert plus root tabs)
- Water conditioner (dechlorinator)
- Thermometer
- Test kit for ammonia, nitrite, nitrate
- Aquascaping tools (optional but helpful): long tweezers and small scissors
Filter: the simplest options
For a desktop aquascape, you want gentle flow, quiet operation, and easy maintenance.
- Sponge filter + air pump: Inexpensive, plant-friendly flow, great for shrimp later. You will also need airline tubing and a check valve.
- Small hang-on-back filter: Easy to find, simple to run. Aim for adjustable flow so it does not blast your plants around.
Beginner note: Skip “replaceable cartridge” routines if you can. You want to preserve beneficial bacteria. If your filter comes with cartridges, you can often cut the floss off and keep it, or swap to sponge and ceramic media and rinse it in old tank water when dirty. Also, do not replace all filter media at once.
Light: keep it simple
Plants need consistent light more than they need expensive light.
- Look for: an LED aquarium light marketed for planted tanks
- Use a timer: 6 to 8 hours daily at first
Start on the lower end and increase slowly only if plant growth is clearly asking for more. If algae shows up early, it is usually a sign of too much light, too long a photoperiod, or both. Timers are the unsung heroes of calm aquariums.
Heater: do you need one?
For a plant-only aquascape, a heater may be optional if your home stays around 72 to 76°F and does not swing much between day and night. Temperature stability matters more than hitting a perfect number. If your space gets chilly at night, or you want tropical fish or shrimp later, a small adjustable heater is often worth it for consistency. Set it around 74 to 76°F for many common tropical setups.
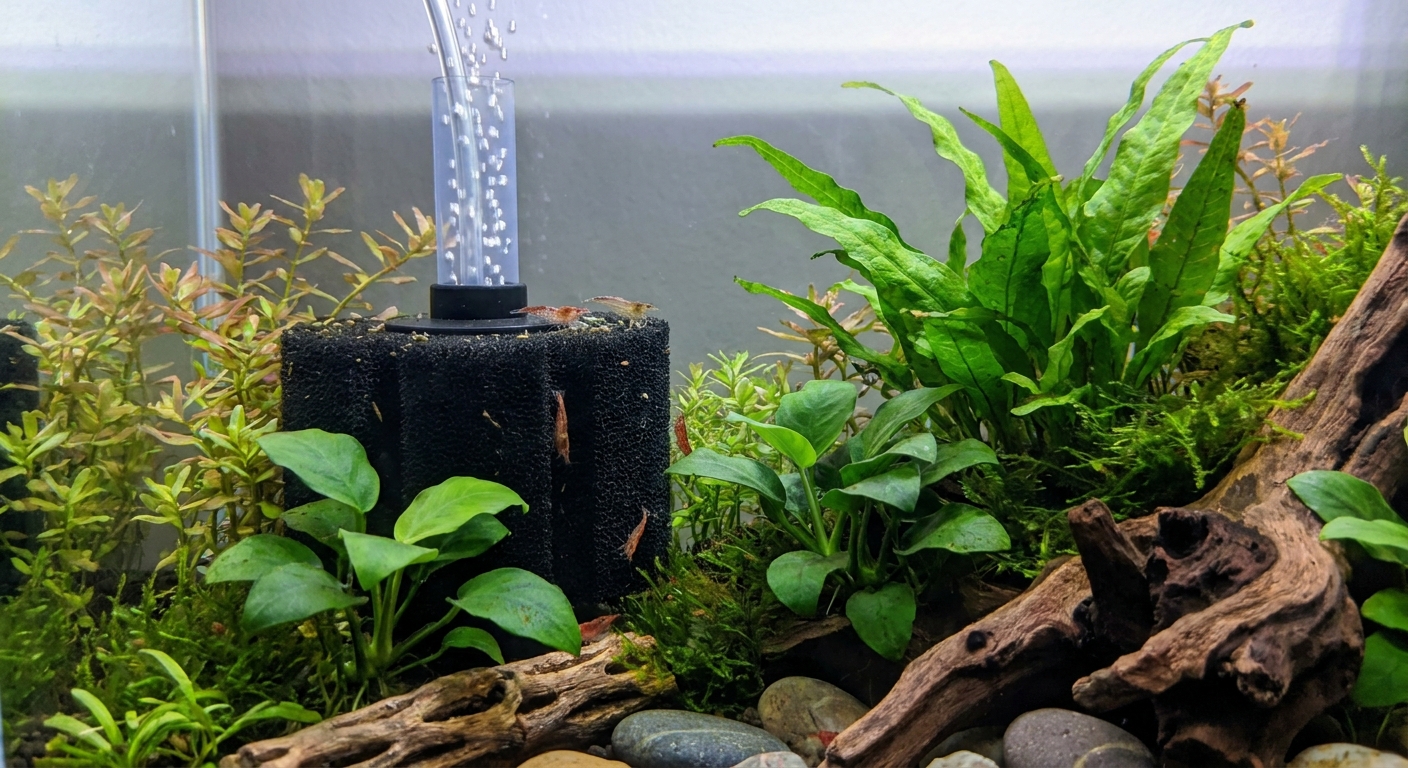
Substrate choices that will not overwhelm you
The substrate is the foundation of your aquascape. It also tends to be where beginners spend the most money by accident. Two easy routes:
Option A: Aquasoil (easiest for plants)
Aquasoil is a nutrient-rich planted aquarium substrate. It is beginner-friendly because rooted plants grow well without much extra help.
- Pros: Great plant growth, fewer add-ons
- Cons: More expensive; can release nutrients early, which means you should do extra water changes in the first week
Option B: Inert gravel or sand + root tabs (budget-friendly)
Inert substrates are cheaper and clean-looking. They just do not feed plants on their own.
- Pros: Affordable, easy to find, less initial nutrient “mess”
- Cons: You will likely need root tabs for heavy root feeders (like swords and crypts)
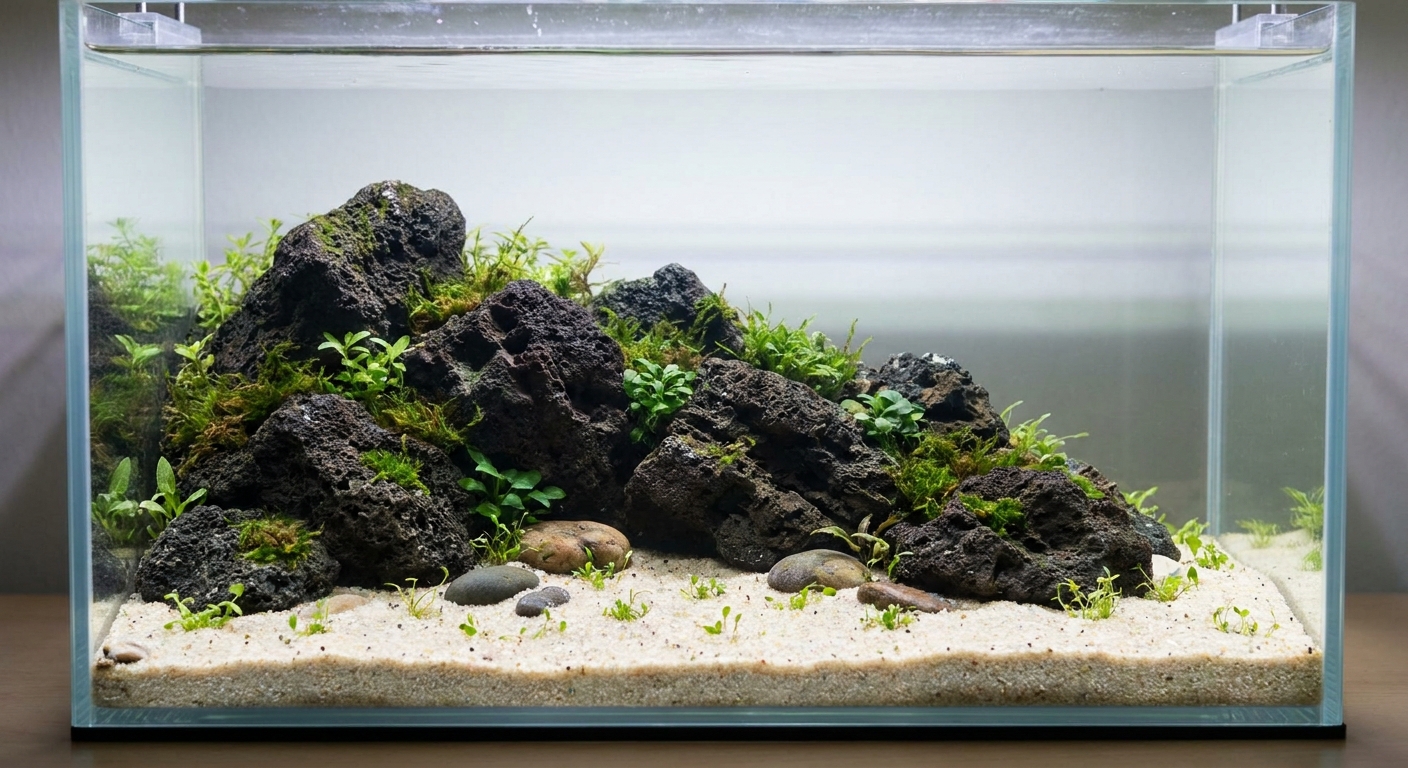
Depth guideline: Aim for about 1.5 to 2.5 inches of substrate in most nano tanks, with extra depth in the back if you want a slope. Many aquascapes look more natural with a gentle rise: shallower in front, deeper in back.
Hardscape: rocks and wood without the stress
Hardscape is your structure: the stones and driftwood that make the layout feel intentional even before plants fill in.
Beginner layout idea: one main piece
Pick one main focal point (a larger rock cluster or a single driftwood piece), then support it with a few smaller stones. This keeps you from doing the classic beginner move of spreading everything evenly like toppings on a pizza.
Safety and prep
- Rinse rocks and gravel well to remove dust.
- For driftwood: it may float at first. Soak it for a week or two, or attach it to a stone with aquarium-safe super glue gel. Buying aquarium-safe wood from a reputable source is the simplest route.
- Avoid: backyard rocks if you do not know what they are. Some can change water chemistry or contain metals.
Easy plant choices for your first desktop aquascape
For a first tank, choose plants that tolerate beginner learning curves: inconsistent fertilizing, a little algae, and the occasional “oops, I planted that wrong.”
Best no-fuss plants
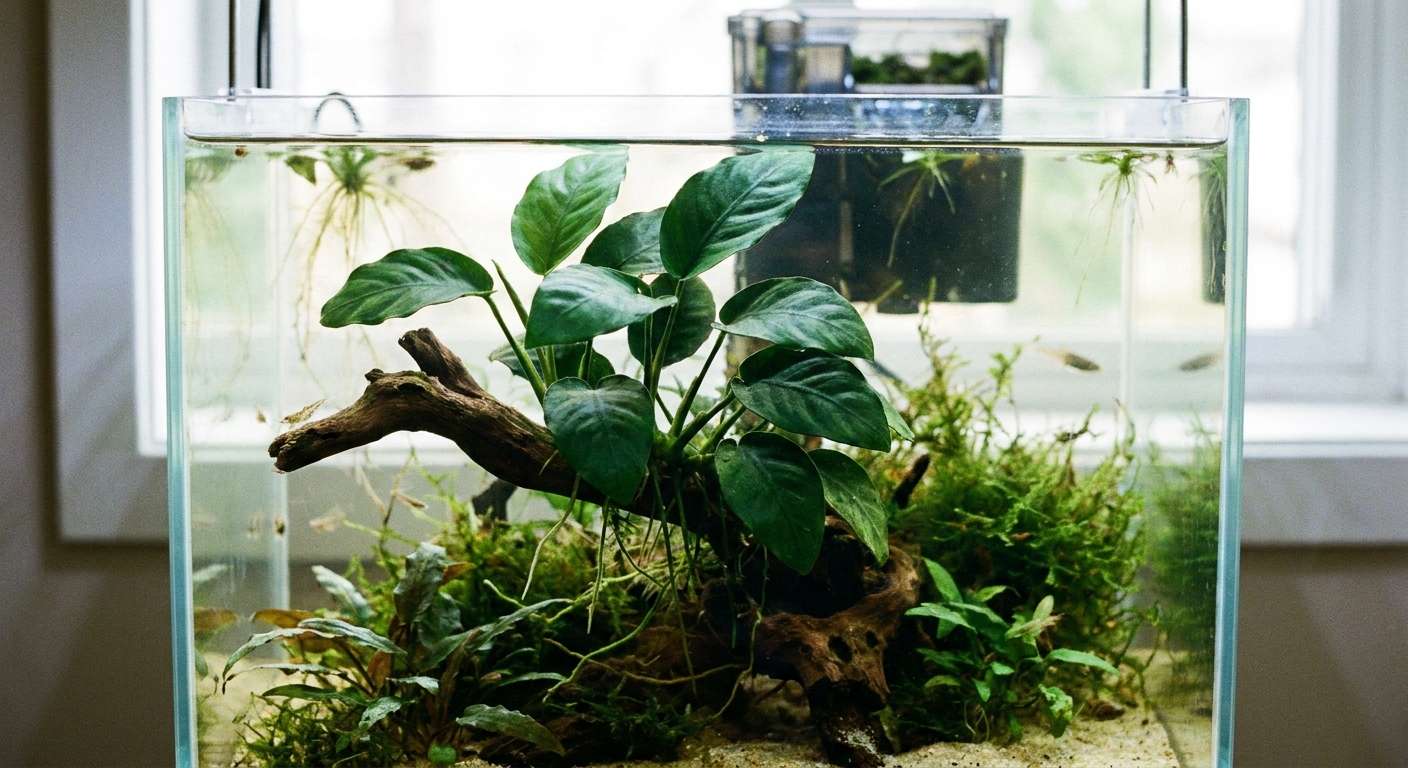
- Anubias (nana is perfect for nano tanks): attach to rock or wood, slow-growing, tough.
- Java fern: also attaches to hardscape, happy in low to medium light.
- Cryptocoryne (crypts): great midground plants, do well in low tech tanks. They may “melt” after planting, then regrow.
- Java moss or Christmas moss: great for soft texture and hiding places.
- Dwarf sag or vallisneria (in larger nanos): beginner grasses that can spread.
- Floaters like salvinia or red root floaters: help with nutrient uptake and can reduce algae by shading, but thin them regularly so they do not block too much light from your rooted plants.
A friendly warning about carpet plants
That lush green lawn look is often achieved with CO2 injection and higher light. You can still experiment, but if you want the lowest barrier start, skip carpeting plants at first and aim for a natural planted look with rocks, wood, and easy midground plants.
Planting basics
- Rhizome plants (anubias, java fern): do not bury the rhizome. Tie or glue them to rocks or wood.
- Rooted plants (crypts, dwarf sag): plant roots in substrate, keep the crown above the surface.
- Moss: dab tiny amounts onto wood or rock and secure with thread or a small dot of aquarium-safe super glue gel.
Step-by-step setup (the calm way)
Here is a straightforward order that keeps mess to a minimum and helps your scape stay in place.
- Rinse the tank with plain water. No soap.
- Add substrate and create a gentle slope: higher in back, lower in front.
- Place hardscape (rocks and wood) and nudge until it feels natural.
- Plant with tweezers if you have them. Start with background plants, then midground, then foreground.
- Fill slowly to avoid uprooting plants. Pour water onto a small plate, bowl, or plastic bag resting on the substrate to diffuse the flow.
- Add dechlorinator to treat tap water.
- Start filter and heater (if using). Confirm water is moving and temperature is stable.
- Set your light timer for 6 to 8 hours per day.
Permission slip: Your aquascape does not have to look “finished” on day one. Plants grow in. Hardscape settles into the vibe. The first version is allowed to be a draft.
The first week: what to do (and what to avoid)
The first week is about stabilization. You are helping plants adjust, keeping algae from getting a head start, and beginning the process of establishing beneficial bacteria.
Day 1 to Day 2: monitor and resist the urge to tinker
- Check temperature and make sure the filter is running smoothly.
- Expect a little cloudiness or tiny floating bits. This is common.
- Keep the light at 6 to 8 hours max.
Cycling: the missing ingredient is ammonia
You will often hear that a new tank “cycles” as beneficial bacteria grow in the filter. That is true, but those bacteria need a food source. In a brand-new plant-only setup, cycling can be slow or stall if there is no steady ammonia input.
If you want to fishless cycle, you have a few gentle options:
- Ghost feed: add a tiny pinch of fish food every couple of days, then test. Remove uneaten excess so it does not rot into a mess.
- Bottled ammonia: dose very carefully per product instructions, then test.
- Bottled bacteria: can help, but still needs an ammonia source to keep the colony alive.
Avoid adding fish “to start the cycle.” It is a rough start for them, and you have easier options.
Water changes: your best early habit
Fresh setups often do better with small, frequent water changes, especially if you used aquasoil.
- If you used aquasoil: 30 to 50% every other day during week one is often recommended. Follow your aquasoil brand guidance and let your test kit lead, since some substrates leach more ammonia than others.
- If you used inert substrate: 25 to 30% once or twice in week one is usually plenty.
Use dechlorinator for new water, and try to match temperature so you do not shock plants or future livestock.
Testing: what you are looking for
Testing helps you avoid adding animals too early. Think of it as a calm progress report, not a pop quiz.
- Ammonia: should eventually go to 0 ppm
- Nitrite: should eventually go to 0 ppm
- Nitrate: will rise as the cycle establishes (plants can consume some)
If you plan shrimp later, it is also worth learning your tap water basics (pH, GH, KH). Many shrimp care as much about mineral content and stability as they do about temperature.
Fertilizer in week one
If you used aquasoil, you often do not need heavy fertilizing immediately. If you used inert substrate, a gentle all-in-one liquid fertilizer can help after a few days, but start at a reduced dose and watch for algae.
What to avoid in week one
- Overlighting in hopes of faster growth
- Overfeeding (if you already have livestock) which fuels algae
- Adding too many animals too soon
- Deep-cleaning filter media with tap water
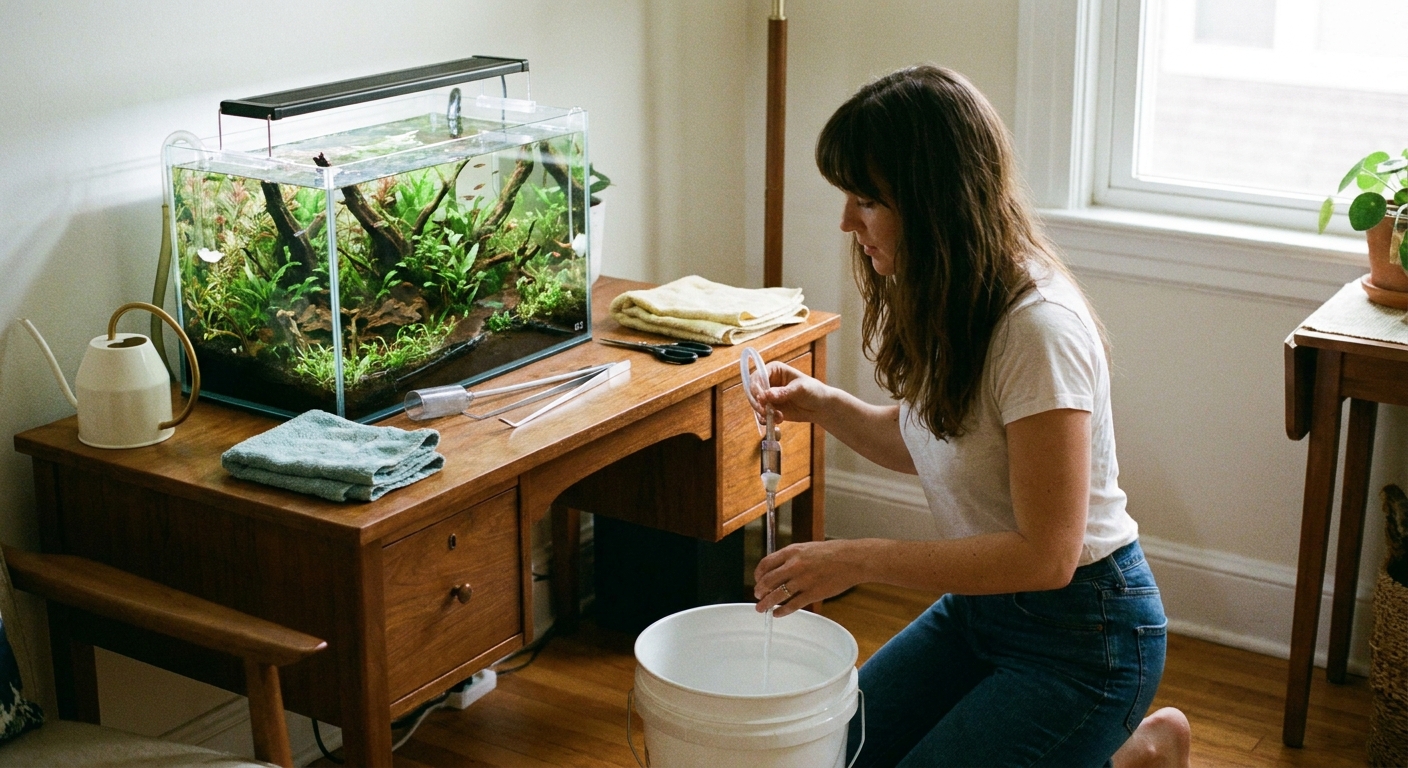
Week 2 and beyond: a simple routine
Once the initial settling-in phase is over, consistency becomes your secret weapon. Here is a low-stress baseline to aim for:
- Water change: 20 to 30% weekly for most small planted tanks (more if you are overfeeding, overstocked, or battling algae).
- Glass and hardscape: wipe algae as needed. It is easier to do a little often than a lot once a month.
- Plant care: trim and replant tops when stems get leggy; remove melting leaves from crypts and let new growth take over.
- Filter care: rinse sponge or media in old tank water when flow slows, often every 2 to 4 weeks. Keep some “seasoned” media in place so you do not reset your biofilter.
- Light adjustments: if plants are growing steadily and algae is calm, you can slowly increase to 7 to 9 hours. If algae shows up, dial back first.
A simple, low-budget shopping list
If you like having a clear starting point, here is a practical list for a basic planted desktop aquascape.
- 5 to 10 gallon tank
- Sponge filter kit or small adjustable hang-on-back filter
- LED planted tank light + outlet timer
- Substrate: aquasoil OR gravel/sand + root tabs
- Water conditioner
- Basic test kit (ammonia, nitrite, nitrate)
- Thermometer
- Easy plants: anubias, java fern, crypts, moss
- One focal hardscape piece: driftwood or a small rock set
If you want to save money, look for secondhand tanks locally and spend your budget on the light and plants. Healthy plants and consistent lighting are what make a small aquascape feel magical.
Beginner questions I hear all the time
Do I need CO2 to aquascape?
No. CO2 can help you grow demanding plants faster, but a low-tech aquascape with hardy plants can be lush, calming, and beautiful.
When can I add shrimp or fish?
After the tank is cycled, meaning ammonia and nitrite test at 0 ppm consistently, with a clear ammonia source having been processed. For many new tanks, this takes a few weeks. Plants can go in right away, which is one reason I love plant-first setups.
My crypt plant looks like it is dying. Did I mess up?
Probably not. Crypts often “melt” after moving to a new tank. Trim truly mushy leaves, keep conditions stable, and give it time to regrow.
How do I keep algae under control?
Start with a shorter light schedule, do water changes, avoid overfeeding, and keep plant mass reasonably high. Algae is not a moral failing. It is feedback.
Your first aquascape is allowed to be small
A desktop aquascape is one of my favorite reminders that “beginner” can be a destination, not a stage you rush through. Start with easy plants, steady routines, and a layout that makes you smile when you walk by. In a few weeks, you will see new leaves, roots taking hold, and that lovely moment when the tank starts to look like a tiny living landscape rather than a project.
If you want a next step after the first week, try one gentle upgrade: add a timer if you do not have one yet, or swap one plant for another and watch how the tank responds. Aquascaping is a hobby built on curious little experiments.