If you are new to canning, the biggest decision is not which jam flavor to start with. It is choosing the right method. Water bath canning and pressure canning are both ways to make shelf-stable jars, but they work for different foods, for very important safety reasons.
Think of this page as your friendly fork in the road. By the end, you should know which method fits the foods you want to preserve, your budget, and your comfort level.
The simplest difference
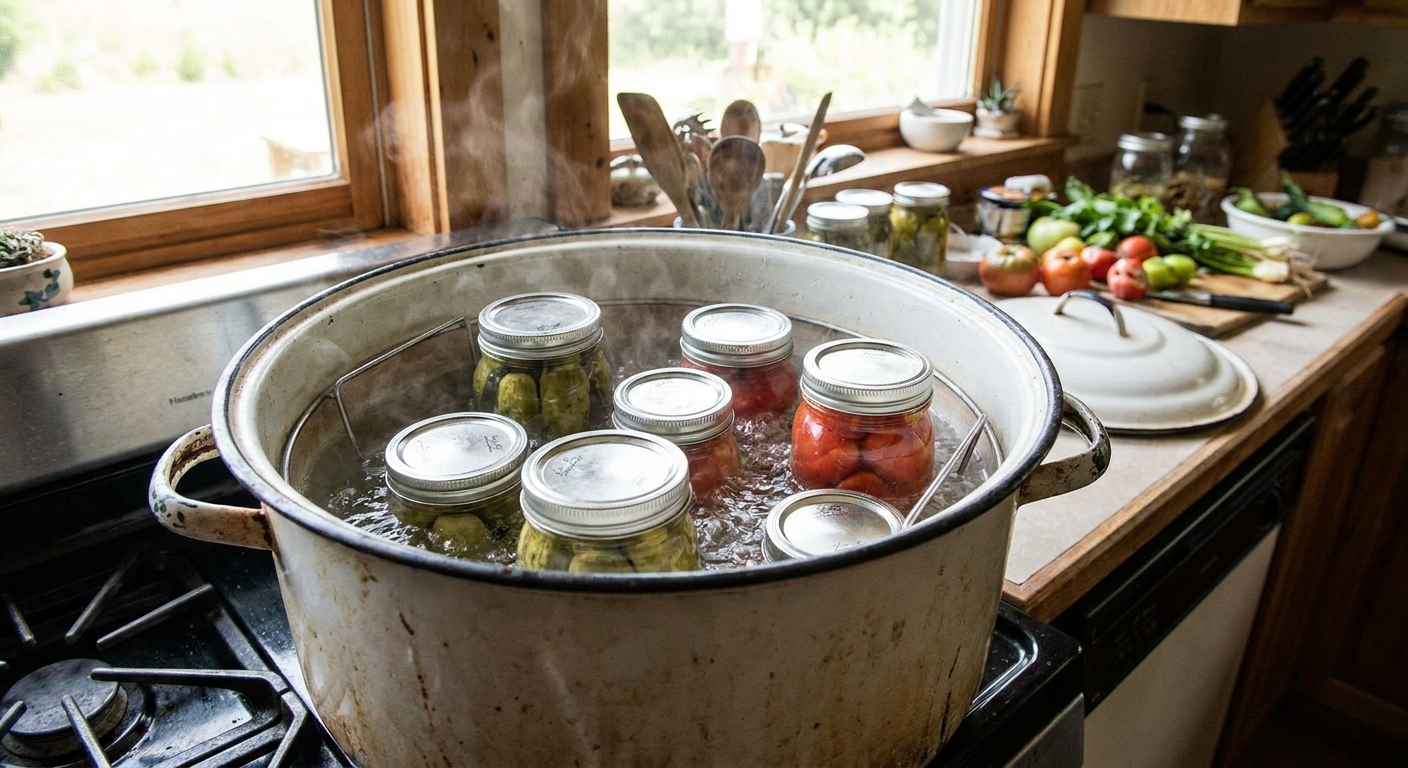
Water bath canning uses boiling water to heat jars to the boiling point of water, 212°F / 100°C at sea level (lower at higher altitudes). It is used for high-acid foods where acid helps prevent the growth of dangerous bacteria.
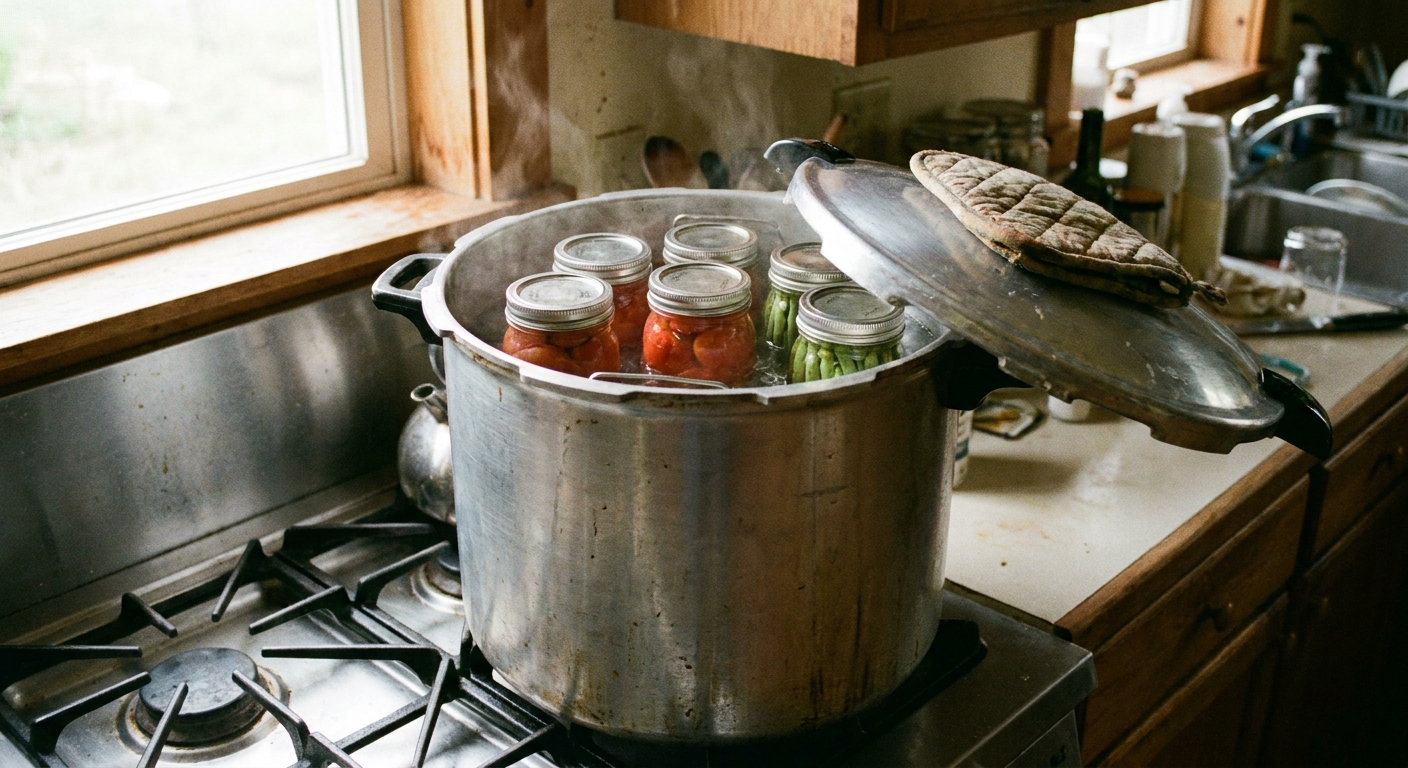
Pressure canning uses pressurized steam to reach higher temperatures, typically 240°F to 250°F / 116°C to 121°C at common home-canning pressures (often 10 to 15 psi, depending on your canner and altitude). It is used for low-acid foods where boiling water is not hot enough to make the food safe for room-temperature storage.
If you only remember one thing: Low-acid foods require pressure canning (unless they are pickled or otherwise acidified using a tested recipe).
Which foods use which method?
Water bath is for high-acid foods
These foods are naturally high in acid or have enough added acid in a tested recipe:
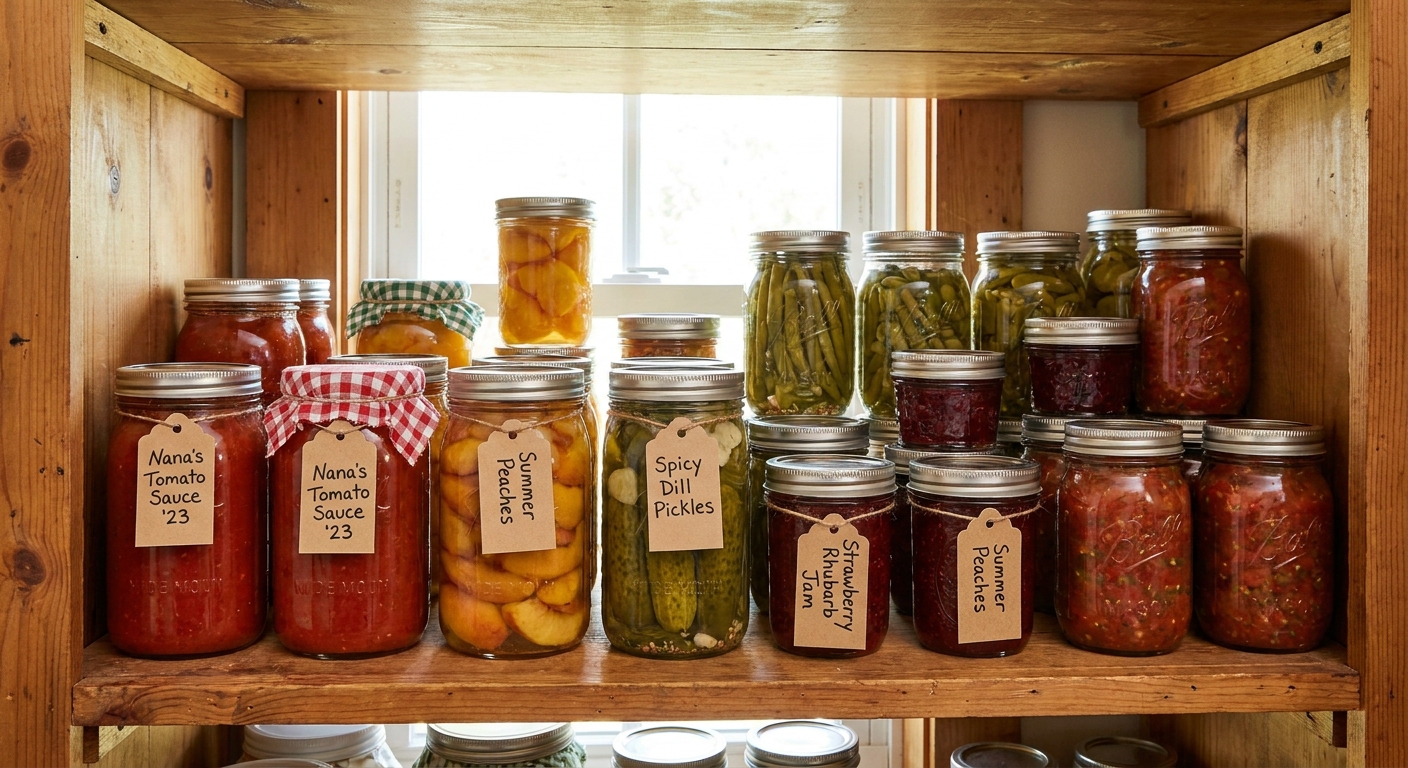
- Jams, jellies, fruit butters, fruit preserves
- Most fruit (peaches, applesauce, pears, berries) when made with a tested process
- Pickles and pickled vegetables (properly acidified)
- Relishes, chutneys, salsas made with tested ratios
- Tomatoes only when acidified as directed in a tested recipe (commonly bottled lemon juice or citric acid)
Pressure canning is for low-acid foods
These foods can support the growth of Clostridium botulinum at room temperature if they are not processed correctly:
- Vegetables (green beans, carrots, corn, potatoes)
- Meat, poultry, seafood
- Stocks and broths
- Chili, soups, and meal-in-a-jar recipes only when using a tested canning recipe
- Beans and legumes
- Pumpkin and winter squash chunks only (not mashed or pureed), in tested recipes with specified prep and piece size
Not sure which category a food is in? When in doubt, do not guess. Look for a tested recipe from a reliable source and follow that method exactly.
Why pressure canning matters
This is the part where my inner librarian gently clears her throat and slides a safety bookmark into the chapter.
The main risk in low-acid foods is botulism, a rare but very serious illness caused by a toxin that can form in improperly canned foods. The bacteria that creates the toxin can survive boiling-water temperatures. Pressure canning is what gets the jar hot enough, for long enough, to make low-acid foods safe for shelf storage.
Water bath canning is still “real” canning and absolutely safe for high-acid foods when you use tested recipes and proper processing times. It is just not interchangeable with pressure canning.
Decision guide
Choose water bath if you want to:
- Start with fruit jams, jellies, and pickles
- Use equipment you may already have (a deep pot plus rack)
- Keep the learning curve gentler at first
- Spend less up front
Choose pressure canning if you want to:
- Preserve vegetables, beans, broth, meat, or full meals
- Build a pantry of ready-to-eat staples
- Stock multiple meal bases in one batch
- Invest in a specialized tool that opens more options
My beginner-friendly suggestion: If your heart says “pickles and strawberry jam,” start with water bath canning. If your heart says “home-canned chili on a Tuesday,” start with pressure canning. Plenty of canners end up doing both.
Equipment you need
For water bath canning
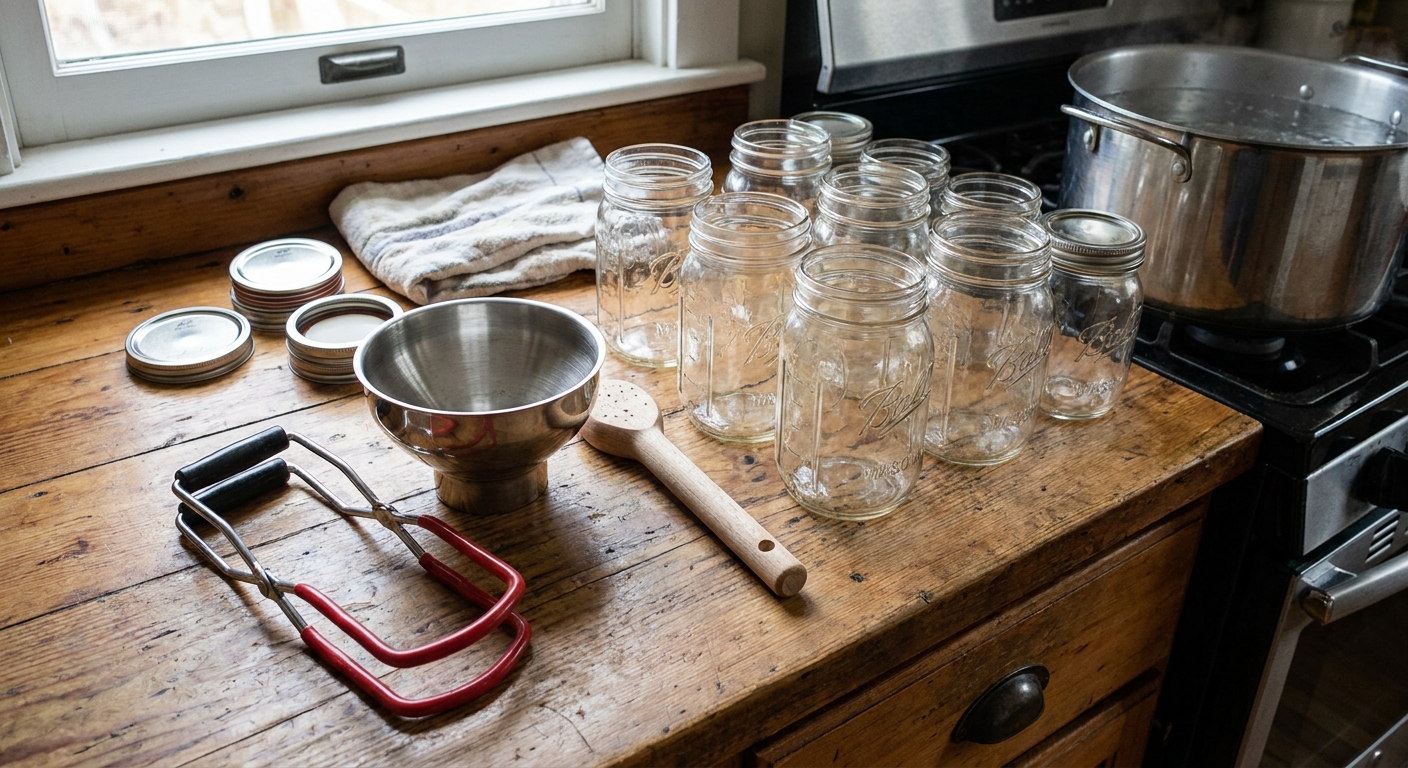
- Large, deep pot with a lid, tall enough so jars are covered by 1 to 2 inches of water
- Canning rack (keeps jars off the bottom and lets water circulate)
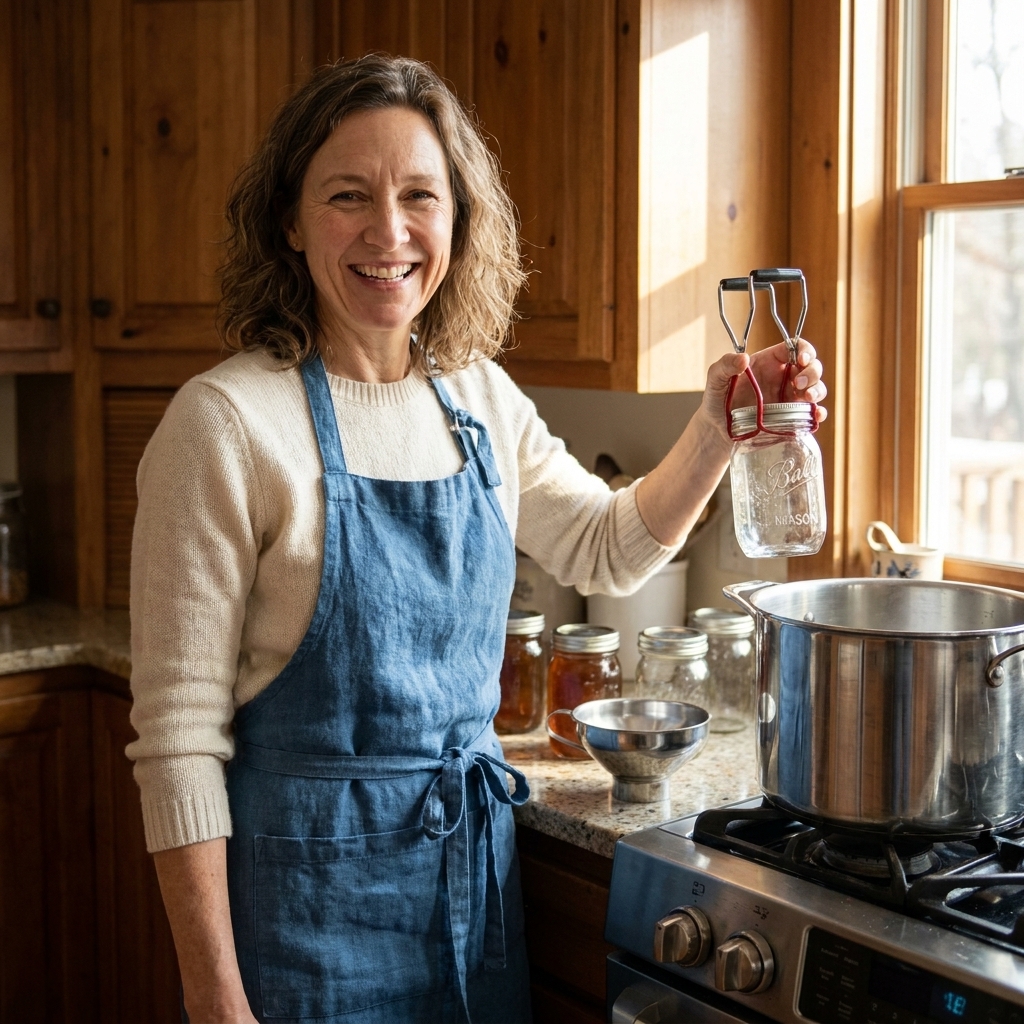
- Jar lifter (tongs made for hot jars)
- Canning jars (mason-type jars meant for canning)
- Two-piece lids (flat lid and screw band)
- Basic helpers: wide-mouth funnel, bubble remover or chopstick, clean towels, timer
For pressure canning
- Pressure canner (not a small pressure cooker). Follow your canner manual and the recipe requirements for jar capacity. Many standard models hold 7 quarts or 9 pints.
- Correct rack for the canner
- Accurate dial gauge or weighted regulator, depending on model
- Everything listed for water bath (jars, lifter, funnel, etc.)
If your canner uses a dial gauge, plan to have it checked for accuracy regularly (many extension offices offer testing, often yearly).
One more practical note: a pressure canner is an investment, but it can sometimes replace a separate water bath canner because many are deep enough to submerge jars. Only do this if your manufacturer says it is allowed, and use a rack, 1 to 2 inches of water over the jars, and a lid position that does not seal or pressurize.
Also worth saying clearly: electric multicookers and Instant Pot-style appliances are not recommended for pressure canning unless you are following a specifically tested canning protocol for that device.
Process basics
Water bath, in a nutshell
- Prepare a tested recipe.
- Fill jars, remove air bubbles, wipe rims.
- Apply lids and screw bands fingertip-tight.
- Lower jars into boiling water so they are fully submerged.
- Boil for the tested processing time, adjusting for altitude as required.
- Cool jars undisturbed, then check seals.
Pressure canning, in a nutshell
- Prepare a tested recipe.
- Add the required amount of water to the canner (pressure canners do not get filled like a water bath).
- Load jars on the rack.
- Lock lid, then vent steam for the time specified by your canner and recipe (often 10 minutes).
- Bring to the correct pressure and start timing once pressure is reached and stable.
- When time is complete, turn off heat and let the canner depressurize naturally.
- Wait for pressure to return to zero, then open lid carefully and let jars rest before removing.
The rhythm is different. Water bath is “boil, time, and cool.” Pressure canning is “vent, build pressure, hold steady, cool down slowly.” It is very learnable, it just requires attention.
Safety rules
- Use tested recipes. Canning is not the place for creative improvisation with ingredient ratios, thickeners, headspace, jar sizes, or processing times. Save the improvising for your spice cabinet after opening.
- Match the method to the food. High-acid foods can be water bathed. Low-acid foods must be pressure canned.
- Adjust for altitude. Processing times or pressures change above certain elevations because water boils at lower temperatures.
- Use proper jars and lids. Reuse jars if they are in perfect shape. Use new flat lids for reliable seals.
- Do not thicken with flour, cornstarch, or dairy in canning recipes unless a tested recipe specifically includes it (most do not). These can interfere with heat penetration.
- Let pressure canners cool naturally. No rushing under cold water, no lifting the weight early, no “quick release.” That can cause unsafe underprocessing and siphoning.
- If you suspect spoilage, do not taste. Discard safely. When in doubt, throw it out.
A friendly mindset shift: canning is less about “making jars” and more about controlling temperature and time in a proven way.
What counts as a tested recipe? Look for recipes tested for acidity and heat penetration by sources like the National Center for Home Food Preservation (NCHFP), the USDA Complete Guide to Home Canning, university extension programs, and reputable canning brands such as Ball or Bernardin.
Beginner questions
Can I water bath vegetables if I add vinegar?
Only if you are using a tested pickling recipe that is designed for water bath canning. Adding a splash of vinegar to plain vegetables does not automatically make a safe canning recipe.
Do I need a pressure canner for tomatoes?
Not always. Many tomato products can be water bath canned with added acid and a tested processing time. Some people still choose pressure canning for flexibility, but you still must follow a tested recipe for jar size, time, and prep.
Is pressure canning harder?
It is more procedural, but not harder in a scary way. Most beginners do great once they understand three things: venting matters, pressure must stay steady during processing, and cooling down takes patience.
What is the easiest first project for each method?
- Water bath: strawberry jam, peach jam, or simple dill pickles from a tested recipe.
- Pressure canning: plain green beans, broth, or pinto beans using a tested procedure. Simple is your friend.
Quick checklist
If you are still on the fence, answer these:
- What do I actually want to preserve first? Fruit and pickles point to water bath. Vegetables, beans, broth, and meat point to pressure.
- Am I comfortable following a precise process? Both methods require it, but pressure canning has more “do not skip this step” moments.
- What is my budget? Water bath can start with a pot and rack. Pressure canning requires a true pressure canner.
- Do I have time for a learning session? Your first pressure canning day is best done when you can stay home and focus.
Whatever you pick, start with one tested recipe, one jar size, and one calm afternoon. Your future self will be very grateful when those first jars pop, seal, and line up like little edible trophies.