Every model builder hits this fork in the road: do you start with a humble brush and a few little paint pots, or go straight to the mysterious world of airbrushes, compressors, and paint that has to be thinned “just so”?
Here is my gentle take as someone who loves being a beginner: both are valid, both can be fun, and neither one is a moral victory. The best choice is the one that fits your space, budget, and tolerance for setup and cleanup.
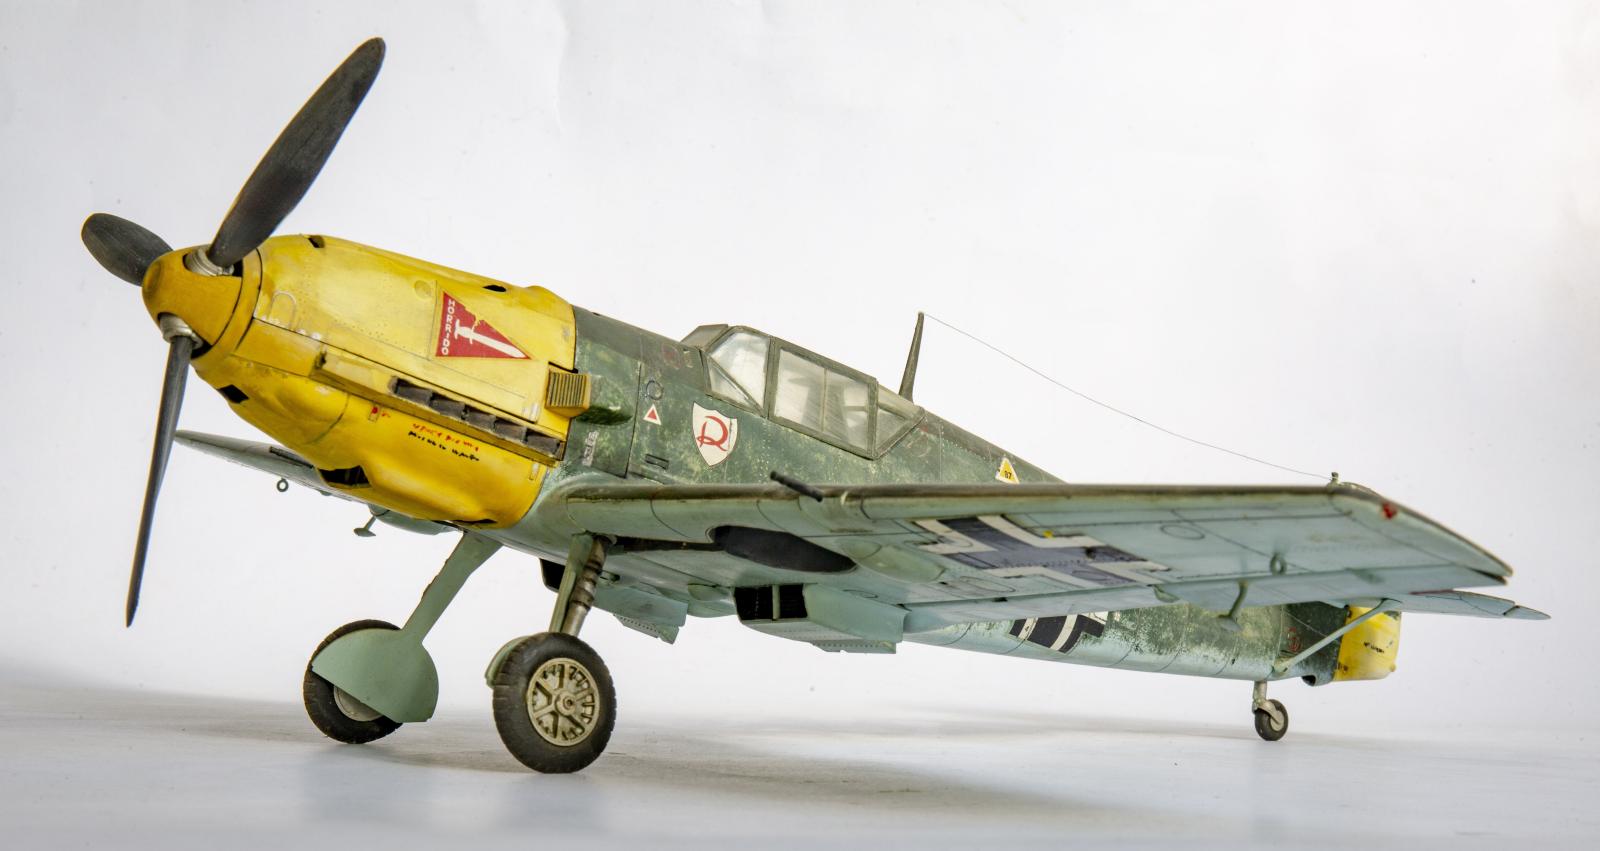
What it feels like
Hand-painting
Hand-painting is the classic entry point. You clip parts, sand a little, prime if you want, then put paint on plastic with a brush. It is slower, more tactile, and very forgiving if you enjoy working in short sessions.
- Best vibe: cozy, controlled, “one part at a time.”
- Common beginner win: you can start today with a small kit and a few basic colors.
- Common beginner frustration: brush marks on large flat panels and streaky coverage if the paint is too thick.
Airbrushing
Airbrushing is like mini spray painting with a lot more control. It shines on smooth, even coats, subtle shading, and that clean “factory finish” people love on aircraft, cars, mecha, and sci-fi kits.
- Best vibe: technical, satisfying, “dial it in.”
- Common beginner win: buttery-smooth base coats, especially on big surfaces.
- Common beginner frustration: setup, thinning paint, and learning to troubleshoot clogs or spatter.
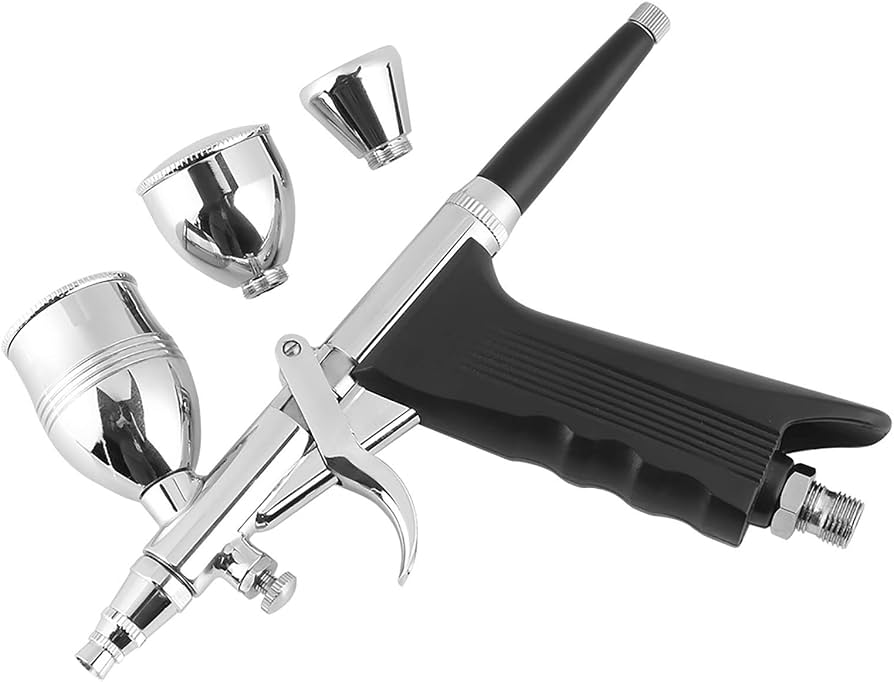
Paint types in one minute
Paint type matters because it affects smell, cleanup, drying time, and safety. Here is the beginner-friendly mental model.
- Water-based acrylics: lowest odor, easiest cleanup (water or acrylic thinner), great for brush painting and airbrushing. Still create paint mist, so ventilation matters.
- Enamels and lacquers (solvent-based): tougher fumes, often faster or “hotter” to work with, and they need proper thinners and careful ventilation. Many builders love the finish, but they demand more safety and space planning.
You can make beautiful models with any of these. Just match your paint choice to your workspace reality.
Cost to get going
Hand-painting costs
Hand-painting can be very budget-friendly because you can scale up slowly.
- Must-haves: a couple of brushes, paints, a palette or dish, water cup, paper towels.
- Strongly recommended: primer (spray can or brush-on), a decent hobby knife, sanding sticks.
- Nice-to-have: a wet palette, brush soap, magnifier lamp.
If you are trying to keep things simple, you can start with one good all-purpose brush and one small detail brush, then replace and expand as you learn what you like.
Airbrushing costs
Airbrushing costs more up front because it is a system, not just a tool.
- Must-haves: airbrush, compressor (ideally with a tank), hose, cleaner, thinner, and a contained spray area.
- Strongly recommended: a proper respirator (more on that below), a spray booth or strong ventilation, quick-connects, cleaning brushes.
- Nice-to-have: moisture trap, spare needles and nozzles, airbrush stand, mixing cups.
Ongoing costs to expect: thinner and cleaner, booth filters (if you use one), and the occasional replacement needle, nozzle, or seal if you bend something or wear it out.
It is absolutely possible to do airbrushing on a reasonable budget, but it is rarely cheaper than basic hand-painting at the start.
Learning curve
Hand-painting: simple tools, sneaky skills
Hand-painting looks straightforward, and it is. The “sneaky” part is learning paint control. Most beginner problems come from paint that is too thick, too much paint on the brush, or going back over a drying area and pulling it up.
Beginner-friendly skills that pay off fast:
- Thin a little until the paint flows smoothly off the brush (many acrylics like a few drops of water or acrylic thinner).
- Two thin coats instead of one thick coat.
- Let it dry before you touch it again, even if it is tempting.
- Drybrushing for quick highlights on texture.
Airbrushing: fast results, more variables
Airbrushing can feel like magic when it is working. When it is not, it can feel like a tiny machine designed to test your patience. The learning curve is less about “art” and more about “inputs.”
Beginner-friendly skills that pay off fast:
- Trigger control (air on, then paint on, then paint off, then air off).
- Distance and angle to avoid spidering and runs.
- Paint consistency that matches your setup (as a starting point for acrylics, many people aim for a milk-like flow and then adjust from there).
- Air pressure as a gentle baseline (often around 15 to 25 PSI for hobby acrylics, then tweak for your paint, needle size, and distance).
- Cleaning habits so yesterday’s paint does not become today’s clog.
If you want one ultra-practical buying note: a 0.3 mm nozzle is a comfortable “do most things” starter size, and a compressor with a regulator is non-negotiable. A tank is optional but helpful for smoother airflow, and a moisture trap is a good idea in many climates.
If you enjoy tinkering and don’t mind a few “why is it doing that?” moments, airbrushing is very learnable. If you want calm, predictable progress, start with a brush and add air later.
Setup, cleanup, and safety
Hand-painting cleanup
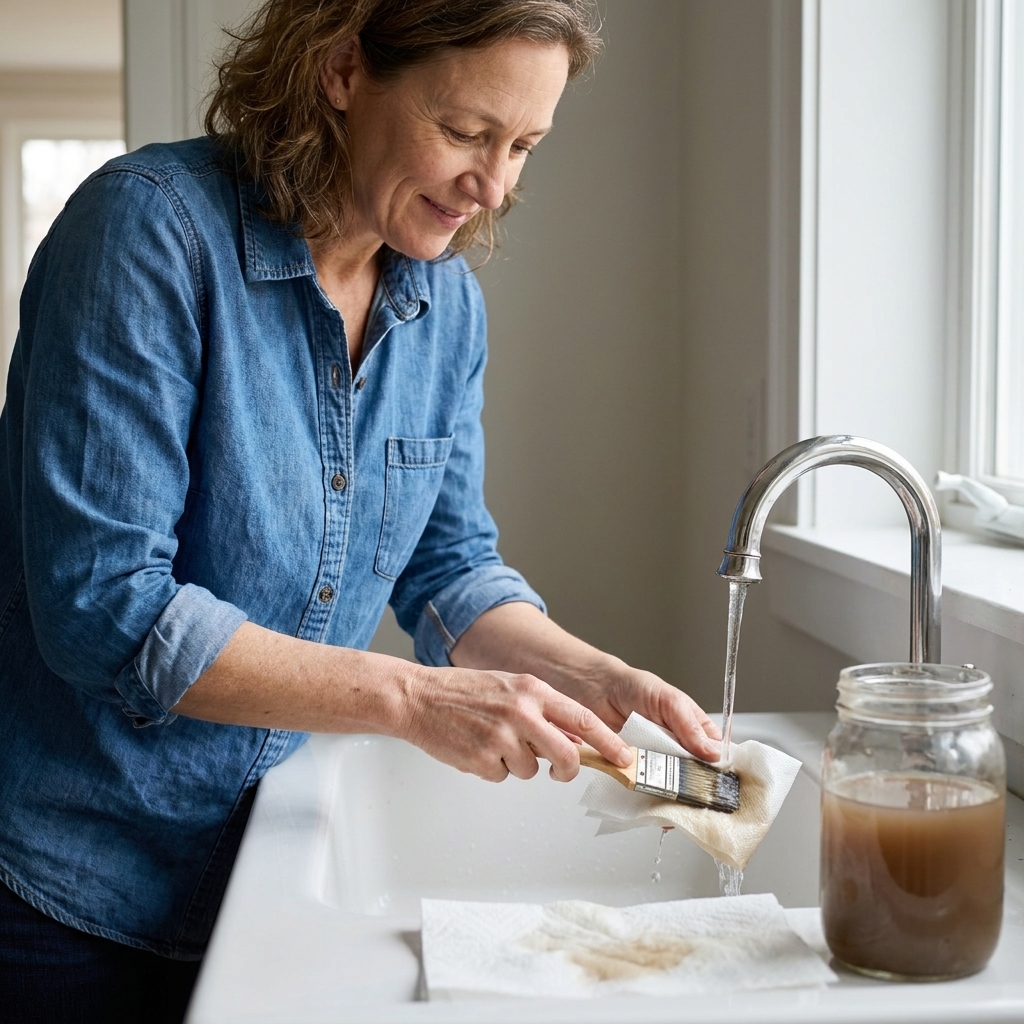
Cleanup is usually: rinse brush, wipe, maybe wash with brush soap, tidy the workspace. It is friendly to small apartments and quick sessions.
- Time: typically 2 to 10 minutes.
- Mess potential: low, unless you knock over your rinse water (ask me how I know).
Airbrushing cleanup
Airbrush cleanup is the price you pay for those smooth coats. You will be flushing, wiping the needle, cleaning the cup, and sometimes doing a deeper clean if paint starts misbehaving.
- Time: often 10 to 30 minutes for a normal session, and a full teardown can take longer.
- Mess potential: moderate, plus overspray if your spray area is not well managed.
- Ventilation needs: higher, especially with lacquer paints or strong thinners.
Respirators and ventilation (important and specific)
This is the one place where I want to be extra clear.
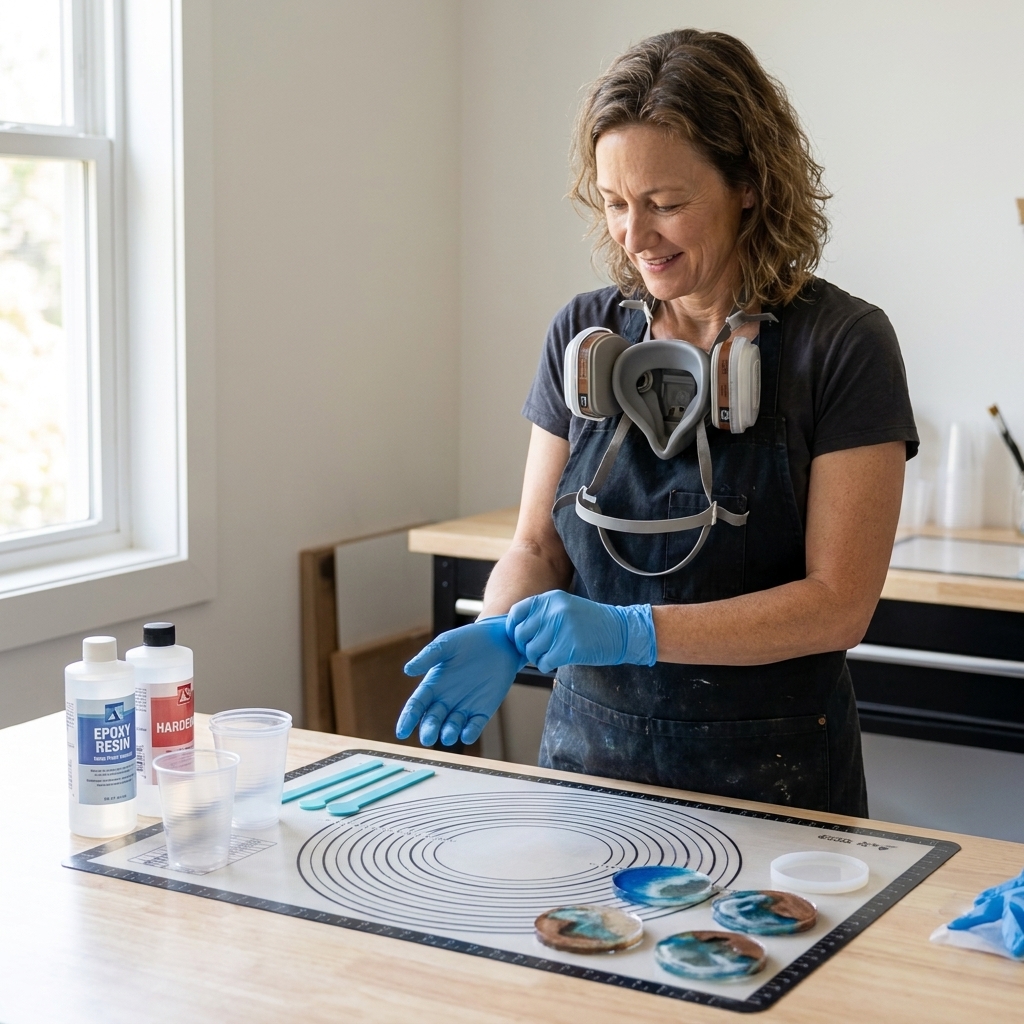
- For water-based acrylics: you still want good ventilation because you are making fine paint mist. Many builders use a P100 particulate filter (or equivalent) plus airflow or a booth.
- For enamels and lacquers: you want organic vapor cartridges (often OV/P100) and real extraction. A basic hobby spray booth vented out a window is a common beginner-friendly setup. Avoid spraying solvent paints indoors without proper exhaust.
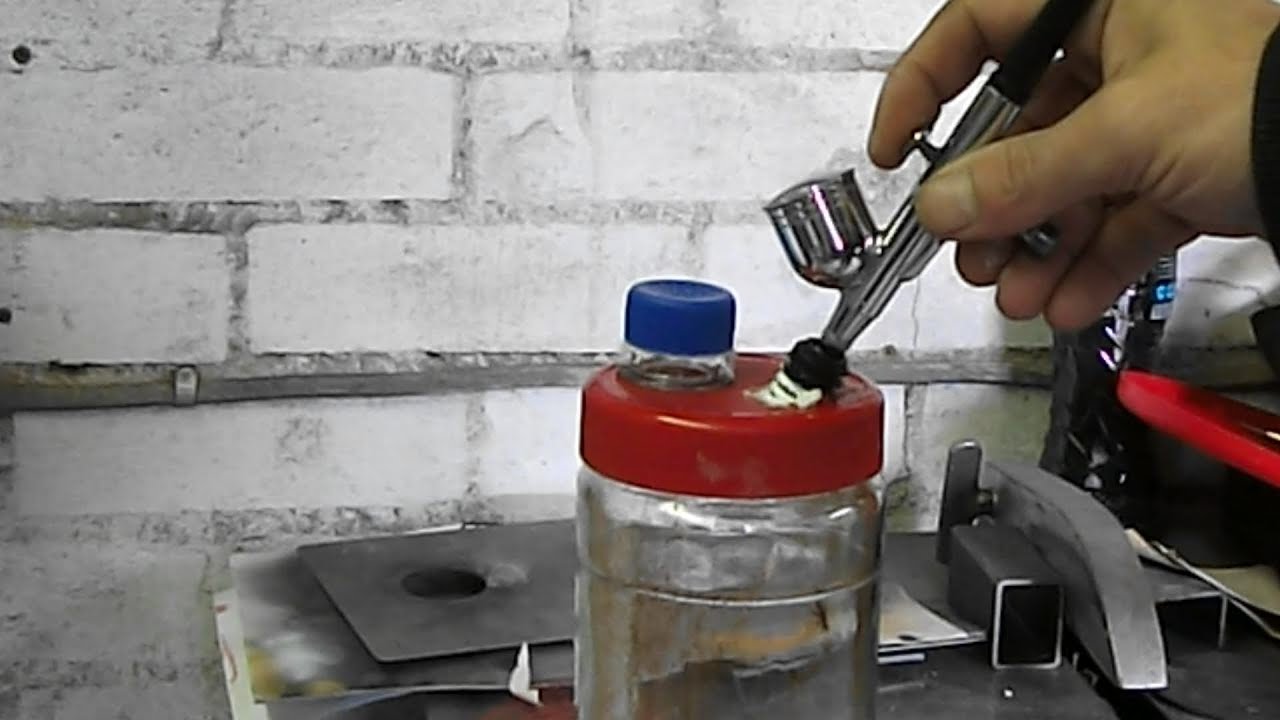
Results
Where hand-painting shines
- Details: cockpit buttons, belts, faces, tiny bits, weathering chips.
- Texture techniques: drybrushing, stippling rust, pin-washes, grime.
- Small spaces: no need for a booth or compressor.
- Relaxed pacing: paint a few parts, take a break, come back tomorrow.
Hand-painting can also look incredibly smooth with practice, especially if you prime, thin paint correctly, and use a soft brush with good paint flow.
Where airbrushing shines
- Large smooth areas: car bodies, aircraft fuselages, mecha armor panels.
- Clean gradients: preshading, postshading, glow effects.
- Consistent base coats: primer and main colors with fewer brush marks.
- Speed on big jobs: once set up, coverage is fast.
That said, airbrushing does not replace detail work. Most airbrushed models still need a brush for touch-ups, metallic details, and weathering.
Quick breakdown
If you want the “tell me like a friend” version, here you go.
- Lowest startup cost: hand-painting
- Lowest setup and cleanup effort: hand-painting
- Smoothest base coats on big surfaces: airbrushing
- Fastest path to dramatic lighting effects: airbrushing
- Best for tiny details: hand-painting
- Most sensitive to space and ventilation: airbrushing
Primer: what to choose
Primer is the quiet hero for both methods. It improves adhesion, helps paint cover evenly, and makes your finish look more intentional.
- Spray-can primer: fast and usually very smooth for beginners. Great for larger parts. Use light passes.
- Brush-on primer: useful if you cannot spray where you live, or if you are priming small parts. Use a soft brush and do not overwork it.
- Airbrushed primer: the most controlled option if you already have the setup, and great for avoiding heavy primer buildup on fine detail.
Beginner pitfalls
If you choose hand-painting
- Pitfall: thick paint obscuring detail.
Fix: thin a little, use two coats, and let each coat dry. - Pitfall: brush marks on large panels.
Fix: use a slightly larger soft brush than you think, keep a wet edge, and consider spray-can primer plus hand-painted details. - Pitfall: paint beading up on bare plastic.
Fix: wash parts with mild soap, rinse well, and prime.
If you choose airbrushing
- Pitfall: clogging and spitting.
Fix: strain paint if needed, thin appropriately, and wipe the needle tip during sessions. - Pitfall: runs and spidering.
Fix: lower pressure a bit (for example, drop 3 to 5 PSI), move back slightly, and do lighter passes. - Pitfall: overspray dust on everything you own.
Fix: use a spray booth or a well-contained spray area, and wear the right respirator for your paint type.
So which is better?
If you are brand new
Start with hand-painting, plus a simple primer option if you can. You will learn the fundamentals that make every other technique easier: patience, thin coats, surface prep, and detail control. And you will actually finish projects, which is the real secret sauce.
If you have built a few kits
Consider adding airbrushing for base coats while keeping hand-painting for details and weathering. This is my favorite “best of both worlds” path and it spreads out the cost.
If you want a smooth finish
Airbrushing can be a first step if you have the budget, space, and patience for practice and maintenance. If possible, start with primer and one main color, then slowly add masking and shading techniques.
If your space is tiny
Hand-painting is the kinder choice. You can still achieve beautiful results with good prep, thin coats, and careful brushwork. You can also use weathering techniques to make tiny imperfections look intentional and realistic.
Starter paths
Path A: Calm start (brush)
- Build and test-fit parts.
- Wash parts, let dry.
- Prime (optional but helpful).
- Hand-paint base colors in thin coats.
- Pick out details.
- Seal with a clear coat if you want protection.
Path B: Smooth start (airbrush + brush)
- Build and prep parts.
- Prime with the airbrush.
- Airbrush the main colors in light passes.
- Hand-paint small details and touch-ups.
- Optional: decals, washes, weathering.
- Seal with a clear coat.
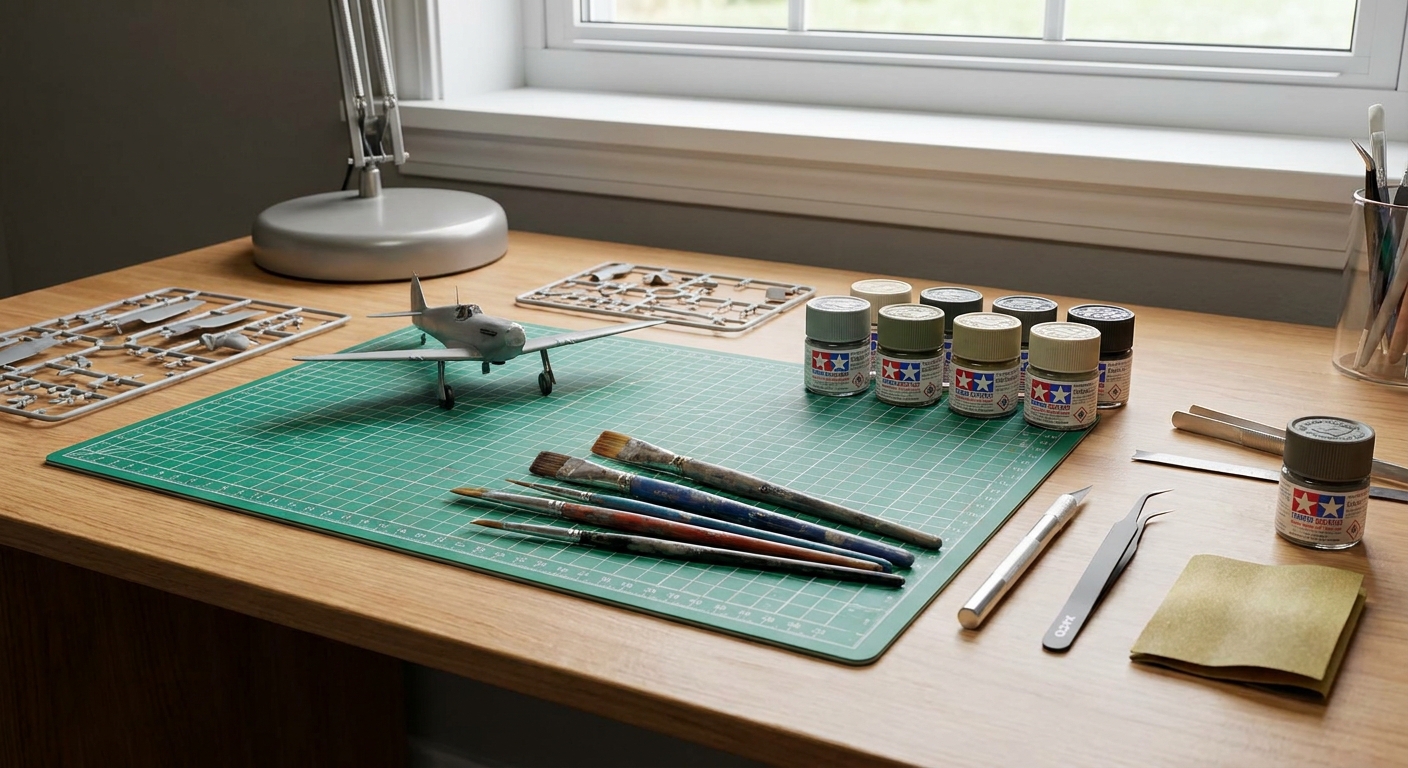
Quick FAQ
Can I get good results without an airbrush?
Absolutely. Many builders hand-paint entire kits beautifully. Priming, thinning paint, and using the right brush size for the area make a huge difference.
Is airbrushing only for experts?
No. It just has more moving parts. If you enjoy learning tools and you can practice for a few short sessions, you can become competent surprisingly quickly.
Do I need both?
Not at all. But if you ever choose to combine them, a common setup is: airbrush for primer and base coats, brushes for details and weathering.
What is the most beginner-friendly upgrade?
If you are hand-painting, primer and one better brush often improve results more than buying a pile of extra paints. If you are airbrushing, improving ventilation and adopting consistent cleaning habits will save you the most frustration.
My gentle recommendation
If you want the least complicated, most forgiving start, choose hand-painting and treat the first kit as your learning kit. You are allowed to be new at this.
If you have the space and budget and you are excited by smooth finishes and technical tools, choose airbrushing, but keep a couple of brushes nearby because every airbrushed model still needs a little hand love.
Either way, the best beginner approach is the one that gets you back to the table tomorrow.