There are two kinds of home canners: the ones who have a canning story, and the ones who are about to. Mine involves a jar of pickles that did not seal, a very confident “It’s probably fine,” and a librarian’s deeply ingrained respect for labels and rules. Canning is wonderfully cozy and old-fashioned, but it is also a science project you eat. The good news is that the rules are learnable, and once you understand the difference between water bath canning and pressure canning, the rest starts to click.
This guide will help you choose the right method for jams, jellies, pickles, tomatoes, and those tempting low-acid vegetables like green beans and carrots. We will keep it practical, and we will keep it safe.
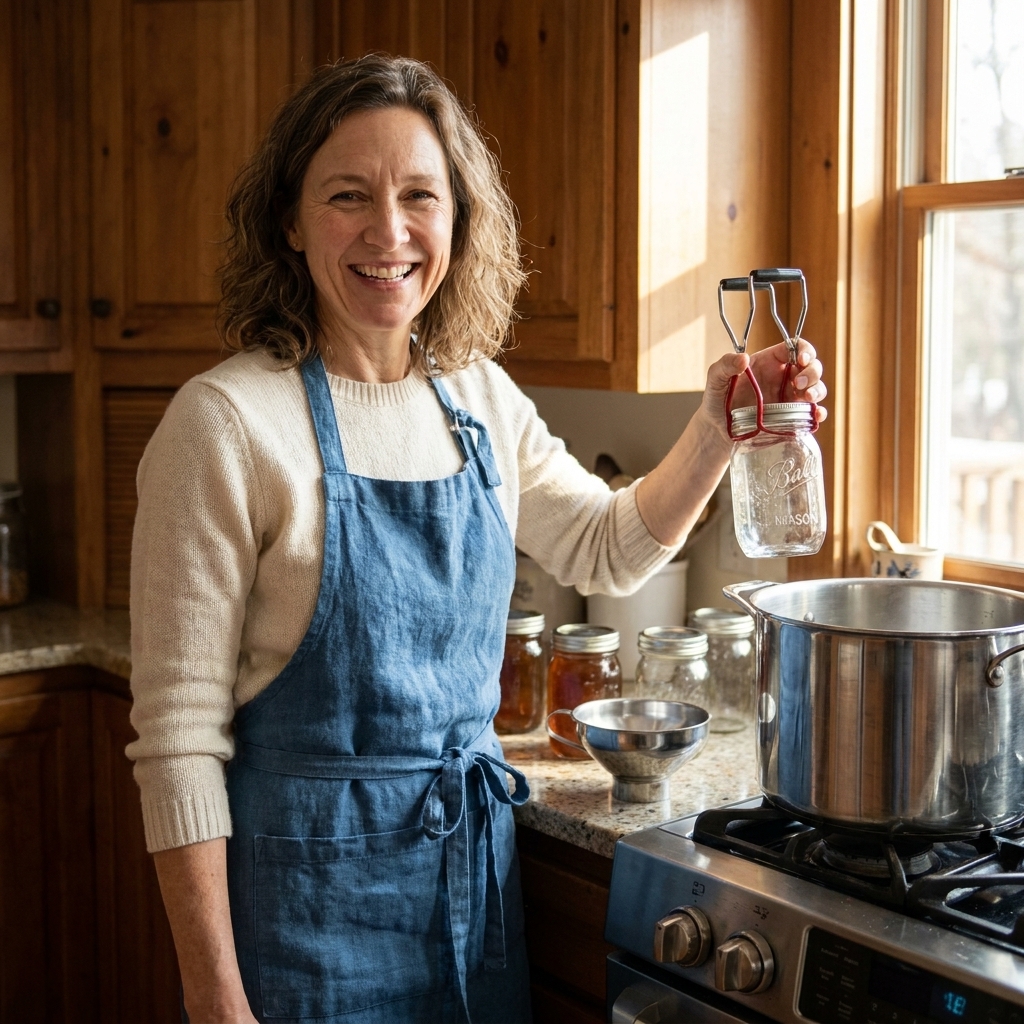
The one big safety difference
Water bath canning and pressure canning are not two “styles.” They are two different heat treatments designed for two different categories of food.
What we are protecting against
The primary safety concern in canning is botulism, caused by Clostridium botulinum. The spores are common in soil and can survive normal boiling temperatures. In a sealed, oxygen-free jar at room temperature, those spores can produce a dangerous toxin if the food is low-acid.
- High-acid foods (generally pH 4.6 or lower) prevent botulism growth. These can be safely processed in a boiling water bath when using a tested recipe.
- Low-acid foods (above pH 4.6) require higher temperatures than boiling to destroy spores. This requires a pressure canner.
So the decision is not about what seems “more intense.” It is about whether the food is acidic enough to be safely processed at 212°F / 100°C (boiling), or whether it must be processed at higher, pressure-canning temperatures (often about 240°F / 116°C at typical home-canning pressures, depending on pressure, elevation, and gauge type).
Water bath canning
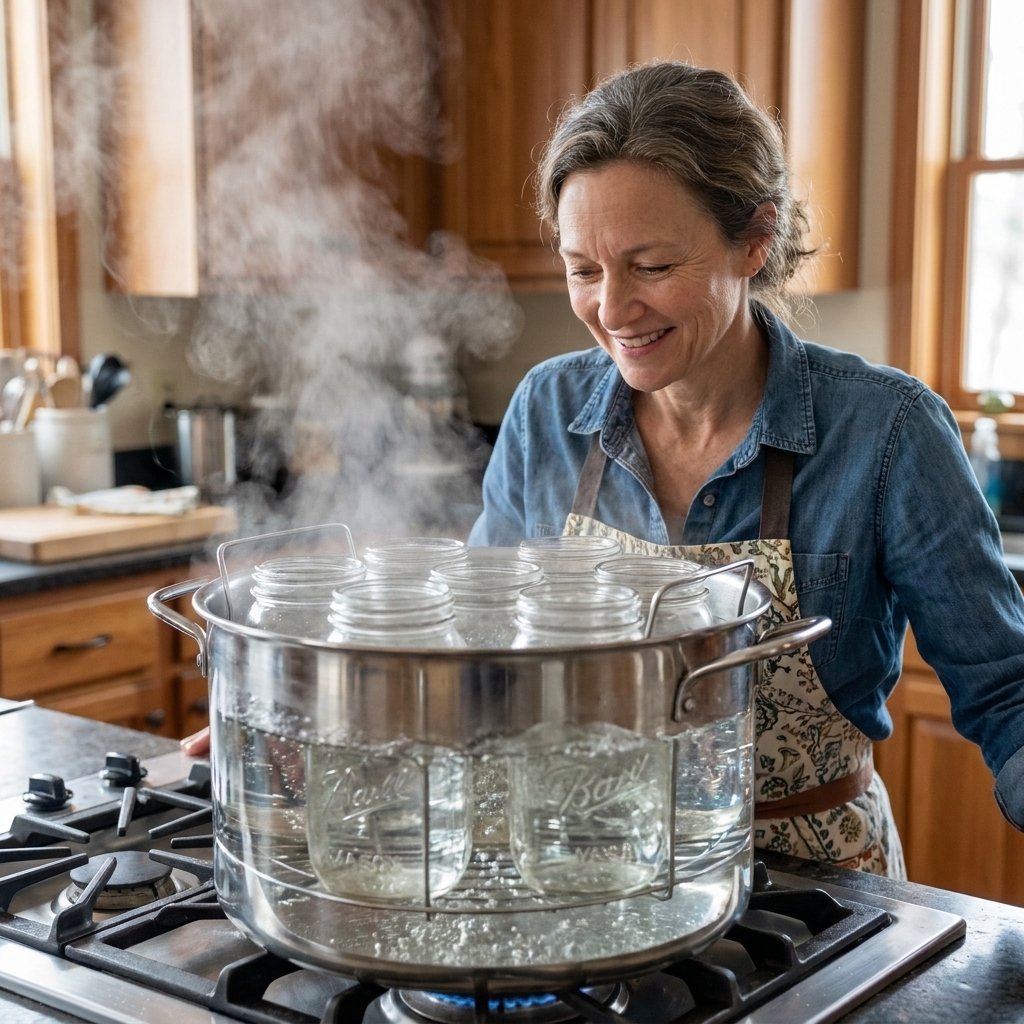
Water bath canning uses a large pot of vigorously boiling water that fully covers the jars. The jars process at the temperature of boiling water, and the processing time accounts for heat penetration and creating a strong seal.
Best for
- Jams, jellies, preserves
- Fruit butters
- Pickles and relishes (vinegar-based)
- Fruit juices
- Most tested tomato recipes when properly acidified (more on that below)
Equipment basics
- A deep pot with a lid
- A rack to keep jars off the bottom
- Jar lifter, funnel, bubble remover, and clean towels
- Two-piece canning lids (flat lid and band)
How it works
- Fill jars with hot food using a tested recipe and correct headspace. Do not swap jar sizes unless the recipe provides processing times for that size.
- Remove bubbles, adjust headspace, wipe rims, then apply lids and bands fingertip-tight.
- Lower jars into boiling water so they are covered by 1 to 2 inches of water.
- Return to a full rolling boil, then start timing. Adjust processing time for altitude if the recipe includes an altitude table.
- Turn off heat, rest jars briefly if the recipe calls for it, then remove to cool undisturbed. Do not tilt jars or retighten bands.
Little beginner note: A water bath canner is basically a very organized hot tub for jars. The “organized” part is the rack, the headspace, the altitude adjustment, and the timing.
Pressure canning
Pressure canning uses steam under pressure to reach temperatures hotter than boiling. This higher temperature is what makes low-acid foods shelf-stable and safe.
Best for
- Low-acid vegetables (green beans, carrots, corn, peas, potatoes)
- Meat, poultry, seafood
- Soups and broths
- Beans and chili
- Low-acid mixed meals (tested recipes only)
Pressure canner vs. pressure cooker
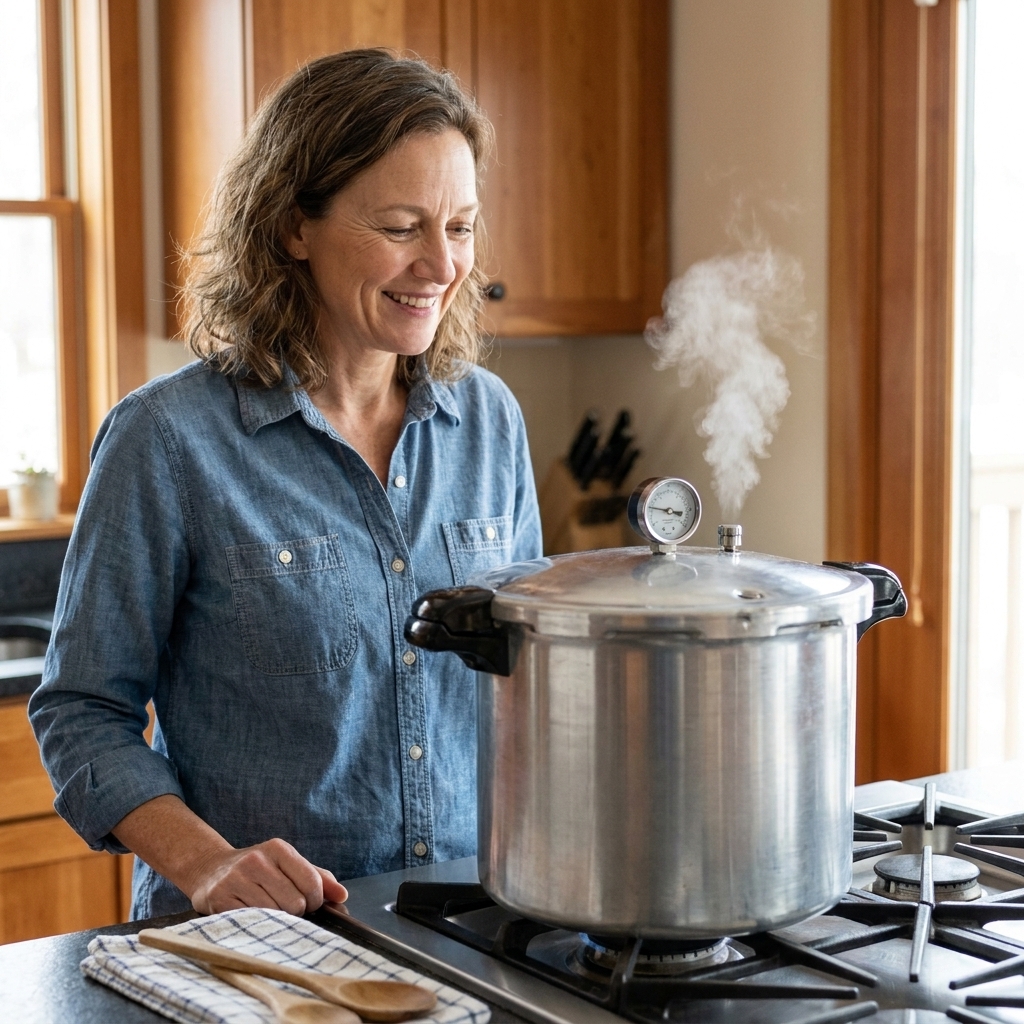
This matters. A pressure canner is a large vessel designed and tested for canning jars, with a way to accurately control pressure (dial gauge or weighted gauge) and enough capacity for proper heat penetration.
Most pressure cookers and most electric multi-cookers are not recommended for canning. Use them for dinner, not shelf-stable jars, unless the manufacturer and a research-based source explicitly state the device meets canning requirements for your jar size and processing conditions.
How it works
- Add the correct amount of water to the canner (pressure canning uses steam, not full submersion).
- Load filled jars onto the rack. Use the jar size and packing style the tested recipe specifies.
- Lock the lid and vent steam for the required time (often 10 minutes) to purge air.
- Bring the canner to the correct pressure for your altitude and gauge type, and maintain it steadily for the full processing time.
- Turn off heat and let pressure return to zero naturally before opening. Let jars cool undisturbed. Do not tilt jars or retighten bands.
If water bath canning feels like making tea, pressure canning feels like following a good bread recipe: it is calmer when you respect the timing and do not rush the cool-down.
Which method to use
If you only remember one thing, make it this: water bath for high-acid foods, pressure can for low-acid foods.
Quick guide by food
- Jams and jellies: Water bath canning.
- Pickles (vinegar brine): Water bath canning (use a tested vinegar ratio).
- Fruit (peaches, pears, applesauce): Usually water bath canning.
- Tomatoes: Water bath canning only with proper acidification and a tested recipe, or pressure canning with a tested recipe.
- Green beans, carrots, corn, peas: Pressure canning.
- Beans (dry beans packed in jars): Pressure canning.
- Soups, stews, bone broth: Pressure canning (tested recipes).
- Salsa: It depends on the tested recipe and acidity. Many safe salsas are water-bathable, but not all.
The tomato exception
Tomatoes are “borderline.” Their acidity varies by variety and ripeness. That is why many tested tomato canning recipes require adding bottled lemon juice or citric acid to each jar before water bath processing. If a tomato recipe is not explicitly tested and acidified, treat it as unsafe for water bath canning.
When in doubt, pressure canning is the more forgiving option only if you are using a tested processing time and pressure for your jar size and altitude.
Safety rules that matter
I love a cozy heritage moment as much as anyone, but canning is one place where “my grandma always did it” is not a substitute for modern safety standards. Here are the rules that protect your future self.
Use tested recipes
Stick with recipes from trusted, research-based sources like:
- USDA Complete Guide to Home Canning
- National Center for Home Food Preservation
- University extension services
- Ball and Kerr (modern editions)
These sources test for heat penetration, jar size, ingredient density, and acidity.
Do not improvise the acid
In pickles and relishes, the vinegar ratio is not a “flavor preference.” It is part of the safety formula. If you want a less sharp pickle, look for a tested recipe designed that way.
Altitude changes processing
Boiling temperature and pressure change with altitude, so processing must change too. If you are above 1,000 feet, you typically need adjustments, but always follow the recipe’s altitude table.
- For water bath canning, altitude usually means longer processing time.
- For pressure canning, altitude often means higher pressure (or a different weight setting), not extra minutes.
Do not swap jar sizes casually
Jar size affects heat penetration. Only use the jar size listed in the tested recipe, unless the recipe provides approved processing times for multiple jar sizes.
Seals are not the same as safety
A jar can seal and still be unsafe if it was processed incorrectly. Think of the seal as the door being shut, not proof the kitchen is clean.
Skip outdated methods
- Open-kettle canning (pouring hot food into jars and sealing without processing)
- Oven canning
- Dishwasher canning
- Wax seals for jams
These methods are not reliably safe.
What to can
Water bath canning is great for
- Strawberry jam, blueberry jam, marmalade
- Peach slices in syrup
- Applesauce
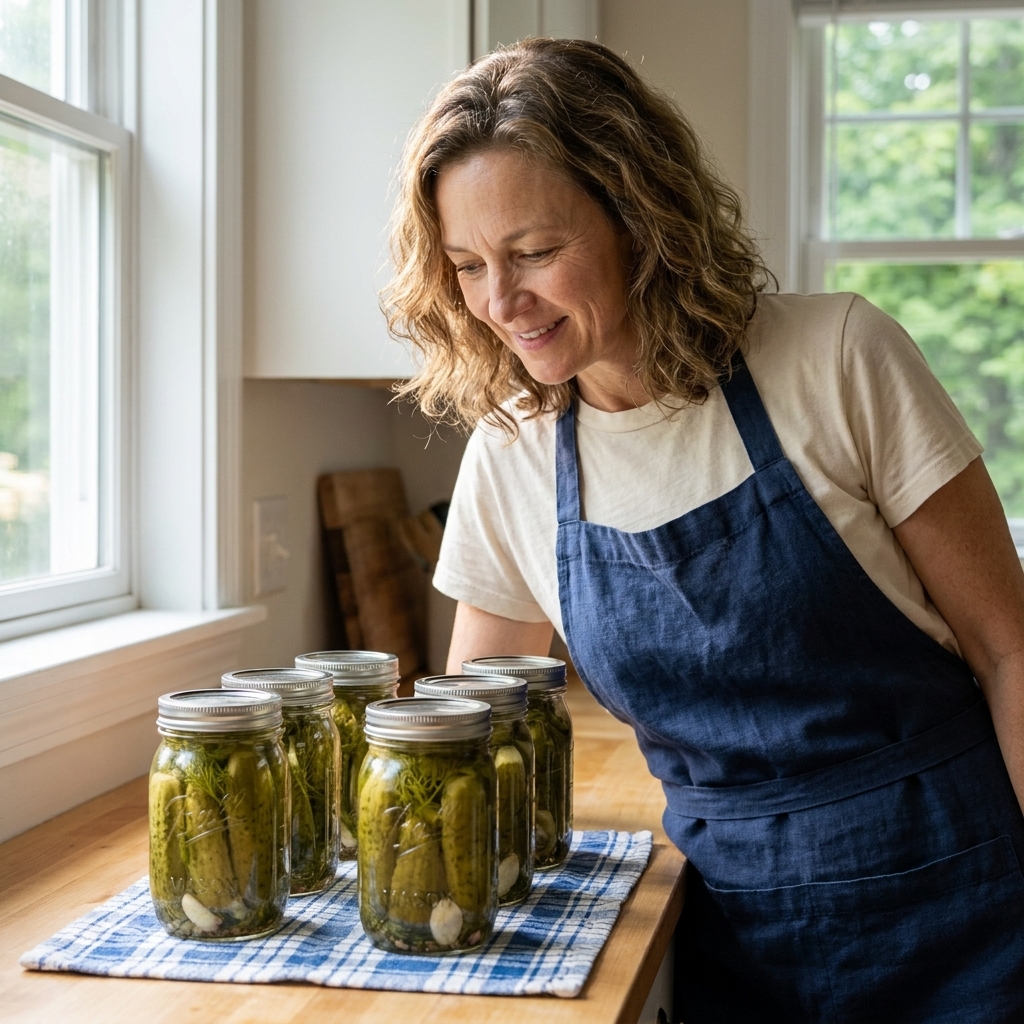
- Dill pickles, bread-and-butter pickles, pickled onions
- Chutneys and relishes made with sufficient acid in tested recipes
Pressure canning is required for
- Plain vegetables: green beans, carrots, beets, corn
- Vegetable soup
- Stock and broth
- Meat and poultry
- Meals in jars from tested recipes (for example, chili without thickeners)
Things not to home can (or use caution)
- Thick purees and mash (for example, pumpkin puree) because heat may not penetrate safely. Use tested cubed pumpkin recipes or freeze instead.
- Thickeners like flour, cornstarch, or starch added before canning. These can prevent safe heat penetration in soups and sauces.
- Dairy in canning recipes.
- Electric multi-cooker canning unless explicitly approved for your jar size and processing conditions by both the manufacturer and a research-based source.
Beginner workflow
If canning feels like juggling, try this calmer order of operations. It is the same rhythm I used when I ran library craft nights: set up first, then create.
- Read the recipe twice, including notes on altitude, jar size, and headspace.
- Inspect jars for chips or cracks. Use new flat lids each time.
- Prep equipment: rack in canner, tools laid out, towels ready.
- Prepare the food as written. No creative swaps in acid, ratios, jar size, or thickeners.
- Fill jars, remove bubbles, adjust headspace, wipe rims.
- Process for the full time at the correct temperature or pressure, including altitude adjustments.
- Cool undisturbed 12 to 24 hours. No tightening bands, no pressing lids, no tilting jars “just to check.”
- Check seals, label, and store without bands in a cool, dark place.
Troubleshooting
My jar did not seal. Now what?
Unsealed jars are not shelf-stable. You can:
- Refrigerate promptly and use soon (generally within 3 to 5 days, depending on the product), or
- Freeze (leave headspace appropriate for freezing), or
- Reprocess within 24 hours using a new lid and following the tested instructions.
Why did liquid siphon out during pressure canning?
Siphoning is common when pressure changes too quickly. Let the canner vent properly, maintain steady pressure, and allow a natural cool-down. It is often a quality issue, but it can become a safety and storage issue if it causes seal failure or leaves food sitting above the liquid line.
If a jar sealed, you followed a tested process, and there is still adequate liquid for the product and pack style, it is usually fine. If you have significant product loss, food stuck on the rim, or any doubt about the seal, refrigerate and use soon.
What about bubbles or floating fruit?
Often harmless and mostly cosmetic. Use proper headspace, remove bubbles, and follow pack style (hot pack vs raw pack) to improve results.
FAQ
Can I water bath can green beans if I add vinegar?
No. Adding a splash of vinegar does not reliably change the pH of the entire jar in a tested way. Plain vegetables require pressure canning unless you are making a properly acidified, tested pickled product.
Is pressure canning safer than water bath canning?
It is safer for low-acid foods because it reaches higher temperatures. For high-acid foods, water bath canning is safe when you use a tested recipe, the correct jar size, and process correctly.
Do I need to sterilize jars?
For most modern tested recipes with processing times of 10 minutes or more, washing jars well and keeping them hot is sufficient. Always follow the specific recipe guidance.
How long do home-canned foods last?
For best quality, aim to use within 12 months. Many items remain safe longer if properly processed and sealed, but flavor, color, and texture can fade over time.
How do I know if a jar is unsafe?
Never taste to “check.” Discard any jar that is leaking, spurting liquid when opened, smells off, has mold, or has an unsealed lid. If you suspect botulism in low-acid foods, follow official guidance for safe disposal and cleanup.
A gentle nudge
If you are brand new, I recommend starting with something confidence-building like a small batch of strawberry jam (water bath) or a tested dill pickle recipe. Get comfortable with headspace, timing, altitude adjustments, and the sound of lids pinging as they seal. Then, when you are ready for green beans or soup, step up to pressure canning with the same beginner joy and a good, tested recipe.
Because this is the whole point of hobbies, right? We learn, we practice, we make something useful, and we get to feel quietly proud when we line those jars up like little trophies in the pantry.